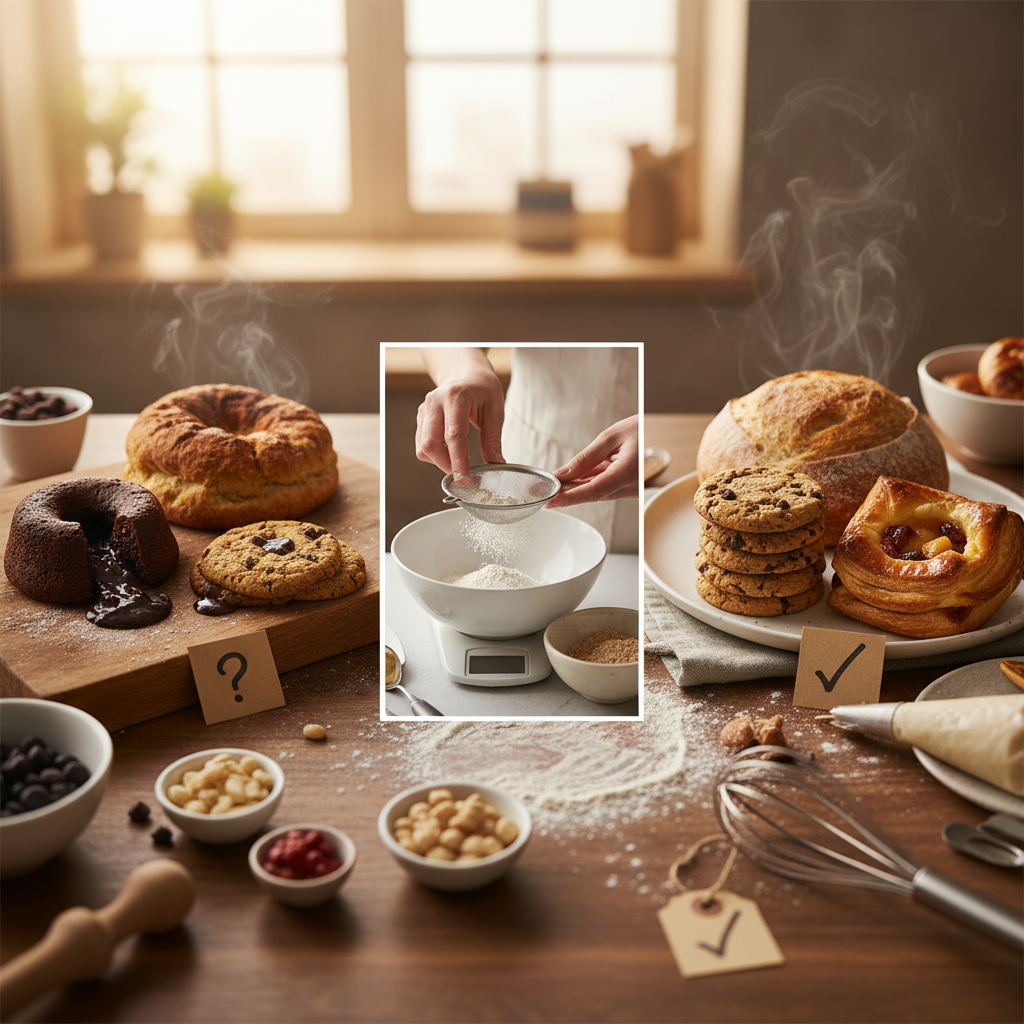
10 Baking Mistakes You Didn't Know You Were Making (And How to Fix Them!)
Baking can often feel like a delicate dance, a perfect combination of science and art. As home bakers whip up sweet and savory delights, the focus usually lies on the flavors and textures of the final product. However, in this pursuit of perfection, it’s surprisingly easy to overlook some fundamental techniques or overlooked elements that can lead to less-than-ideal results. Learning from common baking mistakes can dramatically elevate your creations, ensuring that those caramelized edges and fluffy interiors are achieved every time.
In the world of baking, precision is key. Every ingredient plays an important role in the overall structure and flavor of your baked goods. Small missteps, whether it’s an incorrect measurement of flour or a miscalculated oven temperature, can lead to unpredictable outcomes. This can be frustrating, especially when all you’re aiming for is a perfectly risen cake or a batch of cookies that are chewy and rich. By examining some common pitfalls, bakers can become more aware of their processes and, in turn, improve their baking skills.
This post aims to highlight ten baking mistakes that you may not know you’re making, along with effective solutions to rectify them. From understanding ingredient temperatures to the importance of the right baking pans, we will cover the essential details that can transform your baking experience. Whether you’re a seasoned baker or a novice just getting your feet wet, these insights will provide invaluable tools to help you bake like a pro.
1. Skipping Ingredient Temperature Guidelines
Understanding Why Temperature Matters
One of the most pervasive baking mistakes is ignoring the temperature of your ingredients. Many recipes will specify whether ingredients should be at room temperature, cold, or melted. This guideline is crucial because it affects how well ingredients incorporate and ultimately the texture of your baked goods. Butter, for example, when creamed at room temperature, combines seamlessly with sugar, creating a light and airy consistency ideal for cakes and cookies.
When using cold butter, the fat won’t emulsify as effectively, leading to dense, heavy outcomes. Similarly, eggs that are cold from the refrigerator can cause batters to curdle, resulting in a less uniform texture. Conversely, using ingredients that are too warm can lead to greasy batters that spread too much during baking.
Fixing the Mistake
To ensure optimal ingredient temperatures:
"Perfectly tempered ingredients are the backbone of successful baking."
2. Incorrect Oven Temperature
The Importance of Preheating
Many bakers make the mistake of not properly preheating their ovens. This step is critical because it ensures that your baked goods cook evenly from the moment they enter the oven. Recipes often call for specific temperature settings; following these is non-negotiable to achieve the right texture and color. Failing to preheat can result in undercooked centers or overcooked exteriors, ruining the intended balance of your creation.
Calibrating Your Oven
Ovens can often be slightly off from the temperature indicated on the dial. Here’s how to troubleshoot:
"An accurate oven temperature is a baker's best friend.”
When to Rotate Your Trays
When baking, especially for cookies or pastries, it’s also a good idea to rotate your trays halfway through the baking process. This ensures even cooking, as many ovens have hot spots that can cause uneven baking results.
3. Not Measuring Ingredients Properly
The Science of Measurement
When it comes to baking, precise measurements can mean the difference between a fluffy cake and a brick-like disaster. Common mistakes include using volume measurements instead of weight. Flour, for instance, can easily be compacted when scooping with a cup, leading to too much flour in your recipe.
Proper Measurement Techniques
Here are a few tips for accurate ingredient measurement:
Common Conversion Mistakes
It also helps to familiarize yourself with general conversions, especially for baking:
"A baker’s precision is crucial for producing consistent and delicious results."
4. Using Expired Ingredients
Shelf Life of Baking Essentials
Many bakers overlook the shelf life of baking essentials like baking powder, baking soda, and even flour. Using expired ingredients can compromise the leavening power and flavor of your baked goods.
How to Test Freshness
#### Baking Powder and Baking Soda
#### Flour
Flour can go rancid if not stored properly. Store it in a cool, dry place in an airtight container to extend its shelf life. When in doubt, perform a quick smell test: if it has an off or sour odor, toss it out.
Best Practices for Ingredient Storage
"Fresh ingredients are the lifeblood of delicious baking."
5. Skipping the "Rest" Period
The Benefits of Resting Doughs and Batters
Resting is a cornerstone technique often overlooked by amateur bakers. Allowing dough or batter to rest enhances flavors and improves texture because it gives gluten strands time to relax and hydrates the flour fully.
When to Rest
For certain doughs (like pie or pastry), a resting period of at least 30 minutes can lead to flakier textures. For cookie dough, chilling in the fridge for at least an hour can help prevent excessive spreading when baked.
How to Rest Properly
6. Overmixing the Batter
Understanding Gluten Development
Overmixing your batter can lead to undesirable textures in your baked goods. Whether it’s cake or muffins, overworking the mixture develops gluten excessively, leading to a dense and chewy result rather than the desired light and airy texture.
Recognizing Proper Mixing Techniques
Visual Cues for Perfectly Mixed Batters
"Less is more when it comes to mixing; don’t work your batter into submission."
7. Ignoring the Importance of Proper Cooling
Cooling Racks vs. Hot Pans
Many novice bakers remove their baked goods from the oven and place them directly onto a countertop or leave them in their pans, mistakenly thinking that will suffice. Allowing baked items to cool improperly can lead to sogginess and poor texture.
How to Cool Properly
Cooling Times
As a rule of thumb:
8. Poor Pan Choices
The Impact of Your Bakeware
The choice of baking pans significantly influences cooking time, texture, and baking results. Using dark or non-stick pans can lead to uneven baking or overbrowning, while the wrong shape can alter cooking times entirely.
Choosing the Right Bakeware
Common Baking Pan Pitfalls
"Your choice of bakeware speaks volumes about the final outcome of your recipe."
9. Not Following Baking Times
The Role of Timing
Baking times indicated in recipes serve as guidelines, but they depend heavily on factors such as oven calibration, pan material, and even the specific type of batter. Ignoring these nuances can lead to underbaking or overbaking.
The Importance of Visual and Tactile Cues
Instead of relying solely on a timer, check for:
Keep a Baking Log
Consider keeping a baking log to track temperatures, baking times, and results. This can inform you on your specific oven's behavior and help make future attempts more successful.
10. Not Experimenting Enough
Embracing the Creative Process
Baking is a beautiful combination of technique and creativity. Sticking strictly to recipes can often lead to missed opportunities for personalization. Don’t be afraid to tweak flavors, ingredients, and techniques.
Tips for Experimentation
"Baking is constantly evolving; don't be afraid to reinvent the wheel."
Conclusion
Baking is an intricate art that requires attention to detail, patience, and a willingness to learn. By being aware of these common baking mistakes—everyday missteps that you may not even realize you’re making—you can elevate your baking game significantly. Each section provided detailed information on how to avoid these pitfalls, practical solutions, and best practices to produce baked goods that are not only delicious but visually appealing as well.
With a commitment to improving your baking techniques and embracing a mindset of exploration and creativity, you can ensure that your time in the kitchen is not just a means to an end, but an enjoyable journey of flavor, texture, and culinary delight. Remember, the more you bake and learn, the more you will appreciate the nuances that come together to create the perfect cake, cookie, or pastry. So, don’t hold back; put on that apron, roll up your sleeves, and let your baking adventures begin!




Get the Next Recipe
Weekly recipes, techniques, and gear picks — straight to your inbox.
