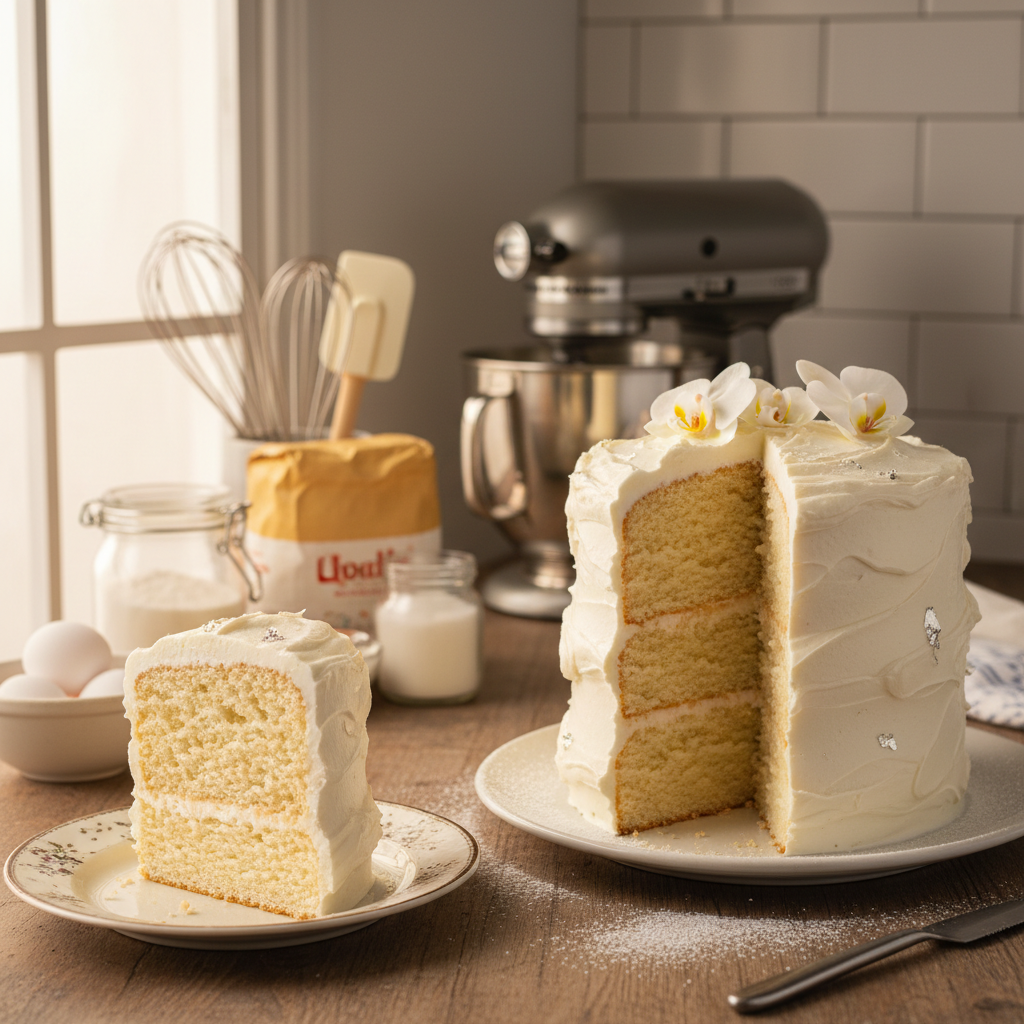
Bake Like a Pro: 7 Essential Techniques for Creating Perfectly Fluffy Cakes at Home
Baking

Bake Like a Pro: 7 Essential Techniques for Creating Perfectly Fluffy Cakes at Home

C
By The Chef
|May 29, 2026|11 Min Read

Baking a cake can feel like an intimidating task, especially for those who have not yet mastered the art of manipulating batter and oven conditions. However, with a little practice and the right techniques, anyone can bake a fluffy, delicious cake that would make any patisserie proud. At the heart of successful cake baking lies a set of essential techniques that can transform a mere recipe into a delightful culinary creation. Whether you envision a rich chocolate cake, a light vanilla sponge, or a fruity layer cake, understanding the principles behind each step will not only improve your baking skills but also boost your confidence in the kitchen.

The foundation of every great cake begins with the ingredients you choose. Far beyond just flour, eggs, and sugar, there’s a science to selecting quality components that work harmoniously together. For instance, the difference between all-purpose flour and cake flour can mean the distinction between a dense cake and a light, airy one. Additionally, understanding how ingredients like butter, sugar, and eggs interact throughout the mixing and baking processes is key to achieving that perfect rise and texture. With this blog post, we will delve into the art of cake baking, exploring seven essential techniques that can elevate your baking game from ordinary to extraordinary.

In this guide, you’ll find comprehensive tips and tricks that professional bakers rely on. From mixing methods to baking times, each section will equip you with the knowledge you need to produce cakes that are not only visually stunning but also deliciously fluffy. So, preheat your oven, gather your ingredients, and let’s embark on this sweet journey toward baking like a pro.

Choose the Right Ingredients Wisely

The uniqueness of every cake starts with its ingredients, and choosing the right ones sets the foundation for success. Quality matters greatly, and using fresh, high-quality ingredients will enhance the flavor and texture of your cake.

Flour Matters: Understanding Types of Flour

When it comes to baking cakes, flour is a primary ingredient that warrants special attention. The type of flour you select can influence the cake’s texture, height, and fine crumb.

●All-Purpose Flour: This type of flour is versatile and can be used for nearly any baking project. It produces a denser cake due to its moderate protein content, typically around 10-12%. If you're in a pinch and don’t have cake flour, all-purpose flour is an acceptable substitute.
●Cake Flour: With a lower protein content (typically 6-8%), cake flour produces a lighter, fluffier cake. This is because less gluten develops, resulting in a tender and soft crumb, perfect for sponge cakes or layered cakes.
●Self-Rising Flour: This flour is a combination of all-purpose flour, baking powder, and salt. It's useful for recipes that can leverage its leavening properties but may not yield the best results for cakes requiring precise measurements.

"The type of flour you choose can significantly affect the texture and flavor of your cake. The right flour is a game changer."

Butter and Sugar: Creaming is Key

Both butter and sugar play crucial roles in the structure and flavor of a cake. Each requires special attention during the creaming process, an essential technique that can yield airy results.

●Butter Selection: Always use unsalted butter for baking unless the recipe specifies otherwise. Unsalted butter allows you to control the saltiness of the cake better. Ideally, the butter should be at room temperature, which allows it to incorporate air effectively with sugar.
●Sugar Types: Granulated sugar is the most commonly used for cakes, but you can also incorporate brown sugar for added moisture and flavor. The creaming process should be done until light and fluffy, usually about 3 to 5 minutes. This method incorporates air into the butter, which is vital for a fluffy texture.

Eggs: More Than Just Bindings

Eggs are multifunctional in cake baking, providing structure, moisture, and stability. The way you handle and incorporate eggs into the batter can significantly impact the final product.

●Room Temperature Eggs: It is best to use room temperature eggs as they mix more evenly with other ingredients, contributing to a uniform batter. Place eggs in warm water for about 10-15 minutes if you forget to set them out in advance.
●Beating Eggs: For recipes that call for whole eggs, beat them briefly before adding to the batter to incorporate air, which helps with leavening. For recipes calling for only egg whites, consider whipping them separately to soft or stiff peaks for added volume.

Master the Art of Mixing

The method you use to mix your cake batter can make a world of difference in terms of texture and rise. Understanding the rules of mixing and how they apply to different types of cakes will lead you to success.

The Creaming Method

The creaming method is the most common mixing technique used for making cakes, particularly for butter-based recipes.

1.Begin by beating the butter and sugar together until it becomes light and fluffy. This process may take about 3-5 minutes.
2.Add the eggs, one at a time, ensuring each egg is fully incorporated before adding the next.
3.Slowly mix in your dry ingredients, alternating between the dry ingredients and any liquids (like milk or vanilla extract), starting and ending with dry ingredients. This keeps the mixture from becoming too wet or too dry.

The Muffin Method

For denser, quick bread-style cakes, the muffin method is preferable:

1.Mix your dry ingredients together in one bowl and your wet ingredients in another.
2.Pour the wet ingredients into the dry and gently fold them together just until combined. Be careful not to overmix; a few lumps are okay. Overmixing can develop gluten, leading to a tough cake.

The Reverse Creaming Method

This technique involves mixing the dry ingredients with butter before adding the liquid, which can help create an exceptionally moist crumb.

1.Start by mixing together the flour, baking powder, and any additional dry ingredients, then add the butter, mixing until combined and crumbly.
2.Gradually add the liquid ingredients while mixing, continuing until the batter is fully blended.

"Proper mixing techniques can dramatically affect the texture of the cake. Take your time to perfect your method."

The Importance of Accurate Measurements

Baking is a science, and accuracy is paramount in achieving a cake that rises beautifully and retains its fluffy texture.

Weighing Ingredients

●Invest in a Kitchen Scale: For serious bakers, using a kitchen scale offers precision that's often lacking with measuring cups. Weighing flour, sugar, and even liquids can ensure consistent results that recipes demand.
●Fluff and Scoop Method: If you don’t have a scale, properly fluffing the flour with a fork before scooping can prevent overpacking the measuring cup, which often leads to drier cakes.

Using the Right Tools

●Use dry and liquid measuring cups appropriately. Dry ingredients—flour, sugar, cocoa—should go in dry measuring cups, while liquids belong in liquid measuring cups with a spout.
●Level off the top of your measuring cups with a straight edge (like a knife) for accurate measurements.

Reading Recipes Thoroughly

Always read through your recipe from start to finish before beginning. This not only prepares you for any unique steps or timing but allows you to gather your ingredients and tools ahead of time, ensuring a smooth baking process.

Oven Temperature and Placement

The oven temperature and where you place your cake during baking can change the outcome dramatically.

Preheating the Oven

Always preheat your oven for the correct baking temperature, generally between 325°F to 375°F (163°C to 190°C), depending on the recipe.

●Ensure the oven is truly at the desired temperature before placing the cake inside. Using an oven thermometer can help you understand if your oven needs calibration.

Baking on the Right Rack

●Center Rack: Generally, cakes bake best in the center of the oven, allowing even heat distribution from all sides.
●Avoid the Farthest Racks: Baking cakes too close to the bottom or top can lead to uneven rising or browning, where the bottom may bake too quickly, leaving the center raw.

The Role of Timing

Timing plays a vital role in baking, and understanding the significance of checking for doneness can ensure that your cake retains its fluffy texture.

Baking Times Vary

Most cakes can take anywhere from 25 to 45 minutes to bake, depending on factors such as:

●The density or type of batter
●The size and shape of the cake pan (round vs. rectangular)
●The actual temperature of your oven

Checking for Doneness

1.Toothpick Test: Insert a toothpick into the center of the cake. If it comes out clean or with a few crumbs, it’s done.
2.Bounce Test: A perfectly baked cake will bounce back when you gently press the top with your finger.
3.Visual Cues: Edges should start to pull away from the pan, and the cake should be golden brown.

"Patience is critical in baking. Hurrying can lead to unnecessary mishaps!"

Cooling and Storing Your Cake

Once your cake is baked, the next crucial phase is cooling and storing it properly to maintain that fluffy texture.

Cooling the Cake

●Let it Cool in the Pan: Allow cakes to cool in their pans for about 10-15 minutes before attempting to remove them. This helps them firm up slightly and prevents breaking.
●Transfer to a Rack: After cooling slightly, carefully invert the cake onto a wire rack to cool completely. This allows air to circulate around the cake, preventing sogginess.

Storing the Cake

●Short Term Storage: Cakes can be kept at room temperature in an airtight container for 2-3 days. For best results, you can wrap them in plastic wrap.
●Long Term Storage: If you want to preserve cakes for longer durations, consider freezing them. Wrap each layer tightly in plastic wrap and then place it in a freezer bag. Cakes can last up to three months in the freezer. Thaw them overnight in the refrigerator when you’re ready to enjoy.

Layering and Frosting Your Cake

Once your cakes are baked and cooled, it’s time for the fun part: layering and frosting!

Leveling Your Cake

●Use a Serrated Knife: Leveling your cakes is essential to achieve a professional-looking finished product. Use a serrated bread knife to carefully slice off the domed tops of baked layers, creating even surfaces.

Choosing the Right Frosting

Depending on the type of cake you’re making, the frosting you choose will affect the overall flavor and presentation.

●Buttercream: A classic choice, buttercream is sweet, fluffy, and can be flavored or colored easily.
●Fondant: For a polished look, fondant offers a smooth finish that is great for tiered cakes but less sweet than buttercream.
●Whipped Cream: A lighter option, whipped cream is perfect for fruit cakes but won’t hold shape if not served immediately.

Application of Frosting

1.Crumb Coat: Start with a thin layer of frosting, known as a crumb coat, to seal in the crumbs. Chill the cake briefly (about 30 minutes) to set before adding your final layer of frosting.
2.Final Frosting Layer: Apply a thicker layer of frosting using an offset spatula. For a smooth finish, dip the spatula in hot water and run it over the frosting.
3.Decorate: Once frosted, unleash your creativity! Use fruits, edible flowers, chocolate shavings, or sprinkles to embellish your masterpiece.

Conclusion

Baking a perfect cake at home isn’t solely about following a recipe; it’s about embracing the techniques that will allow you to create something truly delightful. By choosing the right ingredients, mastering mixing methods, understanding measurement accuracy, and giving attention to baking times and conditions, you empower yourself to elevate even the simplest recipes into extraordinary creations. Remember that practice is the key to becoming proficient. Don’t be afraid to make mistakes—each failed cake is simply a stepping stone towards mastering this craft.

With these techniques in your baking arsenal, you’ll confidently tackle any cake recipe that comes your way. Soon, you’ll be the one receiving compliments and accolades, with friends and family eager to taste your latest creations. Whether you’re baking for a special occasion or just for fun, approach each cake as an opportunity to explore flavors and creativity in your kitchen. Happy baking!


🧰 Gear for this recipe
Tools our chefs reach for when cooking this
Silpat Non-Stick Baking Mat
Baking
Silpat Non-Stick Baking Mat
★★★★★4.7
$20-$30
View on Amazon
Emile Henry Bread Loaf Baker
Baking
Emile Henry Bread Loaf Baker
★★★★★4.6
$70-$100
View on Amazon
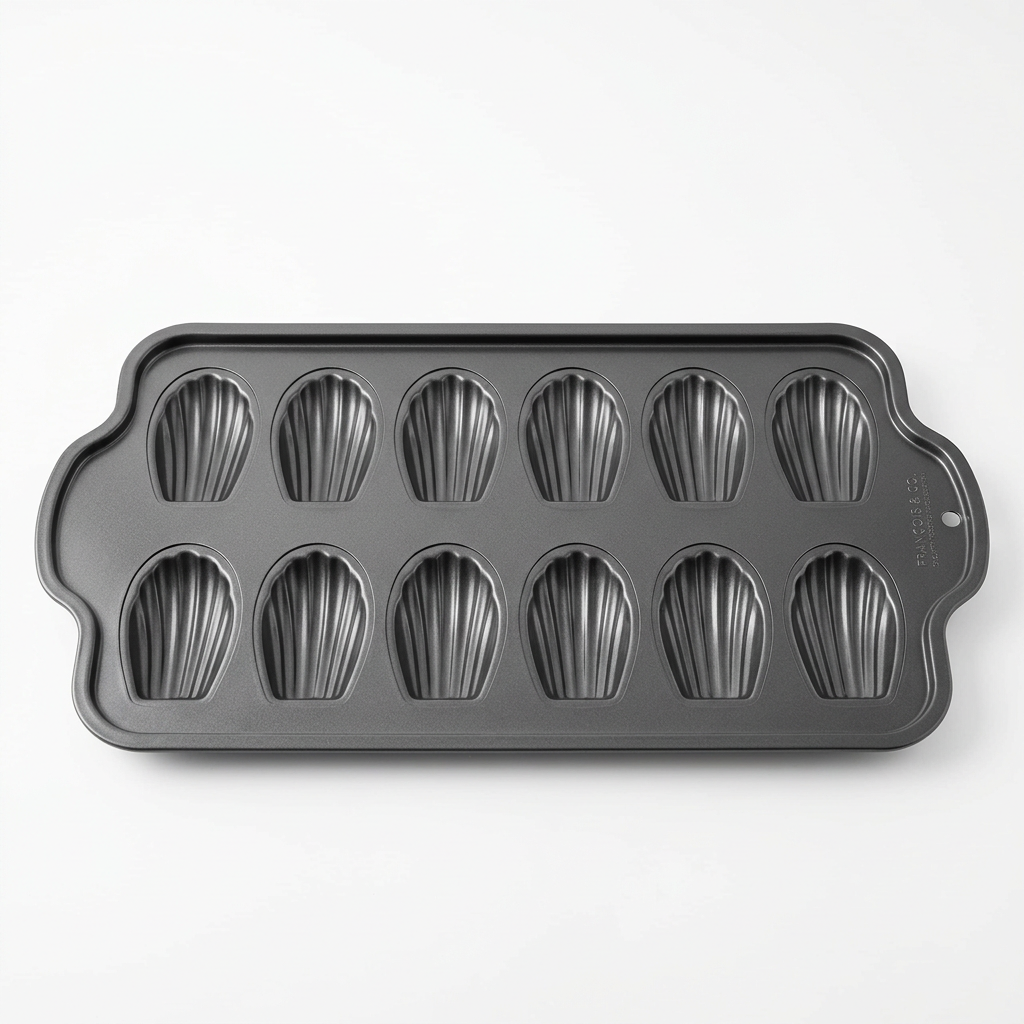
Madeleine Pan Nonstick 12-cavity
Baking
Madeleine Pan Nonstick 12-cavity
★★★★★4.6
$15-$22
View on Amazon
Baking Stone Fibrament 16 inch
Baking
Baking Stone Fibrament 16 inch
★★★★★4.7
$60-$80
View on Amazon

As an Amazon Associate we earn from qualifying purchases.

🍳

Get the Next Recipe

Weekly recipes, techniques, and gear picks — straight to your inbox.

No spam, ever. Unsubscribe anytime.

YesChef - Learn from the world's best chefs
© 2026 Blame The Chef
🍳

Never Miss a Recipe

Weekly recipes, kitchen tips, and gadget picks — straight to your inbox.

No spam, ever. Unsubscribe anytime.