Baking Better Breads: 7 Common Mistakes and How to Avoid Them
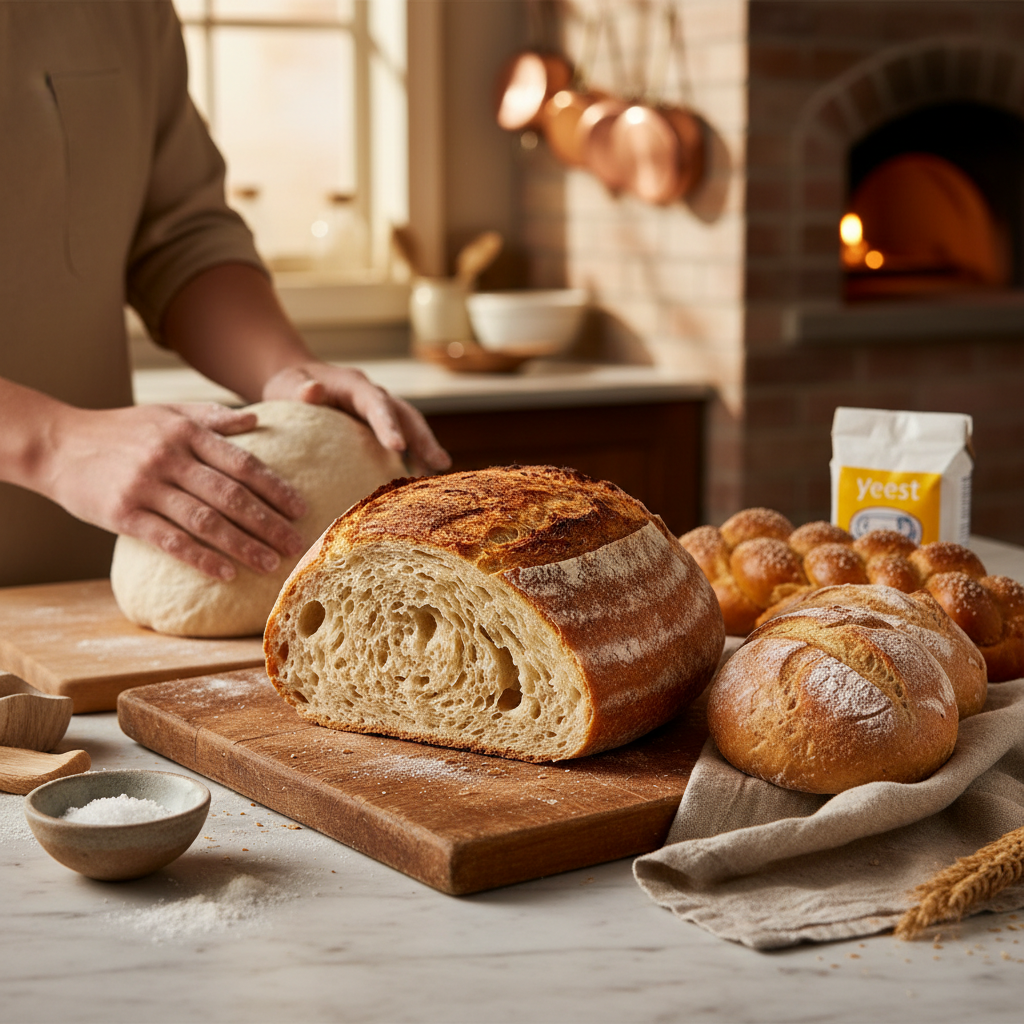
Baking bread is one of the most satisfying culinary endeavors one can undertake. The aroma of yeast mingling with flour, the sight of dough blossoming in the oven, and that first bite of crusty, warm goodness can ignite passion in seasoned chefs and novice bakers alike. However, even the most dedicated cooks can stumble when making bread, often due to a few common mistakes that can undermine all their hard work. Recognizing these pitfalls and learning how to avoid them can mean the difference between a loaf that rises beautifully and one that resembles a doorstop.
When approaching bread-making, it’s essential to understand the science behind each ingredient and step in the process. Bread dough is a living entity; it requires nurturing to develop the right texture and flavor. By understanding how yeast interacts with flour and the role of hydration, you can set yourself up for success. This journey through the art and science of baking will equip you with insights and tips to elevate your bread-making game, turning what might feel intimidating into something wonderfully achievable.
In this guide, we will delve into seven common mistakes made during bread baking, unpacking each one with practical advice on how to avoid them. Whether you’re a beginner or a seasoned baker looking to refine your skills, this discussion will provide you with the knowledge to create perfectly baked loaves consistently. Grab your ingredients, prep your workspace, and get ready to dive into the essentials of successful bread making.
Mistake #1: Incorrect Measurements
One of the most common pitfalls that often lead to disappointing bread loaves is incorrect measurements. Baking is a science, and precise ratios of ingredients are critical to achieving favorable results.
Weighing vs. Measuring
While many recipes may provide measurements in cups or tablespoons, using a digital kitchen scale to weigh your ingredients is far more accurate. This is particularly true for flour, as its volume can vary dramatically depending on how it's scooped. A cup of flour can weigh anywhere from 120 to 150 grams based on its packing. For consistent results, it is recommended to weigh flour at approximately 120 grams per cup.
Tip: Always use the spoon-and-level method for a more accurate cup measurement. First, spoon the flour into your measuring cup and then level it off with a straight edge.
The Importance of Temperature
Another aspect often overlooked is the temperature of your ingredients. Water temperature plays a crucial role in activating yeast. Ideally, water should be around 100°F to 110°F (37°C to 43°C).
To check the temperature:
Understanding Hydration Levels
The hydration level of your dough (the ratio of water to flour) can significantly affect texture. A higher hydration level results in a more open crumb and a soft loaf, while lower hydration can create denser bread.
For example, a typical white bread recipe might have about 60%-65% hydration, meaning for every 100 grams of flour, you would use 60-65 grams of water.
"Measuring ingredients accurately is akin to laying a solid foundation before constructing a house; without it, everything crumbles."
Mistake #2: Neglecting Fresh Ingredients
Using stale or expired ingredients is a mistake that can drastically affect your bread-making results. Fresh ingredients yield better flavor and more reliable fermentation.
Choosing the Right Yeast
When it comes to yeast, there are several types available: instant, active dry, and fresh yeast. Each has different shelf lives and uses:
Tip: Always check the expiration date on your yeast. When in doubt, perform a yeast proofing test by mixing a teaspoon of yeast with sugar and warm water. If it bubbles and froths within 10 minutes, it’s still active.
Fresh Flour Matters
Similarly, the freshness of your flour impacts the flavor and texture of your bread. Whole grain flours can oxidize and lose their potency more quickly than refined white flours. Opt for flours that have been stored in airtight containers, ideally in a cool, dark place.
Using Fresh Ingredients
When assembling your ingredients, always choose the freshest options available. Whether it’s high-quality flour, fresh yeast, or even salt, which can clump over time, the quality of your ingredients translates directly into the quality of your bread.
"Fresh ingredients are the secret sauce to elevating your bread from ordinary to extraordinary."
Mistake #3: Improper Gluten Development
Gluten is the backbone of bread; it's what allows dough to rise and provides that wonderful chewiness we all love. Understanding how to develop gluten properly is essential to getting the texture correct.
Kneading Techniques
Kneading is the process that develops gluten and can be done by hand or with a stand mixer. It’s crucial to knead dough until it becomes smooth and elastic.
Tip: A well-kneaded dough is often tacky but should not stick excessively to your hands or the bowl. If it does, add a touch more flour a little at a time.
The Importance of Autolyse
Consider using the autolyse method, where you mix just the flour and water first and let it rest for 30 minutes to an hour. This allows enzymes in the flour to begin breaking down starches into sugars and evolving gluten—resulting in superior dough that is easier to work with.
The Windowpane Test
To determine if your gluten is properly developed, perform the windowpane test:
"Well-developed gluten is like a net that holds onto the gases produced by yeast, contributing to the rise and structure of your bread."
Mistake #4: Inaccurate Proofing Times
Proofing is about timing; an incorrectly timed proof can lead to breads that are either under or over-fermented, impacting flavor and texture.
Understanding First vs. Second Proofing
The first proof, or bulk fermentation, is crucial for building flavor as the dough rises. For most breads, this should take 1-2 hours at room temperature. You should aim for the dough to double in size.
The second proof, or final proof before baking, is equally important. Depending on the recipe, this usually lasts between 30 minutes to 1 hour. Properly proofed dough will be slightly tacky and will hold the indentations made by your fingers.
Signs of Over-Proofing
If dough becomes over-proofed, it can lose its ability to rise and may collapse in the oven. Signs of over-proofing include:
Cold Fermentation
For enhanced flavor development, consider cold fermentation. This process involves placing your dough in the refrigerator for an extended period, typically overnight or up to 72 hours, allowing for slower fermentation. It intensifies flavors and improves the gluten structure.
"Proper proofing times can transform your dough from good to great, creating the flavorful artisan loaves we all strive for."
Mistake #5: Skipping the Oven Spring
After all that work with your ingredients and dough, failing to achieve a proper oven spring can be disheartening. This is the burst of rising that occurs when bread is first introduced to the hot oven.
Preheating Your Oven
Proper oven preheating is vital for achieving the best rise. Most home ovens should be set to a temperature of 425°F to 475°F (220°C to 246°C) depending on your recipe. An adequately preheated oven creates that burst of heat the bread needs to expand.
Steam in the Oven
Creating steam in the oven juxtaposes a moist environment at the start of baking, leading to better oven spring and crust formation. Here are methods to generate steam:
Tip: For professional results, consider using a Dutch oven to trap moisture, allowing bread to rise and develop a crisp crust.
Scoring Your Loaf
Before baking, scoring your loaf with a sharp blade or razor allows the bread to expand in a controlled manner during baking. This also adds a decorative touch that enhances appeal.
"Oven spring can be the icing on the cake, transforming your loaf from a humble creation into a bakery-worthy masterpiece."
Mistake #6: Inadequate Cooling Time
After the bread has exited the oven, it’s tempting to slice into it right away. However, cutting too soon can ruin the texture and moisture retention of your loaf.
Why Cooling Is Important
Once out of the oven, bread continues to cook internally due to residual heat. Allowing it to cool completely ensures the structure stabilizes and sets, giving you the best texture.
Cooling Rack Shenanigans
Always use a cooling rack to prevent excess moisture from accumulating on the bottom of your loaf. Place the bread on the rack for at least 30 minutes, ideally an hour, before slicing.
Knowing When It's Ready
To gauge if your bread has cooled sufficiently, you can give it a gentle squeeze. If it feels firm and sounds hollow when tapped on the bottom, it’s ready to slice.
"Patience is a baker’s virtue; waiting ensures every bite is as perfect as the first."
Mistake #7: Not Experimenting
One of the joys of baking bread is the creativity it affords. Many bakers follow recipes to the letter but fail to experiment with flavors, textures, or techniques.
Adding Flavorful Inclusions
Get adventurous with your bread! Incorporating nuts, seeds, herbs, and spices can elevate the flavor profile significantly. Consider using:
Exploring Different Flours
While all-purpose and bread flours are staples, don’t be afraid to explore whole wheat, rye, or even spelt flours. Each brings unique flavors and properties to the bread, allowing for a personalized touch.
Embracing the Learning Process
Recognize that bread baking is a journey. Not every loaf will be perfect, but each attempt is a learning opportunity. Take notes on different methods and recipes to identify what resonates with your palate and style.
"Exploration in bread making leads to delightful discoveries; embrace the chance to create something truly unique."
Conclusion
Baking bread is both an art and a science, and mastering it can be one of the most rewarding culinary experiences. By being mindful of the seven common mistakes outlined in this guide—such as taking accurate measurements, using fresh ingredients, and proper proofing techniques—you can significantly enhance your bread-making skills. Remember, baking bread isn’t just about following a recipe; it’s about understanding the process.
With a little patience and practice, not only will your loaves rise beautifully, but they will also be delicious, combining captivating aromas and flavors that fill your kitchen and warm the hearts of those who indulge in your creations. So, roll up your sleeves, put on your apron, and let the magic of baking unfold in your home. Happy baking!




Get the Next Recipe
Weekly recipes, techniques, and gear picks — straight to your inbox.
