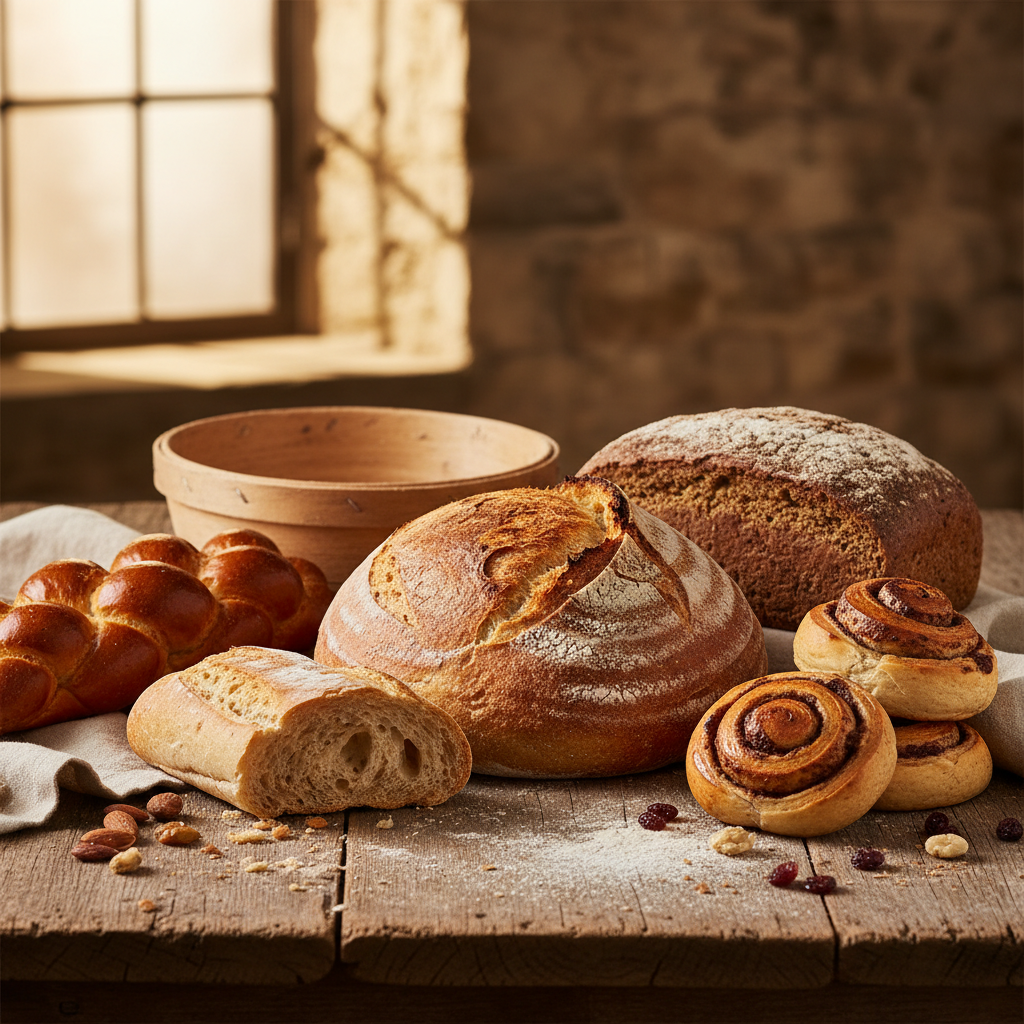
Baking Beyond Basics: 5 Essential Techniques for Stunning Artisan Breads at Home
Baking bread at home is more than just an act of mixing flour and water; it’s a wonderful journey of texture, flavor, and aroma that captivates both the senses and the soul. The process can be intimidating, especially for those who have never ventured beyond the realm of quick breads or pre-packaged mixes. However, the art of baking artisan bread is not only accessible but also immensely rewarding. Mastering a few essential techniques can transform your baking game from basic to extraordinary, allowing you to create loaves that rise impressively and boast a crust that crackles with every slice.
As you embark on this culinary adventure, it’s important to understand that baking artisan bread is both a precise science and a delightful art form. Each technique you learn can lead to a greater understanding of how ingredients interact with one another. For instance, understanding hydration levels and how they affect dough texture can turn an average loaf into a spectacular one. With the right knowledge, you’ll soon be able to whip up homemade baguettes, sourdough boules, and rustic country loaves all from the comfort of your kitchen.
In this post, we will delve into five essential techniques that will elevate your bread-baking skills. Each method builds on the last, ensuring that even if you’re a complete novice, you’ll gain the confidence and know-how to bake stunning artisan breads. From choosing quality ingredients to perfecting your kneading technique and mastering fermentation, these skills will help you create bread that rivals any bakery’s finest offerings. So, roll up your sleeves, preheat your oven, and let’s start our journey beyond the basics.
1. Choosing the Right Ingredients
The Foundation of Bread
Before you embark on your baking journey, it's crucial to understand that the quality of your ingredients directly influences the outcome of your bread. At its core, bread requires just four fundamental ingredients: flour, water, yeast, and salt. However, the nuances and types you choose make all the difference.
- All-Purpose Flour: Versatile but may result in a denser loaf.
- Bread Flour: Contains higher protein, which promotes better gluten development, leading to chewier, higher-rising bread.
- Whole Wheat Flour: Adds a nutty flavor and robust texture but requires more water due to its higher absorption rate.
In addition to these, there are specialty flours such as rye flour or semolina flour, which each impart unique flavors and textures.
“Quality ingredients can often be the game-changer in creating artisan bread.”
Understanding Hydration Levels
Another key aspect of ingredient selection is hydration. The ratio of water to flour significantly affects the dough's handling and texture. A higher hydration level (over 75% of the flour's weight in water) leads to a more open crumb and chewy crust, while lower hydration results in denser bread. Experiment with different hydration levels to discover what suits your taste:
As you increase hydration, be prepared to adapt your kneading and shaping techniques. Softer, wetter doughs require a different handling approach compared to firmer ones.
2. Mastering the Kneading Technique
The Importance of Kneading
Kneading is a technique that develops gluten, which is essential for the dough’s structure and texture. While many recipes call for manual kneading, there are various ways to achieve optimal dough development.
- After mixing your ingredients, turn out the dough onto a lightly floured surface.
- Flatten the dough gently with your palms, fold it in half, and push it away with the heel of your hand.
- Rotate the dough a quarter turn, and repeat the process for about 10-15 minutes until it becomes smooth and elastic.
- Mix your dough ingredients in the bowl of the stand mixer using a paddle attachment.
- Once combined, switch to a dough hook and knead on low speed for about 8-10 minutes.
- Stop and check the dough's elasticity periodically; it should pass the “windowpane test” where a small piece can stretch thinly without tearing.
Understanding Gluten Development
The goal of kneading is not just to combine ingredients, but to create networks of gluten that will support the dough's rise. You can assess gluten development through:
As you gain experience, you may find alternative methods such as stretch and fold, particularly beneficial for wetter doughs. This involves stretching the dough in the bowl and folding it over itself several times, allowing for less intensive handling while still promoting gluten development.
“Kneading is the physical embodiment of the love and care you put into your bread.”
3. Mastering Fermentation
The Role of Fermentation in Bread Making
Fermentation is where the magic happens. This process not only gives your bread a distinct flavor but also contributes to its texture. During fermentation, yeast consumes sugars and produces carbon dioxide and alcohol, leading to the dough rising and expanding.
- After kneading, let the dough rest in a lightly greased bowl covered with a damp cloth or plastic wrap.
- The ideal bulk fermentation time can vary, but generally, it should last between 1 to 2 hours at room temperature until it has doubled in size.
- During bulk fermentation, consider performing one or two stretch and folds. At 30-minute intervals, stretch one side of the dough and fold it over itself, turning the bowl a quarter turn with each fold, requiring minimal effort while strengthening the dough’s structure.
Cold Fermentation
An advanced technique that many bakers love is cold fermentation. This method involves placing your shaped dough in the fridge for an extended ferment, usually ranging from 12 to 72 hours. The advantages of cold fermentation include:
For a successful cold fermentation:
Final Proofing
After shaping your loaves, the final proof (second rise) is essential. This step determines the texture of the crust and crumb.
4. Shaping and Scoring Your Bread
The Art of Shaping
Proper shaping not only presents your dough beautifully but also influences its final rise and structure.
- Once the bulk fermentation is complete, gently flatten the dough on a lightly floured surface to remove excess gas.
- Using a bench scraper, portion your dough into individual pieces and form them into a loose round.
- Let them rest for about 20-30 minutes covered with a damp cloth to relax the gluten.
- For a round loaf, take a pre-shaped round and turn it seam-side up. Gently stretch and fold each side toward the center, creating tension in the outer skin of the dough.
- For a batard (oval shape), flatten, fold in each side, and life the dough from the bottom, rolling it tightly to form a torpedo shape.
The Importance of Scoring
Scoring refers to the cuts you make on the surface of your dough just before baking. This might seem purely aesthetic, but it serves a crucial functional purpose in controlling how a loaf expands in the oven.
Creating an Artisan Appearance
Your scoring pattern doesn’t have to be intricate or fancy to achieve an artisan look. Simple, elegant cuts can create a beautiful crust while allowing steam to escape. Consider different scoring designs to practice:
“Scoring allows your bread to release built-up steam while creating a stunning artisan finish.”
5. Baking with Precision
Prepping Your Oven
To achieve a perfectly baked loaf, your oven setup is crucial. The temperature and method of baking can significantly affect crust color, texture, and overall loaf success.
- Most artisan breads bake well at high temperatures ranging between 450°F to 500°F (230°C to 260°C).
- Preheat your oven for at least 30-45 minutes to ensure a uniform temperature throughout.
- Hydration in your oven is key to achieving a crisp crust. Introduce steam either by:
- Placing a cast iron skillet or a baking dish filled with water on the bottom rack while preheating
- Spritzing the oven with water using a spray bottle right after placing your loaves inside.
Using a Baking Stone and Baking Surface
For even and professional results, consider investing in:
Monitoring Bake Time and Doneness
Baking times vary based on the type and size of the bread. As a general guide:
To check doneness:
6. Cooling and Storing Your Bread
The Importance of Cooling
Once out of the oven, let your bread cool completely on a wire rack. Cooling is essential for:
Aim to let your bread cool for at least 30 minutes before slicing—the longer, the better!
Proper Storage Techniques
To keep your artisan bread fresh:
- Wrap cooled loaves in a clean kitchen towel or paper bag to maintain humidity without trapping steam, which can create sogginess.
- Slice and freeze your bread. Wrap it tightly in plastic wrap and place it in a resealable freezer bag. When you’re ready to enjoy, toast or reheat slices directly from frozen.
Conclusion
Baking artisan bread at home isn't just a culinary task; it's an enriching experience that allows you to express creativity and patience in the kitchen. By grasping these five essential techniques, you can elevate your baking from the ordinary to the extraordinary. With a focus on ingredient quality, mastering kneading and fermentation, shaping, and proper baking techniques, you’ll soon find yourself crafting beautiful loaves of bread that not only look impressive but taste divine.
The process may require dedication and practice, but each loaf you produce brings you one step closer to becoming a confident baker. As you refine your skills, remember that even the professionals value mastery of the fundamentals. And while baking artisan bread can seem daunting, each step taken is a leap toward creating something truly delicious.
Now, it's your turn to roll up those sleeves, flour your workspace, and immerse yourself in the joyful world of artisan bread baking. Experiment, enjoy, and savor your creations, knowing that every loaf you make carries with it a piece of your heart and dedication to the craft. Happy baking!




Get the Next Recipe
Weekly recipes, techniques, and gear picks — straight to your inbox.
