Best Food Storage Containers & Fresh-Keepers (2026)
In the fast-paced world of modern home cooking, the secret to a professional-grade kitchen often lies not in the most expensive gadget or the sharpest knife, but in how you treat your ingredients after the heat is turned off. We spend hours sourcing the finest organic produce, meticulously prepping our proteins, and balancing complex flavor profiles, yet all that effort can evaporate within hours if your storage solutions are failing you. The shelf life of your ingredients is directly tied to the environment they occupy, and for the discerning home cook, transitioning away from mismatched, stained plastic tubs to high-performance storage is a non-negotiable step toward culinary excellence. Understanding the physics of moisture control, airtight seals, and material reactivity is the difference between a sad, wilted bag of spinach and a crisp, vibrant salad that stays fresh for a week.
When we talk about the architecture of a kitchen, we often focus on the stove, the prep surface, and the refrigeration, but the internal ecosystem of your fridge is arguably the most critical component of food quality. Proper storage isn’t just about organization or aesthetics; it is a fundamental pillar of food safety and waste reduction. By mastering the art of cold storage, you preserve the structural integrity of cellular walls in vegetables and prevent the premature oxidation of fats in cooked dishes. In this guide, we are looking at the 2026 landscape of storage technology, where vacuum-sealing innovations and sustainable glass composites are redefining what it means to keep a pantry and refrigerator organized, efficient, and truly fresh.
As we dive into the specifics of these tools, remember that your equipment must serve your workflow, not the other way around. Whether you are a weekend meal prepper looking to streamline your Sunday routine or a casual cook hoping to stop throwing out half-used jars of produce, the containers you choose will dictate your long-term success. We will explore the nuances of borosilicate glass, BPA-free polymers, and the scientific necessity of controlled ventilation for different produce types. Let’s strip away the clutter of inferior storage and focus on the professional-grade solutions that will save your ingredients, elevate your dishes, and ultimately, keep your kitchen running at the level of a high-end restaurant service.
The Science of Material Selection
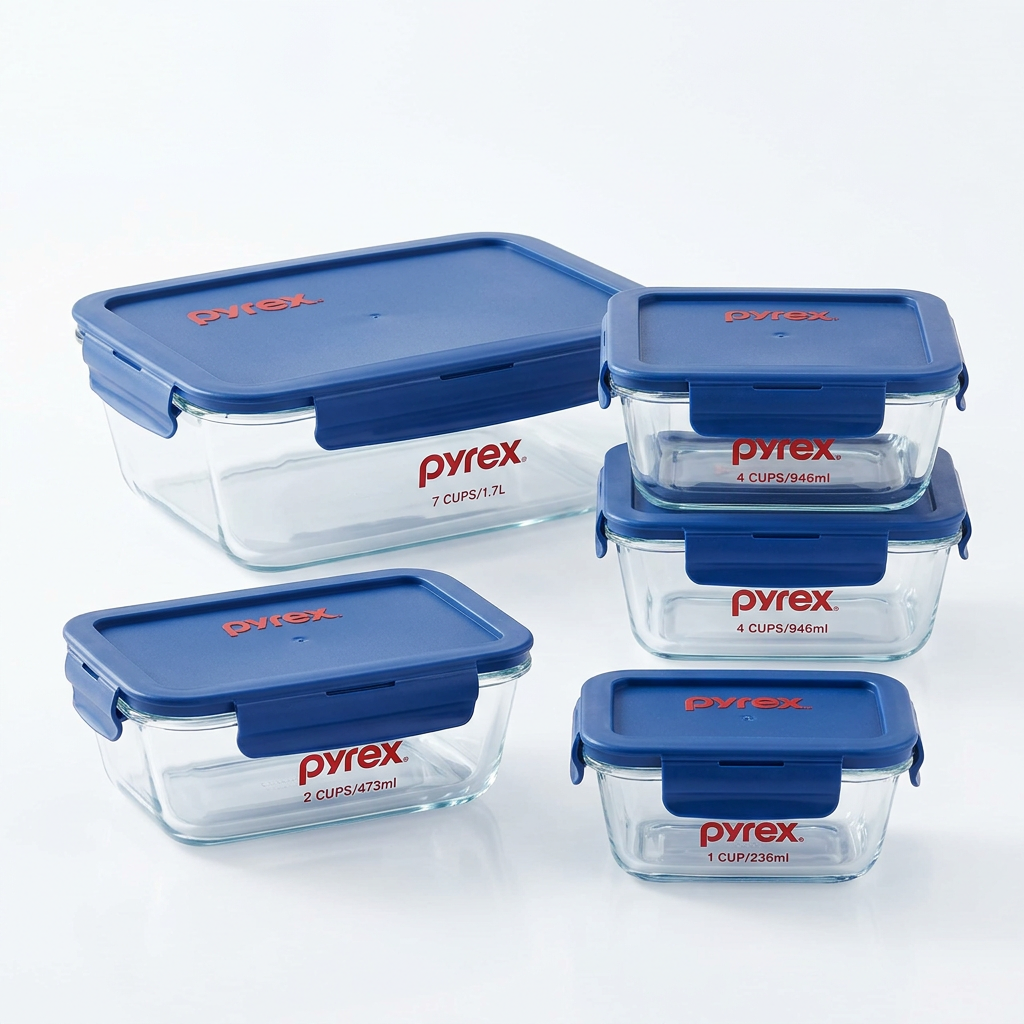
When selecting the hardware for your storage ecosystem, the first decision is always material. For years, the industry relied heavily on lightweight plastics, which, while convenient, are prone to leaching chemicals and absorbing odors from pungent ingredients like garlic, ginger, or fermented items. In 2026, the gold standard for long-term food preservation is borosilicate glass. Unlike standard tempered glass, borosilicate has a higher resistance to thermal shock, meaning it can move from the freezer to the oven without the risk of shattering. This durability is essential for cooks who practice batch cooking or utilize the "cook-freeze-reheat" method for weekly meal prep.
Beyond durability, the porosity of your containers matters immensely. Plastic, even high-density polyethylene, has a porous surface that over time develops micro-abrasions where bacteria can thrive. Glass is completely non-porous and chemically inert, ensuring that the flavor profile of your 72-hour beef stock isn't tainted by the remnants of last month’s spicy kimchi. When we evaluate storage options, we are looking for non-reactive surfaces that maintain the organoleptic properties of food—its taste, smell, and texture.
"The container is not merely a box; it is the final barrier between your meticulously prepared food and the inevitable decay of oxidation and moisture loss. To master your kitchen, you must master the containment of your ingredients."
Understanding Thermal Conductivity
When storing cooked food, the rate at which you cool your ingredients is vital. Metals like stainless steel have high thermal conductivity, cooling food down much faster than glass or plastic. However, for storage, glass is superior because it offers a stable environment that resists sudden temperature fluctuations. If you are cooling down a large batch of risotto or a heavy stew, use a stainless steel vessel first in an ice bath to bring the temperature down to below 40 degrees Fahrenheit (4 degrees Celsius) before transferring it into your glass storage containers for long-term holding.
The Problem with Plastic
While we acknowledge the utility of lightweight plastic for transport, it should never be your primary storage solution. If you must use plastic, look for tritan copolyester, which offers the clarity of glass with the durability of a high-end polymer. Always ensure that any plastic you use is marked as dishwasher safe and heat-resistant, but keep in mind that plastic lids are often the weakest link in the system. They warp, the seals degrade, and the locking mechanisms eventually fail under the stress of daily dishwashing cycles.
Vacuum Sealing and Air Extraction
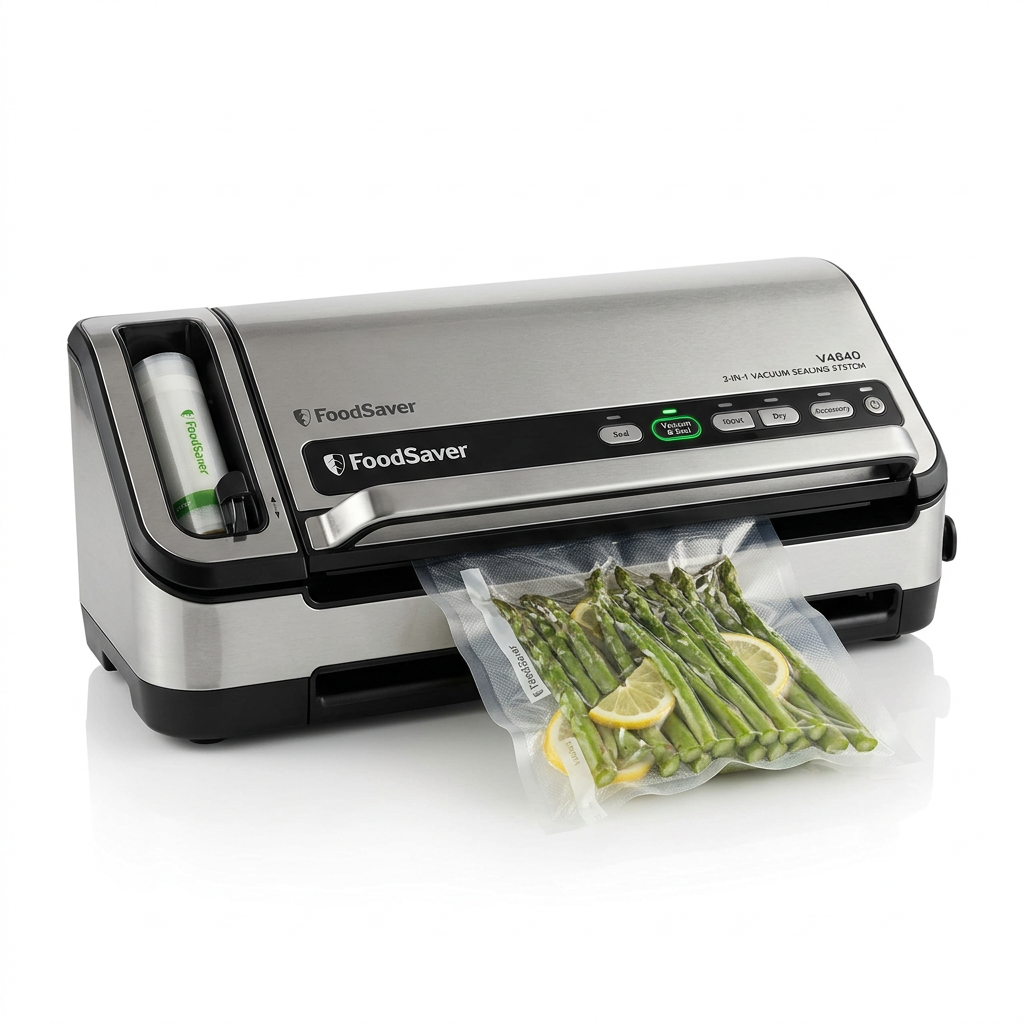
The greatest enemy of fresh food is oxygen. Oxidation is the process that turns fresh avocados brown, causes nuts to go rancid, and leaves leftover proteins dry and unappetizing. In 2026, the accessibility of home vacuum-sealing technology has changed the game. Whether you are using a countertop vacuum sealer for proteins or handheld pumps for liquid-based storage, the removal of oxygen significantly extends the lifespan of your products.
By creating a low-oxygen environment, you effectively put the degradation process into a state of suspended animation. This is particularly important for delicate items like berries or leafy greens, which can be stored in vacuum-sealed canisters to maintain their cellular integrity. The professional chef tip here is to avoid vacuum-sealing soft cheeses or extremely delicate herbs, as the pressure can destroy their texture; however, for meats, hard cheeses, and even some dry goods, it is the most effective method available to the home cook.
"Vacuum storage is the closest we get to a culinary time machine. By extracting the air, we are not just organizing; we are actively fighting the natural breakdown of flavor and color."
Vacuum Canisters vs. Vacuum Bags
For daily kitchen use, vacuum canisters are far superior to bags. Bags create unnecessary waste and are difficult to clean, while canisters—especially those made of glass—can be reused hundreds of times. A high-quality vacuum canister features a silicone seal and a one-way valve that allows air to be pulled out while preventing it from re-entering. When choosing a system, ensure the valve is easy to disassemble for cleaning, as small particles can often get trapped in the gasket and compromise the vacuum seal.
Managing Moisture in Vacuum Storage
One common mistake when using vacuum-sealed canisters is failing to account for moisture. If you store warm food, condensation will form, potentially ruining your pump or causing the seal to fail. Always ensure your contents are completely cooled to room temperature before sealing. Furthermore, for vegetables that release gas or excess moisture (like freshly blanched beans), consider placing a paper towel at the bottom of the canister to absorb any residual moisture, which helps keep the contents crisp for longer periods.
Humidity Control for Produce
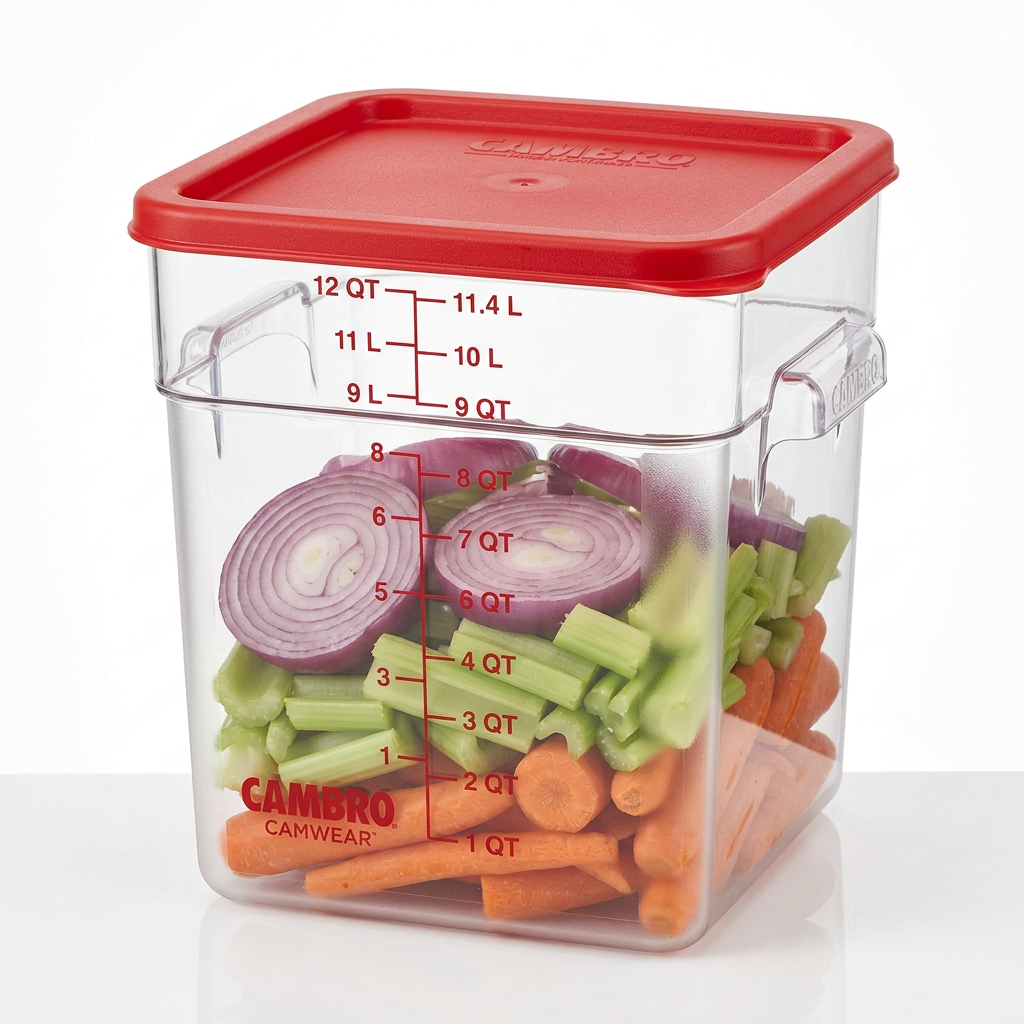
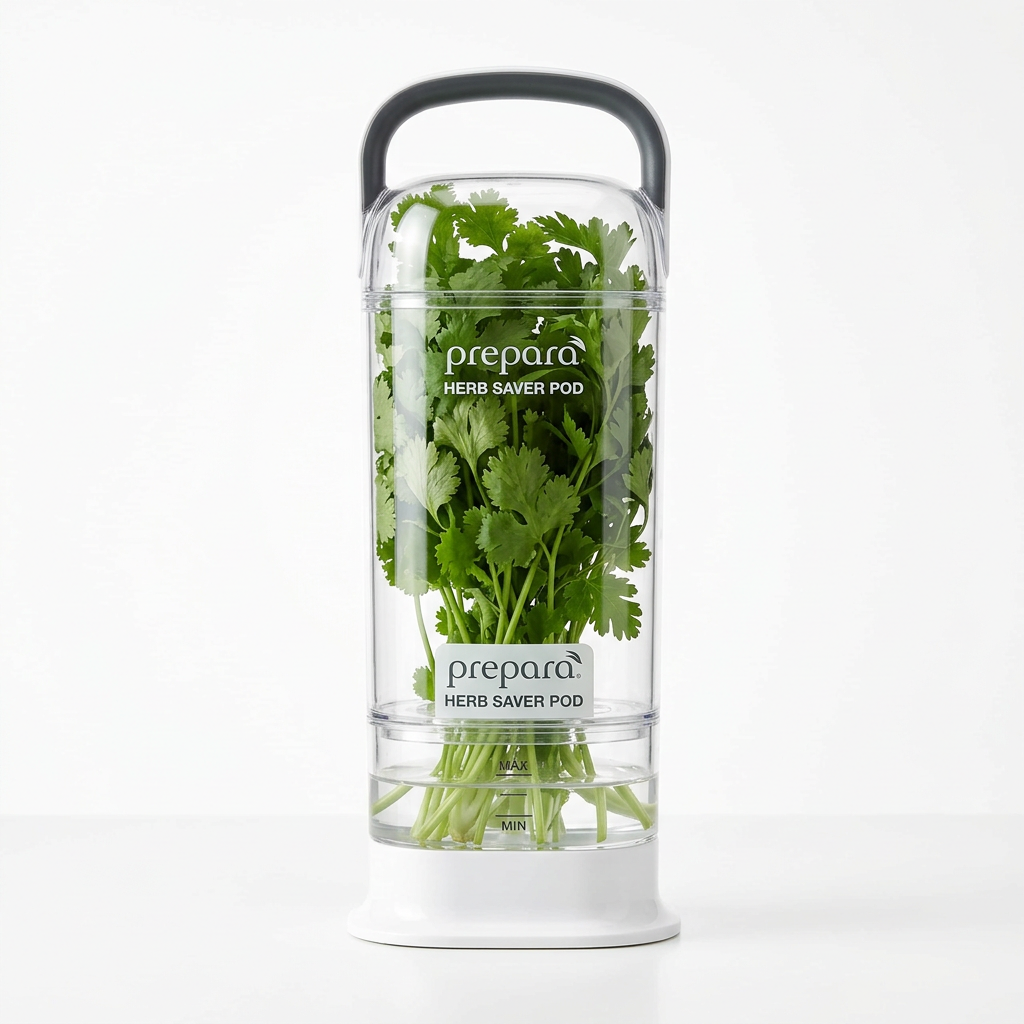
Not all ingredients thrive in an airtight, vacuum-sealed environment. Vegetables like leafy greens, carrots, and celery require a specific humidity balance to remain crisp. If they are too dry, they wilt; if they are too wet, they turn into a gelatinous mess. Professional refrigerator drawers often have humidity-control sliders for this very reason, but if your fridge lacks these, you must create your own micro-climates using specialized containers.
For leafy greens, the goal is to provide a slightly humid, yet breathable environment. This is where containers with vented lids become essential. A vented lid allows for a minimal gas exchange, preventing the buildup of ethylene gas—a natural plant hormone that accelerates ripening and decay. By allowing ethylene to escape, you prevent your produce from "self-destructing" in the dark, cold corners of your vegetable drawer.
The Paper Towel Trick
For home cooks who aren't ready to invest in high-end vented containers, the classic "paper towel method" remains a reliable hack. When storing lettuce, spinach, or kale, line a glass container with a single layer of paper towel, add your greens, and place another paper towel on top before sealing. This acts as a moisture regulator, absorbing excess condensation while keeping the greens hydrated. Replace the paper towel every two days for maximum freshness.
Ethylene Management
Different types of produce emit ethylene at different rates. Never store high-ethylene producers like apples, bananas, or tomatoes near sensitive items like broccoli, cauliflower, or greens. If you must store them in the same fridge, ensure they are in sealed, non-vented containers to prevent the gas from migrating. This simple practice of segregation is a hallmark of a professional kitchen setup and will immediately improve the lifespan of your expensive produce.
The Hierarchy of Refrigerator Organization
Organization in the kitchen is not just about aesthetics; it is about safety and efficiency. Your refrigerator has a temperature gradient that you should exploit. The door is the warmest part of the fridge and is susceptible to temperature swings, while the back, near the cooling element, is the coldest. By placing your most perishable items—like dairy and meat—in the coldest sections, and saving the door for condiments and non-perishables, you significantly reduce the risk of spoilage.
When organizing your containers, keep a "first-in, first-out" policy. This means the newest items should go to the back of the shelf, while the older items move to the front for immediate use. Using stackable containers with transparent walls allows you to see exactly what you have at a glance, preventing the "forgotten container" phenomenon where leftovers are shoved to the back of the shelf only to be discovered weeks later.
Labeling and Dating
If you want to cook like a chef, you must adopt the habit of labeling. Use masking tape and a permanent marker to note the contents and the date of preparation on the lid or the side of the container. This eliminates the "what is this?" guesswork. For added precision, include the date it should be discarded; for example, most cooked meats should be consumed within 3 to 4 days. This small action removes the anxiety of wondering if an item is still safe to eat.
Stacking Efficiency
Efficiency in storage relies on modular design. Look for sets where the containers share the same footprint, allowing them to stack cleanly. Avoid round containers when possible; square and rectangular containers are much more efficient, utilizing the corners of your shelves and maximizing the cubic footage of your refrigerator. A well-organized fridge should feel like a game of Tetris, where every piece has a designated spot and nothing is precariously balanced.
Dry Goods and Pantry Preservation
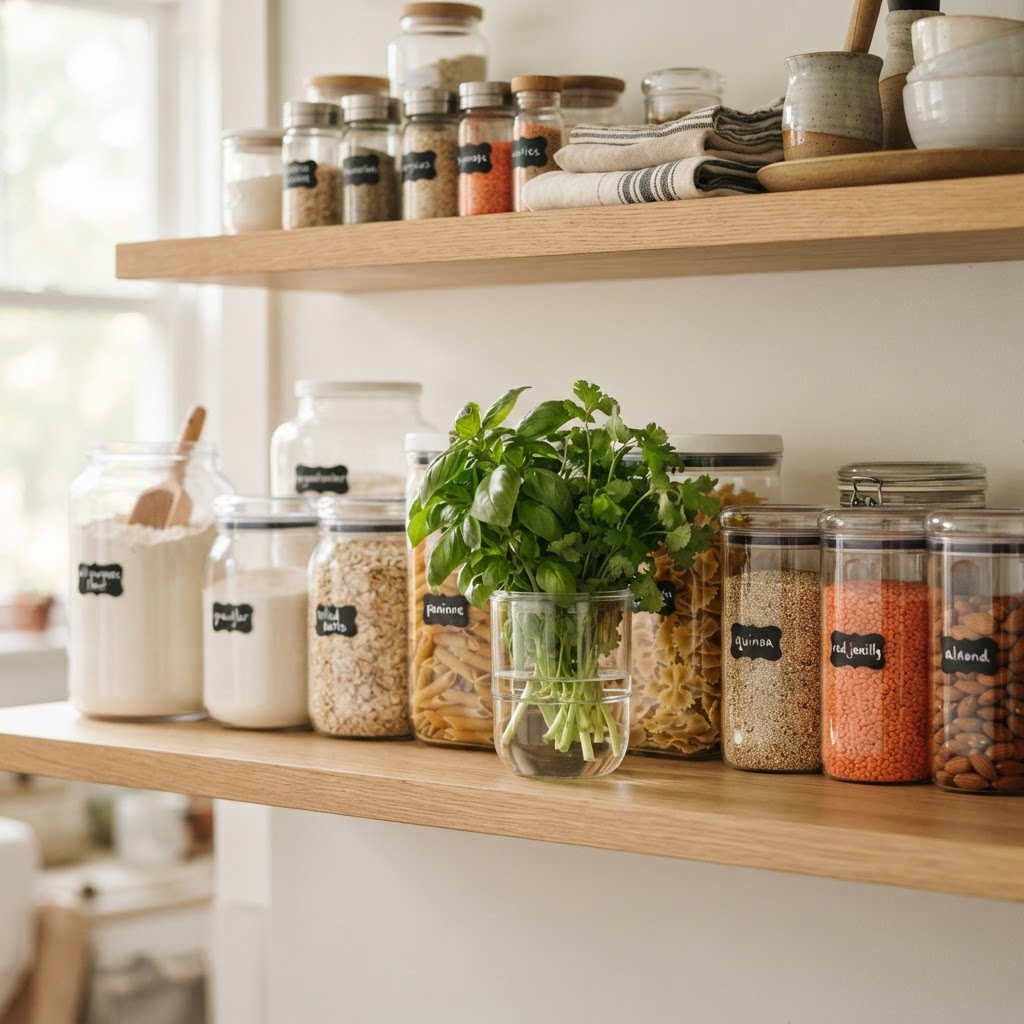
While refrigeration is the most obvious area of concern, the pantry is where many home cooks fail. Humidity and light are the enemies of dry goods like flour, spices, and grains. The porous bags these items come in are essentially invitations for pantry moths, moisture ingress, and flavor loss. Moving your dry goods into hermetic glass jars or high-quality canisters is the single most effective way to improve the quality of your pantry ingredients.
For volatile items like spices, exposure to light is a major culprit in flavor degradation. Spices should be kept in opaque or dark-tinted containers in a cool, dry cupboard, away from the heat of the oven or the stove. If you buy spices in bulk, keep a small, accessible jar for daily use and store the bulk of your supply in an airtight container in a cool, dark place to maintain those essential oils.
Managing Pests
Pantry pests are a nightmare for any cook. The best way to prevent infestation is to transfer dry goods into airtight containers the moment they enter your home. Check your grains and flours carefully before pouring them into your storage jars. If you suspect an infestation, freezing your grain for 48 hours before storage will kill any eggs or larvae, ensuring that your pantry remains a safe harbor for your ingredients rather than a breeding ground for insects.
The Importance of Desiccants
For items like crackers, cookies, or dehydrated ingredients, a silica gel packet (food-grade) can be a secret weapon. Keeping the interior environment of your pantry jar completely dry is the only way to maintain the structural "snap" of crispy foods. You can buy food-safe, reusable desiccants that change color when they need to be "recharged" in the oven, providing an endless cycle of protection for your delicate dry goods.
Professional Tips for Cleaning and Maintenance
Investing in high-quality storage is a commitment to maintenance. To get the most out of your borosilicate glass and high-end silicone seals, you need to handle them with the same care as your chef’s knife. Hard water stains and lingering food odors can accumulate, but they are easily managed with the right cleaning techniques. For seals that have absorbed odors, a soak in a solution of warm water, white vinegar, and baking soda usually does the trick.
Avoid using abrasive scouring pads on your glass containers, as they can cause micro-scratches that weaken the glass over time. Stick to soft sponges or microfiber cloths. If you have containers with locking mechanisms, inspect the hinges periodically. If they seem stiff, a tiny drop of food-grade mineral oil can help maintain the flexibility of the plastic, extending the life of the lid significantly.
The Dishwasher Debate
While most high-quality containers are advertised as dishwasher safe, frequent high-heat drying cycles will eventually wear out the gaskets and warp the plastic components. If you want your storage solutions to last for years, wash the glass bases in the dishwasher but consider hand-washing the lids. This simple habit will double the lifespan of your gaskets and locking tabs, ensuring your airtight seal remains perfect for the long haul.
Managing Stains
If you store tomato-based sauces, curry, or turmeric-heavy dishes, your containers may pick up stubborn stains. To remove these, try a paste of baking soda and a little water; apply it to the stain, let it sit for 30 minutes, and then scrub gently. For extreme cases, leaving the container in the sun for a few hours can naturally bleach out organic pigments from spices. Prevention is better than the cure, however—always rinse your containers with cold water immediately after emptying them to prevent pigments from setting into the pores of the material.
Conclusion
The journey toward a better kitchen is paved with the details that many ignore. By upgrading your storage solutions to include borosilicate glass, investing in vacuum-sealing capabilities, and adopting a rigid system of labeling and organization, you move from being a cook who merely makes food to a chef who manages an ecosystem. The goal is to create a seamless transition from the grocery store to the pantry and the fridge, ensuring that every ingredient is protected, labeled, and ready for your next culinary adventure.
In 2026, we have the technology to make our kitchens more efficient than ever before. We no longer have to accept the reality of soggy produce, stale crackers, or mysterious leftovers that end up in the trash. By treating your ingredients with the respect they deserve through proper containment, you are not only saving money but also ensuring that the flavors you produce remain pure and vibrant. The "Blame The Chef" philosophy is built on the idea that quality ingredients are the foundation of great cooking; don't let inferior storage be the point where your culinary efforts fall apart.
Start small. Replace your most frequently used containers with a modular set, adopt the practice of dating your leftovers, and be mindful of your refrigerator's internal climate. As you implement these changes, you will find that your workflow becomes smoother, your kitchen feels more organized, and your dishes taste better because the ingredients remain in their prime state for as long as possible. Embrace these tools, master these techniques, and take control of your kitchen environment—your future self, and your palate, will thank you. Remember that excellence is in the details, and the way you store your food is one of the most significant details of all. Stay organized, stay fresh, and keep cooking with passion. Your culinary mastery depends on the foundation you build today.
Get the Next Recipe
Weekly recipes, techniques, and gear picks — straight to your inbox.
