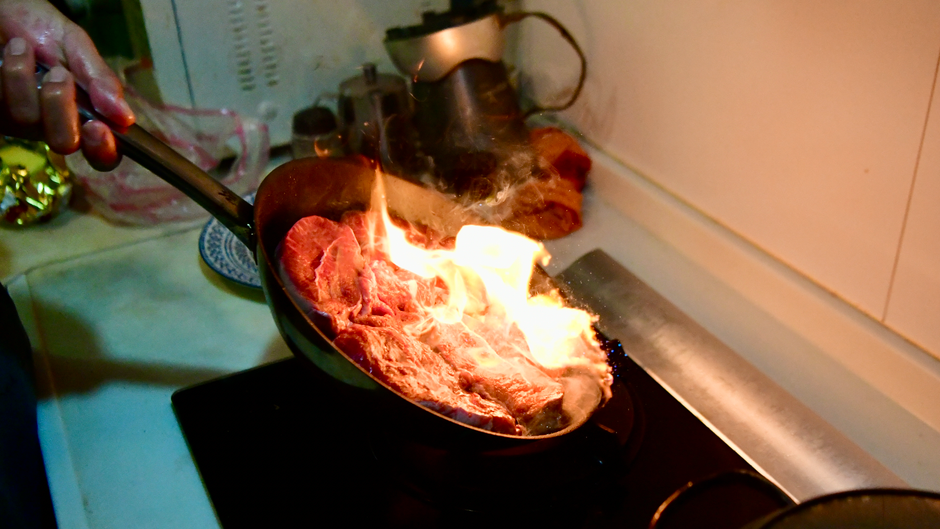
Best Pan for Searing Sous Vide Steak
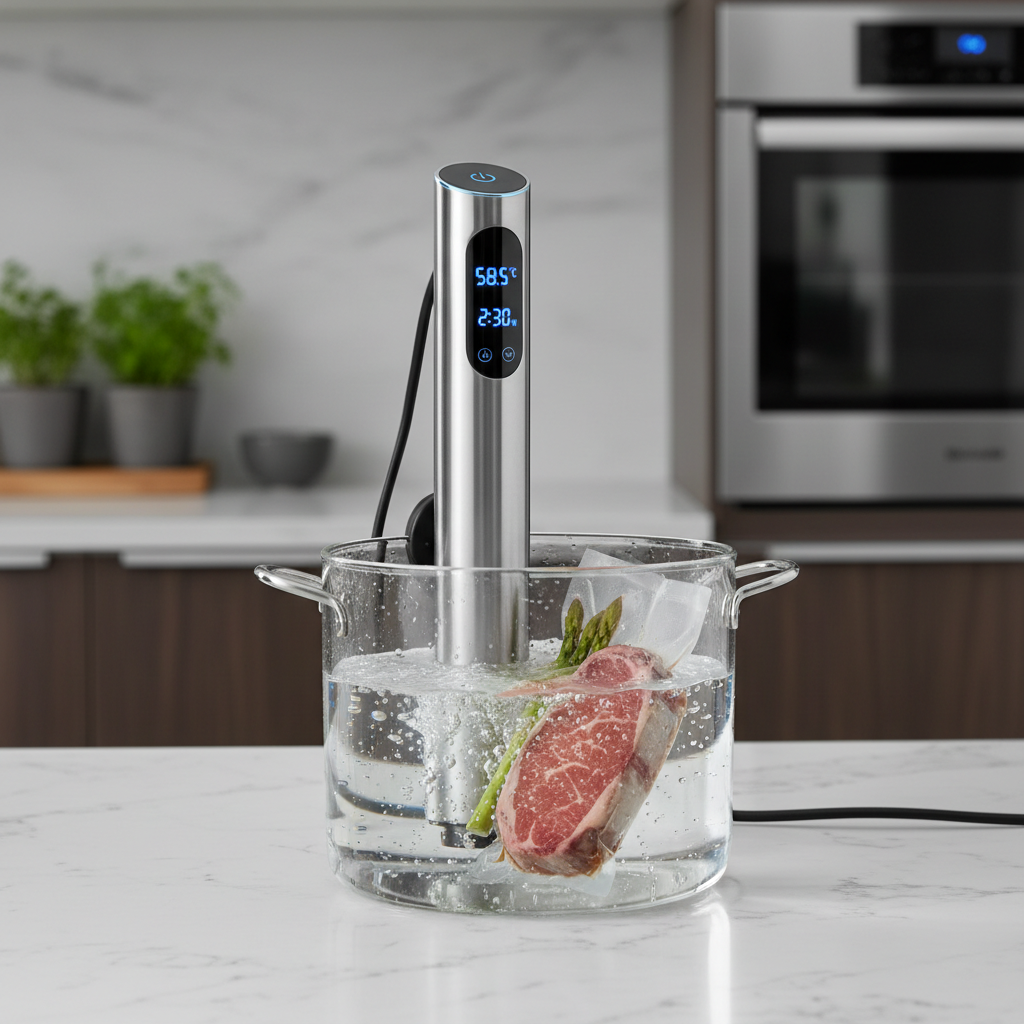
Achieving the perfect steak at home is a pursuit that often feels like chasing a ghost, with home cooks constantly battling the fine line between a beautifully rendered fat cap and an overcooked, gray interior. For years, the gold standard of steakhouse quality was reserved for those with expensive broilers or an uncanny ability to judge heat by intuition alone. The introduction of sous vide cooking changed the culinary landscape entirely, allowing us to hit a precise internal temperature every single time. However, the one area where even the most dedicated home cook often falters is the final act: the sear. Without the right surface, you end up with a steak that looks anemic rather than the mahogany-crusted masterpiece you crave.
Choosing the right pan for the job is not merely a matter of convenience; it is a fundamental pillar of thermodynamics in the kitchen. When you pull a steak from its water bath, the surface is wet, cool, and frankly, unappealing. You need a vessel that acts as a thermal battery, capable of dumping immense amounts of energy into that meat in a very short window of time. If your pan lacks the heat retention or thermal conductivity required, the steak will continue to cook internally while the crust fails to develop, resulting in a rubbery texture that defeats the entire purpose of the sous vide process. We are looking for that elusive marriage of a deep, complex Maillard reaction and a perfectly medium-rare center.
In this guide, we will break down the science of the pan, the impact of various materials, and the professional techniques used to ensure your steak looks like it stepped right out of a high-end bistro. We are going to move beyond the marketing hype and look at the physical properties of cast iron, stainless steel, and carbon steel. Whether you are a novice looking to justify a new purchase or a seasoned home chef refining your workflow, understanding your hardware is the first step toward true mastery. Let’s dive into the anatomy of the perfect sear and demystify the gear that stands between you and the steak of your dreams.
The Science of the Perfect Crust
The crust on a steak is not just for aesthetic appeal; it is the physical manifestation of the Maillard reaction. This chemical reaction occurs between amino acids and reducing sugars at high heat, typically above 300 degrees Fahrenheit, resulting in hundreds of different flavor compounds. When you take a steak out of a sous vide bag, your primary enemy is moisture. Water turns to steam at 212 degrees Fahrenheit, and as long as there is excess water on the surface of your meat, the temperature of that surface cannot climb high enough to initiate the Maillard reaction. This is why the towel-dry phase is the most critical preparatory step in the entire process.
The Role of Thermal Mass
When you drop a piece of cold or room-temperature meat into a pan, the surface temperature of the metal drops instantly. A thin, low-quality pan will struggle to recover that heat, leading to a long, drawn-out browning process that ruins the internal temperature of your steak. You want a pan with significant thermal mass, meaning it has the physical density to hold onto its heat even when a cold object is introduced to it. This ensures that the searing process is aggressive and brief, keeping the center of the steak exactly where you want it while the outside achieves a deep, dark brown.
Heat Conductivity vs. Heat Retention
It is important to distinguish between how fast a pan gets hot and how well it stays hot. Copper is the king of thermal conductivity, reacting almost instantly to changes in burner settings, but it lacks the retention of cast iron. Stainless steel is the workhorse of the professional kitchen, but it is often thin unless it is clad with an aluminum or copper core. For a sous vide steak, we want a blend of both: a pan that can hold its heat through the intense searing process without buckling or cooling down, allowing the fat to render and the crust to form in under sixty seconds per side.
"A sear is not just about browning; it is a high-speed race against time to create flavor before the internal structure of the protein succumbs to the heat of the pan."
The Case for Cast Iron
Cast iron is arguably the most popular choice for home cooks when it comes to searing steaks, and for good reason. It is exceptionally inexpensive, virtually indestructible, and possesses incredible heat retention properties. Because cast iron is a poor conductor compared to aluminum or copper, it takes a little longer to preheat, but once it reaches that searing temperature of 450 to 500 degrees Fahrenheit, it stays there. The thickness of a standard cast iron skillet acts as a reservoir of energy that ensures your steak doesn't "kill" the heat of the pan upon contact.
Seasoning and Non-Stick Properties
One of the most common complaints about cast iron is that food sticks to it. However, if you maintain a proper polymerized seasoning layer—the dark, glassy finish that develops over time—your cast iron will function just as well as, if not better than, modern non-stick pans. For searing, this seasoned surface is crucial because it allows the proteins to release cleanly once the crust has fully formed. If you find your steak is sticking to your cast iron, it is usually a sign that you are trying to flip it too early; the meat will naturally release from the pan once the crust is fully developed.
Maintenance and Care
While some cooks fear the maintenance involved with cast iron, it is surprisingly simple. After you finish your sear, a quick scrub with a stiff brush and hot water—avoiding harsh soaps—is all that is required. Following this, you must heat the pan on the stove to evaporate any remaining moisture and apply a microscopic layer of high-smoke-point oil like grapeseed or avocado oil. This simple routine keeps the pan protected against rust and ensures it remains the best tool in your arsenal for high-heat cooking.
Stainless Steel and Clad Cookware
For many professional kitchens, clad stainless steel is the gold standard. A high-quality stainless steel pan, particularly one with an aluminum core that extends up the sides (fully clad), offers a perfect balance of durability and performance. Unlike cast iron, stainless steel does not need to be seasoned, and it is completely reactive to acidic ingredients, meaning you can easily transition from searing your steak to making a pan sauce with red wine or balsamic vinegar without any metallic aftertaste.
The Thermal Efficiency of Aluminum Cores
The secret to a great stainless steel pan is the sandwich of metal. An aluminum core allows the heat to move quickly across the entire bottom surface of the pan, eliminating the "hot spots" that often plague cheaper cookware. When you sear a steak in a clad pan, the distribution of energy is uniform, which leads to a more consistent crust across the entire face of the meat. You aren't just heating the center of the steak; you are heating the entire edge-to-edge surface area equally.
Avoiding Sticking in Stainless
Many people struggle with stainless steel because they lack the "Leidenfrost Effect" knowledge. If you add your oil to a cold stainless steel pan, the meat will bond with the pores of the metal and stick fast. Instead, heat the pan until it is shimmering, add your oil, and wait until the oil begins to shimmer or ripple. If you drop a tiny bead of water into the pan and it dances around like a marble, the pan is at the correct temperature for the protein to glide over the surface. Once you master this technique, stainless steel becomes an incredibly intuitive and reliable tool for the home cook.
Carbon Steel: The Professional’s Secret
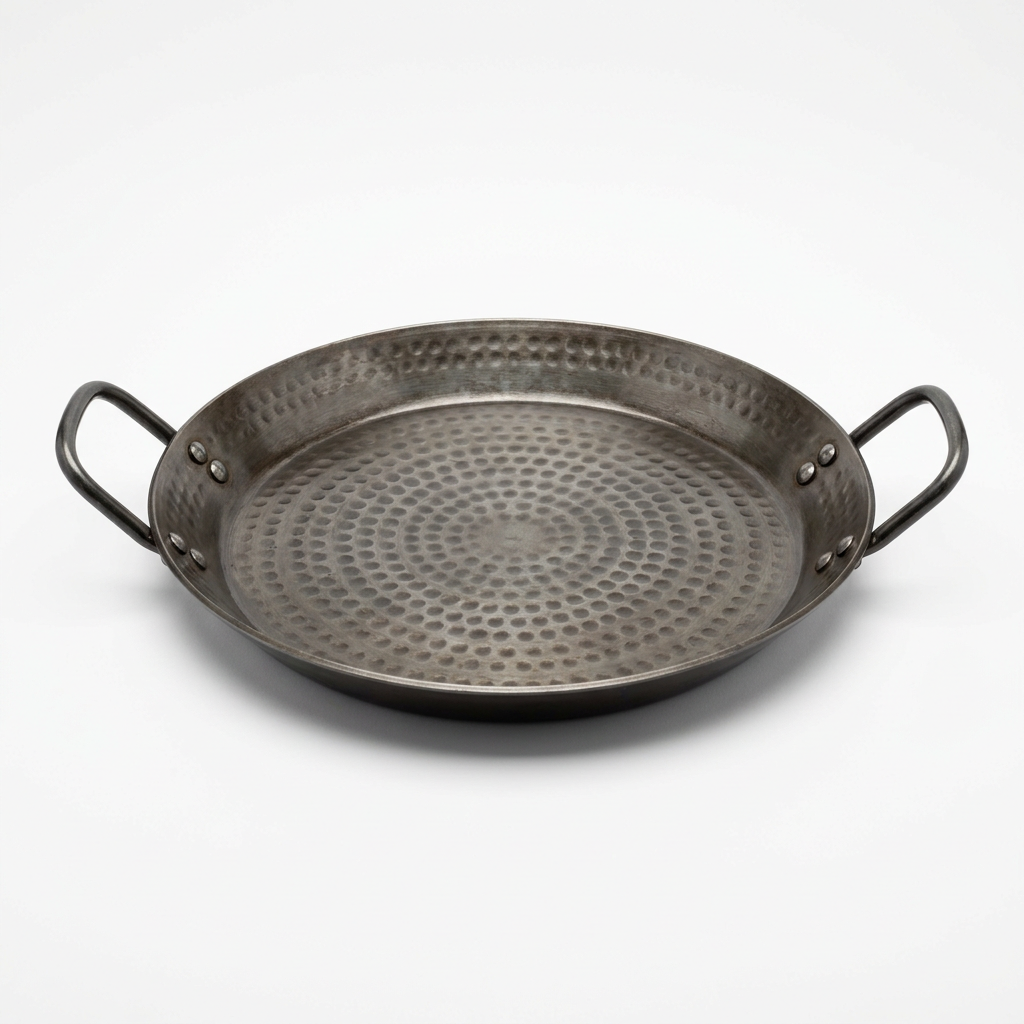
If you were to walk into the prep area of a high-end French bistro, you would likely see walls covered in carbon steel pans rather than cast iron. Carbon steel is essentially the lightweight cousin of cast iron, offering the same non-stick properties and heat retention but with a thinner profile that makes it much easier to maneuver. If you find your cast iron skillet too heavy to toss or tilt, carbon steel is the solution. It reaches its optimal searing temperature faster than cast iron and is just as capable of producing that deep, mahogany crust.
Why Carbon Steel Reigns Supreme
The magic of carbon steel lies in its agility. Because it is thinner, it reacts more quickly to changes in your stove's output, giving you more control over the searing environment. Furthermore, because it is composed of a higher percentage of iron and a specific amount of carbon, it can be seasoned to a level that rivals even the most expensive commercial non-stick pans. It develops a "patina" that is essentially a non-stick coating built through decades of use.
The Break-in Period
Just like cast iron, carbon steel requires a break-in period. When you first buy a carbon steel pan, it usually comes coated in a protective wax to prevent rusting in transit. You must scrub this off with hot water and then proceed through a rigorous seasoning process involving high-heat oil. The more you use your carbon steel pan for searing steaks and sautéing vegetables, the blacker and more effective the surface becomes. Many chefs believe that a well-loved carbon steel pan is the single most valuable piece of equipment in a kitchen.
"A well-seasoned carbon steel pan is not just a tool; it is a legacy piece that grows more effective with every sear, capturing the ghost of every meal that came before it."
Choosing Your Oil for the Sear
The choice of oil is just as important as the choice of pan. You need a fat with a high smoke point, which is the temperature at which the oil begins to break down and produce bitter smoke. If you use extra virgin olive oil or butter to start the sear, you will end up with a burnt, acrid crust that ruins the flavor of the meat. Reserve those ingredients for the finishing phase—the final thirty seconds of the cook when you baste the steak with aromatics.
Recommended Oils
Avoiding Butter Too Early
A common mistake among home cooks is adding butter to the pan as soon as the steak hits the surface. Butter contains milk solids that begin to burn at approximately 300 degrees Fahrenheit. If you add butter at the start of your sear, those solids will turn into carbonized black bits, giving your steak a "burnt" flavor rather than a "browned" one. Always sear with your high-smoke-point oil first, and only introduce butter during the final butter-basting step (also known as arrosage).
The Workflow: From Bag to Plate
Mastering the pan is only half the battle; the workflow is the other. Once you take the steak out of the sous vide bath, you are in a time-sensitive window. The meat is already at its perfect internal temperature, so your objective is solely to improve the exterior. If you take too long to dry the steak or if your pan isn't hot enough, you will inadvertently raise the internal temperature, overcooking your beautiful protein.
Step-by-Step Execution
The Importance of Surface Dryness
Some chefs recommend putting the steak in the freezer for 5-10 minutes after drying it to ensure the surface is cold before it hits the hot pan. This is an advanced technique for those who are worried about overcooking. By chilling the outer millimeter of the steak, you provide a thermal buffer that allows you to sear for a few extra seconds without the heat penetrating to the center. It is an optional step, but it is one that produces professional-grade results every time.
Advanced Techniques and Professional Tips
To truly elevate your game, look beyond the basic sear and consider the environmental factors in your kitchen. Proper ventilation is essential when searing at high temperatures. If you are constantly opening windows or turning off the smoke alarm, you will be hesitant to let the pan get hot enough. Make sure your exhaust hood is on the highest setting. If you do not have good ventilation, consider searing your steak on a grill outside or using a portable induction burner on a patio to keep the smoke out of your living space.
Why Induction Matters
Induction cooktops have become a favorite in professional kitchens for searing. Unlike gas, which relies on an open flame to transfer heat, induction works by electromagnetic fields that heat the pan directly. This provides a lightning-fast response time. If you notice your pan getting too hot, you can drop the temperature instantly on an induction range, whereas a gas or electric coil stove will have significant lag. If you are serious about steak, investing in a high-quality induction plate is a game-changer.
The "Double Sear" Myth
There is some debate regarding the "double sear," where the cook sears the steak both before and after the sous vide process. While this can provide an extra layer of flavor, it is generally unnecessary and increases the risk of overcooking the meat. Stick to a high-quality post-sous-vide sear. The goal is efficiency, and doing it once properly is always superior to doing it twice mediocrely. Focus on your technique, your pan temperature, and your drying process, and you will never feel the need to sear twice.
"The difference between a steak that is merely cooked and a steak that is curated lies in the precision of the final sear; it is the culinary signature of the chef."
Conclusion
The search for the best pan for searing a sous vide steak leads us to the conclusion that there is no single "correct" answer, but rather a set of requirements that define excellence. Whether you choose the rugged reliability of cast iron, the technical precision of clad stainless steel, or the agile performance of carbon steel, the key remains consistent: prioritize thermal mass, manage your moisture levels, and respect the smoke point of your fats. By understanding the interaction between your cookware and your protein, you move from being a home cook who follows a recipe to a chef who understands the physics of their craft.
As you integrate these techniques into your routine, remember that the "Blame The Chef" philosophy is built on the idea that every mistake is a lesson in disguise. If your crust isn't quite as dark as you wanted, or if you find the pan was a bit too cool, don't be discouraged. The beauty of sous vide cooking is that your safety net—the perfectly cooked interior—remains intact regardless of the sear. Keep experimenting, keep measuring your temperatures, and most importantly, keep cooking. The perfect steak is within your grasp, and with the right pan by your side, you are well on your way to achieving a result that would make any professional steakhouse chef stop and take notice. Elevate your equipment, master your process, and enjoy the delicious results of your dedication. You have the tools, the knowledge, and the passion; now go forth and sear with confidence. Your kitchen is the laboratory, and your steak is the masterpiece.

Get the Next Recipe
Weekly recipes, techniques, and gear picks — straight to your inbox.
