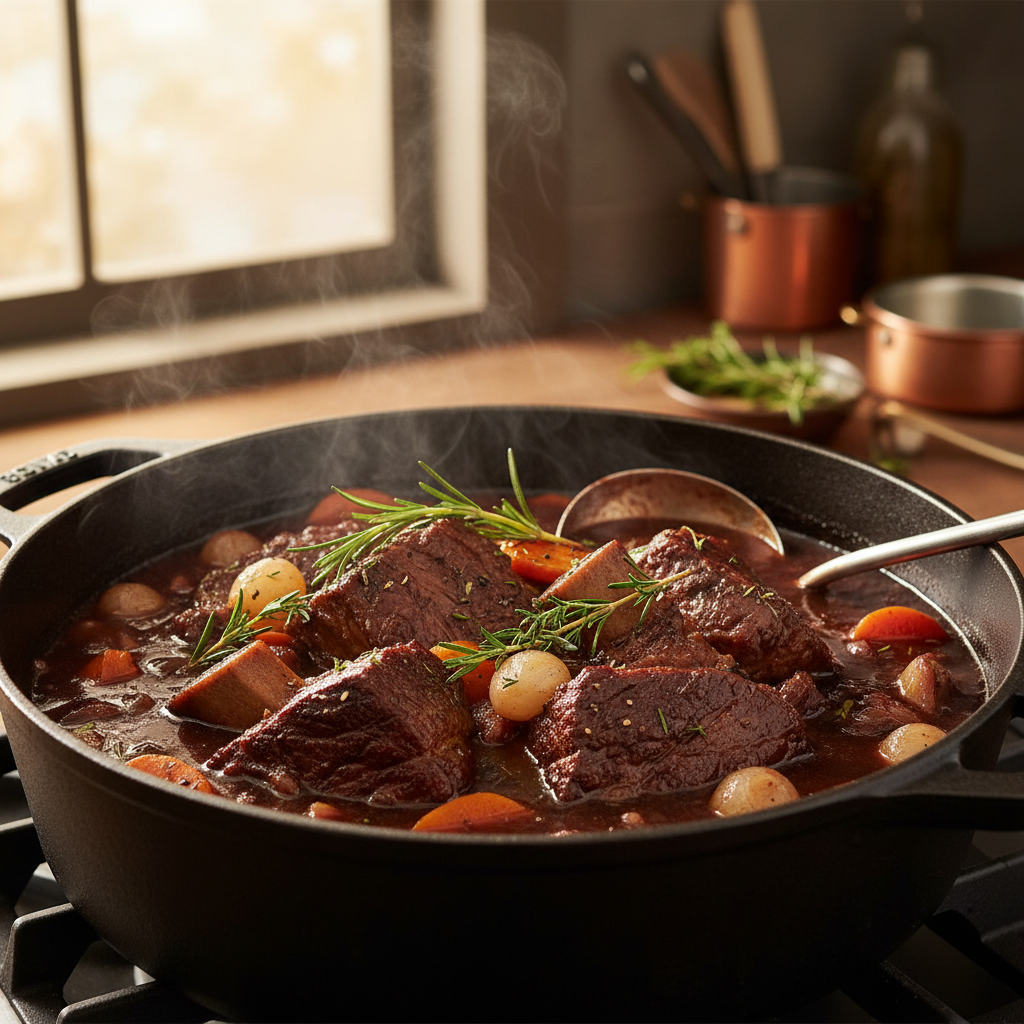
Braising: Low and Slow Cooking for Tenderness
Braising is a culinary technique that embodies the philosophy of "low and slow" cooking, creating tender, flavorful dishes that tantalize the senses. It’s a method that elevates cuts of meat that many consider tough into culinary delights, accessible to any home cook willing to invest a little time. Unlike quick methods that rush the cooking process, braising invites flavors to meld and ingredients to soften through a gentle embrace of heat and moisture. As a method that combines both dry and wet cooking techniques, it perfectly demonstrates how patience in the kitchen can lead to extraordinary results.
At its core, braising involves searing food at high temperatures to lock in flavor and then cooking it slowly in a flavorful liquid. This transformation from tough cuts to tender morsels is a magical process wherein collagen in the meat breaks down, resulting in a velvety texture that melts in your mouth. Whether you're braising a beef shank, lamb shanks, or even a cozy vegetable stew, the versatility of this technique is one of its strongest appeals. Throughout this exploration of braising, we'll cover the essential steps, the science behind the technique, and offer insights into how to adapt this method for various ingredients, ensuring you can build your repertoire and create unforgettable meals at home.
In this journey through braising, we will break down the components and art of this method, discussing everything from selecting the right cuts of meat to the role of aromatics and liquid in the braising process. There’s a certain sense of satisfaction that comes from preparing a dish that has simmered for hours, filling your home with warm, inviting aromas. And in a world where immediate gratification often reigns, braising beckons you to slow down, to savor the anticipation, and to enjoy the process of cooking itself.
Understanding the Braising Technique
Braising is traditionally divided into two key processes: searing and simmering. Understanding these phases is essential to mastering the art of braising.
Searing: The Flavor Foundation
The first step in braising is searing the meat. This involves cooking it over high heat to develop a robust, caramelized exterior that locks in flavor. The Maillard reaction, which occurs during this stage, is crucial; it creates complex flavors and an appealing color. Here are some tips for effective searing:
After achieving a desirable crust on your meat, it’s important to remove it from the pan and set it aside. This moment is crucial—don’t forget the fond. Fond refers to the browned bits left in the pan, packed with flavor. You can deglaze the pan with a small amount of your braising liquid, scraping up these flavorful bits to incorporate back into your dish.
Simmering: The Stewing Stage
After searing, the next phase involves simmering the meat in liquid. This step not only tenderizes the meat but also infuses it with flavors from the liquid and aromatics you include. Here’s what to keep in mind for this stage:
“Braising is about letting the flavors meld over time; it's a cooking method that rewards patience.”
Choosing the Right Cuts of Meat
One of the pivotal aspects of successful braising is selecting the appropriate cuts of meat. Tougher cuts, which contain more collagen and connective tissue, are ideal for this technique. Here are some popular choices:
Roast vs. Shank Cuts
When considering cuts for braising, be mindful of the differences between roast and shank cuts:
Special Considerations for Poultry and Fish
While braising is commonly associated with red meats, poultry and even fish can benefit from this technique. Chicken thighs are particularly well-suited for braising as their higher fat content helps them remain moist, while fish, like braised cod, requires a much shorter cooking time.
Preparing Your Ingredients
Preparation is critical in braising as it ensures that all elements come together in harmony. This section covers choosing quality ingredients and preparing them for optimal flavor.
Selecting Quality Ingredients
Like most cooking methods, the quality of your ingredients directly influences the end result. Look for:
Prep Work: Cut and Season
Preparation for braising also involves cutting your meat and vegetables appropriately.
“The way you prepare your ingredients can make or break your braising experience. Pay attention to detail.”
The Braising Process: Step-by-Step
Now that you've gathered all your ingredients and understand the basics of braising, it's time to dive deeper into the step-by-step process that will turn your ingredients into a succulent meal.
Step 1: Searing the Meat
Step 2: Sautéing Aromatics
Step 3: Deglazing the Pan
Step 4: Combine and Braise
Step 5: Final Touches
Adapting Braising Techniques for Vegetables
While braising is often associated with meats, the technique can also enhance the flavors and textures of vegetables. Braising is particularly effective for hearty vegetables like cabbage, carrots, and potatoes.
Braised Cabbage: A Comforting Side
Braised cabbage is a classic dish that pairs well with many entrees. Here’s how to create a simple braised cabbage dish:
Braising Root Vegetables
Root vegetables such as carrots and parsnips also benefit from braising as the heat breaks down their fibrous textures.
Common Mistakes to Avoid
Even the most seasoned cooks can stumble over common pitfalls in the braising process. Here are some mistakes to watch out for:
Overshooting Cooking Times
Improper Temperature Control
Skipping the Deglazing Step
“Every mistake in the kitchen is an opportunity to learn—braising is no exception. Understanding the process leads to great improvement.”
Experimenting with Flavors
Once you’re comfortable with braising, don’t be afraid to explore and create your flavor combinations. Experimentation allows you to personalize the dish.
Alternative Liquids
Trying different braising liquids can significantly impact the overall flavor of your dish. Here are some ideas:
Unique Aromatics and Herbs
Consider using unconventional aromatics to expand your flavor palette:
Conclusion
Braising is not merely a cooking method but rather an event—an invitation to savor the moment and experience the beauty of flavors evolving over time. With patience, attention to detail, and a willingness to experiment, you can unlock the deep, rich flavors inherent in tough cuts of meat and hearty vegetables. Whether you’re preparing a cozy meal for yourself or a gathering with family and friends, braised dishes offer comfort and warmth, both in flavor and preparation.
As you embrace the art of braising, remember that each dish you create is a unique experience influenced by your ingredients, techniques, and personal touches. The rewards of learning to braise properly extend far beyond the kitchen; they cultivate a sense of confidence and a deeper appreciation for the food we prepare and share. With low and slow cooking, you're not just making dinner; you're crafting memories, one delicious bite at a time. So, the next time you find yourself in the kitchen, consider braising as a go-to method—your journey into tenderness and flavor awaits.


Get the Next Recipe
Weekly recipes, techniques, and gear picks — straight to your inbox.
