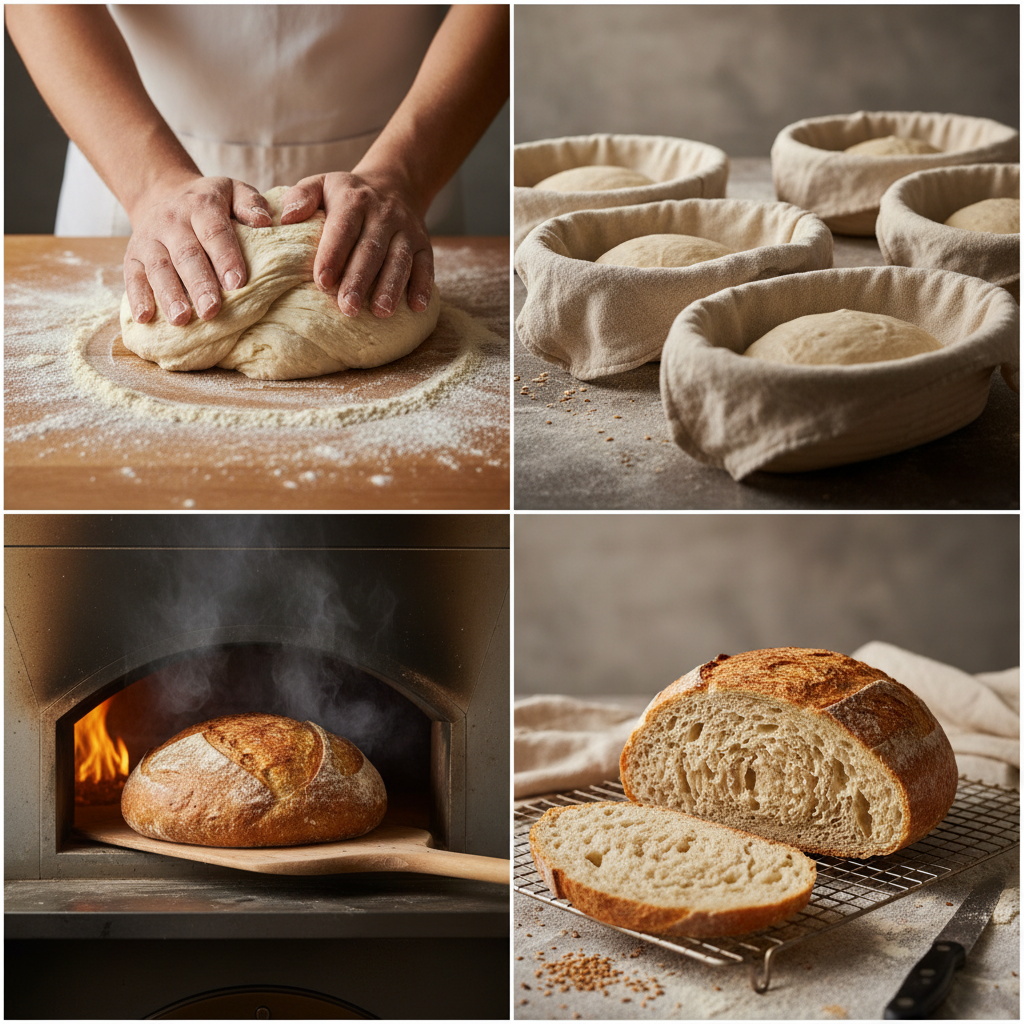
Bread Baking Fundamentals: From Dough to Crust
Baking bread at home can be both an art and a science. The satisfaction of kneading dough, watching it rise, and finally pulling a golden loaf from the oven is unparalleled. Yet, many home cooks feel intimidated by the process. With the right guidance and a little practice, anyone can become a skilled baker, creating delicious loaves that tantalize the taste buds and fill the home with irresistible aromas. The magic of bread baking lies in understanding the fundamentals, from selecting quality ingredients to mastering techniques that yield the perfect texture and flavor. Whether you're a novice with a keen interest in learning or a seasoned baker looking to refine your skills, this guide will navigate through the essentials of bread baking, providing you with a thorough understanding of every step involved.
The journey of bread begins with dough. This simple mixture of flour, water, yeast, and salt undergoes a fascinating transformation during the kneading, rising, and baking stages. Each ingredient plays a crucial role: yeast acts as a leavening agent, while flour provides structure and flavor. Water hydrates the flour and initiates gluten development, and salt enhances flavor while controlling fermentation. By embracing the science of these ingredients, you unlock a world of possibilities in bread baking, allowing for creativity while ensuring a delicious outcome every time.
In this blog post, we will delve into various aspects of bread baking, from understanding the types of flour to achieving the perfect crust. Along the way, we will provide tips, tricks, and insights drawn from professional kitchens that will help you build confidence in your baking endeavors. So tie on your apron, and let’s embark on this delightful journey to transform basic ingredients into something truly spectacular!
Understanding Ingredients
When it comes to bread baking, understanding your ingredients is crucial. Each component contributes to the overall flavor and structure of the loaf. Let’s break down the essential ingredients that you will frequently encounter in bread recipes.
Flour Types
Flour is the backbone of bread. Different types of flour provide varying levels of protein, which affects gluten development. Here’s a brief overview of common flours used in bread baking:
When selecting flour, always choose high-quality products without additives or preservatives for the best results.
The Role of Water
Water is more than just a liquid; it is essential for gluten formation and fermentation. The temperature and quality of water can significantly affect the dough's development. Here are some tips regarding water use:
Yeast Choices
Nothing is more synonymous with bread than yeast, a living organism that ferments the sugars in flour to produce carbon dioxide and alcohol, causing the dough to rise. There are three main types of yeast commonly used in bread baking:
Each type has its unique advantages, but all can produce fantastic results with proper usage.
Salt's Importance
While often overlooked, salt is vital in bread making. It adds essential flavor and helps regulate yeast fermentation. A common rule of thumb is to use about 1.5% to 2% of the flour weight in salt. For example, if you're using 500 grams of flour, aim for 7.5-10 grams of salt.
Salt strengthens gluten, providing necessary structure and improving the shelf life of bread by slowing spoilage. Always mix salt into the dry ingredients, ensuring it doesn’t come into direct contact with the yeast to avoid inhibiting its activity.
Optional Add-ins
Once you understand the basics, you can customize your recipes with a variety of optional ingredients to enhance flavor and texture:
Understanding these ingredients will allow you to select the best options for your specific recipes and taste preferences.
Mixing and Autolyse
With your ingredients selected, the next step in the bread-making process is mixing. This phase is crucial because it affects the dough's structure and hydration.
The Mixing Process
Here’s a simple guide to mixing your dough:
The Autolyse Technique
One effective method to enhance dough quality is autolyse. This technique involves allowing the flour and water to sit together for a period before adding other ingredients. Here's how to do it:
Mixing Methods
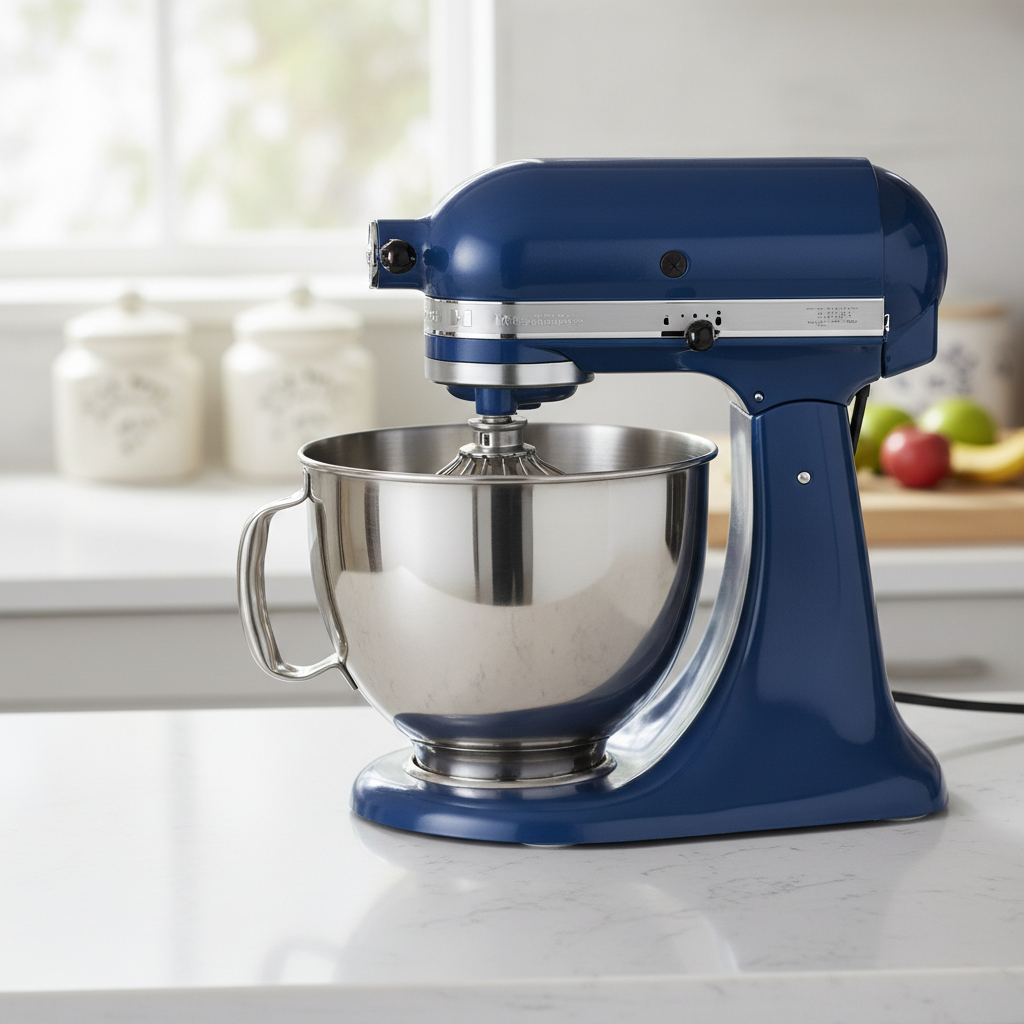
Depending on your preference, you can mix dough by hand or use a stand mixer fitted with a dough hook.
Whichever method you choose, remember that the aim is to create a smooth, elastic dough that is slightly tacky but not overly sticky.
Kneading and Developing Gluten
Kneading plays a pivotal role in developing gluten, which provides the structural backbone of your bread. Properly kneaded dough traps air bubbles, creating an airy loaf.
Techniques for Kneading
- Turn the dough out onto a clean, floured surface.
- Push the dough away from you with the heel of your hand.
- Fold it back over itself, turn it 90 degrees, and repeat for 8-10 minutes.
- This technique is ideal for wetter doughs. In a bowl, stretch the dough gently and fold it over itself. Repeat several times with 15-20-minute intervals and a total of 3-4 rounds. This builds strength without excessive kneading.
- To check gluten development, take a small piece of dough and stretch it out. If it forms a thin, translucent membrane without tearing, it's ready for the next step. If it tears easily, continue kneading.
Importance of Gluten Development
The gluten network provides structure and elasticity that traps air during fermentation. Here’s why adequate gluten development is key:
Understanding gluten's role will significantly enhance your bread-making skills and improve your final product.
Fermentation and Proofing
After kneading, your dough is ready to ferment. This stage is where the flavors develop, and the dough rises.
Bulk Fermentation
Bulk fermentation is the first rise after the dough has been mixed. During this time, yeast ferments the sugars, producing gas and alcohol. Follow these steps:
Folding During Bulk Fermentation
If your dough is high in hydration, consider doing a series of folds during the bulk fermentation to strengthen it.
Shaping and Proofing
After the bulk fermentation, it’s time to shape your dough:
When shaping for the final proof, maintain an even tension around the surface of the dough to ensure an even rise while being careful not to deflate it.
For the final proof, let your shaped dough rise a second time. Depending on the recipe, this may take another hour at room temperature. Alternatively, you can retard the fermentation by placing the dough in the fridge overnight for a more complex flavor.
Baking: Creating the Perfect Crust
Baking is where your hard work pays off. The art of achieving the perfect crust depends on several factors, including oven temperature, steam, and baking techniques.
Preheating Your Oven
Always preheat your oven before baking:
The Role of Steam
Steam is crucial for achieving a crispy crust. It allows the bread to expand fully before the crust sets. Here's how to create steam in your oven:
Scoring Your Dough
Before placing your dough in the oven, scoring is essential, allowing steam to escape while controlling how the bread expands. Use a sharp blade or a lame to make shallow cuts on the surface in a decorative pattern.
Baking Time
The baking times for bread vary based on size and recipe, usually ranging from 25 to 45 minutes. Here’s a quick reminder:
Cooling Your Bread
After baking, allow your bread to cool on a wire rack for at least an hour before slicing. This helps set the crumb and avoids a gummy texture.
"The aroma of freshly baked bread is the greatest fragrance in the world." – *Chef Marcus Samuelsson*
Troubleshooting Common Issues
Baking can sometimes be unpredictable. Here are common problems and solutions to guide you through the troubleshooting process.
Dense Texture
If your bread comes out too dense, consider these factors:
Overproofed Dough
If your dough collapses during baking, you may have overproofed it:
Uneven Baking
Uneven baking can be distressing. Here’s what to watch for:
Crust Issues
If your crust is too thick or hard, it might be due to:
Final Thoughts
Baking bread is a rewarding process that invites creativity and patience. Mastering the fundamentals—from understanding your ingredients to perfecting techniques—will elevate your baking game significantly. Bread baking is as much about practice as it is about science; the more you bake, the more intuitive the process becomes.
With the knowledge gained from this guide, you are well-equipped to explore countless bread recipes and even develop your own unique variations. Remember to embrace any mishaps as learning experiences. The kitchen is a place for experimentation, and each loaf tells a story. Enjoy the process, savor the aroma, and relish the joy of sharing your homemade bread with family and friends.
So, gather your ingredients, roll up those sleeves, and dive into the beautiful world of bread baking. Every rise, every knead, and every crusty loaf brings you one step closer to becoming the master baker you aspire to be. Happy baking!



Get the Next Recipe
Weekly recipes, techniques, and gear picks — straight to your inbox.
