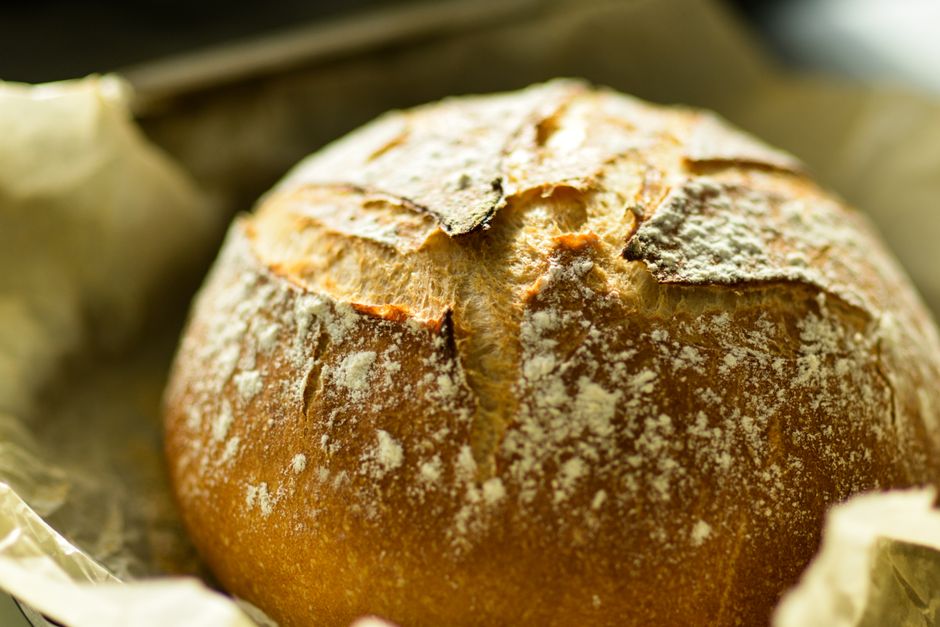
Bread Loaf Pan vs Dutch Oven for Sourdough
The journey into the world of sourdough is often described as a rite of passage for the home baker, a transition from simply following a recipe to developing a true intuition for fermentation and crumb structure. Many beginners start their journey armed with a standard metal loaf pan, assuming that the classic shape is the ultimate goal of their practice. However, as one delves deeper into the artisanal side of bread making, the Dutch oven emerges as a formidable tool that promises to unlock a level of crust development and oven spring that few other pieces of equipment can replicate. Understanding the nuanced differences between these two vessels is not merely an academic exercise; it is the key to evolving your technique and achieving that professional-grade loaf you have been chasing. Whether you are aiming for a sandwich loaf with a soft, uniform interior or a rustic boule with a shatteringly crisp crust, your choice of hardware will dictate the physics of your bake.
In the professional kitchen, we often talk about the importance of the baking environment as much as the quality of the flour or the vigor of the starter. When you place a loaf in the oven, you are engaging in a complex dance between heat transfer, steam retention, and starch gelatinization. A metal loaf pan acts as a conductive medium that heats quickly, whereas a heavy cast-iron Dutch oven acts as a heat sink, radiating intense, consistent energy into the dough. This thermal mass is crucial for maximizing the oven spring during those vital first few minutes when the yeast is most active. By manipulating the environment—trapping steam versus allowing airflow—you are effectively choosing the texture, color, and flavor profile of your finished product.
If you have ever felt frustrated by a pale, rubbery crust or a flat loaf that refused to rise, take heart in knowing that the equipment, not your skill level, is often the culprit. At Blame The Chef, we believe that every home cook has the capacity to produce a bakery-quality loaf, provided they understand the mechanics at play. We are going to deconstruct the Maillard reaction, explore the role of steam injection, and provide you with a masterclass on why your choice of pan might be the final puzzle piece in your sourdough development. Prepare to rethink your baking setup as we dive deep into the technical and culinary differences between the humble loaf pan and the culinary titan that is the Dutch oven.
The Physics of the Dutch Oven
The primary advantage of the Dutch oven in sourdough baking is its ability to create a miniature, self-contained steam chamber. When you drop a scored loaf of dough into a preheated Dutch oven, the moisture evaporating from the dough is trapped beneath the heavy lid. This localized humidity keeps the exterior of the loaf supple for a longer period, allowing the yeast and gases to expand the loaf to its full potential before the crust sets. This is the secret behind those dramatic ear formations and the glossy, blistered surfaces found on professional-grade boules.
Managing Thermal Mass and Heat Retention
When you preheat a Dutch oven to 450°F to 500°F, you are saturating the cast iron with heat energy. Once the dough hits the bottom of the pot, the radiant heat is so intense that it forces an immediate rise. This is what we call "oven spring." Unlike a thin metal loaf pan, which may lose heat quickly when the oven door is opened, the thick walls of a Dutch oven maintain a constant temperature throughout the bake. This thermal stability is essential for consistent results.
The Role of Steam in Crust Development
Steam is not just for shine; it is for structure. In the first 15 to 20 minutes of baking, the steam keeps the surface of the loaf gelatinized. This prevents the crust from hardening prematurely, which would otherwise constrict the expansion of the loaf. By keeping the surface flexible, you allow the interior gas bubbles to push the dough upward rather than outward. After the lid is removed, the steam escapes, and the dry heat of the oven takes over to caramelize the sugars and create that deep, mahogany color.
"The magic of the sourdough boule lies in the steam trapped within the iron walls; it is the difference between a dense, sad bread and a cathedral of airy, crackling crust."
The Case for the Metal Loaf Pan
While the Dutch oven gets all the glory on social media, the loaf pan remains a cornerstone of practical baking. If your goal is to make consistent, reliable sandwich bread that fits perfectly into a toaster, the Dutch oven is actually a hindrance. The loaf pan provides structural support, forcing the dough to rise vertically in a uniform shape. This is particularly useful for enriched sourdough recipes that contain butter, milk, or eggs, which tend to be softer and less structurally sound than a lean rustic dough.
Structure and Shape Control
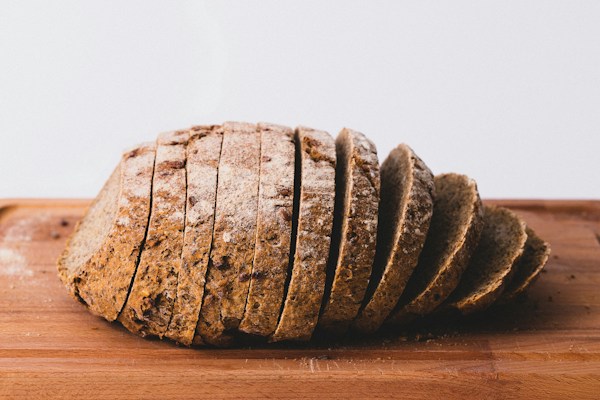
Using a loaf pan allows you to control the crumb texture. Because the dough is confined to the sides of the pan, the crumb is forced to remain tighter and more uniform, which is exactly what you want for a breakfast toast. In a Dutch oven, the dough expands freely, which often creates an irregular, open crumb that is beautiful for dipping in oil but difficult for holding a heavy sandwich. If you are baking for the sake of utility and daily consumption, never feel ashamed to reach for your trusty loaf pan.
Conductivity and Baking Times
Metal loaf pans—especially heavy-gauge aluminized steel—are excellent conductors of heat. They reach the baking temperature quickly and transfer that heat directly into the base of the loaf. This makes them ideal for shorter, faster bakes. However, because they lack the ability to trap steam, you have to be more intentional about creating humidity in your oven. Using a separate pan filled with water on the lower rack of the oven can mimic the steam environment of a Dutch oven, though it will rarely achieve the same level of intensity.
Mastering the Steam Technique
If you are determined to use a loaf pan but want the crust of a Dutch oven, you must master the art of external steam. The most professional method is to use a secondary pan at the bottom of the oven and pour boiling water into it just as you slide your loaf in. This creates an immediate burst of vapor. Alternatively, you can use a high-quality spray bottle to mist the sides of the oven walls, but be careful not to spray the heating elements directly, as this can cause damage over time.
The Importance of Proper Scoring
Regardless of your vessel, scoring is the most vital step in directing the expansion of your loaf. With a loaf pan, you want to perform a long, single longitudinal slash to encourage a nice "bloom" down the center of the bread. In a Dutch oven, you have more creative freedom; you can perform a crosshatch, a chevron, or a decorative design. Always use a lame or a very sharp razor blade held at a 45-degree angle to ensure the dough opens up properly rather than tearing.
Managing Fermentation for Different Vessels
The timing of your bulk fermentation should change slightly depending on your bake. When using a Dutch oven, you can often handle a dough that is slightly wetter, perhaps in the 75-80% hydration range, because the pot provides the support the dough needs. If you are using a loaf pan, you might want to stick to a slightly lower hydration, around 70-72%, to ensure the loaf holds its shape and doesn't spill over the edges, creating a "mushroom top" effect that can burn.
"A loaf is only as good as the fermentation that preceded it; no amount of cast-iron heat can save a loaf that has been proofed into oblivion."
Comparative Ingredient Ratios
To achieve the best results, you must tailor your dough to the vessel. For a sourdough boule baked in a Dutch oven, we recommend a mix of high-protein bread flour (12.7% protein) and a small percentage of whole wheat or rye (10-15%) to add depth of flavor. For a sandwich loaf in a pan, you might incorporate a small amount of honey or malt syrup, which aids in the browning process in the lower-heat, longer-duration bake cycle common to loaf pans.
The Professional Baker’s Ratios
Bread Flour:* 85%
Whole Wheat:* 15%
Water:* 72-78% (adjust based on flour absorption)
Levain (Active):* 20%
Sea Salt:* 2%
When you are preparing these ingredients, remember that temperature is a key variable. Your bulk fermentation should take place in a controlled environment between 75°F and 78°F. If your kitchen is cold, your fermentation will stall, and your final bake will suffer regardless of whether you use a pot or a pan. Always keep a digital probe thermometer handy to monitor the internal temperature of your dough during the proofing stages.
Achieving the Perfect Crumb
The crumb of your sourdough is a direct result of how you handle the dough during the bulk fermentation and the final shaping. To achieve an open, airy crumb—often sought after in Dutch oven boules—you must be gentle during the folding process. Use the coil fold technique rather than aggressive kneading to preserve the gas bubbles generated by the yeast. Once the dough has doubled in volume and shows signs of aeration (bubbles on the surface), it is ready for the bench.
Shaping for Success
For the Dutch oven, you want to build surface tension by pulling the dough toward you on the counter until the exterior is taut and smooth. This tension acts like a skin that, when scored, helps the loaf rise upward. For the loaf pan, you want to shape the dough into a cylinder, tucking the ends under to create a tight log. This ensures that the bread rises evenly and creates that classic, sliceable rectangle. Never skip the bench rest; giving the gluten 20-30 minutes to relax before the final shape is essential.
Cooling and Cutting: The Final Hurdle
The most common mistake home bakers make is cutting into a hot loaf. The starch continues to set and the moisture redistributes long after the bread has left the oven. You must allow the loaf to cool on a wire rack for at least two to four hours before slicing. Cutting too early will result in a gummy, wet interior, even if the loaf was baked to perfection. Patience here is the difference between a master and an amateur.
Troubleshooting Common Issues
If your sourdough is consistently flat, start by checking your starter activity. Is it doubling in size within 4-6 hours of feeding? If not, you are building a loaf on a weak foundation. If your crust is too thick and hard, you may be baking at too high a temperature for too long. If you are using a Dutch oven, try removing the lid 5 minutes earlier to balance the internal and external textures.
The Role of Flour Quality
Always look for unbleached, high-protein flour. Cheap, all-purpose flour often lacks the gluten strength required to hold up a long, slow fermentation, leading to a pancake-like loaf. If you are finding that your bread is consistently dense, consider increasing your hydration by 2% in your next bake, or ensuring your folding technique is effectively developing the gluten network.
Adjusting for Altitude and Humidity
If you live at high altitude, your bread will rise much faster, and you may need to reduce your yeast or starter amount by 10-15%. Humidity also plays a significant role; on very humid days, your dough will be stickier and may require less water. Keep a baking journal and record your hydration levels, the weather, and the results of each loaf. This data is the most valuable tool in your professional arsenal.
"Data is the baker's best friend. A small note on hydration and ambient temperature can be the difference between a repeat success and a mystery failure."
Professional Tips for the Home Baker
To elevate your game, focus on the details that professional kitchens prioritize. First, invest in a digital scale—measuring by volume (cups) is the enemy of consistency. Second, use a bench scraper to handle high-hydration doughs; it keeps your hands clean and allows you to move the dough without degassing it. Finally, don't be afraid to experiment with cold proofing. Placing your shaped loaf in the refrigerator for 12 to 24 hours before baking develops deeper, more complex flavors and makes the dough easier to score.
Maintaining Your Equipment
Your Dutch oven is an investment. If it is enameled, handle it with care to avoid chipping. If it is raw cast iron, ensure it is properly seasoned with a light layer of high-smoke-point oil like flaxseed or grapeseed. A well-maintained vessel will last a lifetime, becoming an extension of your own baking intuition. Similarly, treat your loaf pans with respect; avoid using abrasive scrubbers that can strip the finish and cause the bread to stick.
Building Your Baking Routine
Consistency is the secret to mastery. Bake the same recipe every weekend for a month, changing only one variable at a time—the fermentation time, the hydration, or the baking vessel. This controlled experimentation will teach you more than reading a hundred books. When you learn how the dough behaves under different conditions, you gain the freedom to improvise, and that is when you truly transition from a home cook to a bread maker.
Conclusion
The debate between the loaf pan and the Dutch oven is ultimately a question of purpose. Both tools have a place in the well-equipped kitchen, and neither is inherently superior to the other. If you value the rustic, crackling crust of a traditional sourdough boule, the Dutch oven is your best friend. If you need efficiency, consistency, and the perfect shape for a sandwich, the loaf pan will never let you down. As you continue your baking journey, experiment with both.
Do not be discouraged by the occasional flat loaf or the over-browned crust. Even in professional kitchens, we occasionally deal with a batch that doesn't quite rise to our standards. The beauty of sourdough is its resilience and its complexity; it is a living, breathing process that demands your attention and rewards your patience. Keep your starter healthy, keep your temperature in check, and most importantly, keep baking.
By mastering the technical aspects—the Maillard reaction, the physics of steam, and the importance of structural support—you are well on your way to bread that rivals the best bakeries in the world. Whether you are using an ancient cast-iron pot or a modern steel pan, the soul of the bread remains the same. It is a testament to your patience, your skill, and your passion for the craft. Now, preheat your oven, dust off your banneton, and get that dough started. Your perfect loaf is just a few bakes away, and we are thrilled to be here with you every step of the way. Happy baking!



Get the Next Recipe
Weekly recipes, techniques, and gear picks — straight to your inbox.
