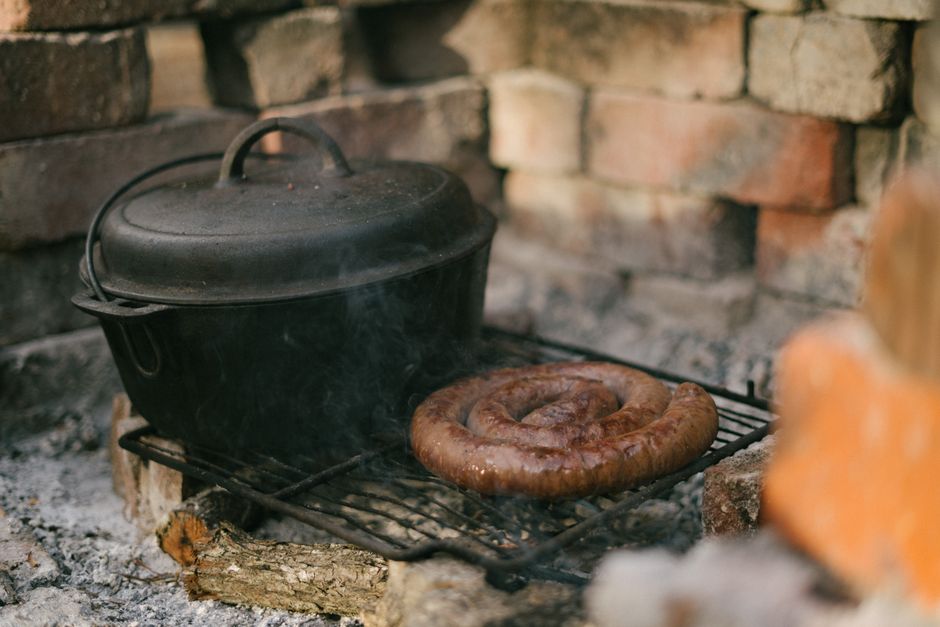
Cast Iron Cooking: Seasoning, Care, and Mastery
There's a quiet kind of magic that happens the moment a cast iron skillet meets a flame. Unlike its sleek, stainless steel cousins or featherweight nonstick counterparts, cast iron demands a relationship—a slow, patient courtship between cook and metal that rewards dedication with a cooking surface so naturally nonstick it rivals anything coated in a factory. For generations, these pans have been passed down through families, their surfaces darkened by decades of use, carrying the flavors and memories of countless meals. If you've been intimidated by the reputation cast iron has for being "fussy" or "high maintenance," let me reassure you: the truth is far simpler, and the payoff is enormous.
What makes cast iron extraordinary isn't just its durability—though a well-cared-for pan will outlast you, your children, and probably their children too. It's the way this humble metal holds and radiates heat with an almost stubborn intensity, creating crusts on steak that crackle, edges on cornbread that shatter, and a sear on vegetables that transforms them from ordinary to revelatory. Cast iron doesn't apologize for its weight or its demands; instead, it asks you to slow down, to pay attention, and to learn its rhythms. In return, it becomes the most reliable tool in your kitchen arsenal.
This guide will walk you through everything you need to know to build, maintain, and cook with a cast iron skillet that you'll be proud to leave to someone someday. We'll cover the science of seasoning, the daily and monthly care rituals that keep your pan healthy, the techniques that unlock cast iron's unique capabilities, and the troubleshooting wisdom that will save you when things go sideways. Whether you're starting with a brand-new Lodge or inheriting a rusty relic from a relative's garage, by the end of this post you'll have the confidence to make cast iron the cornerstone of your cooking life.
Understanding Cast Iron: The Foundation
Before we talk about seasoning or searing, it's worth understanding what cast iron actually is and why it behaves the way it does. Cast iron is made by pouring molten iron—alloyed with small amounts of carbon and silicon—into molds, creating a single, thick, dense piece of metal. This density is the source of both its greatest strengths and its biggest misconceptions. Because the metal is so thick, it takes longer to heat up than thinner pans, but once hot, it retains that heat with remarkable tenacity. This is why cast iron excels at tasks where temperature stability matters: searing meat, frying, baking, and any cooking method where you need the pan to recover quickly after adding cold food.
The surface of raw cast iron is not smooth, even in machined or "polished" vintage pans. Under a microscope, it's a landscape of peaks and valleys, pores and ridges. This texture is important because it's what allows seasoning—the polymerized layer of oil that makes the pan nonstick—to bond to the metal. A perfectly smooth surface would actually be harder to season effectively, because there's nothing for the oil to grip onto. Modern Lodge pans come with a pebbly texture from the sand molds used in casting; vintage pans from Griswold or Wagner were machined smoother but still have microscopic texture that holds seasoning beautifully.
It's also worth dispelling a persistent myth: cast iron does not heat evenly, at least not initially. If you place a cold cast iron pan on a high flame and immediately add food, you'll get hot spots directly over the burner and cooler spots elsewhere. The key is preheating patience. Given five to ten minutes over medium-low heat, cast iron will distribute that heat across its entire surface, and once it does, it holds that even heat far better than aluminum or copper. This is why professional chefs often describe cast iron as "forgiving" once you learn its rhythms—it doesn't spike and drop with every adjustment the way lighter pans do.
The Chemistry of Seasoning
Let's get into the science, because understanding what's actually happening when you season a pan makes the whole process feel less like superstition and more like chemistry—which it is. Seasoning is the result of polymerization, a chemical reaction where oil molecules bond together into a hard, slick, plastic-like film when exposed to heat. This film bonds physically to the microscopic texture of the iron, creating a surface that is both nonstick and protective, shielding the bare metal from moisture and oxygen that cause rust.
Different oils polymerize at different rates and produce different hardness levels. The key metric is the oil's iodine value, which measures how many unsaturated bonds the oil has—more unsaturated bonds mean easier polymerization. Flaxseed oil has the highest iodine value of common culinary oils and produces an exceptionally hard, glass-like seasoning, though it can be brittle and prone to flaking if applied too thickly. Grapeseed oil, sunflower oil, and canola oil are excellent middle-ground choices: they polymerize readily, produce a durable finish, and are inexpensive and widely available. Avoid oils with low iodine values like olive oil or butter for initial seasoning—they'll eventually cook down with use, but they're not ideal for building the base layers.
The critical insight is that seasoning is not a one-time event but an ongoing process. Every time you cook with a thin film of oil in your pan, you're adding microscopic layers to that polymerized coating. This is why pans that have been used daily for years develop that coveted deep black, mirror-smooth surface. You're not just maintaining the pan when you cook in it—you're improving it.
Seasoning a New Pan: Building the Base
When you bring home a new cast iron skillet—whether it's a modern Lodge, a premium Smithey, or a vintage find—your first task is to establish a solid seasoning foundation. Most new pans come with a light factory seasoning, but this is typically minimal and designed more for rust prevention during shipping than for cooking performance. Building your own layers on top of this gives you control over the quality and durability of the finish.
Here's the method I recommend for initial seasoning, refined over years of testing different oils and techniques. First, wash the pan thoroughly with warm water and a small amount of dish soap—yes, soap is fine, and we'll address that myth shortly. Dry it completely, then place it on a stovetop burner over medium-low heat for five minutes to drive off any residual moisture. Let it cool slightly, then apply a very thin layer of your chosen oil—grapeseed oil is my go-to for new pans—using a paper towel to rub it over every surface, inside and out.
The next step is where most people go wrong: you must wipe off almost all the oil. The pan should look nearly dry, as if you accidentally spilled a drop of oil and tried to clean it up. Any excess oil will pool, bead up, and turn into sticky, tacky patches instead of hardening into smooth seasoning. Once you've wiped the pan to a barely-there sheen, place it upside down in an oven preheated to 450°F to 500°F (the higher end for grapeseed or canola; slightly lower for flaxseed to avoid brittleness). Bake for one hour, then turn the oven off and let the pan cool completely inside—this slow cooling helps the polymerized layer harden fully.
The Flaxseed Method: Worth the Hype?
In cast iron circles, the "flaxseed method" popularized by blogger Sheryl Canter has achieved near-mythic status. The procedure involves multiple very thin coats of flaxseed oil, each baked at high temperature (500°F or above) for an hour or more, with complete cooling between coats. The result, when done correctly, is a stunningly hard, glossy black finish that looks almost like ceramic.
I've used this method, and it does produce a beautiful initial result. However, I'll offer a caveat: flaxseed seasoning can be brittle. Over time, especially with aggressive cooking or temperature shocks, it can develop hairline cracks and eventually flake off in patches. This isn't a disaster—your pan isn't ruined—but it means you'll need to strip and re-season eventually. For most home cooks, I recommend starting with grapeseed or canola oil for the base layers, then allowing daily cooking to build up the seasoning naturally. If you want to try flaxseed for that showroom finish, go for it, but understand it's more maintenance-intensive long-term.
The best seasoning is the one you actually maintain. A pan with fifty thin layers built up over months of cooking will outperform a pan with five "perfect" flaxseed coats that starts flaking at month three.
Daily Care: The Routines That Keep Your Pan Healthy
Once your pan is seasoned, the ongoing care is surprisingly simple—simpler, in fact, than the lore suggests. The two biggest myths surrounding cast iron are that you can never use soap and that you must oil the pan after every single use. Both are outdated, and clinging to them makes cast iron feel harder than it needs to be.
Let's tackle the soap myth first, because it's the most persistent. The origin is historical: early soaps were made with lye and animal fats, and lye will indeed strip seasoning. Modern dish soaps, however, are detergents, not lye-based soaps, and they're formulated to break down food oils, not polymerized oil films. You can absolutely use modern dish soap on cast iron. A quick wash with warm water, a sponge, and a drop of Dawn will not harm a well-seasoned pan. What you should avoid is soaking cast iron in soapy water or putting it in the dishwasher—prolonged exposure to water and harsh detergents is the real enemy.
After cooking, here's your simple routine: wash the pan while it's still warm if possible, using hot water and a sponge or chainmail scrubber for stubborn bits. For really stuck food, sprinkle coarse salt and scrub with a damp cloth, or bring a small amount of water to a simmer in the pan to loosen residue. Dry the pan immediately and thoroughly—never let it air dry—and place it on a stovetop burner over low heat for two to three minutes to evaporate any invisible moisture. Turn off the heat, and while the pan is still warm, wipe a barely-visible layer of oil over the cooking surface with a paper towel. That's it. Two minutes of care after each use will keep your pan in peak condition for decades.
What About Metal Utensils?
Another common question: will metal spatulas and spoons damage seasoning? The short answer is no, they won't—and in fact, metal utensils can be beneficial. A rounded metal spatula acts like a subtle smoothing tool, gradually pressing down the microscopic peaks in the pan's surface and helping to fill in the valleys with seasoning. This is why pans used in restaurant kitchens, where metal spatulas are standard, develop that coveted glass-smooth interior more quickly than pans babied with silicone tools.
Use metal utensils with confidence, especially flat-edged spatulas for flipping and scraping. Avoid sharp instruments like knives or forks used aggressively, which can scratch through seasoning, but normal cooking with metal tools is not just safe—it's helpful. The one exception is enameled cast iron (like Le Creuset or Staub), where metal can chip the enamel coating. For bare cast iron, metal is your friend.
Cooking Techniques: Where Cast Iron Shines
Now we get to the fun part: actually cooking. Cast iron excels at specific techniques because of its heat retention and its ability to handle high temperatures that would damage nonstick coatings or warp thinner pans. Mastering these techniques is where cast iron transforms from just another pan into an indispensable tool.
Searing meat is perhaps cast iron's signature strength. For a perfect steak crust, preheat your skillet over medium-low heat for eight to ten minutes—patience here is essential. Just before cooking, increase the heat to medium-high or high and let the pan come to temperature for another two minutes. Pat your steak completely dry with paper towels, season generously with salt, and lay it in the dry pan (no oil needed if the pan is well-seasoned; a thin film of high-smoke-point oil like avocado or grapeseed is fine too). Don't touch it for at least three minutes—that's how long it takes for the Maillard reaction to develop a proper crust. Flip, reduce heat slightly, and continue cooking to your preferred doneness. For thick steaks, finish in a 400°F oven for even cooking throughout.
Baking in cast iron is another revelation. Cornbread is the classic example: preheat your skillet in a 425°F oven with a tablespoon of butter or bacon fat, then pour in your batter. The hot fat creates an instant sizzle, forming a deeply golden, crispy bottom crust while the batter bakes fluffy on top. But cast iron is also exceptional for skillet chocolate chip cookies, Dutch baby pancakes, focaccia, pizza, and even cak-es. The even heat and excellent browning mean baked goods develop better texture than they would in standard baking pans. For pizza specifically, preheat the skillet on the stovetop over high heat, add your dough, top quickly, and transfer to a 500°F oven for a crust that rivals a pizza stone.
Deep Frying and Temperature Control
Cast iron is an excellent vessel for deep frying because its heat retention keeps oil temperature stable when cold food is added. Use a deep skillet or Dutch oven (cast iron Dutch ovens are ideal for frying), fill it no more than one-third full with oil (peanut, canola, or grapeseed for high smoke points), and heat to your target temperature—350°F for most frying, 375°F for lighter items like tempura. Use a clip-on thermometer, as cast iron's heat retention means oil will continue rising in temperature briefly after you turn down the flame.
The key to successful frying is not overcrowding the pan. Adding too much food at once drops the oil temperature too far, resulting in greasy, soggy results instead of crisp ones. Work in small batches, allowing the oil to return to temperature between additions. Cast iron's heat mass means it recovers faster than thin pots, but it still needs a minute or two between batches.
Troubleshooting: When Things Go Wrong
Even with excellent care, cast iron pans occasionally develop issues. The good news is that almost every problem is fixable, and few things can truly ruin a cast iron pan short of cracking it in half. Let's walk through the most common problems and their solutions.
Rust is the most frequent issue, especially in humid climates or if a pan is left wet. Surface rust looks alarming but is easily addressed. Scrub the rusted areas with steel wool or a scouring pad under running water until the rust is gone and you're back to bare gray metal. Dry the pan thoroughly, then immediately re-season the affected areas by rubbing with oil and heating on the stovetop or in a 400°F oven for an hour. For extensive rust that covers most of the pan, you may need to strip the entire seasoning and start fresh—which leads us to the next topic.
Sticky or tacky seasoning happens when oil was applied too thickly or the oven temperature was too low to fully polymerize it. The fix is to scrub the sticky areas with hot water and a scouring pad, dry thoroughly, and re-season with a much thinner layer of oil at a higher temperature. Remember the golden rule: if the pan looks oily, you've used too much. It should look almost dry.
Flaking seasoning usually indicates either a thick initial layer that didn't bond properly or thermal shock from extreme temperature changes. Light flaking can be smoothed down with a metal spatula or steel wool, followed by a few rounds of stovetop seasoning. Severe flaking requires stripping the pan down to bare metal and starting over.
Stripping and Starting Over
When a pan is truly compromised—severe rust, thick uneven seasoning, or a sticky mess that won't improve—it's time for a complete reset. The most reliable stripping method is the easy-off oven cleaner method. Place the pan in a heavy garbage bag, spray it generously with oven cleaner (in a well-ventilated area, wearing gloves), seal the bag, and let it sit for 24 to 48 hours. The lye in the cleaner will break down all seasoning down to bare iron. Remove the pan, scrub it thoroughly with water and steel wool, dry it completely, and begin the seasoning process from scratch.
An alternative method is electrolysis, which is favored by serious cast iron restorers for vintage pans. This involves setting up a tank with a washing soda (sodium carbonate) solution, connecting the pan to the negative terminal and a piece of scrap steel to the positive terminal, and running a low current through the bath. Electrolysis removes rust and seasoning gently without abrading the underlying metal, making it ideal for valuable vintage pieces. However, it requires equipment and safety precautions that may be beyond casual home cooks.
Remember: cast iron is almost infinitely recoverable. The worst-looking pan can become a daily cook with proper restoration. Don't give up on a pan because it looks rough—give it a reset and start again.
Storage and Long-Term Maintenance
How you store your cast iron matters more than you might think, especially if you live in a humid environment. The goal is to protect the seasoning from moisture while avoiding any reactions between the pan and its surroundings. The simplest approach is to store cast iron in a dry, well-ventilated place—hanging on a wall rack is ideal because it allows air circulation on all sides.
If you stack pans, place a paper towel or cloth napkin between them to protect the seasoning surface from scratches and to absorb any ambient moisture. Avoid storing cast iron in cabinets directly above the dishwasher or stove, where humidity levels fluctuate dramatically. For long-term storage—say, a cabin pan you only use seasonally—give it a slightly heavier oil coating than usual, wrap it in paper towels, and store it in a dry location. Check it every few months for any signs of rust.
Enameled cast iron requires different care. The enamel coating means no seasoning is needed, but it also means you must avoid metal utensils (which can chip the enamel), sudden temperature changes (which can crack it), and abrasive cleaners. Wash enameled pieces with warm soapy water and a non-abrasive sponge. For stubborn stains, a paste of baking soda and water left to sit for 30 minutes, then scrubbed gently, usually does the trick. Never use oven cleaner on enameled cast iron—it will destroy the finish.
Building a Cast Iron Collection
Once you've mastered the basics with a standard 10-inch or 12-inch skillet, you may find yourself wanting to expand. Cast iron is wonderfully modular, and different pieces serve different purposes. Here's a quick guide to building a thoughtful collection.
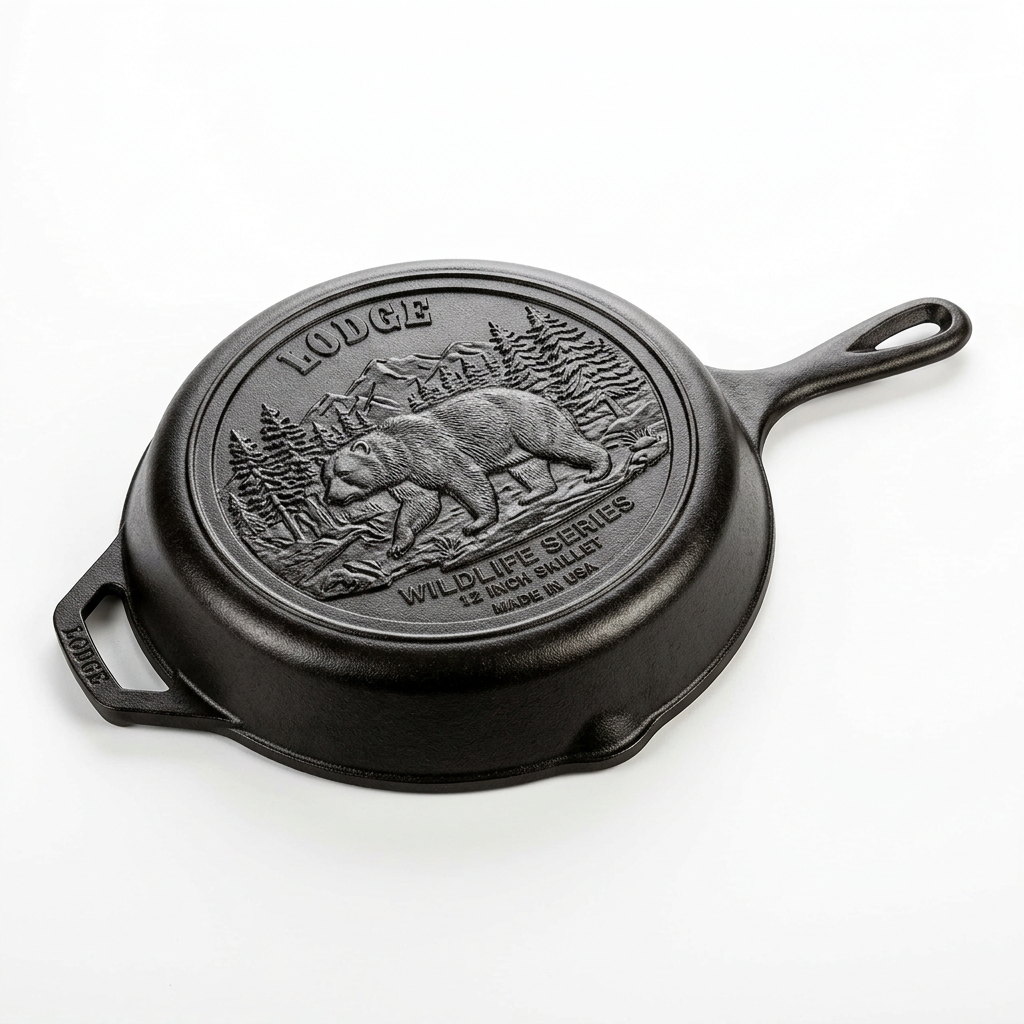
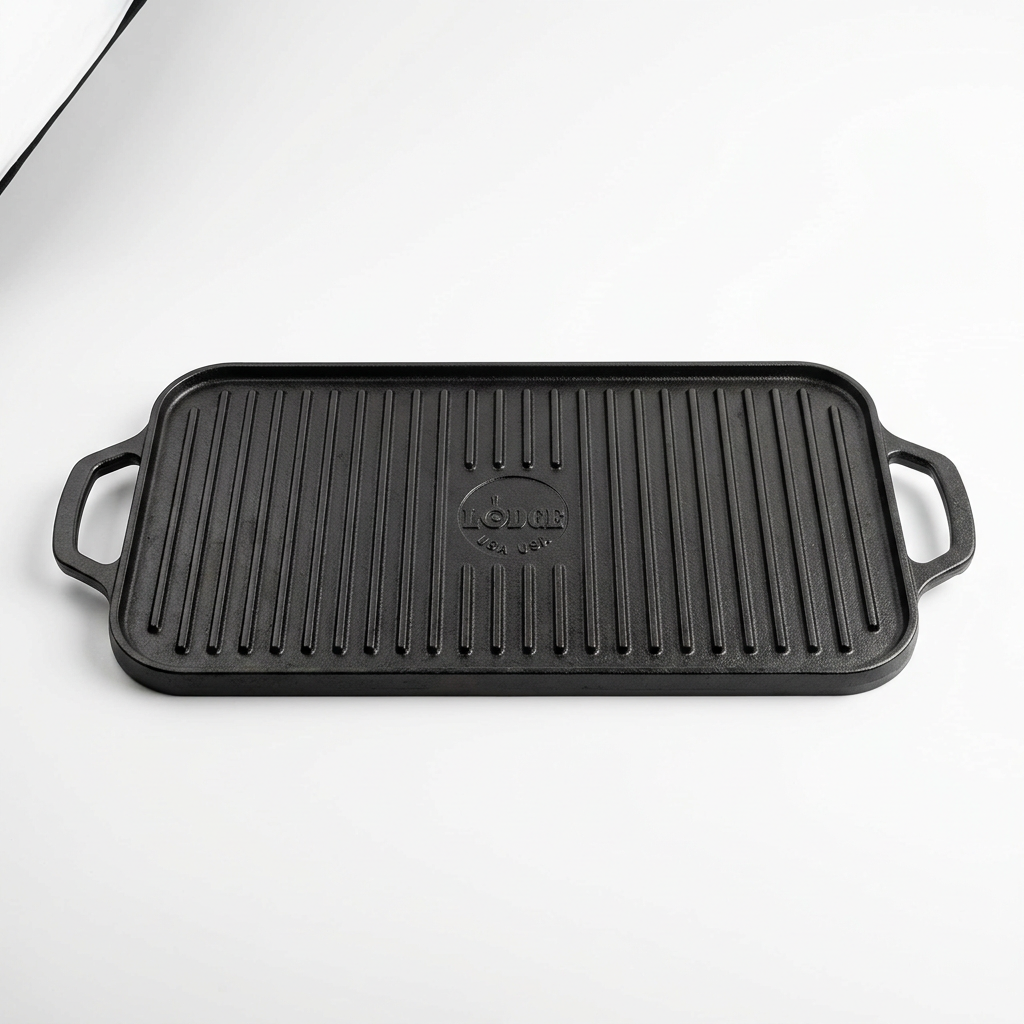
A 10-inch skillet is the workhorse—perfect for searing two steaks, making a frittata for four, or baking a skillet cookie. A 12-inch skillet gives you more surface area for larger batches or bigger cuts of meat. A cast iron Dutch oven (5 to 7 quarts) is extraordinary for braises, stews, bread baking, and deep frying; it's one of the most versatile pieces you can own. Cornbread pans with cornstick shapes are charming for breakfasts and sides. Griddles that span two burners are excellent for pancakes, bacon, and grilled sandwiches. And waffle irons in cast iron produce the crispiest waffles imaginable when properly preheated.
For vintage enthusiasts, Griswold and Wagner pans from the early 20th century are prized for their smoother surfaces and lighter weights. They're not necessarily better cooks than modern Lodge pans, but they're beautiful objects with a sense of history. Expect to pay $40 to $200 depending on size and condition. Always inspect vintage pans for cracks (especially around the handle) and warping before purchasing.
Final Thoughts
Cast iron cooking is not about perfection—it's about relationship. Your pan will develop character with every meal you cook in it, building seasoning layer by microscopic layer until it becomes uniquely yours. The pan you'll cook with in five years will be different from the one you start with today, and that evolution is part of what makes cast iron so satisfying. You're not just maintaining a tool; you're cultivating an heirloom.
The chefs I admire most all have a well-worn cast iron skillet in their home kitchens, even if their professional kitchens are stocked with stainless steel and copper. They know that cast iron teaches you something about cooking that no other material does: patience, attention, and the value of building something slowly over time. When you preheat your pan properly, when you resist the urge to fuss with a searing steak, when you take two minutes to care for your pan after dinner instead of tossing it in the dishwasher—you're practicing a kind of culinary mindfulness that translates to everything else you cook.
So start with one pan if you haven't already. Season it well, cook in it often, care for it consistently, and don't be afraid of making mistakes. Cast iron is forgiving in the ways that matter most. Your pan will outlast trends, moves, and decades of meals. It will carry the flavors of a thousand dinners in its seasoned surface, and someday, someone will inherit it and think of you every time they cook. That's not just a cooking tool—that's a legacy. And it starts the next time you light a flame and reach for that beautiful, heavy, endlessly capable skillet.

Get the Next Recipe
Weekly recipes, techniques, and gear picks — straight to your inbox.
