
Cast Iron Mastery: Building and Maintaining Your Kitchen's Most Resilient Tool
Cast iron cookware is a cherished tool in the kitchens of chefs and home cooks alike, and for good reason. Durable, versatile, and capable of delivering superior heat retention and distribution, cast iron pans and Dutch ovens can elevate your culinary adventures. Beyond their impressive cooking abilities, these pieces also have a storied history, often becoming family heirlooms passed down through generations. However, the beauty of cast iron is not just in its performance; it’s also about the care and commitment required to maintain its functionality and longevity.
The aroma of sizzling ingredients and the delightful sounds of your food cooking in a cast iron pan can ignite a passion for cooking that is hard to match. Whether you’re searing a steak, frying up crispy potatoes, or baking cornbread, a well-seasoned cast iron skillet can provide that perfect touch that makes your dish shine. But achieving that level of mastery with your cast iron requires knowledge, technique, and a bit of patience. This guide will walk you through everything you need to know to build a relationship with your cast iron cookware, from selecting the right piece to thoroughly maintaining it, ensuring it serves you well for years to come.
As you embark on this journey, it's essential to understand that cast iron has its quirks. It can be daunting at first, particularly if you’ve only cooked with non-stick or stainless steel pans. However, once you familiarize yourself with the nuances — including how to prevent sticking, how to properly season, and how to clean and maintain your skillet — you’ll find it liberating. Not only will you add a dependable tool to your culinary arsenal, but you’ll also reap the benefits of enhanced flavors and healthier cooking methods. So roll up your sleeves, and let’s dive into the world of cast iron mastery!
Choosing the Right Cast Iron Cookware
When it comes to choosing your cast iron cookware, you may find yourself overwhelmed with options. There are various shapes and sizes available, each tailored for specific culinary applications. The first step in your cast iron journey is to determine which pieces fit your cooking style best.
Types of Cast Iron Cookware
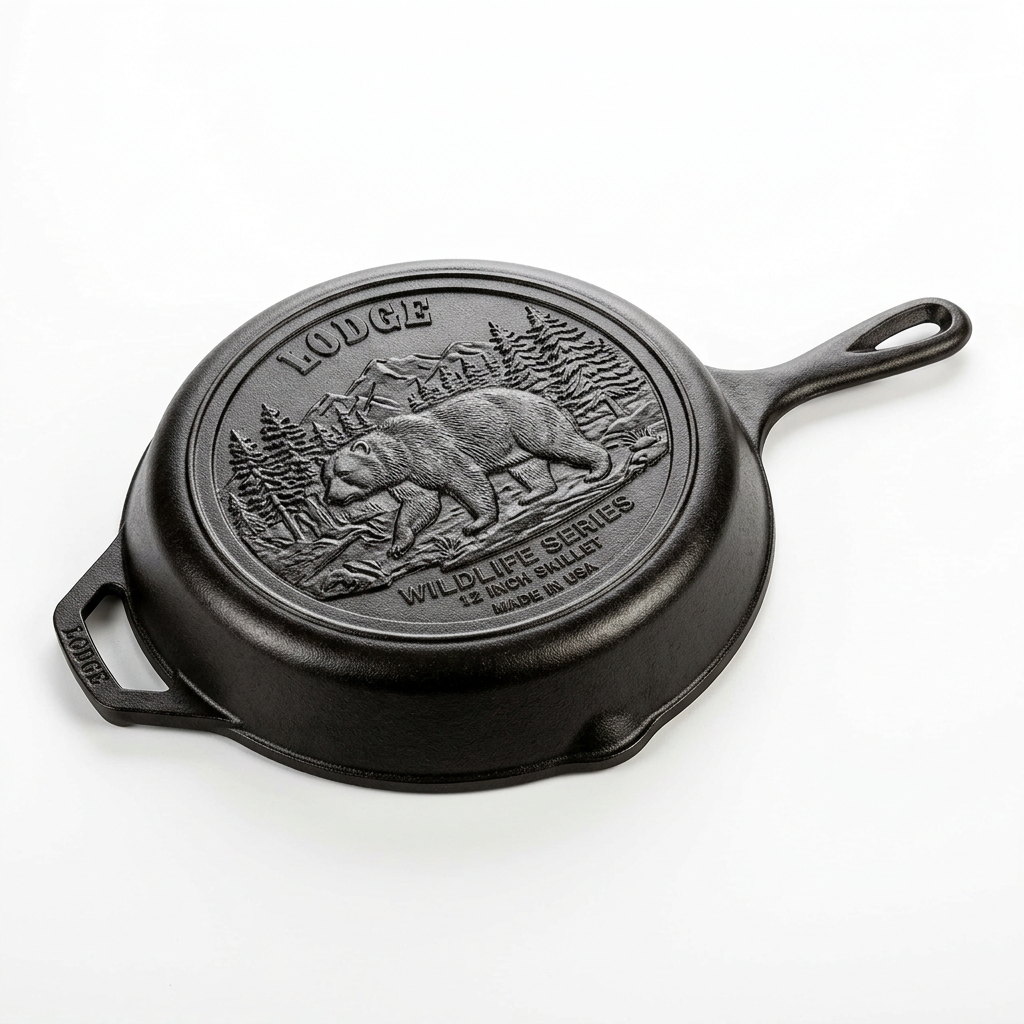
1. Skillets: The most common type of cast iron cookware, skillets are incredibly versatile. Ranging from 6 inches to 15 inches in diameter, they are perfect for frying, searing, and baking. A 10-12 inch skillet is ideal for most home cooks.
2. Dutch Ovens: These heavy-duty pots are perfect for slow cooking, braising, and baking bread. They often come with a lid and can be used on the stovetop or in the oven. A 5-7 quart Dutch oven is versatile enough for a variety of meals.
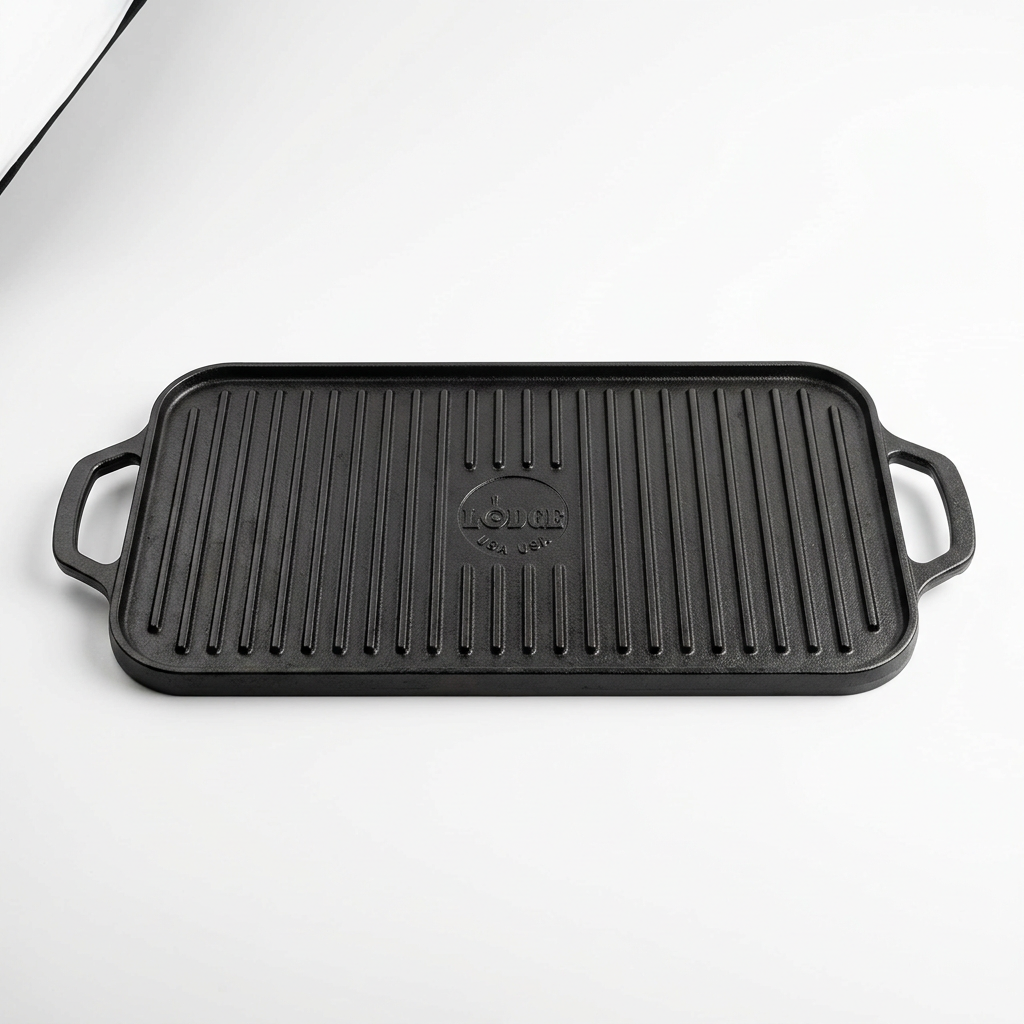
3. Grill Pans: With raised ridges on the cooking surface, grill pans create the perfect sear marks on meats and vegetables, mimicking outdoor grilling.
4. Baking Pans: Cast iron can be shaped into various baking dishes, ideal for cornbread, cakes, or even pizza.
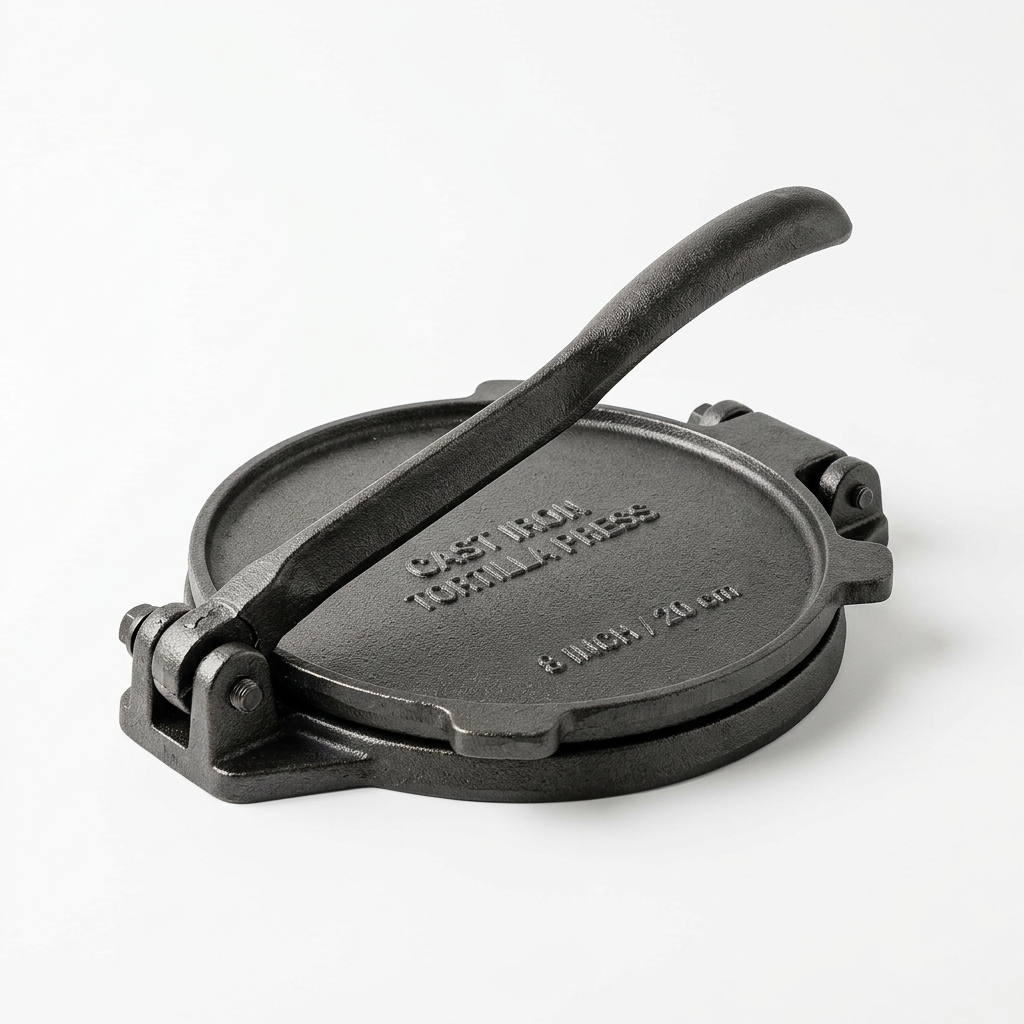
5. Specialty Cookware: Items like waffle irons or cake pans complement your core pieces and can add unique twists to your cooking repertoire.
Size and function considerations
When selecting your cast iron cookware, consider the number of people you typically cook for and the types of dishes you enjoy preparing.
New vs. Vintage Cast Iron
You may come across both new and vintage cast iron cookware on your journey. Vintage pieces offer unique charm and character but may require additional care to restore their seasoned surface. New pieces often come pre-seasoned from the factory, making them ready to use right out of the box. Professional chefs recommend trying a mix of both to appreciate the different benefits they provide.
“No matter which type or age you choose, the most important thing is to get comfortable cooking with it. With practice, you’ll cultivate a deep connection to your cast iron pieces.”
Seasoning Your Cast Iron
The term seasoning refers to the process of coating the cast iron with oil and heating it to develop a natural non-stick layer. This process is crucial for both the performance and longevity of your cookware, ensuring it remains rust-free and functional.
Step-by-Step Seasoning Process
Maintaining Your Seasoning
To keep your cast iron seasoned, follow these maintenance tips:
Signs Your Cast Iron Needs Re-seasoning
Even with proper care, cast iron may need re-seasoning if you notice:
“The effort you put into seasoning your cast iron will pay off tenfold. A well-seasoned pan becomes a culinary companion.”
Cooking Techniques with Cast Iron
Now that you've selected and seasoned your cast iron cookware, it's time to discover the myriad cooking techniques that work best with it. Cast iron’s ability to retain high heat makes it especially useful for browning and searing meats, yet it also excels at baking and simmering stews.
Searing and Browning
One of the best uses for cast iron is searing meats. The process begins with preheating your skillet.
Baking
The versatility of cast iron extends to baking as well.
Simmering Stews and Sauces
Cast iron Dutch ovens are perfect for simmering stews and sauces, thanks to their heavy lid that retains moisture.
Frittatas and Casseroles
Cast iron is also ideal for frittatas and casseroles, maintaining even heat throughout the cooking process.
“Mastery of cast iron means mastering a whole new dimension of cooking, where flavors deepen and food becomes an experience rather than just a meal.”
Cleaning Your Cast Iron
Cleaning cast iron cookware is unique compared to other materials. Proper cleaning ensures a long lifespan while maintaining that precious seasoning.
The Basics of Cleaning
Dealing with Stubborn Residue
In instances where your food has stuck or burnt onto the surface, you can use a few techniques to tackle the residue:
Restoring Rusty Cast Iron
If your cast iron has developed rust, you can bring it back to life with these steps:
Storing Your Cast Iron Cookware
Proper storage of cast iron is often overlooked, yet it is crucial to maintaining its longevity and performance.
Key Storage Tips
Long-Term Storage
For long-term storage, consider applying a thin layer of oil to help protect against rust. Place a paper towel in between the cookware to absorb any condensation.
“Good storage habits contribute significantly to the overall health of your cast iron, allowing it to remain a staple in your kitchen for life.”
Troubleshooting Cast Iron Issues
Every cook faces challenges from time to time. Here are some common issues with cast iron and how to address them effectively.
Sticking Food
Warping
Odors and Flavors
If you notice your food tasting off, particularly if you've been cooking oily or strong-flavored foods, it might be time for a deep cleaning and re-seasoning.
Conclusion
Owning and mastering a cast iron piece elevates your culinary skills and brings an element of tradition and sustainability to your kitchen. These pots and pans, when cared for appropriately, not only last a lifetime but often improve with age. By following the guidance laid out in this post, you can ensure your cast iron becomes a cherished tool in your kitchen arsenal.
As you continue your culinary journey, appreciate the resilience of your cast iron. It embodies the spirit of cooking — learning, refining techniques, and sharing meals with loved ones. Embrace each season of care, and your cast iron will reward you with delicious dishes and enduring memories. Happy cooking!

Get the Next Recipe
Weekly recipes, techniques, and gear picks — straight to your inbox.
