Chocolate Tempering: The Science Behind Silky Smooth Chocolate
Techniques

Chocolate Tempering: The Science Behind Silky Smooth Chocolate

C
By The Chef
|April 10, 2026|11 Min Read

Chocolate, often heralded as the ultimate indulgence, is a beloved ingredient that elevates desserts and confectioneries globally. However, achieving the perfect chocolate texture is a journey filled with science and precision, particularly when it comes to tempering. Many home cooks shy away from tempering chocolate due to its perceived complexity, but mastering this skill opens up a world of culinary possibilities. By understanding the fundamental principles behind chocolate tempering, you can create silky smooth chocolates that not only taste divine but also have a glossy finish and a satisfying snap.

Tempering chocolate is primarily about stabilizing the chocolate's cocoa butter crystals. When chocolate is melted, these crystals become unstable, leading to a product that can appear dull and can melt easily at room temperature. Through the tempering process, we help realign these crystals, ensuring that the chocolate achieves the right texture and sheen. This technique is especially crucial if you're aiming to dip truffles, make molded chocolates, or create decorative elements for your desserts. The method you choose—whether it's tabling, the seeding method, or the microwave method—plays a pivotal role in the final outcome.

Before diving into the techniques of tempering, it is essential to understand the types of chocolate available and their specific characteristics. While dark chocolate is often favored for its intensity and richness, milk and white chocolates have their unique qualities that also deserve attention. Knowing the differences, including optimum melting and tempering temperatures, is crucial for any chocolate lover looking to refine their skills. So, prepare your workspace, gather your ingredients, and let us embark on this delightful chocolate adventure together.

Understanding Chocolate and its Components

Types of Chocolate

Before we dive into tempering, let's explore the different types of chocolate: dark, milk, and white.

●Dark Chocolate: Made from cocoa solids, cocoa butter, and sugar, dark chocolate typically contains no milk solids. Its cocoa content can vary from 50% to 100%, and the higher the percentage, the more intense the flavor. The melting and tempering temperature for dark chocolate is usually around 45-50°C (113-122°F) and tempering is done at 31-32°C (88-90°F).
●Milk Chocolate: A sweet and creamy version of chocolate that contains cocoa solids, cocoa butter, milk solids, and sugar. Milk chocolate generally melts at a lower temperature, around 40-45°C (104-113°F), and is tempered at 30-31°C (86-88°F).
●White Chocolate: Technically not chocolate since it doesn't contain cocoa solids, white chocolate is made from cocoa butter, sugar, and milk solids. It melts around 40-45°C (104-113°F) and is tempered at 28-29°C (82-84°F).

While the base ingredients can be straightforward, the key lies in understanding how each type behaves during the melting and tempering process.

The Chemistry of Tempering

Tempering chocolate can be seen as a delicate dance between science and craftsmanship. When melting chocolate, cocoa butter separates into different crystal forms. There are six distinct types of crystals in cocoa butter, but only three types provide the desirable properties we want—stability, luster, and a clean snap.

The main goal of tempering is to encourage the formation of β crystals (beta crystals), which are stable and give chocolate its glossy finish. Tempering involves carefully controlling temperature to melt the chocolate and then cooling it just enough to allow these crystals to form before final solidification.

“Chocolate is like a potion; it requires precision, patience, and a pinch of love to create something magical.”

Understanding the phases of tempering can aid in grasping how to achieve the best results. The process typically follows these four phases:

1.Melting: Raising chocolate to its melting point to transform it into liquid.
2.Cooling: Bringing the chocolate down to a lower temperature to initiate the crystallization.
3.Reheating: Slightly warming the chocolate to stabilize the crystals.
4.Molding: Pouring the tempered chocolate into molds or using it for dipping.

The beauty of chocolate lies in its transformation through these carefully orchestrated steps.

Equipment You'll Need

To successfully temper chocolate, having the right tools can make a significant difference. Here’s a list of equipment you’ll want to have on hand:

●Double Boiler: For gently melting chocolate without direct heat.
●Silicone Spatula: Great for stirring and scraping down the sides of bowls.
●Thermometer: A digital or infrared thermometer for accurately measuring chocolate temperatures.
●Marble Slab: Ideal for the tabling technique.
●Heat-Resistant Bowl: A glass or metal bowl suitable for the microwave or hot water.
●Chocolate Molds: Used for creating solid chocolate shapes.
●Parchment Paper: For cooling and setting chocolates.

Professional Tips for Success

●Use High-Quality Chocolate: The quality of the chocolate will greatly affect your final product, so choose high-quality couverture chocolate for the best results.
●Avoid Water: Even a tiny amount of water can seize chocolate, so ensure all your tools and surfaces are dry.
●Keep the Temperature Consistent: Use a thermometer to monitor the chocolate temperature closely; small deviations can lead to failure in tempering.
●Be Patient: Allowing the chocolate to cool and agitate is crucial for the formation of stable crystals; rushing through this can compromise your results.

Techniques for Tempering Chocolate

There are several methods to temper chocolate, each method has its advantages, and the choice often depends on personal preference and available equipment. Here, we’ll cover three primary techniques: the tabling method, the seeding method, and the microwave method.

The Tabling Method

The tabling method is traditional and often favored by professional chocolatiers. It involves pouring melted chocolate onto a marble or granite surface. Here’s how to do it:

1.Melt the Chocolate: Start by chopping your chocolate into small, uniform pieces and melting it using a double boiler until it reaches the appropriate temperature (50-55°C or 122-131°F for dark chocolate).
2.Pour and Spread: Pour about two-thirds of the melted chocolate onto the marble slab. Using a spatula, spread the chocolate out into a thin layer, allowing it to cool and thicken.
3.Agitate the Chocolate: Using the spatula, push and fold the chocolate back into the center repeatedly, which encourages the formation of stable beta crystals. Continue until it reaches a temperature of about 28-29°C (82-84°F).
4.Combine: Once cooled, pour the cooled chocolate back into the bowl with the reserved melted chocolate and stir gently until uniform. Ensure the final temperature is around 31-32°C (88-90°F) for dark chocolate.
5.Use Immediately: Once tempered, use the chocolate right away for dipping or molding.

The Seeding Method

The seeding method is simpler and doesn’t require a marble surface, making it accessible for home cooks. Here’s how to execute it:

1.Melt Chocolate: As before, chop your chocolate and melt it in a double boiler until it reaches the proper temperature.
2.Add Seed Chocolate: Once melted, remove it from the heat and add small, chopped pieces of solid tempered chocolate (the “seed”). The amount can be about 20-30% of the melted chocolate.
3.Stir to Combine: Stir the chocolate gently until the added seed chocolate melts and combines fully. This encourages the formation of stable cocoa butter crystals.
4.Monitor Temperature: Keep an eye on the temperature, ensuring it cools down to the desired working temperature of 31-32°C (88-90°F) for dark chocolate.
5.Utilize Immediately: Just as before, once tempered, use your chocolate as needed.

“In the world of chocolate, technique is your trusted ally; the more you practice, the more magic you’ll create.”

The Microwave Method

For those who prefer a more straightforward and quicker approach, the microwave method can be effective, although it requires more vigilance to avoid scorching the chocolate.

1.Chop the Chocolate: Cut your chocolate into small, even pieces so it melts uniformly.
2.Microwave in Short Intervals: Place the chocolate in a microwave-safe bowl. Heat in 20-30 second bursts, stirring in between each interval until melted. Aim for a maximum temperature of 50-55°C (122-131°F).
3.Cool the Chocolate: Once melted, remove it from the microwave and let it cool slightly, stirring frequently to encourage even cooling.
4.Temper by Stirring: Continue to stir the chocolate regularly until it reaches the temperature for tempering: 31-32°C (88-90°F) for dark chocolate.
5.Use Quickly: Once properly tempered, utilize the chocolate as desired for dipping or molding.

Common Mistakes and How to Avoid Them

Even with ample knowledge and practice, mistakes are part of the learning process. Here are common pitfalls when tempering chocolate and how to avoid them:

1.Chocolate Seizing: Adding any moisture can cause chocolate to seize. Ensure all tools and your environment are completely dry. If chocolate seizes, it can sometimes be salvaged by adding a bit of vegetable oil or cocoa butter.
2.Incorrect Temperatures: Not reaching the right temperatures is one of the most frequent errors. Always use a thermometer to ensure you're within the correct temperature ranges for melting, cooling, and working chocolate.
3.Lack of Agitation: Agitation is crucial for forming stable crystals. If you notice your chocolate isn’t tempering correctly, spend more time stirring and alternating between cooling and working temperatures.
4.Overheating: Heating chocolate above the temperatures mentioned can lead to burning. If your chocolate starts to look thick or grainy, it's likely overheated.
5.Not Using Fresh Chocolate: Old chocolate may not temper correctly due to a loss of cocoa butter quality over time. Always use fresh, high-quality couverture chocolate.

How to Test if Chocolate is Tempered

Knowing that you've achieved the right temper can be tricky, but there are a few simple tests you can perform to ensure success:

The Smear Test

Take a small amount of the tempered chocolate and smear it on a piece of parchment paper or a cold surface. If it sets quickly (within a few minutes) and appears shiny and firm, it's tempered correctly. If it remains soft or appears dull, it may need more cooling or agitation.

The Snap Test

Break a piece of tempered chocolate; it should snap cleanly. If it bends instead or crumbles, it may need additional tempering.

The Blooming Test

After allowing your chocolates to cool and harden, inspect them for any signs of bloom. Lack of bloom indicates good tempering. If you see a white, powdery finish on the surface, it may suggest the chocolate has not been properly tempered.

Creative Applications for Tempered Chocolate

Once you've mastered the art of tempering, your culinary world expands exponentially. Here are some creative ways to use your tempered chocolate:

Molding Chocolates

Using molds is a popular way to create beautiful chocolate shapes. To mold chocolates:

1.Coat the Mold: Using tempered chocolate, coat the inside of your mold, making sure to cover every surface.
2.Let it Set: Allow the chocolate to set at room temperature until it’s firm to the touch.
3.Fill and Seal: If creating filled chocolates, pour in your desired filling, then cap with more tempered chocolate to seal.
4.Unmold Carefully: Once set, gently remove the chocolates from the mold for a perfect, professional-looking finish.

Dipping and Coating

Tempered chocolate is perfect for dipping fruits, cookies, or truffles:

1.Prep Your Dipping Items: Make sure whatever you’re dipping is clean and dry.
2.Dip and Remove: Dip the item into the tempered chocolate, allowing excess to drip off.
3.Set on Parchment Paper: Place the dipped items on parchment paper to set.

Decoration and Drizzling

Tempered chocolate can be used to drizzle over cakes, cupcakes, or pastries for a lovely visual and textural element:

1.Create a Piping Bag: Fill a piping bag with tempered chocolate and snip the end to drizzle.
2.Practice Your Technique: Aim for an even, consistent drizzle over your desserts for an eye-catching final touch.

Conclusion

Mastering the art of chocolate tempering may seem daunting, but with practice and patience, you will have the magical ability to create silky smooth chocolates that are both visually stunning and delectably delicious. Understanding the science behind tempering, knowing the types of chocolate, utilizing the right methods, and avoiding common pitfalls will set you on the path to success.

Whether you are molding, dipping, or decorating, tempering chocolate is a fundamental skill for any aspiring or seasoned home cook. The nuances of tempering allow you to explore your creativity in the kitchen and refine your desserts to perfection. So, roll up your sleeves, and get ready to impress yourself and others with your newfound chocolate skills! Your culinary journey awaits—embrace the rich, luscious world of chocolate.
🧰 Gear for this recipe
Tools our chefs reach for when cooking this
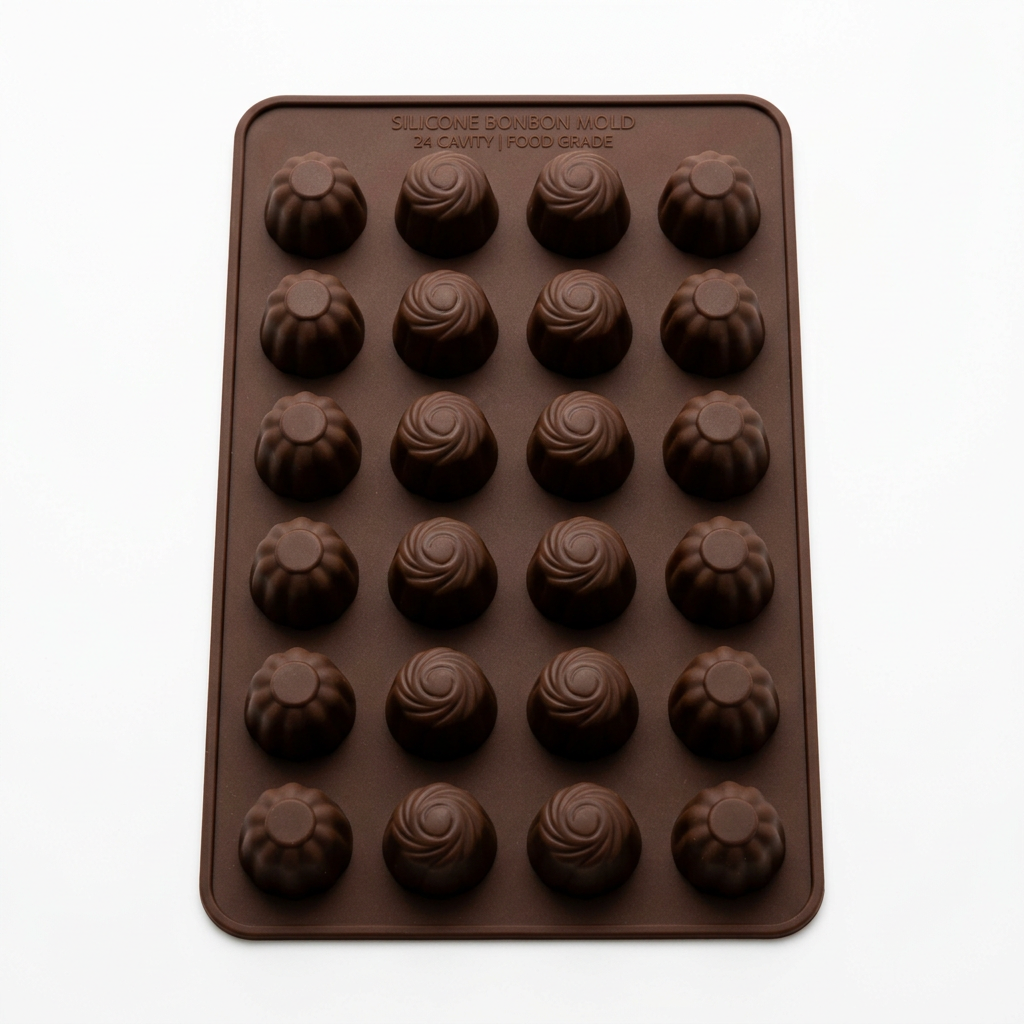
Silicone Chocolate Bonbon Mold 24-cavity
Baking
Silicone Chocolate Bonbon Mold 24-cavity
★★★★★4.5
$12-$18
View on Amazon
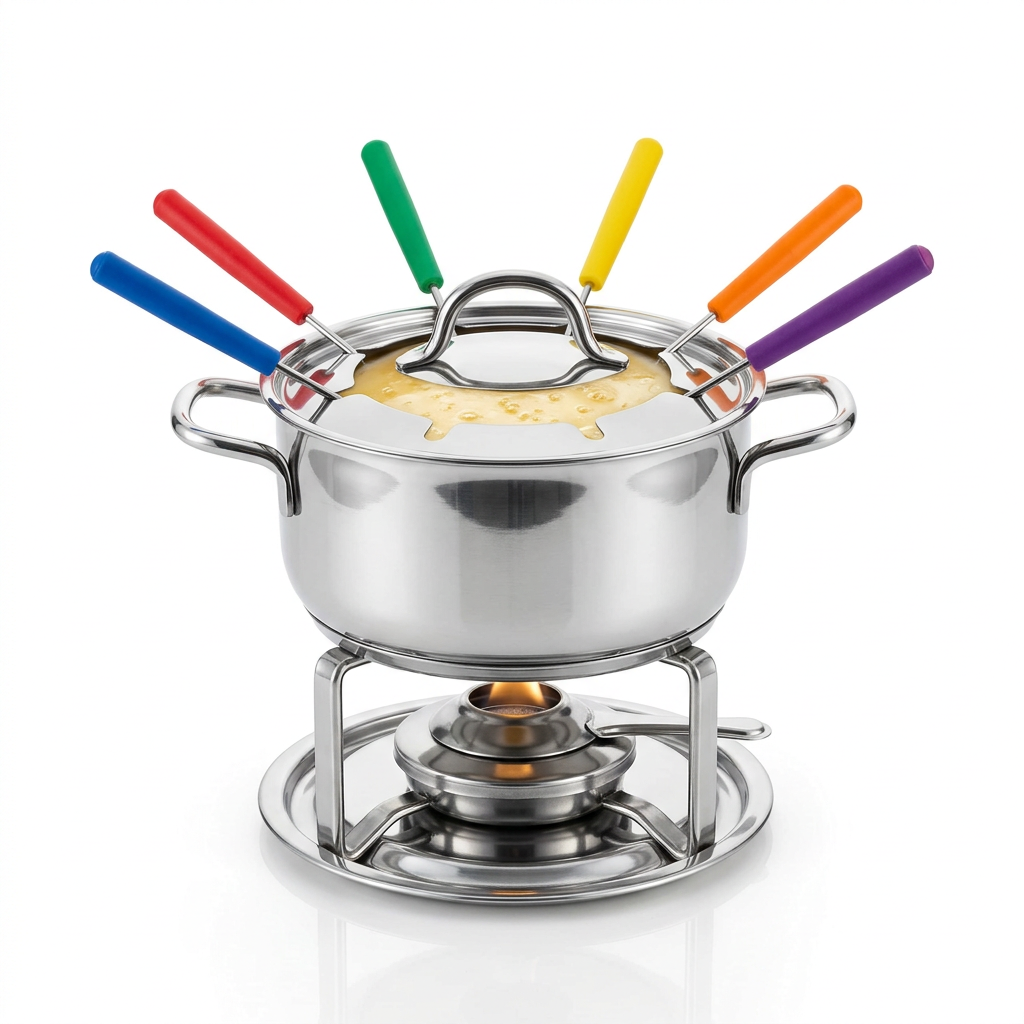
Fondue Set 6-person Stainless Steel
Serving
Fondue Set 6-person Stainless Steel
★★★★★4.5
$60-$90
View on Amazon
Vitamix 5200 Blender
Small Appliances
Vitamix 5200 Blender
★★★★★4.8
$350-$450
View on Amazon

As an Amazon Associate we earn from qualifying purchases.

🍳

Get the Next Recipe

Weekly recipes, techniques, and gear picks — straight to your inbox.

No spam, ever. Unsubscribe anytime.

YesChef - Learn from the world's best chefs
© 2026 Blame The Chef
🍳

Never Miss a Recipe

Weekly recipes, kitchen tips, and gadget picks — straight to your inbox.

No spam, ever. Unsubscribe anytime.