Chocolate Tempering: The Science of Snap and Shine
Tempering chocolate is a skill as essential as it is intricate, embodying the intersection of science and art in the world of baking and pastry. When properly tempered, chocolate transforms into a glossy, snappable delicacy that elevates any dessert. A chocolate truffle, for example, not only delights with its flavor but also impresses with its sleek finish. Unfortunately, many home bakers shy away from tempering due to misconceptions about its complexities or fear of failure. However, understanding the science behind tempering can empower you to produce stunningly beautiful and delicious chocolate confections in your kitchen.
At its core, tempering is a process that involves carefully melting and cooling chocolate to stabilize the cocoa butter crystals. When done correctly, this process will ensure that your chocolate has a satisfying snap and a professional shine—hallmarks of expertly crafted confections. The process may seem daunting, but armed with the right knowledge, methods, and a little practice, you can achieve that perfect temper every time, making your homemade treats shine as bright as those from any top-tier chocolatier.
In this post, we’ll delve into the science of tempering, step by step. We'll explore different methods you can use, troubleshoot common issues, and provide you with invaluable tips that will have your chocolate treats stealing the show. Whether you are looking to coat truffles, create chocolate decorations, or simply enjoy the luxury of perfectly tempered chocolate, you’ll find everything you need to know to elevate your culinary skill set and impress family and friends.
Understanding Chocolate
To temper chocolate effectively, it’s important to start with a solid foundation of knowledge about the different types of chocolate, their composition, and how they behave when heated and cooled.
Types of Chocolate
There are three primary types of chocolate used in tempering: dark chocolate, milk chocolate, and white chocolate. Each type features its own unique traits, which influence the tempering process.
Chocolate Composition
Understanding the composition of chocolate is crucial when tempering. The main components are:
The Importance of Tempering
Tempering chocolate is essential for several reasons:
The Science of Tempering
At the heart of proper chocolate tempering lies its molecular structure. When chocolate is melted, the cocoa butter crystals break down and lose their crystalline structure. This is where the science behind tempering comes in: we need to encourage the cocoa butter to recrystallize in a way that ensures stability.
The Cocoa Butter Crystallization Process
Cocoa butter can crystallize into different forms known as polymorphs:
The goal of tempering is to encourage the formation of Form V crystals, which are optimal for taste, texture, and appearance.
The Tempering Temperatures
To achieve the right crystalline form, it is essential to adhere to specific temperature ranges. Here are the recommended temperature guidelines for tempering different types of chocolate:
- Melt to 46-48°C (115-118°F)
- Cool to 27-28°C (80-82°F)
- Reheat slightly to 31-32°C (87-90°F) for working temperature.
- Melt to 40-42°C (104-108°F)
- Cool to 26-27°C (78-80°F)
- Reheat slightly to 29-30°C (84-86°F).
- Melt to 40-42°C (104-108°F)
- Cool to 26-27°C (78-80°F)
- Reheat slightly to 28-29°C (82-84°F).
Knowing these temperatures can simplify the process and lead to successful results every time.
The Tempering Methods
There are three popular methods of tempering chocolate, each with its pros and cons. It's worth trying each to determine which technique fits your kitchen style best.
#### The Seeding Method
Pros:
Cons:
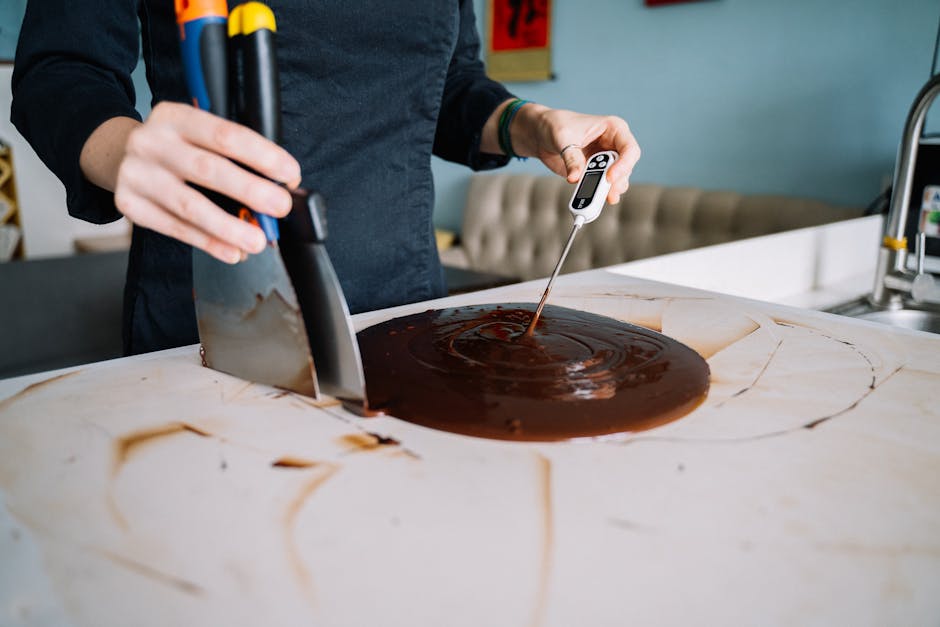
#### The Tabling Method
Pros:
Cons:
#### The Microwave Method
Pros:
Cons:
Troubleshooting Common Tempering Issues
Even seasoned bakers can face challenges when it comes to tempering chocolate. Understanding the common pitfalls can help you troubleshoot your way back to success.
Issues with Snap and Shine
Overheating Chocolate
If chocolate is overheated (above 50°C or 122°F for dark chocolate, for example), it can become “seized” or lose its temper. If this occurs, you can restore some stability by introducing small pieces of solid, tempered chocolate and stirring to bring it back into temper—though success may vary based on how far over the melting point it has gone.
Not Cooling Properly
Temperature fluctuations can cause the chocolate's temper to shift back to an undesirable state. To avoid this, ensure a consistent cooling and avoid drafts that could introduce temperature variances.
Tips for Successful Tempering
Here are some key tips to ensure that your chocolate tempering is successful:
“Perfectly tempered chocolate is not just an aesthetic choice; it elevates the sensory experience of your creations.”
Practical Applications of Tempered Chocolate
Now that you've mastered the art of tempering chocolate, it's time to consider the various ways you can incorporate it into your baking repertoire. Here are some practical applications to inspire your culinary creativity:
Chocolate Coating
Properly tempered chocolate is ideal for coating truffles, candy bars, and fruit. The smooth finish adds both flavor and elegance.
Chocolate Decorations
Tempered chocolate can also be used to create intricate decorations like curls, shards, and molds.
#### Making Chocolate Shards
#### Creating Chocolate Curls
Chocolate Ganache
Temper chocolate can be used to create ganache that is stable and perfect for fillings, glazes, or even frosting. For a basic ganache:
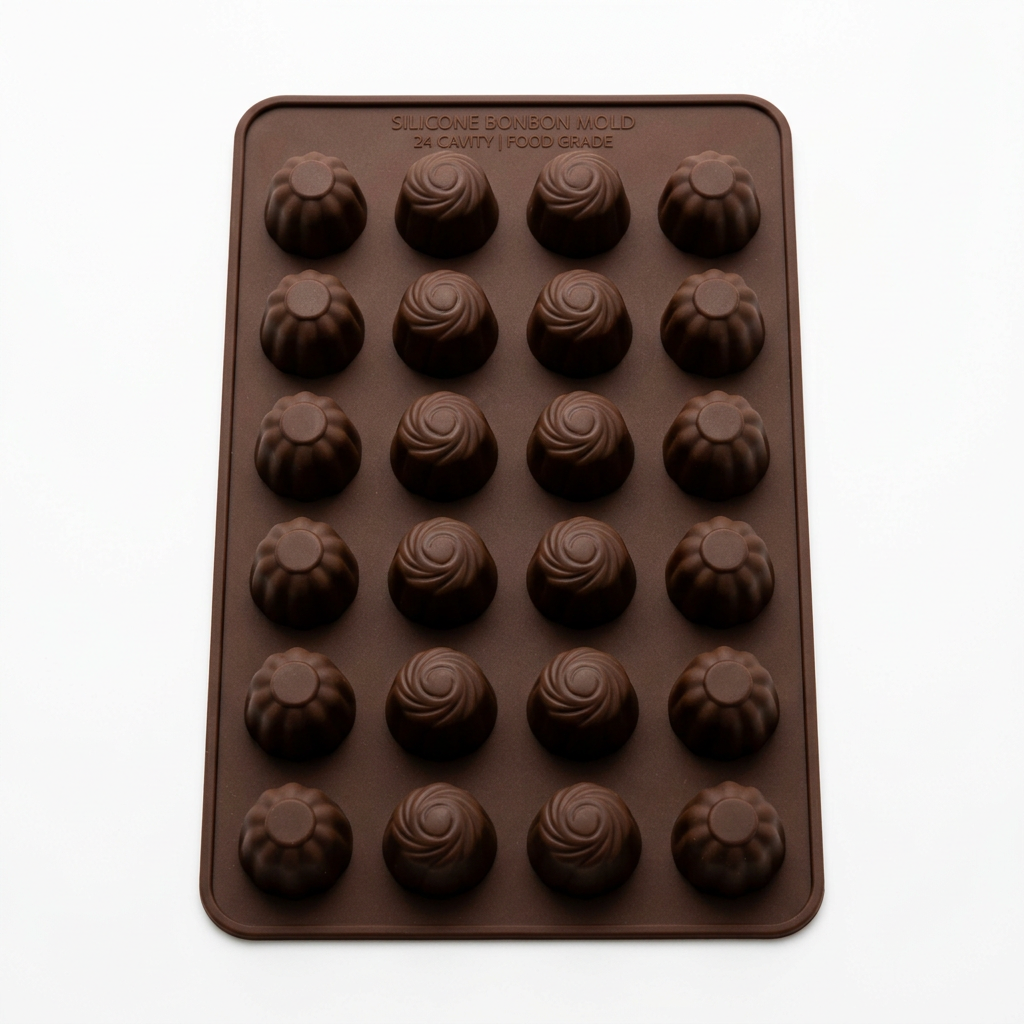
Chocolate Molding
Tempered chocolate works perfectly in molds for candy and truffles. Remember to coat the mold with a thin layer of tempered chocolate and deposit any filling before topping with additional chocolate.
Drawing from this flexibility, you can not only adorn your sweets but also integrate tempered chocolate into the fundamentals of your baking adventures.
Conclusion
Tempering chocolate may initially seem challenging, but with practice and the knowledge gained from this guide, you can confidently create chocolate confections that are not only visually stunning but also texturally satisfying. The process involves understanding the science of crystallization and applying careful techniques that allow you to appreciate the brilliance of well-tempered chocolate, all while gaining a deeper appreciation for the art of baking and pastry.
Emphasize the importance of quality chocolate and precision in temperature control, and soon you will find that you can work wonders in your kitchen, crafting chocolates with that coveted shine and delightful snap. Whether you are coating truffles, creating beautiful decorations, or learning the art of ganache, each tempered batch you create is a testament to your growing skills in chocolate artistry.
Remember, the journey of mastering chocolate is ongoing—each attempt will bring fresh insights and improvement, ultimately allowing you to realize your own culinary visions. Embrace the process, enjoy the exquisite results, and, as always, if anything goes wrong, just Blame The Chef—you have invaluable skills to develop moving forward!

Get the Next Recipe
Weekly recipes, techniques, and gear picks — straight to your inbox.
