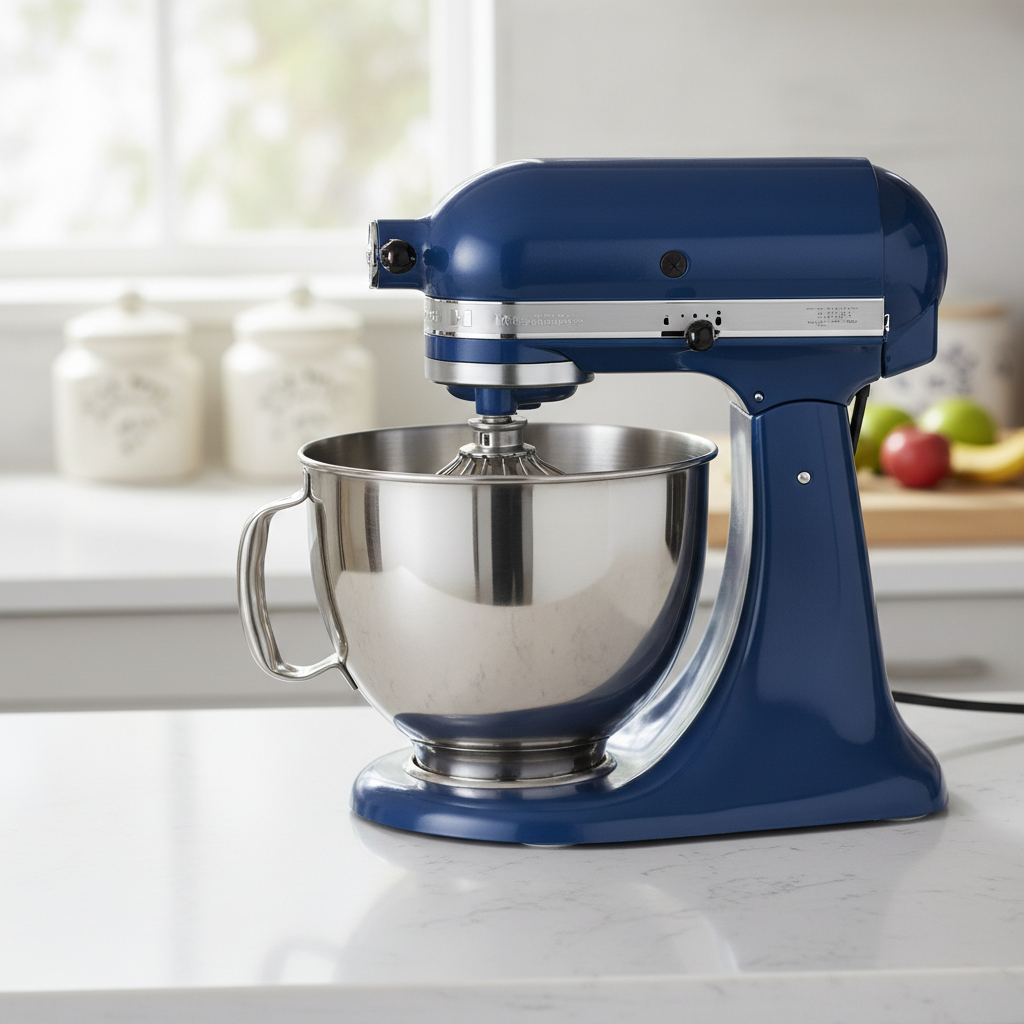
For many home bakers, the moment the dough hits the mixer is filled with anticipation. But have you ever wondered how the process before the baking truly influences the final product? Among the myriad of baking techniques available, cold fermentation is one that elevates your dough from ordinary to extraordinary. As it turns out, time and temperature are your allies in achieving a flavor profile that’s rich, complex, and utterly irresistible. This ancient method speaks volumes about patience in the kitchen, reminding us that sometimes, we must allow ingredients to mingle and develop over time for the best results.
Understanding cold fermentation requires you to rethink the way you approach baking. When you subject your dough to cool temperatures, usually in the range of 36°F to 50°F (2°C to 10°C), you're creating an environment where yeast and bacteria can work harmoniously, albeit slowly. This process not only develops flavor but also contributes to better texture, making your breads and pizza crusts more delightful and gourmet. Just imagine: a simple loaf of bread transformed into a flavorful experience—savoring each bite as you discern the nuanced notes brought out by the fermentation process.
Beyond imparting flavor, cold fermentation also enhances the dough’s elasticity and structure. The slower fermentation allows for the gluten network to strengthen over time, resulting in a loaf that has robust crumb structure and open airy holes that bakers strive for. Embracing this method opens up a new avenue for home bakers, inspiring them to experiment with bread and pizza recipes that reflect a deeper understanding of fermentation. Whether you're an amateur baker or a professional chef, understanding the nuances of cold fermentation can be the secret weapon in your baking arsenal.
Understanding Fermentation
Fermentation is a metabolic process that converts sugar to acids, gases, or alcohol using microorganisms like yeast and bacteria. In baking, typically, we rely on yeast fermentation to create dough that rises and develops flavor. But what makes cold fermentation different from its warmer counterparts lies in the timing and temperature, leading to profound changes in your bread's characteristics.
The Basics of Yeast Fermentation
Yeast is a living organism that thrives under certain conditions:
●Temperature: Yeast prefers warmth, around 75°F to 85°F (24°C to 29°C) for optimal activity. Additionally, when sugar is present, yeast begins to ferment, producing carbon dioxide and alcohol, which make the dough rise.
●Time: While warm fermentation might take only a couple of hours, with cold fermentation, you stretch the timing significantly—anywhere from 12 hours to 3 days.
●Hydration: A high-hydration dough typically ferments better and offers a more flavorful final product, as water also plays a crucial role in yeast activity.
Cold fermentation slows this process, allowing for a more gradual development of flavors and texture.
Why Cold Fermentation Works
Here are some reasons why cold fermentation is so effective:
1.Flavor Development: The longer fermentation time allows for more complex flavors to develop as yeast consumes sugars and by-products. Various flavors come alive because the yeast metabolizes and produces organic compounds such as esters and phenols.
2.Texture Improvement: With the slow fermentation, the gluten structure strengthens, yielding a dough that can trap air bubbles more effectively, leading to a better crumb.
3.Reduced Acidity: Cold fermentation encourages lactic acid bacteria to thrive, which contributes to flavor without causing excessive sourness.
4.Convenience: You can prepare your dough in advance and bake it at your convenience, which is a boon for busy lifestyles.
Cold fermentation gives the dough time to create flavor compounds that you simply cannot achieve in a hurry.
The Setup: Essential Ingredients and Equipment
Before diving into techniques, having the right ingredients and equipment is key for successful cold fermentation.
Essential Ingredients
1.Flour: Use high-protein bread flour; it contains more gluten and supports a better structure.
2.Water: Aim for colder water to begin the fermentation process at lower temperatures. About 60°F (15°C) is ideal.
3.Salt: Essential for flavor and controlling fermentation speed; typically, about 1.5% to 2% of the total flour weight.
4.Yeast: You can utilize active dry yeast or instant yeast. Generally, cold fermentation requires less yeast, around 0.25% to 0.5% of the flour weight.
5.Sugar: Optional, to feed the yeast; if included, keep it minimal for balanced flavors.
Equipment Essentials
●Mixing Bowl: A large, sturdy bowl to accommodate rising dough.
●Plastic Wrap or Lid: To cover your dough and keep moisture in while it ferments.
●Proofing Container: A container suited for cold storage; a large zip-top bag or any non-reactive container works well.
●Scale: Digital scales that measure accurately in grams make for better precision.
Steps to Prepare Your Dough
1.Weigh Your Ingredients: Precision is key. Use a digital scale for accuracy—especially for flour and water.
2.Mix the Dough: Combine flour, water, salt, and yeast in a bowl. If using sugar, add it now. Mix until all ingredients come together.
3.Knead: Knead the dough for about 8-10 minutes until smooth and elastic. The dough should pass the "windowpane test," where it stretches without tearing.
4.First Rise: Allow the dough to rest at room temperature for about 30 minutes to relax the gluten.
5.Cold Fermentation: Transfer your dough to the refrigerator in a covered container or bag. This is where the magic begins! Let it sit for a minimum of 12 hours, but ideally, you should aim for 24-72 hours.
Timing and Temperature: Optimal Conditions for Cold Fermentation
As the saying goes, "Time is of the essence"—and in baking, this couldn't be more true. Understanding the timing and temperature parameters of cold fermentation is crucial for optimal results.
Ideal Temperature Ranges
The key to effective cold fermentation lies in maintaining a consistent temperature:
●36°F to 50°F (2°C to 10°C): This temperature range is ideal. At around 38°F (3°C), the fermentation rate slows, optimizing the environment for flavor development.
●Avoid Temperature Fluctuations: Ensure your refrigerator maintains a steady temperature and is not affected by frequent opening or placing hot items inside.
Optimal Timing Strategies
1.12 to 24 Hours: A minimum of 12 hours is necessary for basic development. This duration is suitable if you want to achieve a quick flavor boost while still supporting gluten structure.
2.24 to 72 Hours: Extending the fermentation period to 48 or 72 hours will yield even more complex flavors and textures. It allows for maximum yeast activity while preventing over-fermentation.
3.Testing for Doneness: Your dough will double in size and will become puffy. Gently stretch it; if it holds its shape without collapsing, it’s ready for the next step.
“Patience often produces the best results in bread-making.”
The Cold Fermentation Process: A Step-by-Step Guide
Following cold fermentation techniques may seem daunting, but with practice, it will become second nature. Here's a breakdown of the steps involved.
Step 1: Mixing the Ingredients
Once you have all your ingredients in front of you, it’s time to get your hands dirty. Combine your ingredients in a mixing bowl.
1.Start with the flour and yeast.
2.Gradually add the cold water and mix until a shaggy dough forms. Don’t rush—incorporating all ingredients evenly is essential for a uniform texture.
3.Sprinkle salt towards the end of mixing to avoid killing the yeast, which flour can absorb moisture.
Step 2: Initial Kneading
Kneading is a crucial step in developing gluten structure in your dough.
●Knead the dough for about 8-10 minutes until it becomes smooth and elastic.
●Perform the “windowpane test”: Stretch a small piece of dough away from the rest. If it forms a thin membrane without tearing, you’re ready to proceed!
Step 3: First Rise at Room Temperature
Let the dough rise at room temperature for about 30 minutes. This is known as the bulk fermentation stage.
●Cover the bowl with plastic wrap or a damp cloth to retain moisture.
●After the initial rise, deflate the dough gently to remove excess gas.
Step 4: Cold Fermentation
Transfer your dough into a container or a zip-top bag for cold fermentation.
●Keep it sealed but ensure it has breathing room. When dough rises, it needs space.
●Place it in the refrigerator for the duration of your cold fermentation period, ranging from 12 to 72 hours.
Step 5: Shaping and Final Proofing
When you’re ready to bake:
1.Remove the dough from the refrigerator and allow it to come to room temperature for 30 to 60 minutes.
2.Gently deflate the dough, then shape it according to your recipe. This is where your dough can take the form of a loaf, baguette, or pizza.
3.Allow the shaped dough to proof at room temperature for about 1 to 2 hours.
Step 6: Baking
Once your dough has risen adequately, it’s ready for baking.
●Preheat your oven to 450°F and place a baking stone or sheet inside to heat up.
●Score the top of your dough with a sharp blade for steam to escape.
●Bake until golden brown, usually around 30-40 minutes for bread, adjusting based on size and shape.
Variations and Applications of Cold Fermentation
Cold fermentation isn’t limited to just bread; it can also enhance pizza, bagels, and various pastries. Each application reveals its own unique flavors and textures.
Cold Fermented Pizza Dough
Pizza lovers will appreciate how cold fermentation can make a difference in pizza crust.
1.Recipe Basics: For pizza dough, use the same ingredients—flour, water, salt, and yeast.
2.Cold Fermentation Time: Ideally, a 24-48 hour cold fermentation in the fridge will produce a tender, slightly chewy crust.
3.Baking: Preheat your oven as high as it goes (often around 500°F or higher). Utilize a pizza stone or steel for best results.
“The crust of your pizza is your canvas; make sure you paint it with love and quality ingredients.”
Artisan Bread
For an artisan-style loaf:
1.Hydration Levels: Consider using a higher hydration level (about 75% or more).
2.Scoring Techniques: Play around with different scoring patterns before baking to encourage uniform oven spring.
3.Additional Flavoring: Try incorporating herbs or spices into your dough before the cold fermentation for even more flavor depth.
Troubleshooting Common Issues
Even with patience, sometimes things can go awry. Here's how to troubleshoot common problems during cold fermentation.
Problem: Dough Doesn't Rise Enough
If your dough seems flat after cold fermentation:
●Check Yeast Activity: Make sure your yeast is fresh and active. If you're unsure, test it by mixing it with warm water and a bit of sugar to see if it becomes frothy.
●Temperature Context: If your fridge temperature is too low, yeast may not activate adequately.
Problem: Over-Fermentation
If your dough over ferments:
●Signs: This will often look slack and overly bubbly, losing structure.
●Resolving It: If baked, it could result in immense holes and a flat loaf. Minimize fermentation time by reducing cold storage next time.
Problem: Flavor Lacks Depth
Sometimes, the flavor may not reach the complexity you anticipated:
●Increase Fermentation Time: Try extending the cold fermentation period.
●Small Adjustments: Alter the hydration level slightly; higher hydration can lead to more flavor development.
Additional Tips from Professional Bakers
Learning from experts can provide insight that takes your cold fermentation skills to new heights.
●Experiment: Use different flours, such as whole grain or rye, for unique flavor profiles.
●Hydrate Wisely: Adjust water levels according to your environment. Drier conditions may require slightly more liquidity.
●Use a Preferment: Incorporate methods like poolish or biga for even deeper flavors.
●Make it Your Own: Don’t be afraid to add seeds, nuts, and dry fruits to create personalized breads that reflect your taste.
Conclusion
Cold fermentation is a technique that, while requiring additional time, rewards bakers with significantly improved flavors, textures, and overall results in their baking endeavors. By understanding the principles of fermentation, timing, and applying simple techniques, you will be amazed at what can be accomplished within the cozy confines of your kitchen.
Remember, baking is as much a science as it is an art. Allow yourself to experiment and embrace the learning process. Clear your schedule, grab your ingredients, and embrace the patience that cold fermentation offers. As you begin to notice the nuanced complexities in your bread-making, you will truly appreciate why slow dough tastes better. Happy baking!