Emulsification 101: Why Your Hollandaise Breaks and How to Fix It
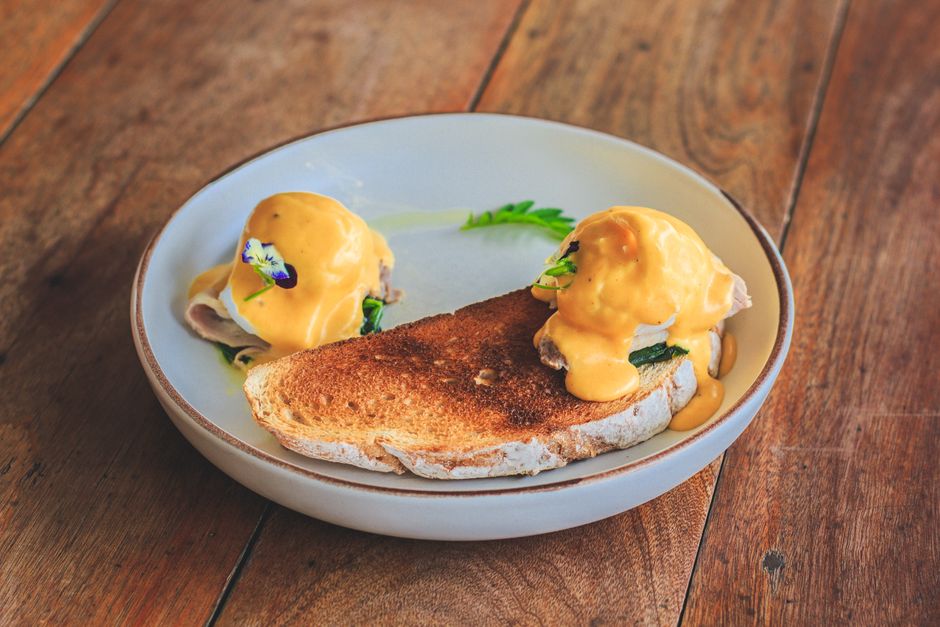
Emulsification is one of those culinary terms that can instill both wonder and dread in the heart of a home cook. The art of blending two immiscible liquids—like oil and water—might seem daunting at first glance, but mastering it opens the door to an array of delicious sauces and dressings, not to mention an impressive repertoire of techniques. When it comes to sauces, few are as revered or essential as hollandaise. This luxurious, buttery concoction graces not only eggs Benedict but also a variety of vegetables, proteins, and even seafood. Yet, for many, the prospect of making hollandaise often ends in dismay when it breaks. Understanding emulsification and the factors that contribute to both success and failure can empower home cooks to conquer this classic sauce once and for all.
At its core, hollandaise is an emulsion—a delicate blend of egg yolks, butter, and a hint of acid, typically lemon juice or vinegar. The process may seem straightforward, but the magic lies in the science of how these ingredients interact. Emulsions require time, temperature, and technique, as any disruption to these elements can lead to separation—a fate that befalls many aspiring chefs. The key to achieving a stable emulsion is understanding the roles each ingredient plays and how best to combine them. Armed with this knowledge, you’ll not only create a beautiful hollandaise but also develop a deeper appreciation for the complex chemistry happening in your kitchen.
Before diving into the whys and hows of emulsification, it’s essential to dispel some common misconceptions. Many believe that emulsions are primarily about technique, and while that is undoubtedly crucial, the foundation of a successful hollandaise lies in choosing the right ingredients and approaching the process with respect for the science behind it. By the end of this exploration, you’ll know precisely why your hollandaise might break, how to fix it, and tips to prevent future mishaps, ensuring that your culinary journey is smoother than ever.
Understanding Emulsification
Emulsification is a fascinating chemical process involving the dispersion of one liquid in another. In culinary terms, we often look at this process through the lens of sauces like hollandaise, mayonnaise, and vinaigrettes, where fat needs to be suspended in a watery phase. At a molecular level, this process occurs because of emulsifiers—substances that reduce the surface tension of liquids and help stabilize the mixture. Let's break down the different types of emulsions, the role of emulsifiers, and how understanding these concepts can lead to culinary breakthroughs.
Types of Emulsions
Emulsions can be classified into two primary categories:
For hollandaise, we’re focused on the oil-in-water model, where the butterfat needs to blend seamlessly with the water phase from the egg yolks and any added liquid like lemon juice or vinegar.
The Role of Emulsifiers
In hollandaise, the primary emulsifier is the lecithin found in egg yolks. Lecithin has a unique molecular structure that allows it to interact with both fat and water. The hydrophilic (water-attracting) head of the lecithin molecule interacts with water, while the hydrophobic (fat-attracting) tail interacts with fat. This dual affinity enables the creation of a stable emulsion by encapsulating the fat droplets and suspending them within the aqueous phase.
Understanding how emulsifiers work is crucial in preventing hollandaise from breaking. When the emulsifier’s ratio diminishes or the environment changes (e.g., too much heat), the emulsion can break down, leading to a greasy, separated sauce instead of a luscious, creamy blend.
The Importance of Temperature
Temperature plays a pivotal role in emulsification. For hollandaise, both the egg yolks and butter need to be at the right temperature to ensure a successful emulsion. If the butter is too hot when added, it can cook the egg yolks, leading to curdling. Conversely, if everything is too cold, the emulsion may not form properly. The ideal temperature for making hollandaise is around 140°F to 160°F (60°C to 71°C).
When using a double boiler to gently heat your egg yolks, keep a close eye on the temperature. A simple kitchen thermometer can be a useful tool here. Maintaining a gradual heat allows the proteins in the egg yolks to denature properly, leading to a creamy and stable emulsion.
Common Causes of Hollandaise Breakage
Despite its seemingly straightforward preparation, hollandaise can often break for several reasons. Identifying these potential pitfalls is the first step in ensuring your future attempts yield rich, velvety results. Let’s delve into the most common causes of hollandaise failure.
Overheating the Egg Yolks
One of the leading culprits behind hollandaise breakage is overheating egg yolks. As mentioned earlier, egg yolks should not exceed 160°F (71°C) during cooking. At higher temperatures, the proteins begin to denature too aggressively, which can lead to curdling rather than emulsification.
Tip: When making hollandaise, always use a double boiler for gentle heat distribution. If you don’t have one, you can create your own by placing a heat-safe bowl over a pot of simmering water, ensuring that the bottom of the bowl does not touch the water.
Incorrect Ingredient Ratios
An incorrect ratio of fat to liquid can also result in a broken sauce. If you add too much butter without enough emulsifying agent (the egg yolks), the emulsion can fail to hold together.
Proper Ratio:
Maintaining a balanced ratio ensures that the egg yolks have enough capacity to hold the fat in suspension.
Rapid Incorporation of Fat
Adding the melted butter too quickly can overwhelm the egg yolks leading to a broken emulsion. It’s essential to incorporate the butter slowly in a thin, steady stream, allowing the egg yolks to gradually absorb the fat.
Step-by-Step Butter Incorporation:
Improper Cooling Techniques
If your hollandaise starts to break after being prepared, it may have been cooled too quickly or improperly. Cooling too quickly can shock the emulsion, causing it to separate.
To gently cool down your hollandaise without breaking it:
How to Fix a Broken Hollandaise
Even experienced chefs encounter a broken hollandaise from time to time. The good news is that many times, a broken sauce can be salvaged with a few simple techniques. Let’s explore how to rescue your hollandaise and restore it to its creamy glory.
Re-emulsifying with a New Egg Yolk
One of the easiest methods to restore a broken hollandaise is to introduce a new emulsifying base. Simply whisk in an additional egg yolk into a clean bowl, then gradually reincorporate the broken sauce.
Steps:
This method works because the new egg yolk provides the additional emulsifying power needed.
Using Water to Re-emulsify
Another effective technique is using a bit of warm water to help re-bind the separated ingredients.
Technique:
Blending with an Immersion Blender
If the traditional methods fail, you can use an immersion blender (stick blender) to bring the sauce back to life. This technique is especially useful for larger batches.
How to Do It:
This quick method can save you time and relieves the stress of egg incorporation.
Preventing Future Breakage
The beauty of cooking lies not only in creativity but in learning from past mistakes. To ensure that your future hollandaise attempts are successful, adopting preventive measures is key. Here are some invaluable tips to implement in your cooking routine.
Keep Your Ingredients at the Right Temperature
As mentioned earlier, for the best results, ensure that your egg yolks and butter are at room temperature before starting. Cold ingredients can hinder emulsification, leading to failure.
To bring them to room temperature:
Invest in Quality Ingredients
The flavor of your hollandaise sauce will depend heavily on the quality of your ingredients. Use fresh, organic eggs if possible, and select a high-quality unsalted butter. The better the ingredients, the tastier the sauce will be, which also provides motivation to nail the technique.
Practice Patience with Emulsification
Cooking is often about being methodical and patient. Rushing through the process can lead to mistakes and frustration. Take your time, especially when adding butter to the emulsion.
By observing careful technique and respecting the ingredients’ parameters, you’ll find that making hollandaise becomes easier with practice.
Keep Detailed Notes
As with any culinary journey, taking notes can also solidify your learning experience. Document every attempted hollandaise with specifics about timing, temperatures, and the end result to identify what went wrong or right in each phase.
Having a culinary diary can also help you create the perfect hollandaise tailored to your taste, gradually refining your technique with each trial.
Additional Applications of Hollandaise
Hollandaise isn't just for eggs Benedict! Once you've mastered the technique, consider the many other uses for this versatile sauce. Exploring its various applications can open up a world of delicious possibilities.
Classic and Modern Dishes
Creative Takes on Hollandaise
Once you have a handle on traditional hollandaise, don’t be afraid to play around.
Pairing with Other Sauces
Hollandaise can also serve as a base for further experimentation. You can blend it with other sauces to create delightful combinations:
Conclusion
In the world of culinary arts, mastering emulsification can be one of your most empowering skills as a cook. Understanding why hollandaise breaks—and how to fix it—will not only save you from culinary disappointment but will also elevate your cooking experience as you dive deeper into the science behind cooking. The delicate dance between ingredients, temperature control, and technique creates a beautiful harmony that can enhance many dishes in your repertoire.
With patience, quality ingredients, and a commitment to learning from past mistakes, you’ll find that hollandaise (and other emulsion-based sauces) can become second nature. Whether drizzling it over the perfect egg dish or experimenting with new flavor combinations, once you’re equipped with this knowledge, the silky, luxurious world of hollandaise will be yours to explore. So, next time you whip up a batch, you’ll not only impress your guests but elevate your confidence as a home cook, ready to tackle even the most complex culinary challenges.
With consistent practice and the tips outlined above, you're on a path not just to make hollandaise, but to truly understand its essence, leading to a richer gastronomic journey.


Get the Next Recipe
Weekly recipes, techniques, and gear picks — straight to your inbox.
