Enameled vs Raw Cast Iron
The world of cookware is a vast, often confusing landscape for the home cook, but few subjects ignite as much passionate debate as the choice between enameled cast iron and raw cast iron. For generations, these two workhorses have anchored the kitchens of professional chefs and home enthusiasts alike, each promising a lifetime of service and unparalleled heat retention. When you stand in front of your stove, skillet in hand, the decision often comes down to what you are cooking and how much maintenance you are willing to perform after the meal is served. Understanding the chemical differences, the thermal properties, and the inherent character of each material is the first step toward mastering your culinary environment. We are here to strip away the myths and provide a definitive guide so you can stop blaming the equipment and start blaming the chef—or, better yet, stop blaming anyone at all.
Raw cast iron is often romanticized as the "ancestor" of modern cookware, a rugged, black-as-midnight slab of metal that has survived war, famine, and generations of neglect. It relies on a process called seasoning, where layers of polymerized oil create a natural, semi-nonstick surface that improves with every sear and sauté. In contrast, enameled cast iron is the sophisticated cousin, coated in a glass-like porcelain finish that eliminates the need for seasoning while offering resistance to acidic ingredients. Choosing between them isn’t about which is "better" in a vacuum; it is about matching the right tool to the specific task at hand. Whether you are aiming for a crusty sourdough boule or a delicate, slow-simmered coq au vin, the nuance of your cookware choice will undoubtedly influence the final texture and depth of flavor in your dish.
As we dive into the technical intricacies of these materials, I encourage you to look at your kitchen not just as a collection of tools, but as an extension of your own culinary intuition. We will explore the science of heat conductivity, the nuances of thermal mass, and the practical realities of daily cleaning and upkeep. This exploration is designed to bridge the gap between amateur apprehension and professional confidence. By the time you reach the end of this guide, you will possess a deeper appreciation for the interplay of iron, carbon, and glass, and you will understand exactly why your grandmother’s skillet feels different than a brand-new Dutch oven. Let’s prepare to transform how you approach your stovetop, one layer of fat and one searing heat cycle at a time.
The Chemistry of Raw Cast Iron and Seasoning
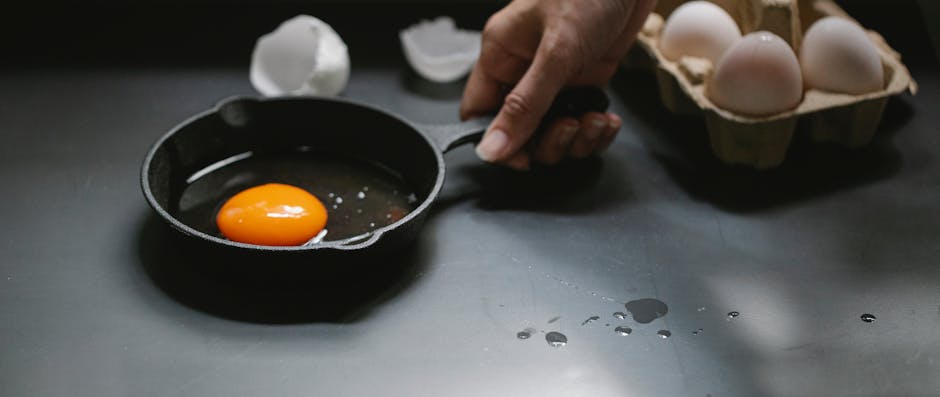
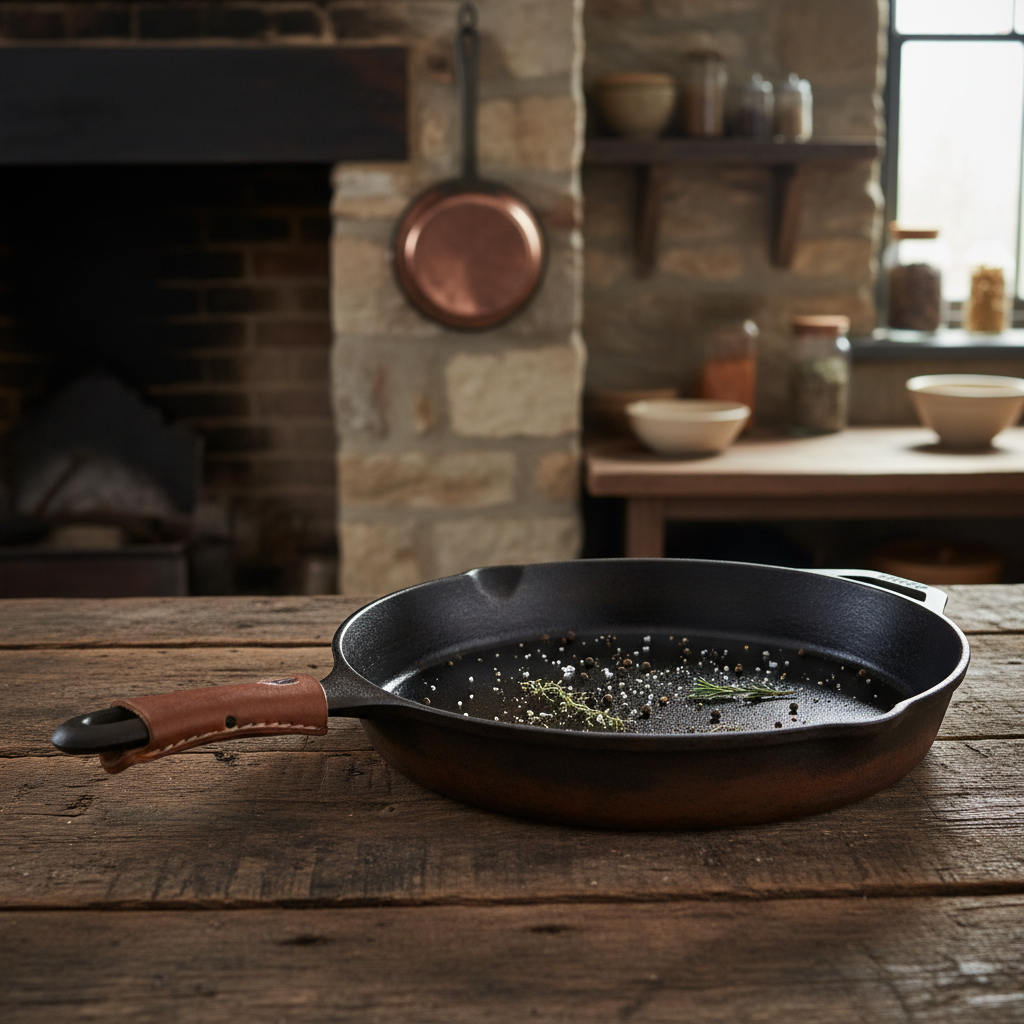
The soul of raw cast iron lies in its ability to build a patina. This is not simply a layer of grease; it is a chemical transformation. When you heat oil past its smoke point, the triglycerides break down and bond to the iron surface through polymerization. This creates a hardened, plastic-like film that prevents the iron from rusting and provides a slick surface for eggs, proteins, and vegetables. To maintain this, you must treat your skillet with care—never soaking it, drying it immediately after cleaning, and reapplying a light coating of oil to keep the surface stable.
The Mechanics of Polymerization
To achieve a perfect season, you want to use oils with a high smoke point, such as grapeseed oil or canola oil. You should apply the oil in the thinnest possible layer; if the pan looks wet, you have used too much. Place the skillet upside down in an oven preheated to 450°F (232°C) for at least an hour. This intense heat forces the molecules of the oil to cross-link, forming a durable barrier. Many home cooks make the mistake of thinking seasoning happens on the stovetop; while stovetop cooking helps, the initial "base layer" must be baked on to ensure longevity.
Managing Acidic Foods
One of the most important rules of raw cast iron is avoiding highly acidic ingredients for long periods. If you simmer a tomato sauce for three hours in a raw cast iron skillet, you are effectively stripping your seasoning and leaching iron into the food, which can impart a metallic, "tinny" taste. While this isn't necessarily dangerous, it is rarely delicious. Reserve your raw cast iron for searing steaks, frying potatoes, or baking cornbread, and leave the acidic braises for your enameled pieces.
"A well-seasoned cast iron skillet is the only piece of equipment in the kitchen that feels like it possesses a memory; it remembers every meal you have ever prepared in it, and it only gets better with the weight of that history."
The Elegance of Enameled Cast Iron
Enameled cast iron offers the legendary heat retention of raw iron with the chemical neutrality of glass. Because the interior is coated in vitreous enamel, you never have to worry about seasoning, rusting, or reacting with acidic ingredients. This makes it the superior choice for long, slow braises, delicate sauces, and soups. When you are cooking a complex stew with wine, vinegar, or tomatoes, the enamel acts as a protective shield, ensuring that no metallic flavors bleed into your liquid base, preserving the purity of your ingredients.
Thermal Inertia and Heat Control
Do not be fooled into thinking that enamel is indestructible. While it won't rust, it is prone to thermal shock. If you take a cold Dutch oven out of the refrigerator and place it directly onto a high-heat burner, the temperature disparity can cause the enamel to crack or flake. Always allow your enameled pieces to reach room temperature before exposing them to intense heat, and never use metal utensils that can scratch or gouge the surface. Wooden or high-temperature silicone tools are your best friends here.
Cleaning and Maintenance
Cleaning enameled cast iron is significantly easier than raw cast iron. Because it is non-porous, you can use mild soap and water without fear. However, you should avoid the dishwasher. Even if a manufacturer claims a piece is dishwasher-safe, the harsh detergents and the abrasive nature of the wash cycle will dull the finish over time. Hand-washing with a soft sponge is the professional standard for preserving the longevity and luster of the enamel for decades of service.
Understanding Heat Conductivity and Retention
Both raw and enameled cast iron share a fundamental trait: they are terrible conductors but excellent retainers of heat. Unlike copper or aluminum, which respond instantly to changes in burner temperature, iron takes a long time to heat up and a long time to cool down. This is why you must preheat your pans. If you drop a cold steak into a pan that hasn't been properly preheated, the temperature of the surface will plummet, leading to steaming instead of searing.
The Importance of Preheating
Always give your cast iron at least five to ten minutes to warm up on medium heat before adding your fat. You are looking for an even distribution of energy across the entire base of the pan. A professional tip is to use the "water droplet test": flick a tiny amount of water into the pan. If it evaporates instantly, keep waiting. If it dances and skitters across the surface—the Leidenfrost effect—you have achieved a consistent, even heat, and you are ready to sear.
Thermal Mass and Large Batches
When cooking in large quantities, raw cast iron’s high thermal mass is a massive advantage. If you are searing multiple batches of chicken thighs, a thin aluminum pan would lose its temperature, resulting in pale, soggy skin. Cast iron, however, stores enough heat to recover quickly even when cold food is introduced. This thermal capacity is the secret to getting a deep, mahogany crust on proteins every single time, provided you have the patience to let the pan work its magic.
"The true test of a chef is not the complexity of their recipe, but the control they exercise over their heat source; cast iron is the ultimate tool for those who respect the physics of the kitchen."
Techniques for the Perfect Sear
When using raw cast iron for searing, the goal is the Maillard reaction, the chemical reaction between amino acids and reducing sugars that gives browned food its distinctive, savory flavor. Because raw iron can withstand extremely high temperatures, it is the ideal vessel for this. You want to get your pan to approximately 400°F (204°C). If you go higher, you risk burning your oil; if you go lower, you will end up with gray, lifeless meat.
Step-by-Step Sear Technique
Deglazing the Pan
After searing, you will often find "fond"—the brown, caramelized bits stuck to the bottom of the pan. This is pure flavor. To capture it, pour a splash of stock, wine, or vinegar into the hot pan. Using a wooden spoon, scrape the bottom while the liquid bubbles. This technique turns those stuck-on bits into a rich, complex pan sauce that can be mounted with cold butter for a restaurant-quality finish. In a raw iron pan, this is fine for short durations, but be sure to wash and re-oil immediately after.
Baking: Breads, Pizzas, and Beyond
There is no debate here: raw cast iron is the undisputed king of oven baking. Whether you are baking a crusty loaf of no-knead sourdough or a deep-dish pizza, raw cast iron provides a radiating heat that produces a superior crust. When you bake bread in a preheated Dutch oven, the lid traps the steam released by the dough, which allows the loaf to expand fully before the crust sets. This leads to an incredible "oven spring" and a crackly, professional-grade crust that you simply cannot replicate in a standard sheet pan.
The Cornbread Standard
For Southern-style cornbread, raw cast iron is essential. By placing an empty, oiled skillet in the oven while it preheats to 425°F (218°C), the pan becomes a searing engine. When you pour your batter into that hot metal, the edges fry instantly, creating a golden, crispy border while the interior stays tender and moist. This is a texture profile that enameled iron struggles to match because the enamel coating, while heat-retentive, does not transfer heat as aggressively as raw, seasoned metal.
Troubleshooting Oven Results
If your baked goods are sticking, it is almost certainly a sign that your seasoning is compromised or you haven't used enough fat. For cakes or delicate breads, treat your raw cast iron like a cake pan: butter it well and dust it with flour or cornmeal before adding the batter. When you finish baking, don't worry about scrubbing it clean immediately. Let it cool, wipe out any crumbs, and if there is any residue, use a chainmail scrubber or a plastic scraper—avoid steel wool, which will strip your hard-earned seasoning layer.
The Longevity of Your Investment
If you purchase a high-quality cast iron piece—whether raw or enameled—it should be the last one you ever buy. These pans are designed to be passed down through generations. However, this longevity requires an understanding of how to treat the materials when things go wrong. Everyone, even professional chefs, has accidentally rusted a raw pan or chipped an enameled one. It is not the end of the world, and it certainly isn't a reason to discard the tool.
Restoring Raw Cast Iron
If your raw cast iron develops rust, it is essentially a surface issue. You can scrub the rust away using a mixture of coarse salt and a potato cut in half, or, if the rust is severe, use a mild scouring pad. Once the rust is gone and you see bare gray metal, you must re-season the pan immediately. Apply a very thin layer of vegetable oil, bake it at 450°F (232°C) for an hour, and repeat the process three times. Your pan will be back to its nonstick glory in no time.
Handling Enameled Flaking
If your enameled piece chips on the exterior, it is purely cosmetic; you can continue to use it. If the chip is on the interior cooking surface, however, you must be more cautious. Exposed raw iron inside an enameled piece can rust, and there is a risk of enamel shards ending up in your food. In this case, the pan should be retired from high-heat cooking and perhaps used as a serving vessel or a storage container, but it is no longer safe for primary stove-top use.
"A kitchen without cast iron is a kitchen lacking a foundation; it is the difference between cooking for survival and cooking for the sheer, unadulterated joy of transformation."
Choosing the Right Tool for Your Kitchen
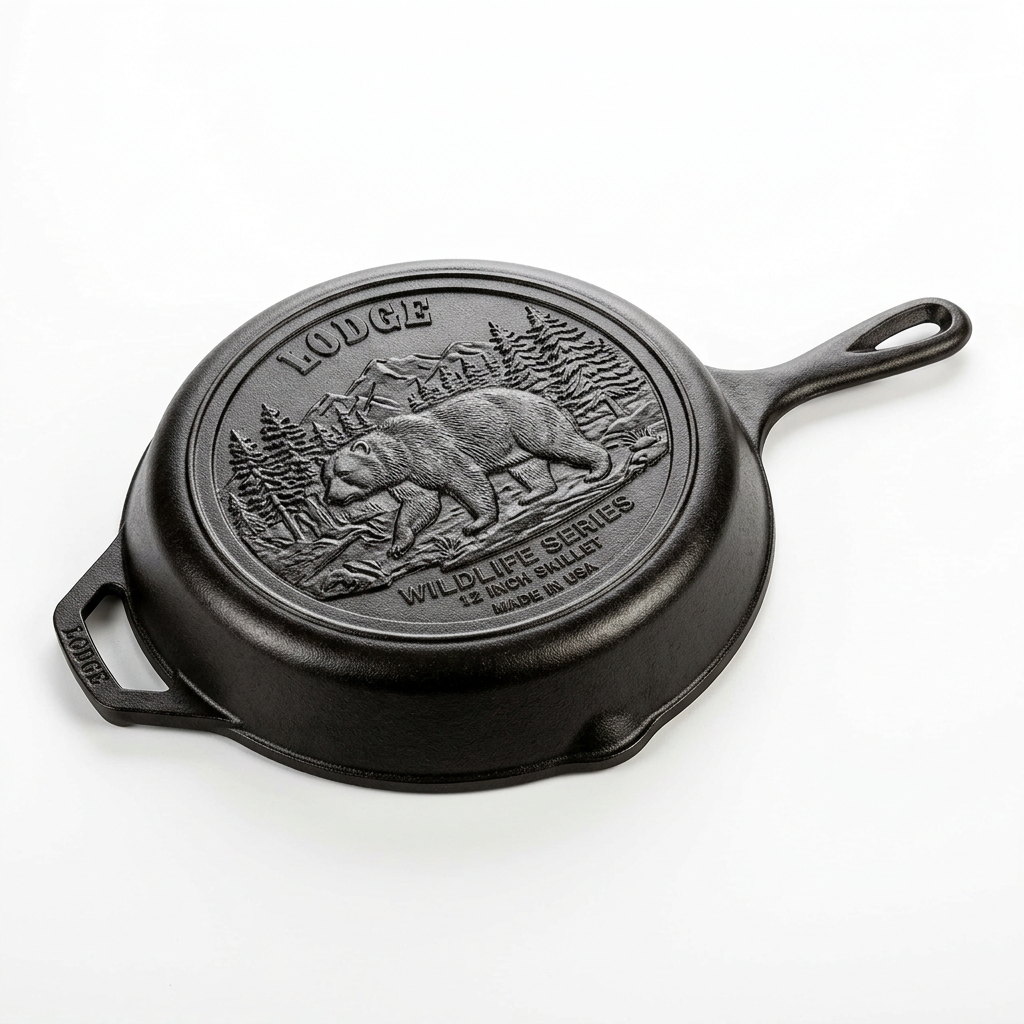
As you grow as a cook, your inventory should grow with you. I recommend that every home cook starts with three core pieces: a 10-inch raw cast iron skillet, a 12-inch raw cast iron skillet, and a 5.5-quart enameled Dutch oven. This "trinity" covers 90% of the techniques you will encounter in any serious recipe book. The smaller raw skillet is perfect for eggs, searing individual steaks, and quick side dishes, while the larger one is your go-to for batches of vegetables, fried chicken, or large-format bakes.
Why You Need Both
Professional Tips for Growth
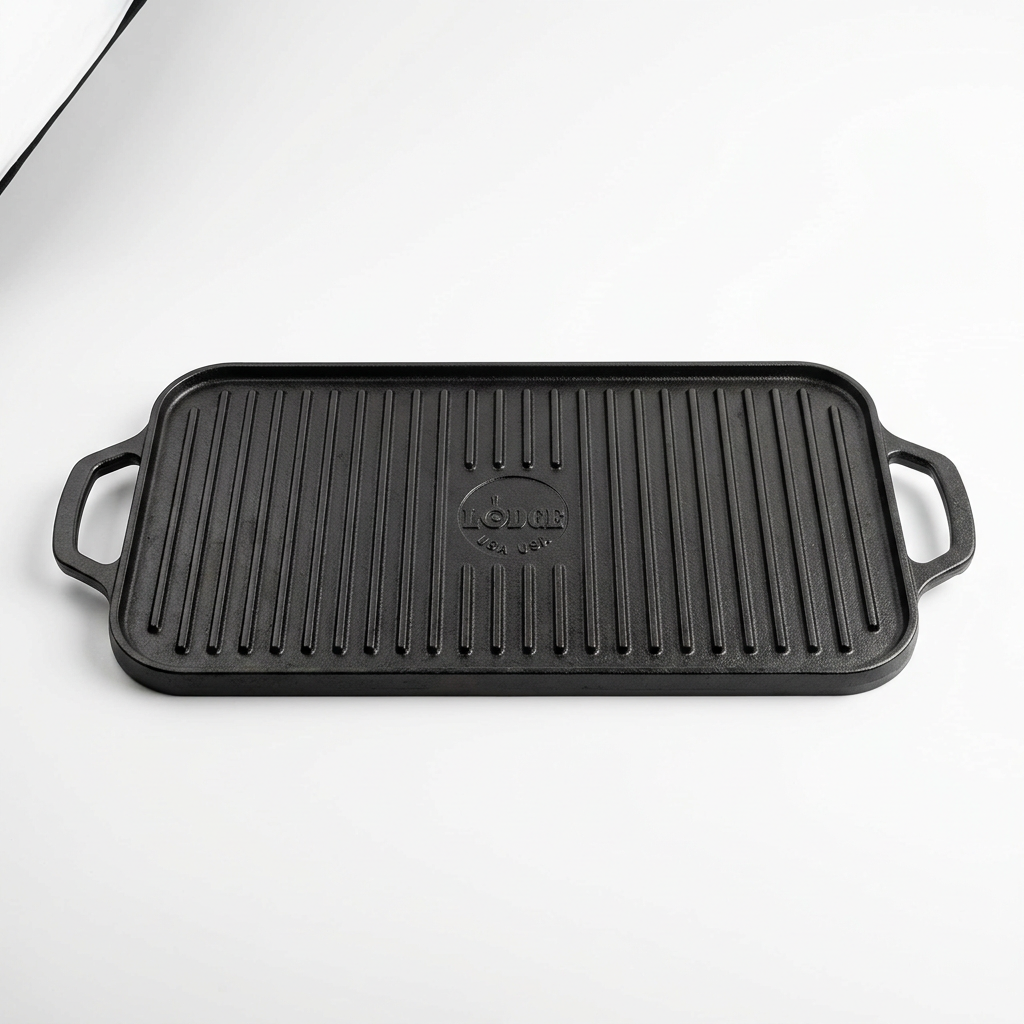
As you become more comfortable, you can expand into specialty items like an enameled cast iron braiser (which has more surface area for reduction) or a grill pan (though I generally advise against these, as they are notoriously difficult to clean). The key is to avoid over-collecting. You do not need twenty pans. You need two or three that you know intimately. When you use a pan every single day, you develop a sense for how it reacts to your stove, how much heat it holds, and exactly how much fat it needs to keep food from sticking.
Conclusion
The choice between enameled and raw cast iron is a journey of understanding the medium you use to feed yourself and your loved ones. Raw cast iron demands that you be a participant in its existence—seasoning it, guarding it against moisture, and watching it darken into a beautiful, nonstick relic. Enameled cast iron offers a more carefree experience, allowing you to focus purely on the chemistry of your flavors without worrying about the integrity of your surface. Both serve the same ultimate goal: to provide a stable, heat-retentive environment that elevates raw ingredients into a masterpiece.
By mastering the techniques outlined here—preheating correctly, understanding the role of fat and heat, and respecting the limitations of each material—you stop being a passive user of your tools and become a true practitioner of the culinary arts. Do not be afraid to burn your butter once or twice, or to accidentally sear something a little too aggressively. These are not failures; they are the tuition costs of becoming a better chef. Your cast iron pans are waiting to assist you in this evolution. Treat them well, keep your heat under control, and you will find that the best recipes are often the simplest, delivered with the confidence that only the right tool can provide.
As you move forward in your kitchen adventures, remember that the "Blame The Chef" philosophy is all about empowerment. It is about realizing that while the equipment is important, the hand that moves the wooden spoon is the deciding factor in every successful meal. Whether you reach for the heavy, black, seasoned surface of your well-loved skillet or the colorful, glass-smooth interior of your enameled Dutch oven, know that you are utilizing the pinnacle of culinary engineering. Go forth, keep your pans hot, your fat fresh, and your intuition sharp. The kitchen is yours to command.

Get the Next Recipe
Weekly recipes, techniques, and gear picks — straight to your inbox.
