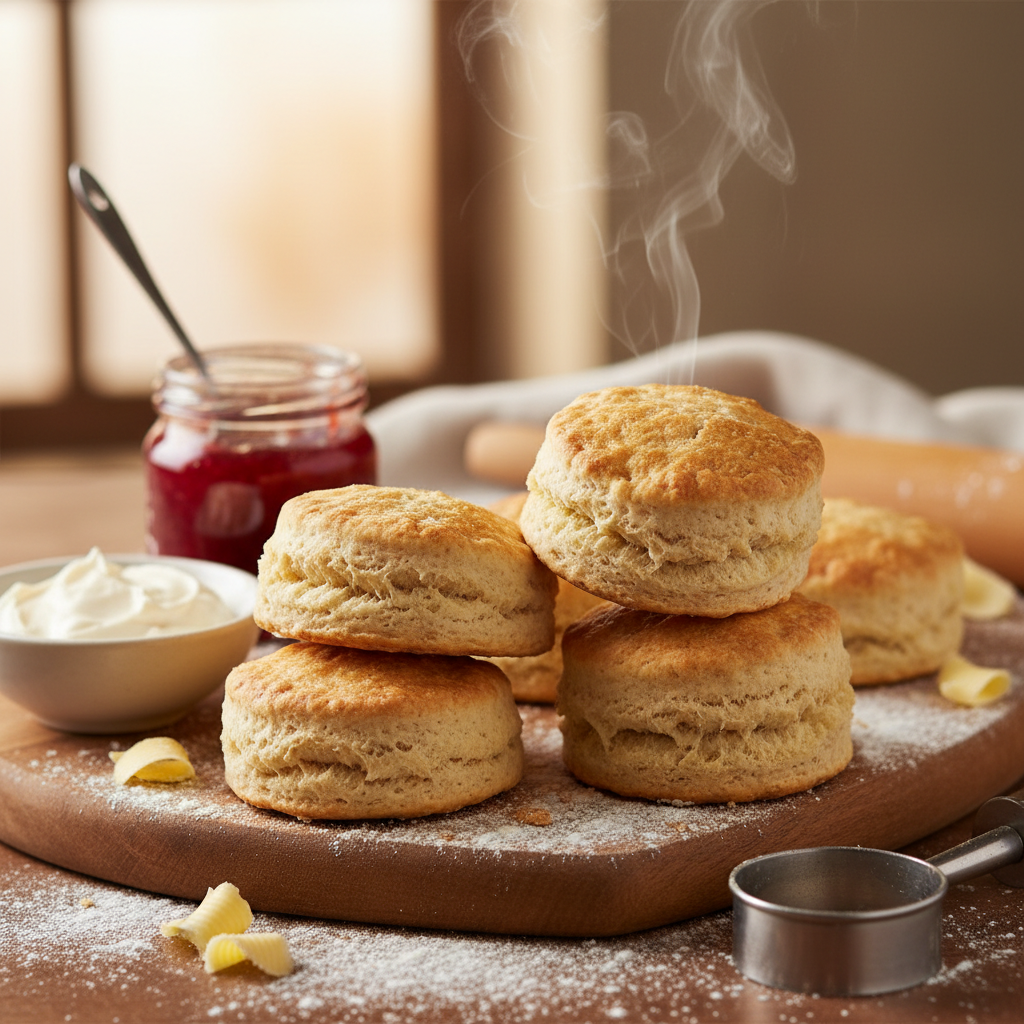
Essential Techniques for Achieving Fluffy, Flaky Biscuits Every Time
When it comes to the world of baking, few things evoke warmth and comfort quite like a batch of perfectly made biscuits. Whether you're serving them with breakfast, enjoying them alongside a hearty stew, or indulging in a biscuit sandwich filled with your favorite ingredients, they have a reputation for being the ultimate comfort food. However, achieving that fluffy and flaky texture can often seem out of reach for many home cooks. The good news is that mastering this art is entirely possible with the right techniques and understanding of the science behind the ingredients.
The beauty of biscuits lies in their simplicity; they require few ingredients, yet the interplay between them can be the difference between a dry, hard disc and a light, airy delight. From the choice of flour to the method of mixing, each element plays a crucial role in the final outcome. With a few essential techniques, you can transform your biscuit-making skills from mediocre to magnificent. Whether you’re a beginner looking to impress or a seasoned baker wanting to refine your craft, this guide is designed to help you unlock the secrets to achieving biscuits that are both delicious and visually appealing.
Understanding the fundamentals of biscuit making can open up a world of culinary possibilities. With this comprehensive approach, we will explore each step of the process in detail. By the end of this post, you will have the knowledge and confidence to create biscuits that would make any chef proud—fluffy, flaky, and full of flavor every time.
Choosing the Right Ingredients
Flour Selection
The starting point for any biscuit recipe is flour, and not all flours are created equal. The protein content in flour affects the gluten formation, which in turn influences the biscuit's texture. For the fluffiest results, most recipes recommend using all-purpose flour with a protein content around 10-12%. This balance of protein allows for enough structure without becoming overly tough.
Other flours, such as bread flour, have higher protein content and may lead to denser biscuits. Conversely, cake flour has lower protein and could produce a more delicate biscuit. However, if you prefer a blend, consider a mix of all-purpose and cake flour to achieve a texture that straddles light and airy yet sturdy enough to hold fillings.
Fat Matters
Fat is a critical ingredient in biscuit making as it contributes to the flakiness and tenderness of the final product. The two most common types of fat used in biscuits are butter and shortening. Butter adds a rich flavor and can enhance browning due to its milk solids. For those seeking a specifically flaky result, using a combination of butter and shortening is often recommended; while butter provides flavor, shortening helps create those well-loved layers.
Keep your fats cold! The temperature at which you add the fat can dramatically affect your biscuit dough. Chilled butter (or shortening) creates steam when it melts, resulting in those desirable layers. Aim to cut the fat into the flour until it resembles rough crumbs, retaining some larger pieces that will create those flaky layers.
Leavening Agents
Leavening agents are what make your biscuits rise. The primary leavening agent used in traditional biscuit recipes is baking powder, though some recipes may call for baking soda along with an acid such as buttermilk. Baking powder contains both an acid and a base, allowing it to produce carbon dioxide when mixed with moisture and heat.
When measuring, always check the expiration dates on your leavening agents, as old baking powder can lead to flat biscuits. Generally, a good rule of thumb is to use about 1 tablespoon of baking powder per cup of flour. For biscuits utilizing baking soda paired with buttermilk, aim for about ½ teaspoon of baking soda alongside 1 cup of buttermilk.
"The right ingredients are like the right players on a team; without them, the outcome won’t be what you expect."
Preparing Your Dough
Mixing Techniques
Now that you have gathered your ingredients, it’s time to mix your dough. The mixing technique directly affects your biscuits' texture; overmixing can lead to tough biscuits due to excess gluten formation. Start by whisking together your dry ingredients—flour, leavening agents, and salt. This helps to evenly distribute the baking powder, ensuring a uniform rise.
Once your dry ingredients are mixed, add your cold fat—usually in diced pieces. Use a pastry cutter or your fingers to cut the fat into the flour until it resembles a coarse meal with pea-sized bits of fat remaining. This step is crucial; avoid overworking the mixture.
Buttermilk or Milk?
For added richness, the choice of liquid in your biscuit recipe often comes down to regular milk versus buttermilk. Buttermilk adds acidity, which reacts with baking soda to produce a tender, lighter biscuit. If using buttermilk, reduce the amount of baking powder to prevent an overly acidic flavor.
When incorporating your liquid, do so gradually. Make a well in the middle of your dry ingredients and pour in the milk or buttermilk, stirring gently with a fork or spatula until just combined. The goal is to bring the dough together without overmixing, resulting in tender biscuits.
The Essential Folding Method
Once the dough is kneaded gently for about 30 seconds to a minute, it's time to work on creating layers for that flaky texture. Transfer the dough to a floured surface and shape it into a rectangle. Using the palm of your hand or a rolling pin, gently press the dough out, ensuring it retains a thickness of about 1 inch.
Folding the dough is what introduces those cherished layers; fold the rectangle into thirds, much like a letter. Turn the dough 90 degrees, then roll it out again to about 1 inch thick and repeat the folding process one or two more times. This technique ensures that your biscuits will have distinct layers when baked but avoids overworking the dough.
"Folding is an essential technique for biscuit making; it’s where the magic of texture happens."
Shaping Your Biscuits
Cutting with Care
When it comes to cutting your biscuits, the tool you choose matters significantly. A sharp biscuit cutter or glass creates a clean edge and allows for optimal rise. Avoid twisting the cutter as this seals the edges and prevents expansion. Instead, press down firmly and lift straight up.
Aim for a thickness of about 1 inch for your biscuits, which ensures an ideal bake. If you find that your dough is sticking to the cutter, lightly flour the cutter between cuts to maintain the integrity of your biscuits.
Arrangement on the Baking Sheet
How you place your biscuits on the baking sheet can influence their final texture. Biscuits can be spaced apart for a traditional crusty edge or touching each other on the baking sheet for a more tender edge. The latter option allows steam to be trapped between biscuits, contributing to a softer texture on the sides.
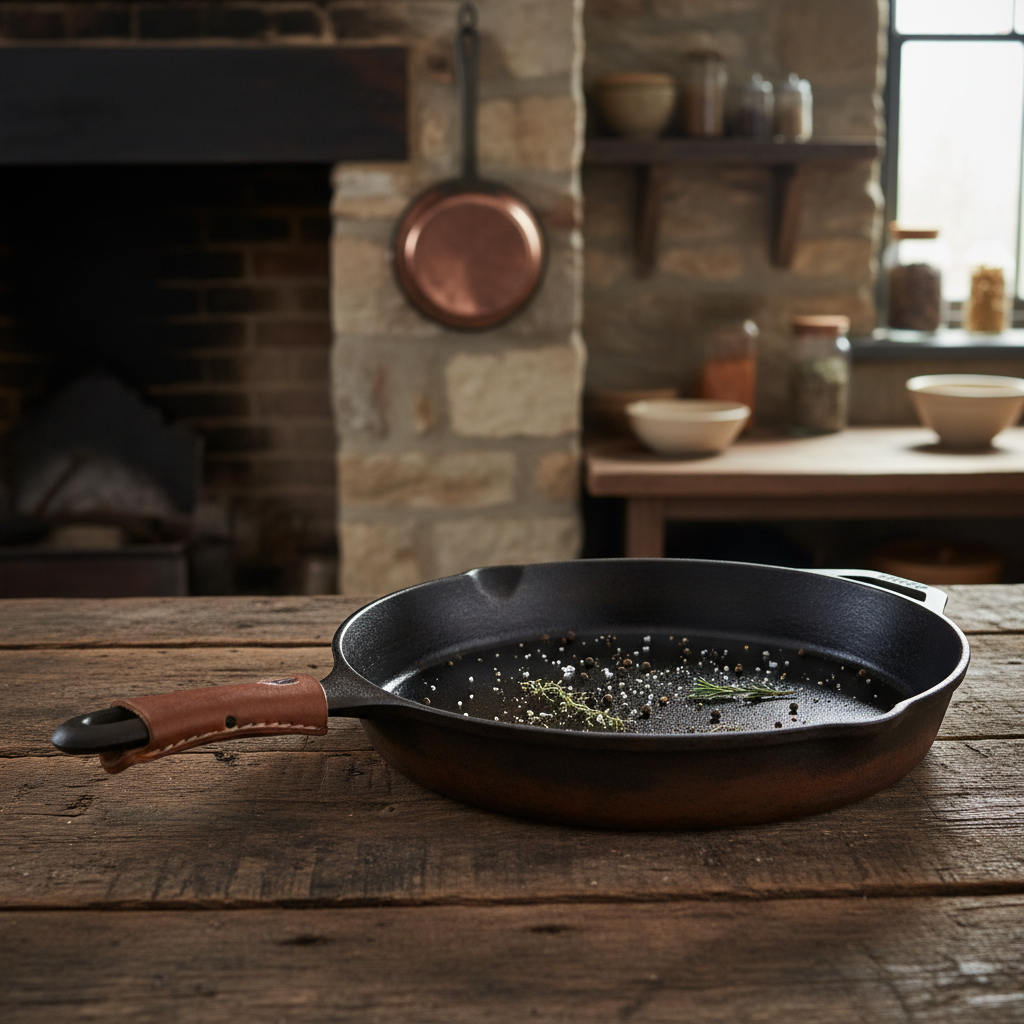
If you're feeling adventurous, consider using a cast-iron skillet for baking. The heavy material retains heat well, creating a beautifully browned and crispy bottom while keeping the biscuits light and fluffy.
Resting the Dough
For even better results, let your cut biscuits rest for about 15-20 minutes before baking. This allows the gluten to relax and the chemical reaction of the leavening agents to commence, increasing the biscuit's rise. During this time, preheat your oven to 425°F (220°C) for optimal baking conditions.
The Baking Process
Oven Temperature and Timing
The temperature at which you bake your biscuits is crucial for achieving that golden, flaky exterior and moist interior. Setting your oven to 425°F (220°C) is generally the sweet spot for biscuit baking. Such a high temperature ensures that the biscuits rise quickly before they start to brown.
As for baking time, most biscuits will take between 12 to 15 minutes, depending on their size and your oven's calibration. Keeping an eye on them is important—remove them from the oven when they’re golden brown on top.
Avoiding Over-Baking
Over-baking biscuits can lead to dry results, robbing them of the soft, fluffy interior. To test for doneness, gently press the top of a biscuit; it should spring back. The edges of the biscuits should be a lovely golden brown, while the centers should remain pale but set.
If your biscuits are browning too quickly, consider placing a baking sheet on a rack just below the pan holding the biscuits to deflect some heat.
Taking Care of Your Biscuits
Once your biscuits are baked to perfection, it’s essential to handle them with care. Let them cool slightly on the baking sheet for a few minutes before transferring them to a wire rack. This step helps avoid soggy bottoms by allowing moisture to escape.
Lastly, for that extra special touch of flavor, consider brushing melted butter over the tops right after they come out of the oven. It adds inviting richness and a beautiful sheen, enhancing both appearance and taste.
"The secret to a perfect biscuit lies in the details; each step builds on the next, creating layers of flavor and texture."
Variations and Flavor Enhancements
Sweet and Savory Add-Ins
While classic biscuits are delightful on their own, adding flavors can take them to the next level. For savory biscuits, consider incorporating cheeses like sharp cheddar or softer cheeses like cream cheese for a richer flavor. Fresh herbs, such as rosemary or thyme, can also add a fragrant touch.
Alternatively, if you are leaning towards sweet biscuits, add in sugar, cinnamon, or even dried fruits—like cranberries or blueberries—into the mix. The key is to balance these ingredients with your core recipes so that the integrity of the biscuit is maintained. For example, aim for a maximum of 1/4 cup of sugar in a basic biscuit dough for sweet versions.
Celebrating Seasonal Flavors
Biscuit making doesn’t have to be confined to tradition—experimenting with seasonal ingredients can yield surprisingly delicious results. For example, try substituting some of the fat with pumpkin puree during autumn for a hint of flavor and moisture. In the summer, fresh berries can be folded into the dough for a delightful breakfast treat.
Exploring Different Shapes and Formats
While round biscuits are classic, don't be afraid to explore unique shapes or formats! Try making biscuit squares, which can simplify cutting and can also yield rustic edges. For a fun twist, consider free-form biscuits, allowing you to create a more artisanal look.
Moreover, consider forming your biscuits into sandwiches filled with fried chicken or breakfast sausage for a hearty meal or dolloping preserves or cream for a delightful dessert option.
Presentation and Serving
Warming Techniques
Serving biscuits warm freshly out of the oven is ideal, but sometimes you may need to reheat them. One effective way to warm biscuits without compromising moisture is by wrapping them in aluminum foil and placing them in a preheated oven at 350°F (175°C) for about 10 minutes.
Pairing Suggestions
Biscuits are incredibly versatile, pairing beautifully with a wide array of dishes. Here are a few suggestions to elevate your meal:
Creative Serving Ideas
Consider creating a biscuit bar at your next gathering. Provide various toppings such as flavored butters, jams, or even savory options like pesto or hummus. This brings an interactive component to your meal, allowing guests to customize their experience.
Final Thoughts
Biscuit-making is a delightful blend of technique, care, and creativity. By understanding the foundational elements and how they contribute to texture and flavor, you can make biscuits that truly shine. Remember that each component—flour, fat, leavening agents, and technique—plays a significant role in creating those coveted fluffy and flaky biscuits. Don’t be afraid to experiment with flavors and formats, embracing this versatile baked good's ability to adapt to any meal or occasion.
With practice and patience, you will soon be reaching for the last biscuit without hesitation, knowing that you’ve mastered the art of biscuit making. Happy baking, and may your biscuits rise to the occasion each time you make them!
Get the Next Recipe
Weekly recipes, techniques, and gear picks — straight to your inbox.
