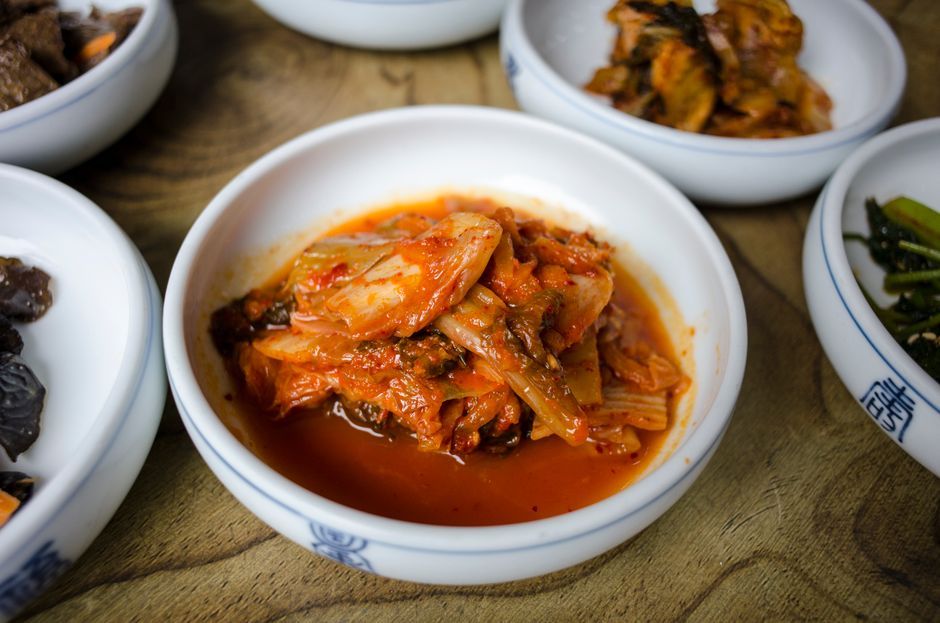
Fermentation Fundamentals: Making Your Own Kimchi at Home
Fermenting your food at home can be an incredibly fulfilling and delicious journey, one that taps into the age-old technique of preservation while simultaneously enhancing flavors and probiotics. Among the many fermented foods available, kimchi stands out not just for its rich flavors and textures, but also for the health benefits that come alongside this ancient Korean staple. Whether you’re a seasoned fermenter or a curious newbie, making your own kimchi at home is a fantastic way to dive into the world of fermentation, explore flavor combinations, and connect with an ancient culinary tradition.
The allure of homemade kimchi lies not just in the taste, but in the process itself. As you chop vegetables, mix spices, and watch the ingredients transform over the days, you are not just preparing food but engaging in a sort of alchemy that jazzes up any meal. Kimchi’s complex flavor profile—a delightful balance of spicy, tangy, and umami—can elevate simple dishes or stand proudly on its own as a vibrant side dish. Plus, making kimchi at home allows you to customize ingredients and adjust spice levels to fit your personal preferences. Why settle for store-bought when you can create a batch that’s uniquely yours?
As you embark on this culinary adventure, it’s important to understand the fundamentals of fermentation and the specific ingredients and methods that contribute to authentic kimchi. Fermentation is a natural process where microorganisms like bacteria, yeast, and molds convert sugars and starches into acids and alcohol under anaerobic conditions. This not only helps preserve foods but also enhances flavors and adds beneficial probiotics that can aid digestion. Armed with this knowledge, a few essential ingredients, and some patience, you'll be well on your way to producing your first batch of homemade kimchi.
Understanding Fermentation
At its core, fermentation is an everlasting partnership between humans and microorganisms. The art of fermentation has been practiced globally for thousands of years, with each culture developing its unique techniques and flavors. It’s a vast field that encompasses not only vegetables but also fruits, grains, dairy, and beverages. To better understand fermentation, it’s crucial to grasp the science behind it.
The Science Behind Fermentation
Fermentation primarily occurs due to the activity of lactic acid bacteria (LAB) when they consume sugars in the food, producing lactic acid. This process:
For kimchi, the most common LAB involved are Lactobacillus kimchii and Leuconostoc mesenteroides. These good bacteria thrive at cooler temperatures, making them perfect for the fermentation process. To cultivate these microorganisms successfully, you need an ideal environment along with the right ingredients.
The Role of Ingredients in Fermentation
Here’s a quick list of the essential ingredients for making kimchi and their roles:
Remember that quality matters when it comes to ingredients. Fresh, organic vegetables will yield the best taste, while high-quality fish sauce or Korean red pepper flakes elevate the flavor profile.
Preparing Your Ingredients
Getting your ingredients right is half the battle won. Preparation is key to ensuring the best possible fermentation and flavor. Think of this step as both a cooking and a craft exercise; the way you prepare your ingredients can set the stage for the final kimchi product you will eventually enjoy.
Selecting the Right Vegetables
When making kimchi, the choice of vegetables is crucial. Napa cabbage is the traditional base, but you may also want to include:
#### Tips for Selecting Fresh Vegetables:
Preparing the Vegetables
Once you have your veggies, it’s time to prepare them:
In addition to the cabbage, don't forget to prepare any additional vegetables. Julienne the daikon radish, and thinly slice the carrots and green onions. Each veggie contributes to the final outcome, enhancing texture and flavor.
Making the Kimchi Paste
The spice mix or paste you create is where your personal touch comes into play. Traditionally, kimchi paste features a balance of heat, aroma, and sweetness, so it’s vital to nail this step down.
Key Ingredients for the Paste
Here’s what you’ll typically need for a traditional kimchi paste:
##### Sample Kimchi Paste Recipe:
- 1 cup of gochugaru (adjust based on heat preference)
- 8 cloves of crushed garlic
- 1-2 inches of grated ginger
- 1/2 cup of fish sauce (or soy sauce for a vegan option)
- 2-3 tablespoons of sugar to taste
The amount of gochugaru will significantly impact the flavor and heat level of your kimchi, so feel free to adjust it according to your preference.
Combining the Paste with Vegetables
Once you have your paste, it’s time for the fun part:
"The joy of kimchi-making lies in the personal expression of flavor and spice. There’s no single correct recipe!"
Make sure to mix thoroughly; you want each piece of vegetable to be generously coated with the paste for optimal fermentation and taste.
Packing Your Kimchi
With your vegetables properly coated in the kimchi paste, the next step is to pack your kimchi into a container for fermentation. The type of container you choose can affect the fermentation process and, ultimately, the taste of your final product.
Choosing the Right Container
You’ll want a container that can keep the kimchi submerged in brine while preventing air exposure. Here are a few options:
#### Filling the Jar:
Fermenting Kimchi
Now that your kimchi is packed, the fermentation process can begin. This process varies in timing depending on a few factors, including room temperature.
#### Ideal Fermentation Conditions:
Chef Tip: If you’re in a warmer climate, shorten the fermentation time to avoid over-souring.
Once you notice bubbling, the familiar tangy aroma wafting through the air, and a noticeable sourness, your kimchi is ready for the next step.
Storing Your Kimchi
After the initial fermentation period, it’s time to move your kimchi to the fridge for storage, which will slow fermentation and enhance the flavor over time.
Transferring Kimchi to the Refrigerator
#### How Long Can You Store Kimchi?
"Fermentation is a journey: as your kimchi develops, you’ll discover new flavors and textures that evolve over time."
Using Your Kimchi
Your freshly made kimchi has now completed its transformation! You can savor it in numerous ways. Here are just a few ideas to get you started:
Customizing Your Kimchi
One of the exciting aspects of making kimchi is the ability to customize it to your taste. There are myriad variations you can explore beyond the essential recipe.
Exploring Different Flavors
You can adjust the main ingredients for unique flavor profiles:
#### Sample Variations:
Experimenting with Additional Ingredients
Feel free to get creative! Some people enjoy adding:
Conclusion
Making your own kimchi at home not only enhances your culinary skills but also invites rich and bold flavors into your life. The act of fermentation is an art and a science that balances both the ingredients and the environment. From the selection of fresh vegetables to the careful monitoring of temperature and taste, every step contributes to the traditional craft that is kimchi.
The benefits of consuming kimchi extend beyond just flavors; it's a powerhouse of probiotics, vitamins, and minerals, attributing to its cherished status in a healthy diet. Plus, each batch you make teaches you something new, whether about flavor balancing, fermentation times, or personal taste preferences.
As you embark on this journey into fermentation, remember that patience, curiosity, and experimentation are your best friends. It might take a few tries to perfect your recipe, but soon enough, you’ll be captivating friends and family with the zesty, tangy flavors of your homemade kimchi. So roll up your sleeves and get fermenting—your taste buds will thank you.


Get the Next Recipe
Weekly recipes, techniques, and gear picks — straight to your inbox.
