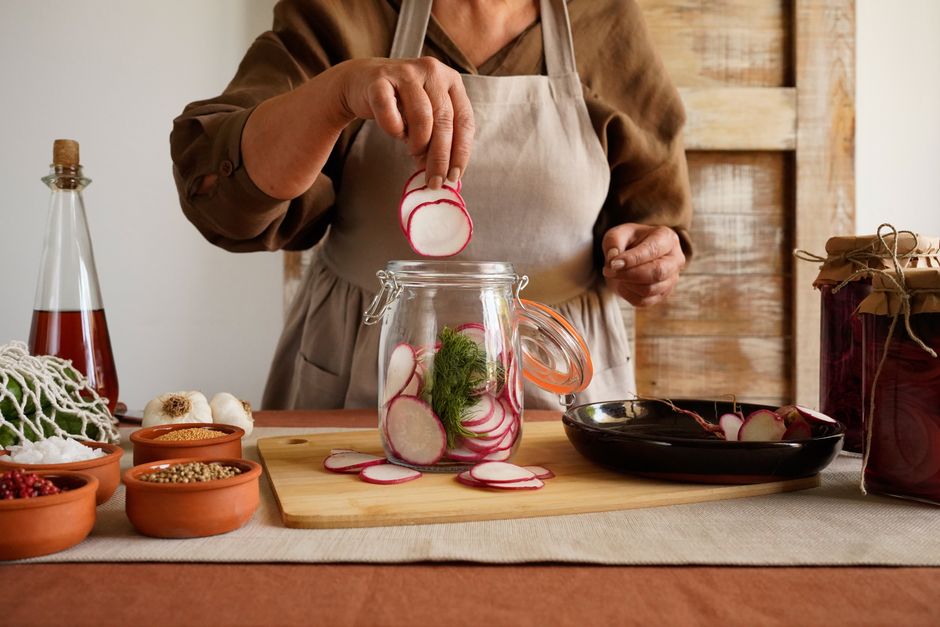
Fermentation Secrets: Preserving and Transforming Vegetables
Fermentation has been an integral part of culinary practices across the globe for centuries. It’s a transformative process that not only preserves food but also enhances its flavors and textures. Home cooks are increasingly embracing fermentation, discovering that it's not just a trend but a pathway to unlocking a realm of taste possibilities. Whether it's a crisp, tangy sauerkraut from shredded cabbage or a zesty kimchi bursting with spice and crunch, fermented vegetables can elevate your cooking game and offer health benefits at the same time.
The magic of fermentation lies in its ability to harness the power of microorganisms. By creating an environment that supports good bacteria while inhibiting harmful ones, you are not only able to extend the shelf life of your vegetables but also foster the growth of probiotics, which are essential for gut health. This ancient technique, often overlooked in modern kitchens, is a powerful method to transform ordinary vegetables into extraordinary culinary delights. Crafting fermented vegetables at home connects you with a time-honored tradition while allowing you to experiment with flavors and ingredients to suit your palate.
In this comprehensive guide, we will explore the secrets of fermentation, diving deep into methods, recipes, and tips that will empower you to preserve and transform vegetables in your kitchen. From understanding the scientific principles behind fermentation to mastering practical techniques, this post aims to provide you with the knowledge and inspiration needed to incorporate fermentation into your everyday cooking. Get ready to roll up your sleeves and witness how simple vegetables can become complex, flavorful creations through the art of fermentation.
Understanding Fermentation
Fermentation is a form of anaerobic respiration that typically occurs in the absence of oxygen. During this process, microorganisms such as bacteria, yeast, and molds convert starches and sugars in food into acids, gases, or alcohol. In the context of vegetable fermentation, lactic acid bacteria (LAB) are the main players. These beneficial bacteria not only produce lactic acid, which acts as a natural preservative, but also contributes to the distinctive flavors and aromas of fermented products.
The Science Behind Fermentation
When vegetables are fermented, they undergo a series of biochemical reactions that lead to transformation and preservation. The primary organisms responsible for this are lactic acid bacteria that thrive in acidic conditions. Here’s a brief breakdown of what happens during fermentation:
Understanding the fundamental principles of fermentation not only demystifies the process but also allows you to experiment with different vegetables, spices, and brewing times to achieve various flavors and textures.
Potent Tools for Fermentation
While it is entirely possible to ferment vegetables using household items, having the right tools can almost guarantee better results. Here’s a list of essential tools you may require:
Optional Tools and Gadgets
Having the right tools will set you up for success, ensuring an enjoyable fermentation experience. No matter what equipment you have, remember that creativity is essential; the process of fermentation isn’t rigid—feel free to adapt to your available resources.
Essential Ingredients for Fermentation
The beauty of fermentation is in its simplicity; you don’t need a long list of ingredients to create delicious, tangy ferments. However, understanding which ingredients are essential can help you create effective and exciting combinations. Here are the core ingredients:
1. Fresh, Seasonal Vegetables
Choose fresh, seasonal vegetables for maximum flavor and nutrients. Remember, quality matters. Look for firmness, vibrant colors, and no signs of spoilage. Common choices include:
2. Non-Iodized Salt
Salt is crucial for drawing moisture from vegetables and creating the brine in which fermentation occurs. Always use non-iodized salt (like kosher or sea salt) as iodine can inhibit fermentation.
3. Water
Use filtered or distilled water without chlorine or other impurities, as these can interfere with the fermentation process. Some people opt for a brine mixture, which can be adjusted based on taste preferences.
4. Optional Flavorings
In addition to the essential ingredients, feel free to experiment with various seasonings and herbs to elevate the flavor profile of your fermentation.
Classic Fermented Vegetable Recipes
Now that you understand the basics, it’s time to dive into some exciting recipes! We’ll start with some classic options that are not only simple but also incredibly satisfying.
1. Sauerkraut
Sauerkraut is a fermented food staple made from shredded cabbage. This process maintains the crunchiness of the cabbage while infusing it with the tanginess of fermentation.
#### Ingredients
#### Instructions
"The beauty of **sauerkraut** lies not only in its flavor but also in its versatility—it can accompany a wide array of dishes, from sausages to salads."
2. Kimchi
Kimchi is a vibrant Korean side dish typically made from napa cabbage and various spices. The beautiful balance of flavors in kimchi makes it a surefire favorite.
#### Ingredients
#### Instructions
3. Pickled Carrots
Quick, easy, and delightful, pickled carrots offer a crunch that is perfect for snacking or garnishing.
#### Ingredients
#### Instructions
4. Fermented Garlic Dill Pickles
Crispy, tangy, and filled with flavor, these pickles are truly the essence of summer!
#### Ingredients
#### Instructions
Troubleshooting Common Fermentation Issues
Fermentation is generally straightforward, but issues may arise. Here are some common problems and solutions to set you on the right path:
1. Off Odors
An unpleasant smell can arise for several reasons, including using contaminated equipment or improper salt content.
2. Mold Formation
Mold can appear on the surface of the brine if vegetables aren’t fully submerged.
3. Not Enough Fermentation
If your vegetables aren’t fermenting or showing little change, several factors could be at play.
"With a little patience and attention, you can turn any vegetable into a **fermented marvel**. Monitor your creations and learn as you go—fermentation is as much an art as it is a science."
The Health Benefits of Fermented Vegetables
Beyond the delightful tang and texture, fermented vegetables confer numerous health benefits. Making them a regular part of your diet can lead to improved overall well-being.
Probiotics for Gut Health
Fermented vegetables are a potent source of probiotics, the good bacteria that support healthy gut flora. These microorganisms can enhance digestion, fend off harmful bacteria, and help with nutrient absorption.
Enhanced Nutrient Absorption
The process of fermentation not only increases the bioavailability of nutrients but also introduces new vitamins. For instance, certain B vitamins and vitamin K are produced during fermentation.
Improved Digestion
Incorporating fermented vegetables can support digestive health by increasing the production of digestive enzymes and helping to balance gut flora.
Immune System Support
A healthy gut is intrinsically linked to a robust immune system. Regularly consuming fermented foods can help strengthen the immune response by training your microbiome to identify harmful pathogens more effectively.
Conclusion
Fermentation is an enriching journey, one that allows home cooks to connect with ancient techniques while exploring modern culinary creativity. Through simple ingredients and techniques, you can transform ordinary vegetables into crunchy, tangy delights that not only elevate your dishes but also offer a host of health benefits. Embrace the art of fermentation as a way to preserve the bounties of nature and create vibrant flavors that excite the palate.
As you delve into the world of fermented vegetables, take the opportunity to personalize your recipes, experiment with various combinations, and carefully observe the fermentation process. Every attempt can lead to unique flavors and learning experiences, paving the way for greater confidence in your culinary skills.
With this guide, we hope you feel empowered to embark on your own fermentation journey. So, roll up your sleeves, get those jars ready, and start creating your own fermented masterpieces—you’ll be amazed at the delicious results!


Get the Next Recipe
Weekly recipes, techniques, and gear picks — straight to your inbox.
