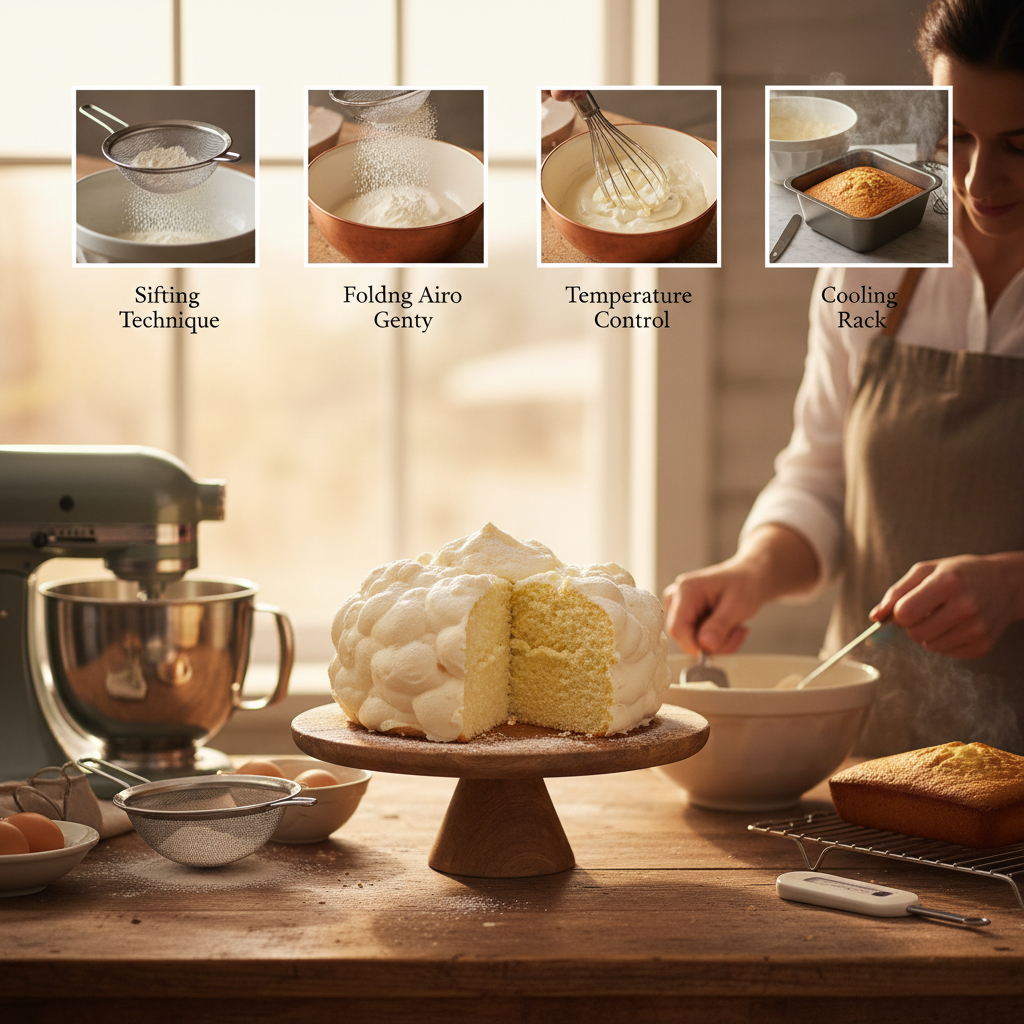
Flour Power: 5 Essential Techniques for Baking Perfectly Light and Fluffy Cakes at Home
Baking is an art that transcends simple ingredients and methods; it's about creating something that brings joy and comfort. Many home bakers aspire to recreate those perfectly light and fluffy cakes that seem to elude them, often wondering where they might be going wrong. The truth is, achieving that airy, tender crumb is a combination of science and technique. By understanding the core principles of baking, you can not only improve your skills but also gain confidence in your culinary capabilities. Whether you’re preparing a birthday cake, a simple dessert for family dinner, or just want to indulge yourself, mastering a few essential techniques can dramatically elevate your baking game.
The beauty of baking lies in its precision, where even minor deviations can lead to vastly different results. Flour, sugar, eggs, and fat each play pivotal roles in how a cake rises and what texture it achieves. It’s imperative to grasp the importance of measuring ingredients accurately and understanding how to handle them to create cakes that don’t just look great but also provide a delightful mouthfeel. For many bakers, the fear of a dense or soggy cake can hinder their willingness to experiment. However, by following a methodical approach and embracing a few key techniques, anyone can bake cakes that are a cut above the rest.
In this blog post, we will explore five essential techniques that will guide you through the process of baking cakes that are marvelously light and fluffy. We will delve into the science of ingredients, the art of proper mixing, and the significance of oven temperature — all critical aspects of achieving that perfect cake. Whether you are an aspiring baker or a seasoned pro, these techniques will empower you to take your cake-making skills to great heights.
Understanding Your Ingredients
One of the most crucial steps in baking a cake is understanding the ingredients used. The fundamental ingredients — flour, sugar, butter, eggs, and baking powder — contribute to the cake’s structure, moisture, and flavor. Each ingredient serves a purpose, and knowing how they interact can make a significant difference in your baking results.
Flour: The Backbone of Cakes
The type of flour you choose plays a vital role in the texture and structure of your cake. Most cakes are made with all-purpose flour, but using cake flour can yield a lighter cake due to its lower protein content. Here are the common types of flour used in cake baking:
A good rule of thumb is to use cake flour for delicate cakes, such as sponge or chiffon, while all-purpose flour is perfect for denser desserts, like pound cakes.
Sweeteners and Their Effects
Sugar doesn’t just add sweetness; it impacts the cake’s moisture and texture. Here’s a breakdown of common sweeteners:
The general ratio of sugar to flour should be about 1:2 for cakes, ensuring it blends well but does not overwhelm. Ensuring proper mixing will help achieve that airy texture.
The Role of Fat
Fats, such as butter or oil, are essential for creating a tender crumb and adding moisture. Here's how they differ:
When creaming butter and sugar, aim for a light and fluffy mixture, which incorporates air and helps with leavening during baking. This process can take 3 to 5 minutes at medium speed in a stand mixer.
Eggs: The Binding Agent
Eggs are a critical ingredient, acting as a binding agent while also providing moisture and richness. When beaten, they incorporate air, which contributes to leavening. Make sure to:
Generally, for most cake recipes, you can expect to see 1 egg for every cup of flour as a guideline.
Leavening Agents
Leavening agents like baking powder or baking soda create the rise needed for fluffy cakes. Here's a quick overview:
For every cup of flour, you typically want 1 to 1.5 teaspoons of baking powder or 1 teaspoon of baking soda with accompanying acidic ingredients.
Accurate Measuring Techniques
Understanding how to measure your ingredients accurately is equally as important as the ingredients themselves. The variance in measurements can lead to changes in texture and taste. Here’s how to ensure accuracy in your baking.
The Right Tools
Having the right measuring tools is essential:
Measuring Flour
Instead of scooping flour directly from the bag, always spoon it into your measuring cup and leveled off with a knife. This method prevents packing, which can lead to using too much flour and thus a denser cake.
Measuring Liquid Ingredients
For liquids, use the liquid measuring cup, ensuring your eyes are level with the measurement lines. Always read the level of the liquid from eye level to avoid inaccuracies.
Weighing Ingredients
While cups and spoons promote convenience, using a kitchen scale allows for more precision and consistency. If a recipe specifies weights, adhere to those as they will yield the best results, especially for delicate cakes.
Mixing Techniques That Matter
How you mix your ingredients is just as important as measuring them. The mixing technique affects gluten development and the incorporation of air. Here are several techniques to master.
Creaming Method
Ideal for butter-based cakes, the creaming method involves blending softened butter and sugar until light and fluffy. This aeration is key to establishing a good structure in your cake.
"Aeration gives cake structure, so don’t skip the creaming step!"
Folding Technique
For cakes made with whipped egg whites (such as angel food cake), the folding method is necessary:
Alternate Mixing
For the classic two-stage method, alternately adding dry and wet ingredients is vital. This helps keep the batter light and avoids overmixing:
Avoid Overmixing
Overmixing develops gluten and can lead to tough cake texture. Mix just until ingredients are combined and no dry streaks remain. Remember, it’s better to under-mix than overdo it.
Temperature Matters
The temperature of your ingredients, oven, and even the baking pan greatly affects baking results. Attention to this detail can change the whole cake.
Room Temperature Ingredients
For best results, ingredients such as eggs and butter should be at room temperature. This helps create an emulsion, leading to a finer crumb.
To bring butter to room temp, cut it into smaller pieces and leave it out for about 30 minutes before use. Eggs can be warmed by placing them in a bowl of warm water for about 10 minutes.
Oven Temperature
Preheat your oven thoroughly — usually to 350°F (180°C) for cakes — before putting your cake in. An inaccurately preheated oven can lead to uneven baking.
Additionally, consider using an oven thermometer to check accuracy, as many home ovens can run hot or cold.
Baking Pans
Using the correct pan can also affect your cake's rise. Dark pans absorb more heat, leading to quicker browning, while light-colored pans reflect heat, resulting in even baking. Always ensure pans are greased or lined with parchment paper to facilitate easy release after baking.
Cooling and Storing Your Cakes Properly
Once baked, how you cool and store your cake can impact its texture and flavor. Rushing these steps can ruin a good bake.
Cooling Techniques
Allow the cake to cool in the pan for about 10 minutes before transferring it to a wire rack. This prevents excessive moisture from steaming the bottom. For cakes with delicate textures, be gentle when removing from the pan.
Frosting and Decorating
Wait until the cake has fully cooled (this usually takes about 1 hour) before frosting or decorating. Warm cakes can cause frosting to melt, ruining both appearance and taste.
Professional Tip: If you’re working with a layer cake, consider leveling the tops with a serrated knife before stacking. This will ensure a stable structure.
Storing Your Cake
To maintain freshness, store cakes at room temperature in an airtight container for 3-4 days. For longer storage, consider freezing individual slices:
Proper thawing involves leaving it out for a couple of hours at room temperature or overnight in the fridge; avoid using the microwave.
Enhancing Flavor and Presentation
Beyond the basic techniques, adding flavors and decorations can transform an ordinary cake into something truly special. The way you enhance flavors can elevate your cake from great to exceptional.
Flavoring Components
Consider adding extracts, spices, or zests. For a standard vanilla cake:
Layering Flavors
For multi-layered cakes, consider including fillings between the layers, such as fruit preserves, whipped cream, or flavored buttercreams. Avoid overpowering your cake with heavy flavors; subtle enhancements often yield the best results.
Presentation Techniques
Presentation is key when serving. Here are easy-to-use decorating tips:
When it comes to decorating, less is often more. A naked cake, with minimal frosting exposed, can provide a rustic yet chic appearance, leaving the cake itself to shine.
Conclusion
Baking light and fluffy cakes is a delightful experience that can become incredibly rewarding with the right techniques. By understanding and mastering ingredient interactions, employing precise measuring and mixing techniques, and paying attention to temperature, you'll find comforting successes in your kitchen. Adding the finishing touches with thoughtful flavoring and expert presentation can also transform a simple cake into a work of art.
Every great cake tells a story and brings people together, so embrace all the joy that baking can offer. Whether you're making a simple cake for a family dinner or a grand layered creation for a special occasion, remember that practice makes perfect. Each time you step into your kitchen, you have an opportunity to learn and improve your skills. Now, the next time you bake, you can do so with confidence, knowing you've got the techniques to achieve cake perfection. With the power of knowledge and practice at your disposal, embrace the mission to become the cake designer you’ve always envisioned.
Your baking journey awaits, so pull out your measuring cups and start creating delightful concoctions that will become cherished memories for years to come. Bake on!



Get the Next Recipe
Weekly recipes, techniques, and gear picks — straight to your inbox.
