
Fresh Pasta Dough Perfection: Ratios, Hydration, and Hand-Crafted Excellence
Making fresh pasta dough is one of the most rewarding experiences in the culinary world. There’s a certain magic that happens when you combine just a few simple ingredients—flour, eggs, and, in some cases, water or oil—into a malleable dough. This process invites you to immerse yourself in the fundamental skills of cooking. You’re not just following instructions; rather, you’re participating in a tradition that has been passed down through generations. Crafting pasta by hand isn’t merely about creating a dish; it’s about understanding the core principles of flavor, texture, and the interplay of ingredients.
As you embark on your pasta-making journey, one of the first things you’ll discover is the importance of ratios. The balance of flour to liquid significantly influences the final product's texture. Too much flour may yield a dry, crumbly dough, while too much liquid could lead to a sticky mess. Therefore, understanding hydration levels—how much water is in your ingredients—is critical. This post will guide you through the nuances of dough ratios, hydration, and the proper techniques to achieve hand-crafted excellence in every batch.
Throughout this exploration, you'll also learn valuable methods to troubleshoot common mistakes, as well as tips from professional chefs that will elevate your homemade pasta. Whether you're looking to create beautiful sheets for lasagna, delicate strands of fettuccine, or stuffed ravioli, the foundation begins with mastering the dough. As we delve deeper into the crafting of fresh pasta, you'll develop an appreciation for every step, transforming your kitchen into an artisanal pasta workshop.
Ingredients Matter: The Building Blocks of Fresh Pasta
When it comes to making fresh pasta, the ingredients you choose make all the difference. The classic formula involves just three basic components: flour, eggs, and salt. While this simple list might not sound particularly glamorous or complex, the specific types of flour and eggs can significantly influence not only the pasta's flavor but also its texture.
Flour Types: The Foundation
Choosing the right flour is pivotal in achieving your desired pasta texture.
The Role of Eggs
Eggs are a critical component of traditional fresh pasta. They not only provide necessary moisture but also act as a binding agent, contributing to the rich flavor and yellow hue associated with homemade pasta. The yolks contain fat, which helps to create a tender texture.
When selecting eggs for your pasta, aim for high-quality, organic eggs if possible. Their flavor and color will significantly enhance the finished dish. In general, you’ll want to use about one large egg for every 100 grams of flour. Resting the pasta is equally important; letting it sit allows the gluten to relax, making it easier to roll out.
Salt and Additional Ingredients
Though often overlooked, salt is crucial for seasoning the pasta and enhancing flavor. Use fine sea salt in your dough, at about 1% of the total amount of flour used. For example, if you’re starting with 500 grams of flour, about 5 grams of salt will suffice.
Some recipes also call for ingredients like water, olive oil, or even pureed vegetables, such as spinach or beetroot, to add flavor and color. However, be cautious with additional liquids, as this can change the hydration levels and the dough’s overall consistency.
“The beauty of pasta lies in its simplicity; mastering the basic ingredients allows for endless creativity.”
Mastering Ratios and Hydration
One crucial aspect of making fresh pasta dough is understanding ratios and hydration levels. The perfect balance between your flour and liquid ingredients dictates the texture and pliability of the pasta.
The Ideal Ratios
The classic ratio for pasta dough made with eggs is usually 100 grams of flour for every one large egg. However, the total amount of flour can expand depending on the type of flour used and the desired texture. For instance:
These ratios can serve as a foundation but may need slight adjustments based on specific variables such as humidity and temperature in your kitchen.
Calculating Hydration
The concept of hydration refers to the relationship between the weight of water and the weight of flour in the dough. A dough’s hydration percentage greatly affects its texture. Here’s a simplified breakdown:
For example, if you’re using 500 grams of flour with a hydration level of 50%, you will need 250 grams of liquid, primarily from eggs.
The Importance of Resting
Once you've mixed and kneaded your dough, it’s critical to let it rest. Allowing the dough to sit for at least 30 minutes—wrapped in plastic or covered with a cloth—will permit the gluten to relax. This will make rolling it out much easier. Resting also allows the flour to fully hydrate, ensuring a better structure when cooked.
Techniques for Kneading and Rolling
Kneading and rolling are two essential techniques that have a marked impact on the quality of your pasta. Achieving the right consistency through these steps can transform your dough from average to extraordinary.
The Kneading Process
“Kneading is like a dance; you have to find the right rhythm to achieve perfect dough.”
Rolling: Techniques and Tools
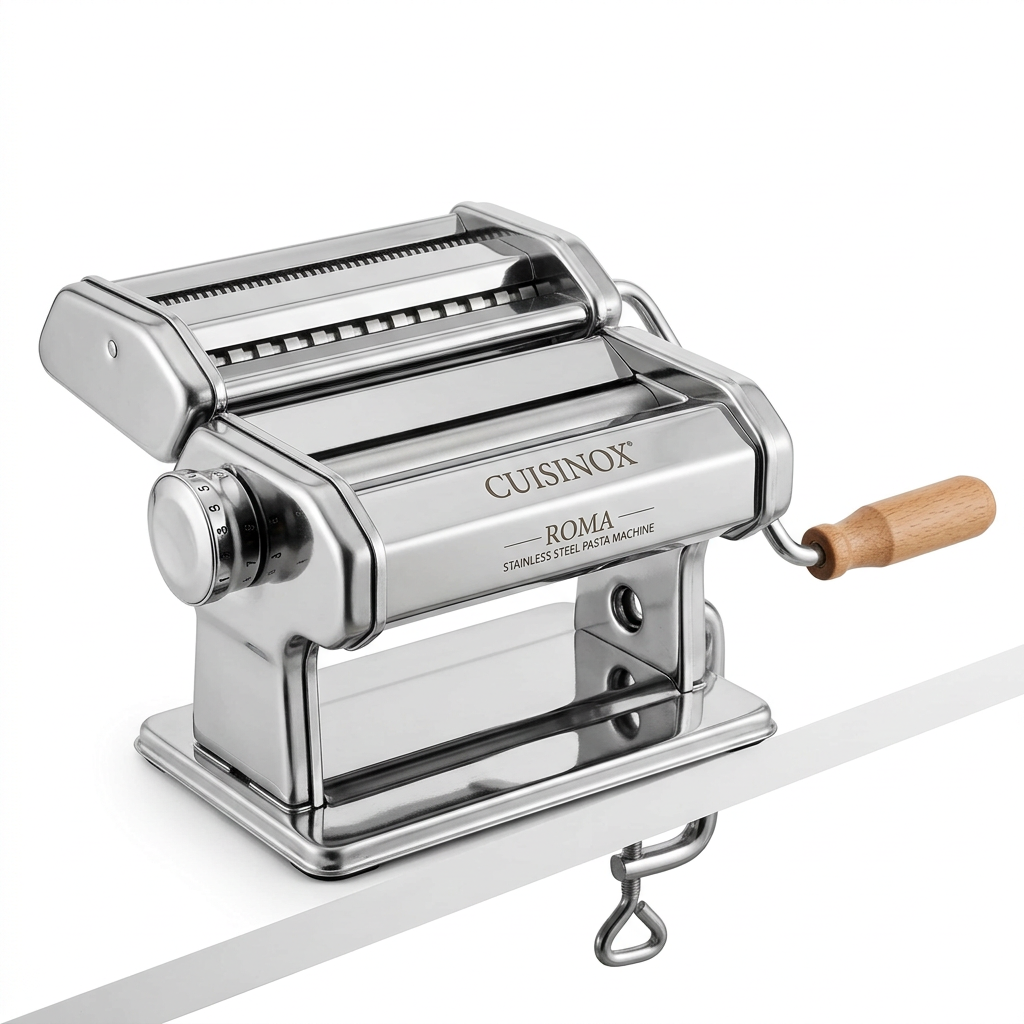
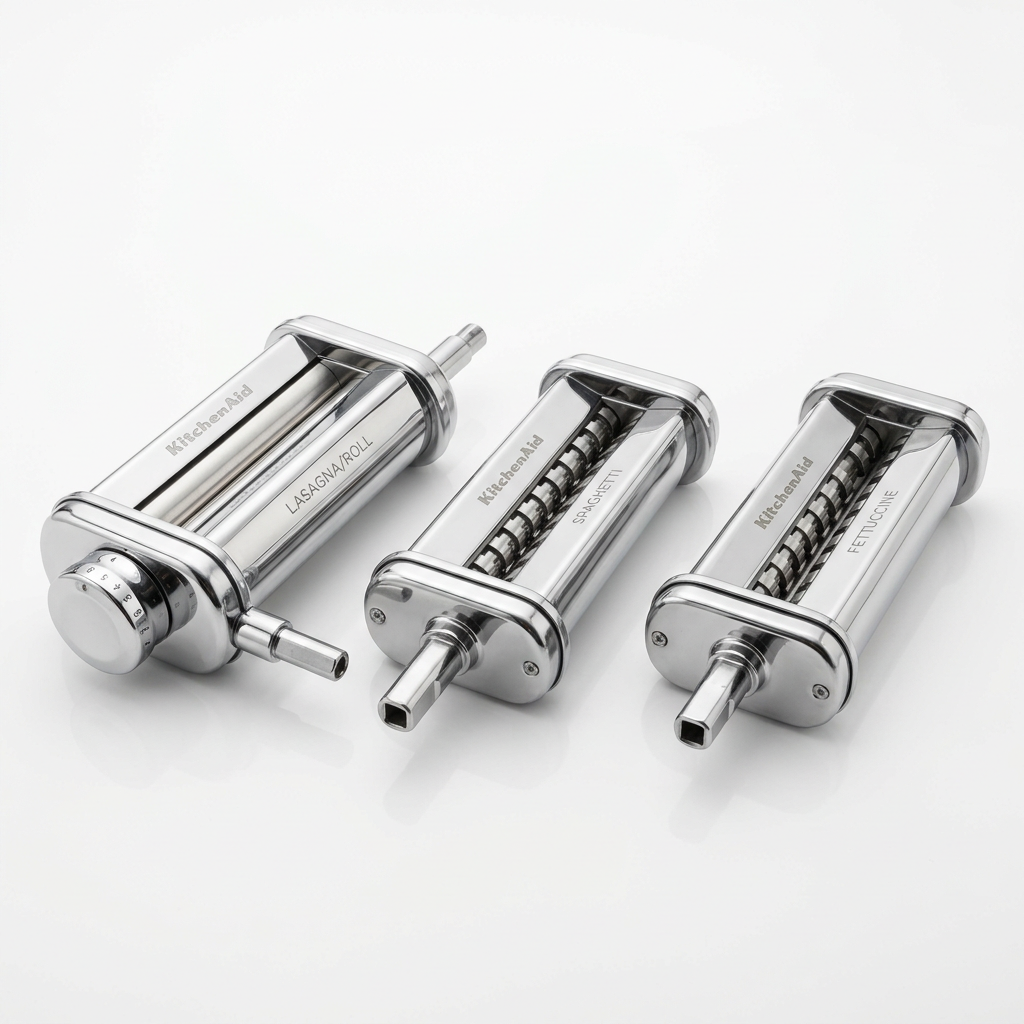
When it comes to rolling out your pasta, you have a choice between using a traditional rolling pin or a pasta machine. Each has its advantages:
Ideally, you’ll want your sheets to be thin enough to see your hand through them, but not so thin that they tear. A thickness of about 1 mm is generally ideal for most pasta shapes.
Shaping Your Pasta
Once your dough is rolled out, it’s time to shape it into your desired form. Here’s a quick guide based on popular pasta types:
Cooking Fresh Pasta: Timing and Techniques
Once you’ve crafted your glorious strands of pasta, cooking them to perfection is the final step. Cooking fresh pasta differs from dried pasta, requiring less time but more attention to texture.
The Right Water Temperature
Bring a large pot of water to a rolling boil. Generously salt the water; this is your chance to season your pasta. The general rule of thumb is to use about 1 tablespoon of salt for every 4 quarts of water. Aim for a rolling boil before adding your pasta, as this will help prevent it from becoming mushy.
Cooking Time
Fresh pasta typically only needs 2-4 minutes to cook, depending on the thickness of the dough:
Taste test a piece just before you think it’s done; it should be al dente—firm but tender.
Saucing and Serving
Once your pasta is cooked, drain it immediately, tossing it in a skillet with your desired sauce. Fresh pasta absorbs sauce beautifully, so it’s essential to combine them while the pasta is still hot.
If you’re incorporating olive oil or butter, add it to the pan first, allowing it to heat before adding the pasta for a silky finish. Garnish with fresh herbs, grated cheese, or toasted nuts to enhance the flavors.
Advanced Techniques: Stuffed Pasta and Flavors
Once you’ve mastered the art of basic pasta, there’s an entire world of advanced techniques waiting for you. Stuffed or filled pasta can take your culinary skills several notches higher.
Making Ravioli and Tortellini
Stuffed pasta requires careful attention to both the filling and the sealing process:
Flavoring the Dough
You can also infuse your pasta dough with different flavors by incorporating purees or spices. Adding vegetable purées like spinach or beet will not only impart color but also enhance nutritional value. When making these pasta doughs, you'll need to adjust your hydration level since not all puréed vegetables have the same water content.
“Crafting handmade pasta allows for limitless creativity, making each dish a canvas for culinary expression.”
Troubleshooting Common Mistakes
Even seasoned chefs encounter challenges when making pasta dough. Understanding some common pitfalls and how to overcome them can save your batch from disaster.
Dough is Too Sticky
If your dough turns out too sticky, it means that there wasn’t enough flour or the hydrating agents were too considerable. You can remedy this by dusting your work surface—and your hands—lightly with flour during the kneading process.
Dough is Too Dry
On the other hand, if your dough is dry and crumbly, it likely didn’t have enough hydration. Adding small amounts of water or egg yolk can help bring it to the right consistency.
Keeping Pasta from Sticking Together
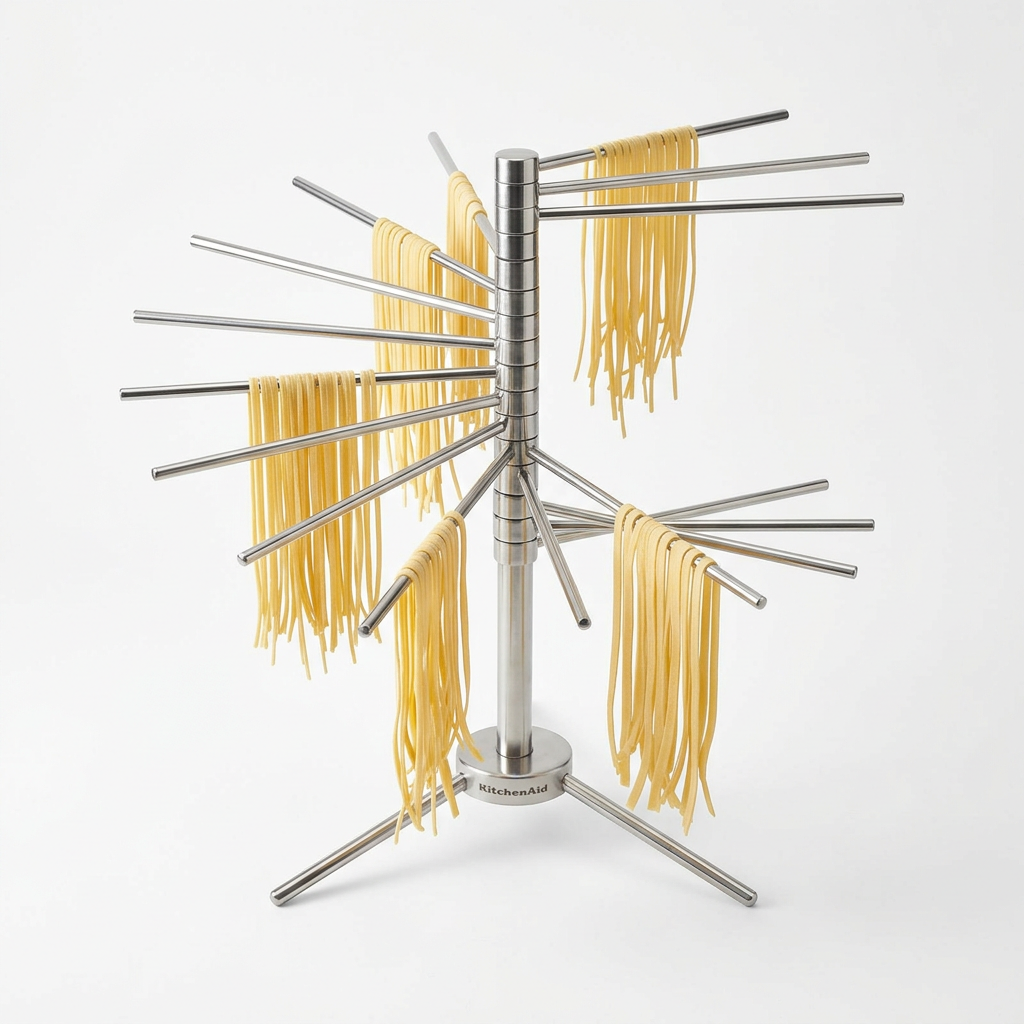
To avoid clumping, use plenty of flour on your work surface and don't be afraid to dust the pasta sheets and cut pieces as well. You can also lay them out on parchment paper or a floured surface in a single layer until you’re ready to cook them.
Conclusion
Making fresh pasta dough is not just a cooking technique; it’s a journey into the heart of culinary tradition. The understanding of basic ratios, hydration levels, and the careful choice of ingredients can elevate your pasta from mere nourishment to an artisanal experience. With practice, you’ll learn to knead with precision, roll with finesse, and shape with creativity.
Along the way, you’ll develop a deeper appreciation for the craft of cooking. Each batch of pasta will remind you of the joy that comes from working with your hands and creating something truly homemade. Whether you’re preparing a simple tagliatelle with a basil pesto or a luxurious ravioli stuffed with seasonal ingredients, the skills you acquire will provide a foundation for countless meals to come.
So, put on your apron, gather your ingredients, and lose yourself in the beauty of hand-crafted pasta. Here’s to elevating your culinary skills and mastering the pasta-making process! Go ahead—don’t just blame the chef; become the chef in your kitchen! Enjoy the process, and let the flavors of Italy come alive in each delicious bite.
Get the Next Recipe
Weekly recipes, techniques, and gear picks — straight to your inbox.
