Fresh Pasta Mastery: From Dough to Perfectly Al Dente
There is a profound, almost primal satisfaction in transforming nothing more than flour and eggs into a silky, golden sheet of pasta. In the modern era of convenience, where a box of dried noodles can be snatched from a supermarket shelf for a few dollars, making pasta from scratch might seem like an unnecessary indulgence. However, those who have tasted the difference—the supple chew, the delicate flavor profile, and the way a homemade noodle clings to sauce like a long-lost lover—know that this is not merely a meal; it is a culinary transformation. When you master the dough, you are no longer just a cook following instructions; you are an artisan manipulating texture and taste to create something entirely your own.
The secret to fresh pasta isn’t hidden in some ancient, inaccessible vault or a proprietary piece of expensive machinery. It lies in the ratio, the hydration, and the mechanical manipulation of the proteins within the flour. You are essentially building a bridge between the humble grain and the refined palate. Many home cooks are intimidated by the prospect of sticky dough or the fear that their pasta will turn out tough, but I am here to tell you that these challenges are merely steps on the ladder to mastery. With a bit of patience and a clear understanding of the science of gluten development, you will find that the process is meditative, rewarding, and deeply impressive to anyone lucky enough to share your table.
Welcome to "Blame The Chef," where we believe that every dish tells a story of intent and attention to detail. In this guide, we are stripping away the myths surrounding egg-based pasta dough and focusing on the core fundamentals that allow you to produce professional-quality noodles every single time. From the initial well-method on your countertop to the precise resting times required for the perfect roll, we are going to dissect the anatomy of the noodle. Put on your apron, sharpen your senses, and prepare to elevate your kitchen game to a level you never thought possible, one strand of fettuccine at a time.
The Chemistry of the Perfect Dough
The foundation of any exceptional pasta begins with the ingredients themselves. While you might be tempted to use whatever flour you have sitting in your pantry, the protein content of your flour is the primary determinant of your pasta's final texture. For traditional Italian-style egg pasta, Tipo 00 flour is the gold standard. This flour is milled to an incredibly fine consistency, similar to talcum powder, and its protein content is perfectly balanced to provide structure without becoming overly chewy. If you cannot find Tipo 00, a high-quality all-purpose flour with a protein content between 10% and 11.5% is a suitable substitute, though you may find the dough requires a slightly different resting period to relax the gluten.
Understanding Hydration Ratios
The golden ratio for egg pasta is one large egg per 100 grams of flour. While this is the classic starting point, you must learn to listen to the dough. Environmental factors such as humidity, the size of your eggs, and even the type of flour you choose can alter the hydration requirements. If you live in a very humid climate, you might find that you need slightly less moisture; in an arid environment, you might find yourself needing a tiny splash of water or an extra egg yolk to bring the dough together.
The goal is a dough that feels like the lobe of your ear—pliable, soft, and slightly tacky to the touch, yet never sticky enough to leave residue on your fingers.
The Role of Eggs
Why use whole eggs versus just yolks? Whole eggs provide a balanced structure; the whites contain water and proteins that contribute to the "bite" or al dente texture, while the yolks provide fat, richness, and that iconic, vibrant golden color. For a richer, more luxurious noodle that pairs beautifully with delicate sauces like butter and sage or white truffle, some chefs prefer to use a "yolk-only" dough. This significantly increases the richness, though it also increases the cost and requires more careful handling as the dough will be more fragile.
The Ritual of the Well
The well-method is not just a traditional way to mix ingredients; it is a sensory introduction to your dough. By creating a crater in a mound of flour, you are controlling the incorporation of liquids into the dry ingredients. This slow, gradual integration is vital because it prevents the premature formation of gluten, ensuring that the dough doesn't become tough before you’ve even had a chance to knead it.
Mixing Techniques
Start by dumping your flour onto a clean, non-porous surface—marble or wood works best. Create a wide well in the center of the flour, deep enough to hold your eggs. Break the eggs into the well, and using a fork, begin to beat them gently, as if you were making scrambled eggs. Slowly pull in flour from the inner walls of the well. As the mixture thickens into a paste, continue to incorporate the flour until the walls collapse and the mixture becomes a cohesive, shaggy mass.
Troubleshooting the Shaggy Mass
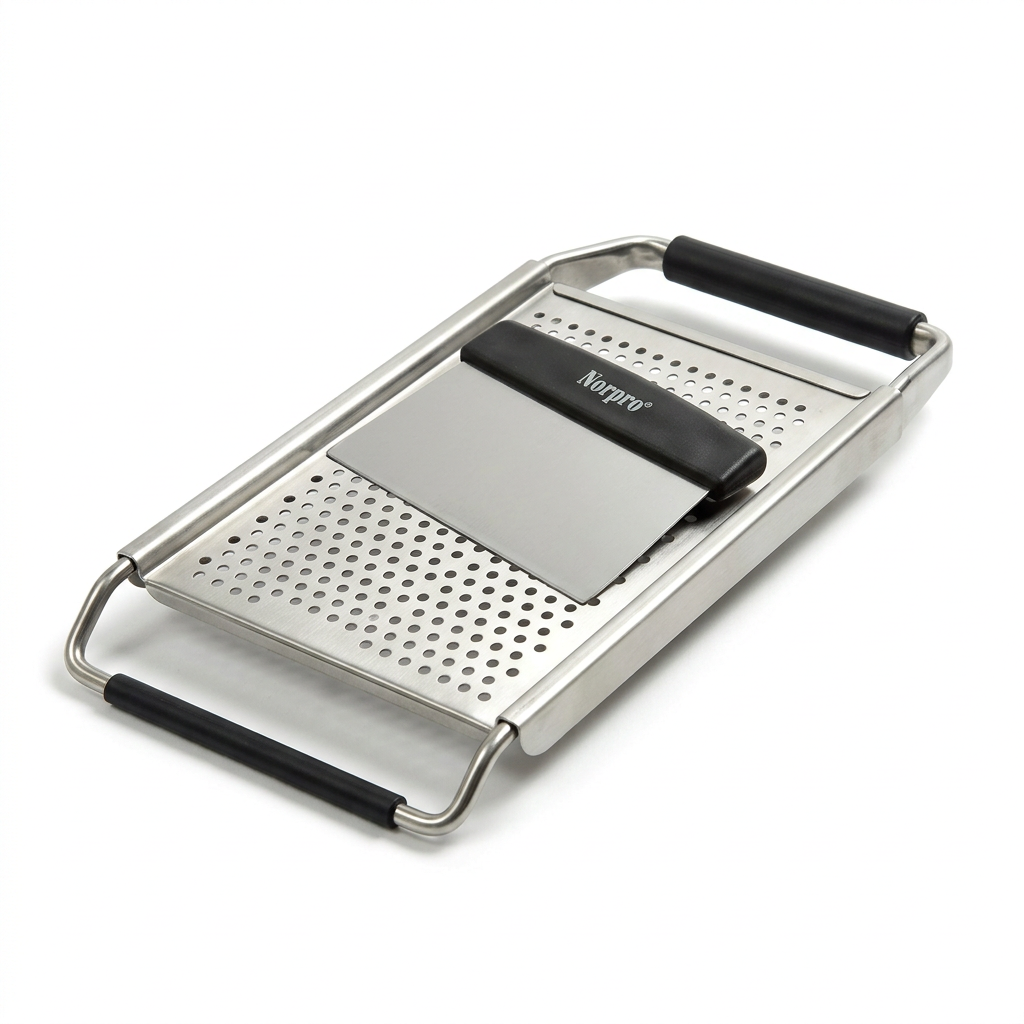
Do not panic if the dough feels dry or looks crumbly at this stage. It is common for home cooks to add water too early, resulting in a sticky, unmanageable mess. Use a dough scraper to bring all the loose bits into the center, pressing firmly. If, after five minutes of kneading, the dough still feels like it will not come together, mist your hands with water rather than adding water directly to the dough. This allows you to increase hydration in micro-increments until the dough is unified.
The Art of the Knead
Kneading is where the magic happens. By physically stretching and folding the dough, you are aligning the gluten proteins—gliadin and glutenin—into long, organized strands. This structure is what gives your pasta that characteristic "snap" when you bite into it. If you skip this step or cut it short, your pasta will be soft, gummy, and prone to breaking during the boiling process.
The Technique of the Heel
Use the heel of your hand to push the dough away from you, then fold it back over itself, turn it 90 degrees, and repeat. You should be putting your body weight into this motion. Do this for at least 10 full minutes. The dough should transform from a rough, dull surface to a smooth, satiny finish. If you poke the dough with your finger, it should spring back immediately, indicating that the gluten network is well-developed.
Proper kneading is the difference between a pasta that feels like a limp noodle and one that dances on the tongue with resilience and life.
The Necessity of Resting
Once you have kneaded your dough, you absolutely must let it rest. Wrap the dough tightly in plastic wrap and leave it at room temperature for at least 30 to 60 minutes. This period is crucial for the gluten to relax. If you try to roll out the dough immediately, it will constantly snap back, making the process incredibly frustrating. During the rest, the moisture distributes evenly throughout the dough, making it far easier to roll into paper-thin sheets.
Rolling and Shaping
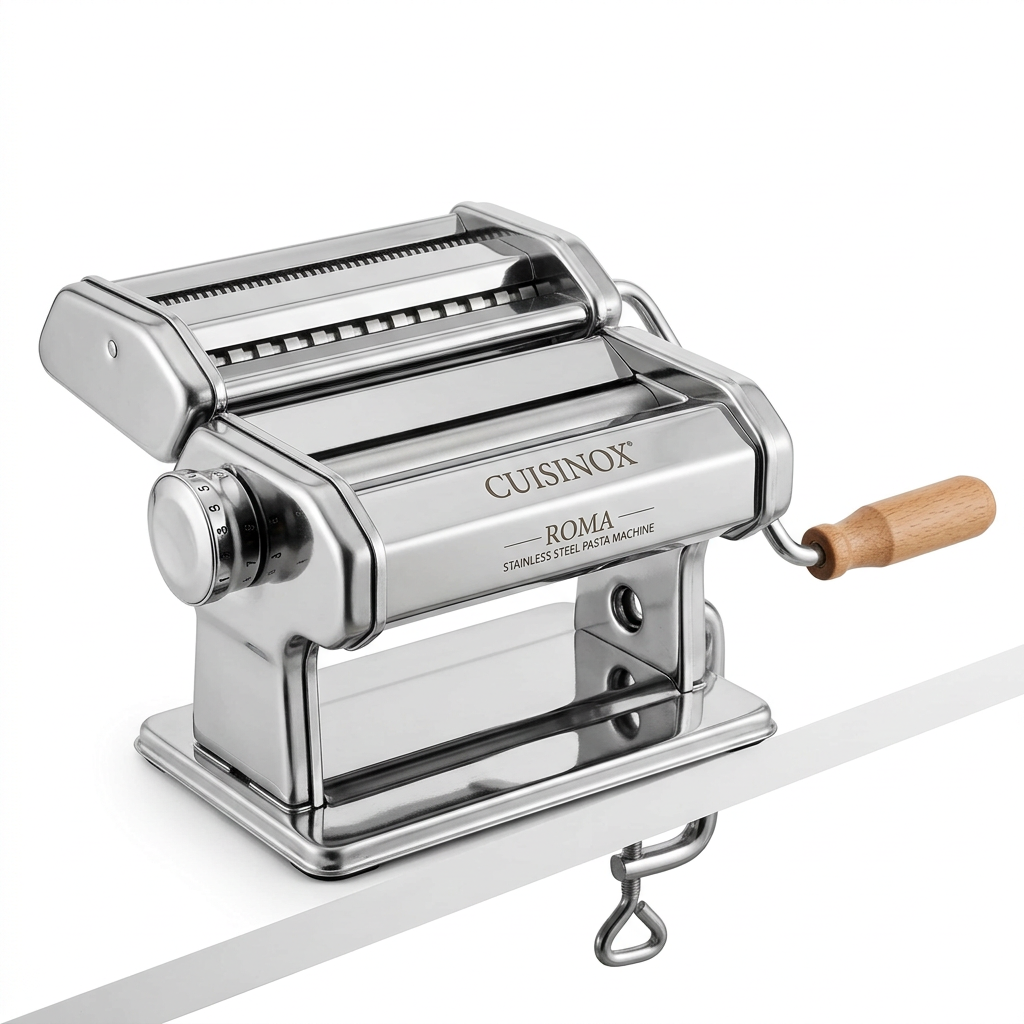
When you are ready to roll your dough, ensure you have enough space. Whether you are using a hand-crank machine or a wooden rolling pin (mattarello), the goal is to reduce the thickness of the dough evenly. If using a machine, start at the thickest setting and pass the dough through once. Fold it into thirds like a letter, and pass it through again. Repeat this folding process three or four times to ensure the dough is uniform and to further strengthen the internal structure.
Graduating the Thickness
Once the dough is smooth, begin to reduce the setting on your machine by one notch at a time. Do not jump settings, or you risk tearing the dough. Dust the dough lightly with a small amount of flour between passes to ensure it does not stick to the rollers. Continue until you reach your desired thickness. For fettuccine or tagliatelle, a thickness of about 1.5 to 2 millimeters is ideal; for ravioli, you want to go even thinner, until the sheet is translucent enough to see your hand through.
Shaping for Success
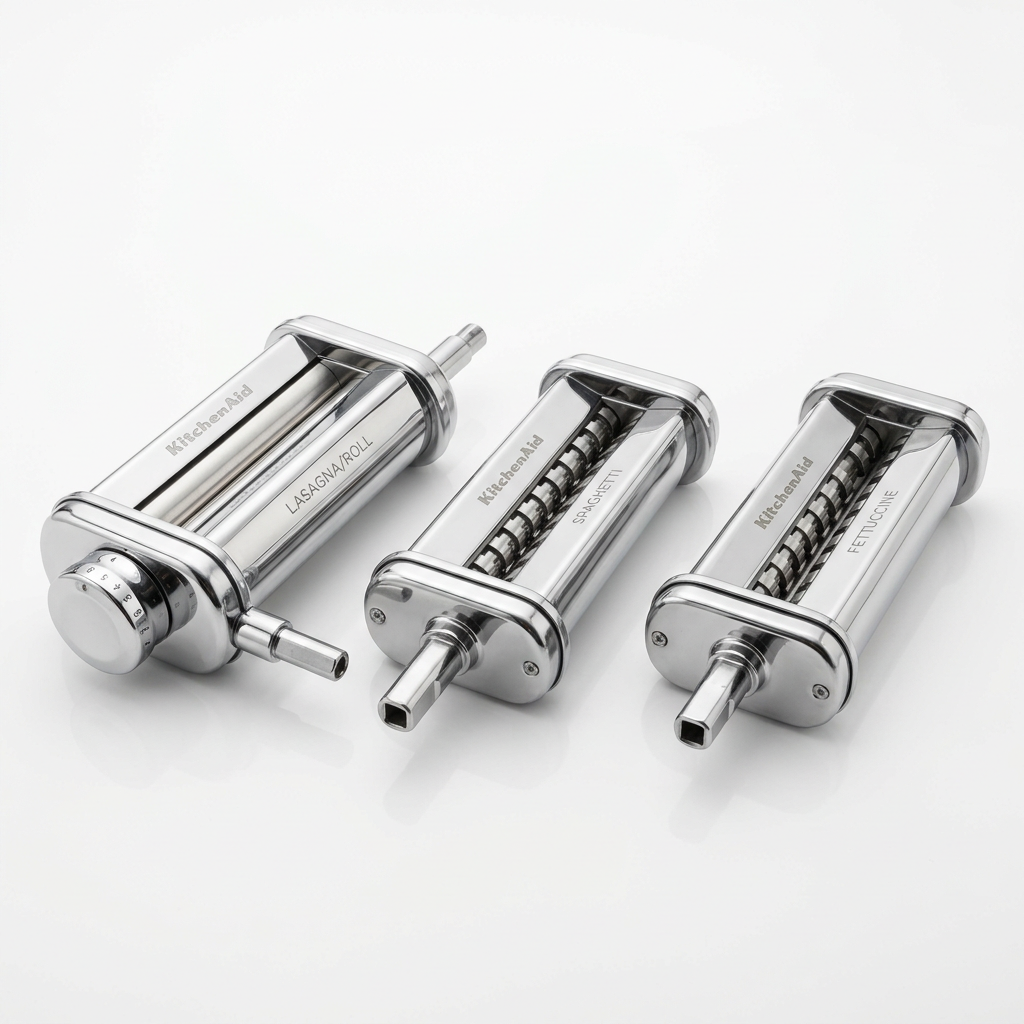
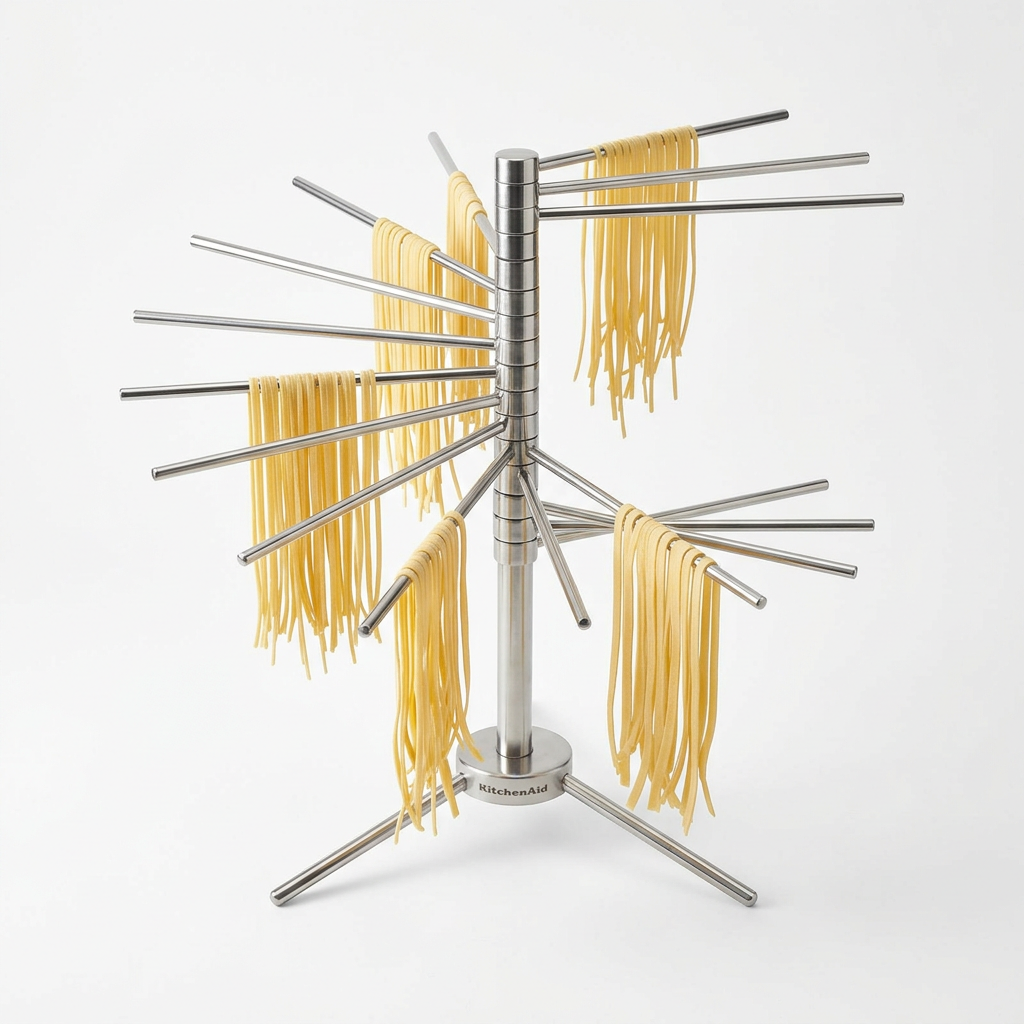
Once your sheets are rolled, it is time to cut. If you are cutting by hand, dust the sheet liberally with flour, fold it into a loose roll, and use a sharp knife to cut your desired width. If you are using a pasta machine attachment, feed the sheets through steadily, catching the strands with your hand so they don't tangle. Dust the finished noodles immediately with semolina flour to prevent clumping.
Cooking to Al Dente
The term al dente literally translates to "to the tooth." It means the pasta should be cooked through but still offer a slight resistance to the bite. Fresh pasta cooks much faster than dried pasta—sometimes in as little as 90 seconds to 3 minutes, depending on the thickness and the recipe.
The Science of the Boil
Always use a large pot of water, well-salted. The salinity should be comparable to the ocean; it is the only time you can flavor the interior of the noodle. Never add oil to the pasta water. Contrary to popular belief, oil does not prevent sticking; it only creates a slick layer on the surface of the pasta that prevents your sauce from adhering correctly.
Timing and Finishing
Bring the water to a rolling boil and drop your pasta in, stirring gently to ensure no strands are sticking together. Taste a piece of pasta a minute before you think it should be done. Once it hits that sweet spot, reserve half a cup of the starchy pasta water, then drain the pasta. Immediately toss the noodles into your warm sauce, adding a splash of the reserved pasta water to emulsify the fat and coat the noodles perfectly.
Sauce Pairings and Serving Tips
Now that you have crafted the perfect noodle, the sauce should celebrate the pasta, not overwhelm it. Heavy, meat-laden ragus work well with wider, thicker noodles like pappardelle, which can stand up to the weight. Delicate, egg-heavy sauces like a simple cacio e pepe or a light lemon cream are better suited for thinner, faster-cooking noodles like tagliolini.
The Emulsification Secret
Professional chefs know that the secret to a restaurant-quality finish is the marriage of the sauce and the pasta water. The starch in the water acts as a binder, creating a glossy, silky emulsion that clings to the pasta rather than sliding off it. Never plate your pasta and then spoon sauce on top. Always "marry" the pasta and sauce in the pan for the final 60 seconds of cooking.
Serving with Elegance
Pasta is best served immediately. It waits for no one. If you have guests, ensure your table is set and your wine is poured before you drop the pasta into the water. Use warmed bowls to keep the temperature consistent from the first bite to the last. Garnish with freshly grated Parmigiano-Reggiano or Pecorino Romano, and perhaps a drizzle of high-quality extra virgin olive oil to finish.
The ultimate mark of a skilled cook is the ability to present a bowl of pasta that feels effortless, despite the rigorous technique required to reach that point.
Troubleshooting Common Pasta Pitfalls
Even the best chefs encounter issues. If your dough is too dry, it will crack as you roll it. If it is too wet, it will stick to your machine and gum up the works. Don't throw it away; adjust. A dough that is too dry can be salvaged by dampening your hands and kneading for another five minutes. A dough that is too wet can be rectified by dusting with more flour and letting it rest in the refrigerator for a while to firm up the proteins.
Why Your Dough Might Fail
Inadequate Resting:* If your dough feels like a rubber band, it hasn't rested long enough.
Under-kneading:* If the pasta breaks when you pick it up, it lacks the necessary gluten structure.
Too Much Flour:* Over-flouring your dough during the rolling process makes the pasta dense and dull.
Water Temperature:* Always use room temperature ingredients. Cold eggs can inhibit the gluten formation process.
Professional Tips for Consistency
Invest in a digital scale. Measuring flour by volume—using measuring cups—is notoriously inaccurate because flour settles and compresses. 100 grams is 100 grams, whether it is packed or loose, and that precision is what guarantees that your pasta will feel and taste the same every single time. Also, keep your kitchen cool. High heat can make the fats in the eggs melt, which negatively affects the handling of the dough.
Elevating Your Culinary Craft
Pasta making is an act of love, but it is also an act of scientific precision. As you get more comfortable, you can start experimenting with additions to your dough. Infuse your flour with fine herbs, lemon zest, or even squid ink for a striking visual impact. These small adjustments can turn a standard dinner into a signature dish that your friends and family will request for years to come.
Beyond the Basics
Once you have mastered the straight egg-and-flour ratio, try branching out into semolina-based doughs. These are typical of Southern Italy and use a different flour called semola rimacinata, which provides a much heartier, bite-heavy texture. Combining these techniques will give you a vast repertoire of styles to choose from, depending on the sauce you are serving or the occasion you are preparing for.
The Community of the Kitchen
Remember that this process is meant to be shared. There is a reason that pasta making has historically been a communal activity. Gather your family in the kitchen, hand out some rollers, and make it a ritual. The laughter and the shared effort make the final meal taste infinitely better. Never be afraid to fail, and never blame the ingredients when you can blame the chef—in this case, yourself—for a lack of patience. Keep practicing, keep tasting, and keep pushing the boundaries of what you think you can do.
Final Thoughts
Mastering fresh pasta is a journey that starts with curiosity and ends with mastery. By understanding the interaction between protein, water, and heat, you have unlocked a tool that is fundamental to the world's most beloved cuisine. You now possess the knowledge to skip the dry box in the pantry and create something that is vibrant, alive, and uniquely yours.
There is a deep peace that comes from the rhythm of the fold, the turn of the handle, and the precise, quiet work of the blade. As you bring your pasta from the flour-dusted counter to the boiling water, you are completing a cycle that has defined the Italian culinary tradition for centuries. You are not just making noodles; you are honoring the ingredient and the art form.
As you continue your culinary journey at "Blame The Chef," remember that the best dish is the one cooked with care and the best ingredient is a confident hand. Don't worry if your first batch isn't perfect; the beauty of pasta is its simplicity, which allows you to try again and again, refining your technique with every attempt. Enjoy the process, appreciate the texture, and above all, enjoy the company of those you feed. Your kitchen is now a space of creation, and your table is the stage for your work. Happy cooking, and may your pasta always be perfectly al dente.
For those of you who are just starting, do not be intimidated by the length of this process. Every chef you admire started with a bowl, a bag of flour, and a complete lack of direction. What separates the hobbyist from the master is the persistence to refine the basics until they become second nature. You have the guide, you have the science, and now you have the opportunity. Go forth, measure your flour, crack your eggs, and start building your legacy, one strand of golden, handmade pasta at a time. The kitchen is waiting, and the flour is ready to be transformed. Take pride in every step, from the first sift to the final garnish. You are building something authentic in a world of artificiality. There is no greater satisfaction for a cook than the moment a guest takes that first bite of handmade pasta and stops mid-sentence, truly savoring the texture of the work you put into it. Keep that feeling in mind as you work, and let it fuel your desire to master the art of the dough. We look forward to seeing what you create in your own kitchens, so keep experimenting, keep tasting, and keep sharing the joy of great food. This is the heart of what we do, and I am honored to be your guide on this delicious path. Keep the tradition alive, and remember that when the pasta is this good, the chef deserves all the credit—even if we sometimes like to pretend it's a secret. Final check: have you tasted your water? Have you checked your consistency? If you have, you are ready. Go get cooking. This concludes our masterclass on the fine art of fresh pasta. We will see you in the next post, where we will dive into the nuances of slow-cooked ragus that pair perfectly with these very noodles. Stay sharp, stay curious, and keep those aprons tied tight. The world of handmade pasta is yours to conquer.
Get the Next Recipe
Weekly recipes, techniques, and gear picks — straight to your inbox.