In the world of culinary arts, few elements elevate a dish quite like a well-made stock or broth. While many home cooks rely on store-bought versions for convenience, creating your own from scratch is not only rewarding, but it catapults your cooking to a new level. Stocks and broths are the building blocks of flavor; they enhance soups, sauces, and countless dishes with depth and richness that pre-packaged versions simply cannot replicate. With a little knowledge and technique, you can harness the power of these essential elements in your own kitchen.
Making your own stock or broth may seem daunting at first, but it's a straightforward process that allows you to customize flavors to suit your preferences. Whether you’re preparing a comforting chicken noodle soup or a luxurious risotto, having the right foundation can make all the difference. The beauty lies in the ability to use ingredients you might already have, minimizing waste while maximizing flavor. Additionally, you have complete control over the quality and sourcing of the ingredients, ensuring that what you’re cooking with is wholesome and free from additives.
Moreover, the skills you develop from making your own stocks and broths inform other areas of your cooking repertoire. You’ll learn about the anatomy of flavors, the importance of simmering, and the delicate balance of ingredients. As you explore this essential aspect of home cooking, you’ll discover a newfound appreciation for the intricacies of taste and the joy of creating your own culinary building blocks. So let’s dive into the art of making stocks and broths!
Understanding the Basics of Stock and Broth
Before we embark on the journey to make our own stocks and broths, it's crucial to understand the differences between the two. At their core, both stocks and broths involve simmering bones, meat, and vegetables; however, they vary in ingredients, flavor, and intended uses.
The Difference Between Stock and Broth
●Stock: Typically made from bones, stock is simmered for a longer period—at least 4 hours, often up to 12 hours. This extended cooking time allows the collagen and gelatin from the bones to break down, imparting a rich, syrupy texture and depth of flavor. It’s ideal for sauces and as a base for soups.
●Broth: Broth is made with meat and often includes bones as well, but it may also be prepared using just vegetables or grains, making it a lighter and more delicate option. It cooks for a shorter time—around 1 to 2 hours—resulting in a thinner consistency. Broths are excellent for sipping on their own or as a flavorful base for lighter soups.
Understanding these differences will guide you in choosing the right method and ingredients for your culinary creations. Both stock and broth have their place in the kitchen and can be used interchangeably, depending on the desired outcome.
Ingredients for Homemade Stocks and Broths
Creating your own stocks and broths gives you the freedom to choose the freshest, highest quality ingredients. Here’s a breakdown of the essential components:
●Bones: For stock, use a combination of bones, such as:
- Roasted bones (for a deeper flavor)
- Raw bones (for more collagen)
- Meaty bones (for added flavor)
For broth, you’ll primarily want:
- Meaty cuts (like chicken thighs or beef shank)
- Bones for depth
●Aromatics: Standard aromatic vegetables include:
- Onions (essential for any stock or broth)
- Carrots (for sweetness)
- Celery (for freshness)
●Herbs: Fresh or dried herbs like:
- Parsley (a classic)
- Thyme (adds earthiness)
- Bay leaves (for depth)
●Seasoning: Always season lightly in the beginning since you can adjust flavors later. Common seasoning includes:
- Peppercorns (for subtle heat)
- Salt (add towards the end for precision)
●Water: Use cold, filtered water to draw out flavors from the ingredients effectively.
It’s beneficial to source bones and meat from free-range or grass-fed animals to achieve the best flavor and nutritional quality.
The Process of Making Stock
Crafting stock can be a simple process if you follow these guidelines. Here’s a step-by-step method:
Step-by-Step Guide to Making Stock
1.Gather Ingredients: Start with a variety of bones (around 3 to 5 pounds total), vegetables (onions, carrots, and celery), herbs, and cold water.
2.Roast the Bones (Optional): For darker stock, preheat your oven to 400°F (200°C). Spread the bones on a roasting pan and roast for 30-45 minutes until browned. This step enhances the flavor.
3.Prepare Aromatics: Chop your vegetables roughly, as they’ll be strained out later.
4.Combine in a Stockpot: Place the bones, vegetables, and herbs in a large stockpot. Add cold water until all the ingredients are submerged, leaving space for bubbling.
5.Bring to a Simmer: Slowly bring the pot to a gentle simmer over medium heat. Avoid boiling, as it can create unwanted cloudiness and bitterness.
6.Skim the Surface: After the stock begins to simmer, you'll notice foam or impurities rising to the surface. Skim them off with a ladle or slotted spoon; this step helps in ensuring a clear, clean stock.
7.Simmer: Reduce the heat to low and let the stock simmer for at least 4 hours, or up to 12 hours for a richer flavor.
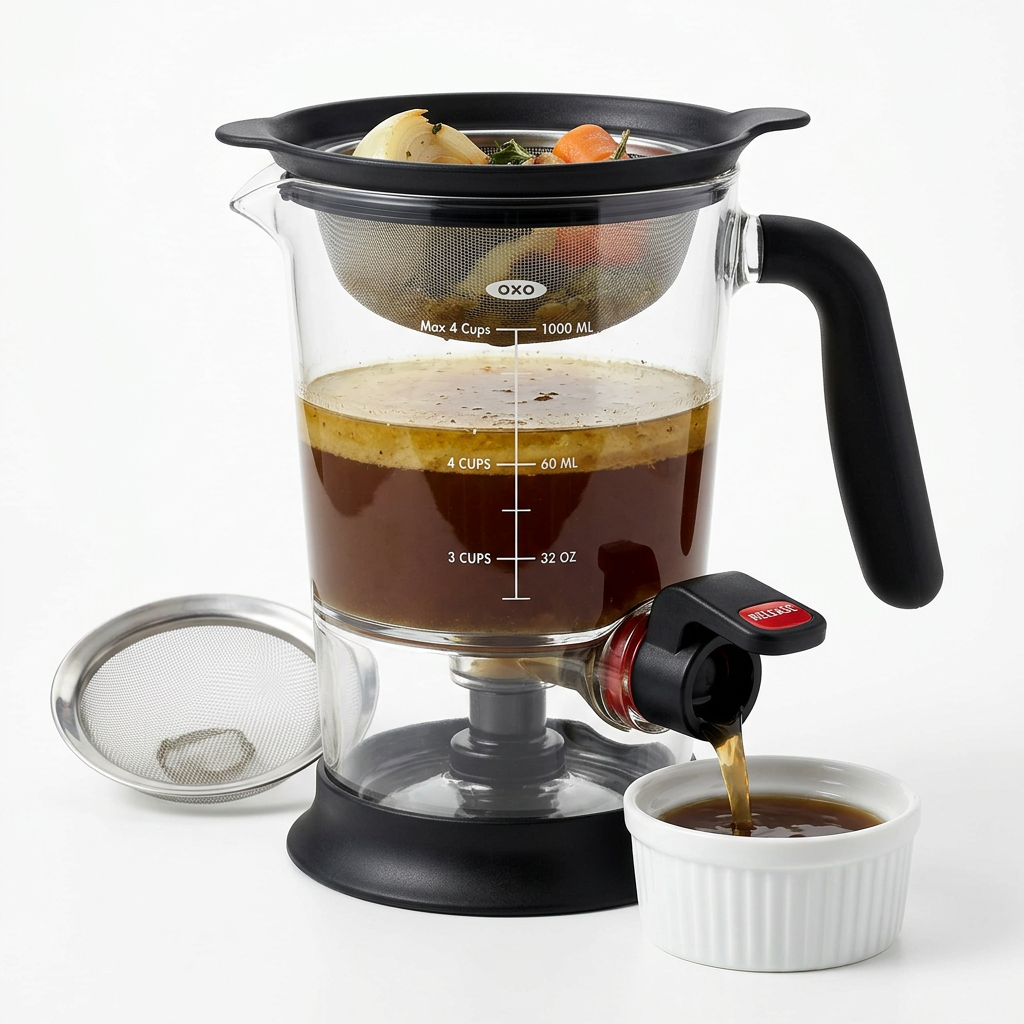
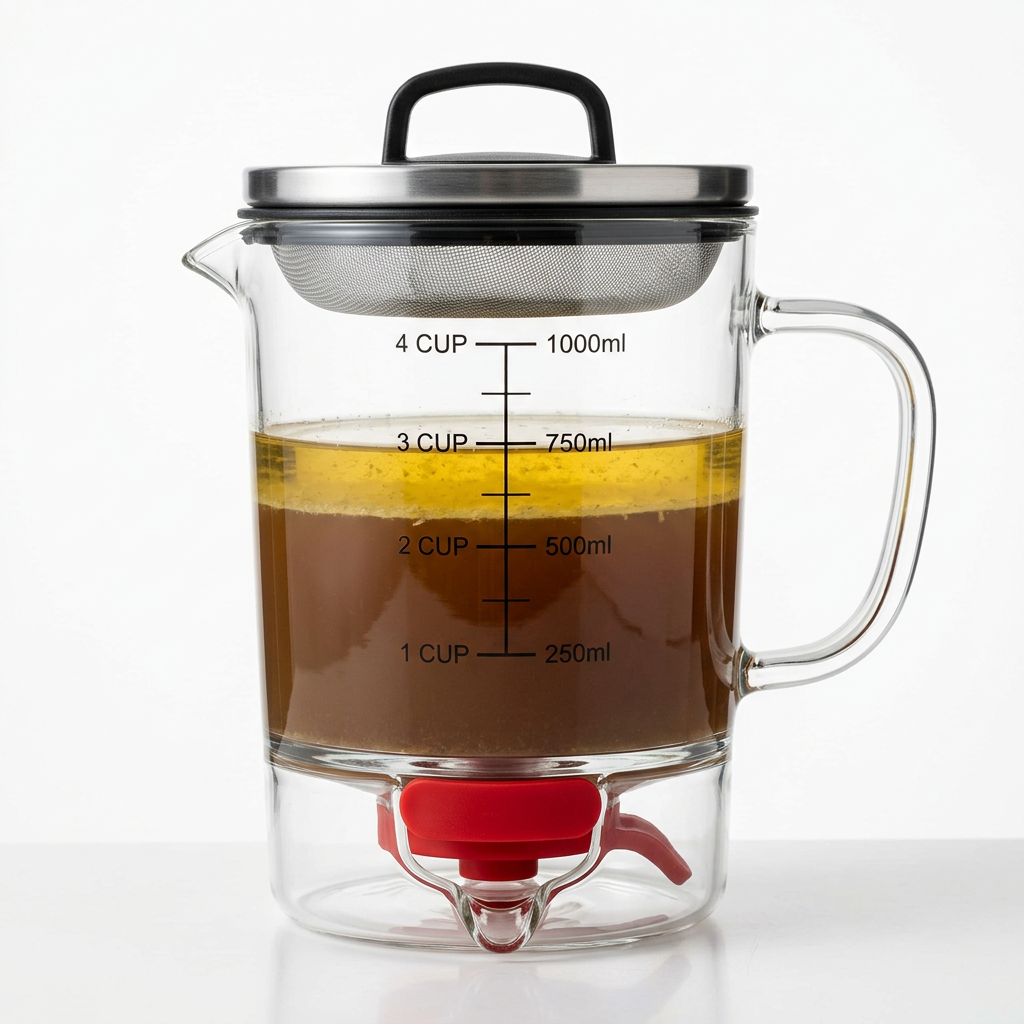
8.Strain the Stock: Once your stock is ready, remove it from heat. Strain the mixture through a fine-mesh sieve or cheesecloth, discarding the solids.
9.Cool and Store: Let the stock cool to room temperature. Then, transfer it to airtight containers and refrigerate for up to 5 days or freeze for up to 6 months. Make sure to leave space at the top of containers for expansion when freezing.
"Creating stock from bones is not just a recipe but a way to connect to the essence of cooking – transforming simple ingredients into something divine."
Tips for Mastering Stock
●Don’t Rush the Simmer: The magic happens during the slow simmer, where flavors meld and develop.
●Adjust Ingredients as Needed: If you're making fish stock, use fish bones and aromatic herbs like dill. Consider seasonal vegetables for a touch of freshness.
●Evaluate the Flavor: Throughout the simmering process, taste the stock for the right flavor balance. You may choose to adjust seasoning before straining.
●Experiment with Flavors: After mastering the basics, get creative! Try adding different spices or vegetables to change up the profile of your stock.
The Art of Crafting Broth
While making stock is certainly important, the lighter and quicker method of crafting broth is equally rewarding for homely dishes or delicate soups. Here’s how to make a beautiful chicken broth.
Step-by-Step Guide to Making Broth
1.Select Your Ingredients: Start with 2-3 pounds of chicken (bones, wings, and carcass work well) or any meat of choice, aromatic vegetables, herbs, and cold water.
2.Prepare the Chicken: If using raw chicken, you can brown it in a pot for about 10 minutes to add extra flavor, but it's not necessary.
3.Chop Vegetables: Roughly cut onions, carrots, and celery to release their essences.
4.Combine in Pot: Place the chicken, vegetables, herbs, and cold water into a large stockpot.
5.Heat and Simmer: Bring the mixture to a gentle simmer on medium heat, then reduce to low.
6.Skim Regularly: As with stock, skim off any foam or scum that forms on the surface.
7.Simmer for Flavor: Let it simmer for about 1-2 hours, checking for flavor development.
8.Strain Your Broth: Remove from heat and strain through a fine-mesh sieve, discarding solids.
9.Refine and Store: Cool the broth before transferring it to storage containers. Broth can also be kept in the refrigerator for up to 5 days or frozen for later.
"A well-made broth warms the soul and can transform a simple meal into something truly special."
Broth Variations
Don’t be afraid to experiment with your broth! Here are some ideas to customize your base:
●Vegetable Broth: For a vegetarian option, replace meat with a variety of vegetables like mushrooms, tomatoes, and herbs.
●Beef Broth: Use beef shank or oxtails along with standard aromatics and simmer for a robust flavor.
●Seafood Broth: Simmer shrimp shells, fish heads, and aromatics such as leeks and cilantro for a seafood broth that’s perfect for soups and risottos.
Using Your Stock and Broth
Now that you’ve mastered the basic techniques of creating stock and broth, it’s time to explore how to creatively use these foundations in your cooking. The potential is vast and exciting!
Incorporating Stocks and Broths in Everyday Cooking
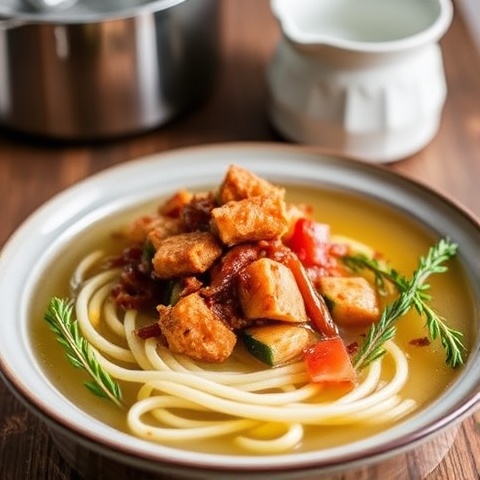
●Soups: Use stock or broth as the base for classic soups like tomato, minestrone, or chicken noodle. The right stock enriches flavors and creates a comforting experience.
●Sauces: Think beyond soups—deglaze your pan after sautéing meat with stock to create delicious sauces. Incorporate it into gravies for a more balanced taste.
●Grains and Risottos: Implement stock or broth when cooking grains like rice, quinoa, or couscous. It adds memorable flavor and richness that plain water cannot provide.
●Stews: Enhance the depth of flavor in stews by using a hearty stock; this is especially important for meat-based dishes that require more foliage and character.
●Brining and Cooking: Use broth when brining. The result will be a more succulent, flavorful protein once cooked.
Creative Applications
●Future Cooking Projects: Use your homemade stock in sauces and gravies, such as an Au Jus or Velouté sauce. This technique will not only deepen the flavor but demonstrate your culinary skill to your guests.
●Flavorful Egg Dishes: For a luxurious touch, consider making delectable custards or savory egg dishes using chicken broth as a base.
●Experiment with Infusing Flavors: Get creative by adding spices, such as saffron or star anise, during the simmering of stocks or broths for unique flavors.
Following these ideas can breathe new life into your recipes, allowing each meal to showcase the complexity of flavor that homemade stocks and broths provide.
Troubleshooting Common Mistakes
Even the most experienced cooks encounter challenges when it comes to making good stocks or broths. Here are a few common mistakes and how to avoid them.
Common Stock and Broth Pitfalls
●Overcooking: While stocks generally benefit from longer cooking times, be cautious with lighter broths. Overcooking can make flavors muddy and lead to a bitter or acrid taste.
●Skimming: Not removing impurities or foam can cause an unappetizing cloudiness. Make it a habit to skim as soon as you see any bubbling.
●Equipment Choices: Using a pot that’s too small can lead to overflow. Invest in a hefty stockpot for larger batches.
●Over-seasoning: Adding too much salt or seasonings can overpower your dish. Savor the underlying flavors first before adjusting.
●Ingredient Ratios: Ensure that your ratio of bones to water is balanced. Typically, aim for a 1:2 or 1:3 ratio for the best results.
Keep these common pitfalls in mind, and you’ll be well-equipped to create successful stocks and broths each time.
Tips for Storage and Preservation
To make the vast array of flavors you’ve created last, consider your storage options. Here are some recommendations for preserving your stocks and broths.
Storage Solutions
1.Refrigeration: Homemade stock and broth will last in the refrigerator for 4-5 days. Store in airtight containers, allowing space for expansion if freezing.
2.Freezing: Freeze leftovers in flat bags or ice cube trays for long-lasting storage. Ice cubes can be especially handy when you need small amounts of broth for recipes.
3.Label and Date: Always label your containers with the contents and date so that you’re using older stock first.
4.Reheating: When reheating, do so slowly on the stove to retain flavor and prevent separation.
Long-Term Storage Considerations
●Vacuum Sealing: If you plan to make large batches that you want to keep long-term, consider vacuum sealing for better preservation without freezer burn.
●Use Glass Containers: Opt for glass containers over plastic, as they can withstand temperature changes more securely.
"Using homemade stock is like using love in your recipes: it enhances every element and nurtures every ingredient like a mother would."
Conclusion
Making stock and broth from scratch may require some upfront investment in time and effort, but the rewards are well worth it. You’re not just making a liquid; you’re creating layers of flavor and nutrition that can drastically improve your dishes. Through the techniques explored, you’ve learned about the nuances of both stock and broth, how to craft them with care, and how to incorporate them into your cooking efficiently.
Whether using a rich beef stock for a hearty stew or a delicate vegetable broth for soups, these homemade creations provide a base that transforms ordinary meals into exceptional culinary experiences. Get creative, explore flavors that intrigue you, and enjoy the process each time you venture into the kitchen.
Ultimately, the beauty of cooking lies in the journey, learning, and sharing delicious meals with loved ones. Your homemade stocks and broths will undoubtedly reflect the passion and care you’ve poured into making them. So, roll up your sleeves, gather your ingredients, and take pride in the flavorful foundations you’ll create as you continue to elevate your cooking skills.