
Guide to Tempering Chocolate
Tempering chocolate is one of those culinary techniques that can elevate your confections from good to exceptional. If you’ve ever wondered why some chocolates have a beautiful sheen and snap, while others seem dull and crumbly, the secret often lies in the crucial process of tempering. This technique, which may appear daunting at first, is an essential skill for any home baker or chocolatier aiming to create professional-quality chocolates. By mastering chocolate tempering, you can unlock new dimensions in flavor and texture, making your desserts not only taste better but also look stunning.
At its core, tempering chocolate involves carefully melting and cooling chocolate to stabilize its cocoa butter crystals. The goal is to bring chocolate to specific temperatures that allow the cocoa butter to crystallize in a way that makes the chocolate glossy and snap firmly when bitten into. Several methods exist for tempering chocolate, each with distinct benefits, depending on the volume of chocolate and your comfort level. Whether you’re making truffles, coating treats, or preparing decorative elements for a cake, effectively tempered chocolate opens up a world of possibilities in baking.
In the following sections, we will explore the science and art behind tempering chocolate in detail. We will cover everything from the different types of chocolate to the various methods of tempering. Additional guidance on the tools you’ll need, potential pitfalls to avoid, and tips for achieving success will also be provided. So, gather your chocolate and let’s embark on this exciting journey toward creating tempered chocolate that is as visually appealing as it is delicious.
Understanding Chocolate
Before diving into the tempering process, it is essential to understand the different types of chocolate available and how they differ in composition and tempering requirements. The three main varieties are dark chocolate, milk chocolate, and white chocolate. Each has its own melting point and cocoa butter content, which impacts the tempering process.
Types of Chocolate
Dark chocolate is made from cocoa solids, cocoa butter, and sugar, and it contains no milk solids. The higher the cocoa content, the more complex the flavors. The ideal melting and tempering temperature for dark chocolate is 130°F (54°C) for melting and about 88°F to 90°F (31°C to 32°C) for tempering.
Milk chocolate contains milk solids in addition to cocoa solids and cocoa butter, making it creamier and sweeter than dark chocolate. Melting milk chocolate requires a slightly lower temperature, usually around 110°F (43°C), with a tempering temperature between 86°F to 88°F (30°C to 31°C).
White chocolate is made from cocoa butter, sugar, and milk solids, but it lacks cocoa solids, which means it does not have the same rich chocolate flavor. White chocolate requires careful tempering as well, typically melting at around 100°F (38°C) and tempering between 84°F to 86°F (29°C to 30°C).
The Importance of Cocoa Butter
Cocoa butter is crucial in the tempering process as it contains different types of fat crystals that can influence the texture and finish of chocolate. When chocolate is tempered correctly, the cocoa butter crystallizes in a stable form (beta crystals), leading to a glossy finish and a satisfying snap. Conversely, improper tempering can result in a dull, soft, and unattractive product.
Chocolate Quality Matters
The quality of chocolate you use can significantly affect the final outcome. Choosing high-quality chocolate will yield better results when tempering. Look for chocolate with a cocoa content of at least 60% for dark chocolate, and ensure that the chocolate contains cocoa butter rather than vegetable fats, which can affect tempering.
“Tempering chocolate is about more than just technique; it’s about respecting the ingredients and understanding how they interact.”
Methods of Tempering Chocolate
There are several methods to temper chocolate: the seed method, the tabling method, and the microwave method. Each method has its advantages and is suitable for different skill levels and quantities of chocolate.
Seed Method
The seed method is a popular choice for home cooks as it requires fewer tools and is relatively straightforward.
#### Steps:
#### Tips:
Tabling Method
The tabling method is a technique typically used in professional kitchens and requires a marble slab or countertop.
#### Steps:
#### Tips:
Microwave Method
For those who prefer a quicker approach, the microwave method is a convenient alternative, although it requires careful attention to avoid overheating.
#### Steps:
#### Tips:
“Tempering chocolate is as much about method as it is about mindfulness and precision.”
Equipment Needed for Tempering Chocolate
Having the right tools can make all the difference in your tempering process. While chocolate tempering can be done with basic kitchen items, certain equipment can enhance your experience and results.
Essential Tools
Optional Items
Best Practices for Cleanliness
Maintaining a clean workspace is essential when working with chocolate. Even a small amount of moisture can cause chocolate to seize up, ruining your tempering efforts. Here are some best practices:
Common Mistakes and Troubleshooting
Despite meticulous preparation and care, you may encounter problems while tempering chocolate. Understanding common pitfalls will help you troubleshoot effectively.
Seizing Up
If your chocolate seizes, it usually means that a small amount of moisture entered the mix. When this happens, the sugar in the chocolate clumps together, resulting in a grainy texture.
#### What to Do:
Not Setting Properly
If your tempered chocolate does not set properly, it can be due to improper temperatures during the cooling process.
#### What to Do:
Dull Finish
A dull finish or lack of snap in your chocolate likely indicates it wasn't tempered properly.
#### What to Do:
“Perfecting your tempering technique comes with practice and patience; don’t be disheartened by early mistakes.”
Creative Ways to Use Tempered Chocolate
Tempered chocolate isn’t just about perfecting bars or shapes; the uses for beautifully tempered chocolate are endless. Here are some creative applications to inspire your baking endeavors.
Chocolate Coating
One of the simplest yet most impressive uses of tempered chocolate is coating desserts. Whether you’re working with truffles, fruits, nuts, or confections, a glossy chocolate coating adds depth and allure.
Chocolate Decorations
Utilizing tempered chocolate for decorations can transform your cakes and pastries. Here are some ideas:
Chocolate Bars
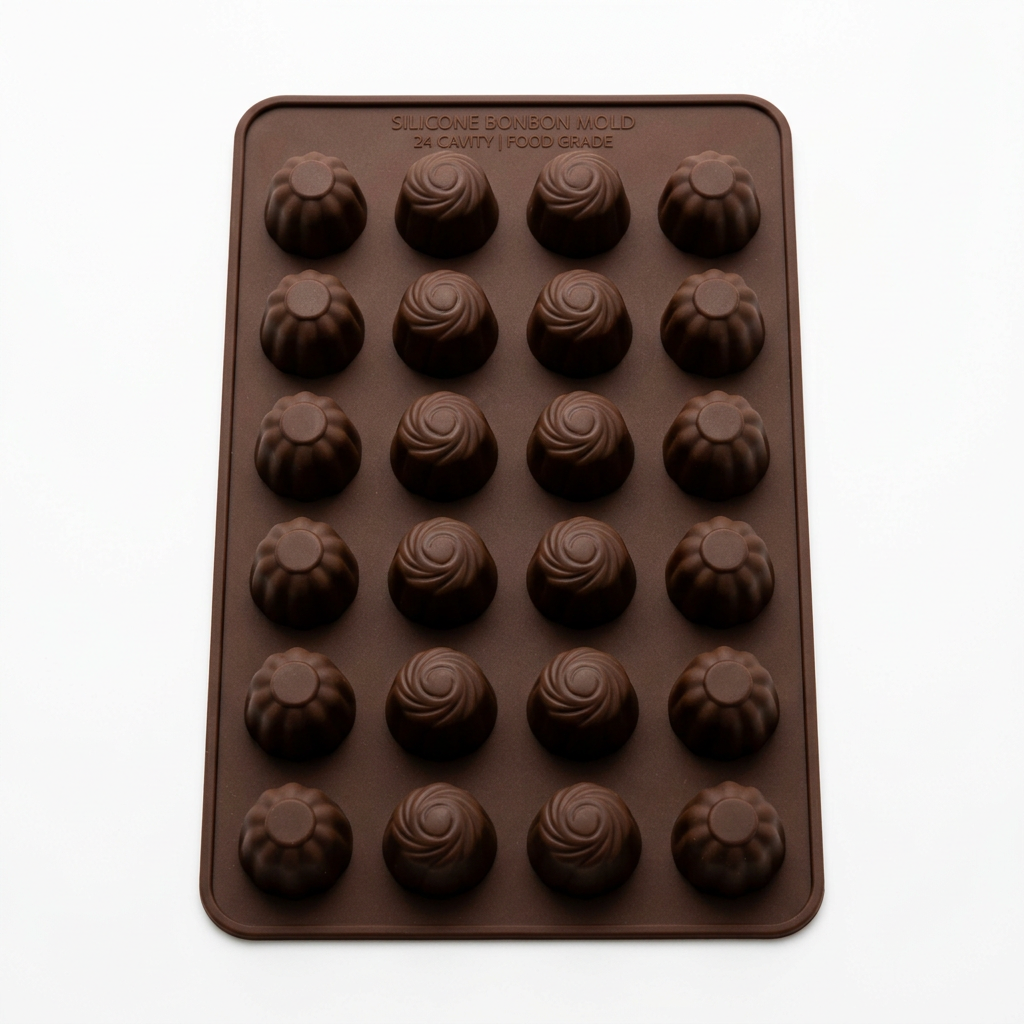
Making your own chocolate bars can be a rewarding experience. By tempering chocolate and pouring it into molds, you can get creative with add-ins:
Chocolate Sauces
Tempered chocolate can also be used to create rich chocolate sauces for drizzling over desserts or ice cream.
Conclusion
Tempering chocolate may seem like a complex process at first, but with practice and a solid understanding of the science behind it, you can master this valuable technique. Whether you're looking to make elegant decorations, rich coatings, or create stunning desserts, knowing how to temper chocolate will enhance your baking skills and open up a world of culinary innovation.
As you practice, remember to focus on the temperatures, methods, and tools discussed, and don't shy away from experimenting. Each attempt brings you one step closer to flawless chocolate creations that undoubtedly reflect your culinary expertise. Embrace the joy of working with chocolate, and let it inspire your delightful baking endeavors — because every piece of carefully tempered chocolate is a testament to the love and craftsmanship you put into your dessert. Happy baking!



Get the Next Recipe
Weekly recipes, techniques, and gear picks — straight to your inbox.
