Homemade Ice Cream Without a Machine
Desserts

Homemade Ice Cream Without a Machine

C
By The Chef
|March 26, 2026|11 Min Read
📋
Recipe Card
5 ingredients · 0 steps
Servings
4
Ingredients
Instructions
Progress
0%

There’s something undeniably nostalgic about ice cream. It’s the sweet, creamy indulgence that transports you back to the carefree days of summer, of warm sunbeams on your skin and laughter filling the air. The thought of it—rich flavors swirling with delightful freshness—can conjure a smile even on the most overcast days. Yet, many people feel limited by the necessity of ice cream makers to recreate this beloved dessert at home. What if we told you that you could make flavorful, artisanal ice cream right in your own kitchen without any special equipment? Yes, it’s possible with just a few basic ingredients and some culinary artistry!

In this post, we will explore the ins and outs of creating homemade ice cream without a machine. You don’t need fancy gadgets or long hours slaving away. Instead, it’s all about understanding the fundamental techniques, ratios, and science that create the perfect creamy texture and rich taste. We will guide you step-by-step through various methods, each promising a delicious outcome that will impress your family and friends. By the end, you will be armed with the knowledge and confidence to craft a variety of mouthwatering flavors right at home.

Whether you’re looking for a classic vanilla bean or a more adventurous combination of flavors like lavender-honey or spicy chocolate chili, you will find the requisite inspiration here. We shall unearth tips and techniques for achieving that luscious consistency typical of professionally made ice cream, share essential ingredients you may want to stock up on and provide a plethora of flavor ideas that will keep your ice cream game exciting year-round. So prepare to roll up your sleeves and dive into this delightful culinary project that will surely become a staple in your dessert repertoire!

The Basics of Ice Cream Making

To begin our ice cream-making journey, it’s crucial to understand the components and processes that contribute to the overall texture and flavor of our frozen treat. Ice cream is essentially a blend of cream, milk, sugar, and flavorings, which are whipped together and then frozen to create that smooth and creamy result we all adore. However, there are some key elements to keep in mind to successfully replicate that delightful texture without a machine.

Ingredients You’ll Need

The quality of your ingredients can significantly impact the final product. Here’s a list of essential ingredients that you will want to gather before you start:

●Heavy cream: This is essential for that rich, creamy base. Aim for a fat content of at least 36% for the best results.
●Whole milk: It balances out the richness of the cream without compromising the consistency.
●Sugar: Granulated sugar is a common choice, but consider brown sugar or honey for added depth of flavor.
●Egg yolks (optional): They can help create a custard base, adding richness and improving the texture.
●Flavorings: Vanilla extract, cocoa powder, fresh fruit, nuts, or any other ingredients that tickle your fancy.

This leads us to an important culinary concept: the base. Most homemade ice cream recipes typically utilize either a cooked custard base or an uncooked one. Understanding each method's nature can help you choose the right approach for your desired flavor and texture.

Custard vs. Philadelphia-Style Base

1.Custard Base: This method involves cooking yolks with sugar before combining them with milk and cream. The result is a thicker, richer ice cream, similar to what you might find in gourmet shops. The cooking allows for better emulsification, resulting in an extra creamy texture. Typically, you would heat your cream and milk, temper your egg yolks with some of the warm mixture, then fully incorporate everything and cook until it thickens.

Tip: The key temperature for cooking the custard is around 170°F (77°C), where it should stick to the back of a spoon; removing it from heat too soon can lead to a grainy texture.

2.Philadelphia-Style Base: Named after the city where this simple method was popularized, it calls for combining your cream, milk, sugar, and flavorings without eggs. This approach is quicker and easier and allows the flavors to shine through right away without the richness of custard. The Philadelphia style is particularly favored for fruit-flavored ice creams since the absence of eggs allows the natural flavors to take center stage.

Chef Tip: For both methods, always use fresh ingredients. The fresher your cream and milk, the better your ice cream will taste!

Freezing Techniques

Now that we have a solid grasp on the types of bases available, let’s discuss how to actually freeze and aerate our mixture to achieve that luscious, velvety texture characteristic of great ice cream. Without a machine, some methods involve a little elbow grease, while others allow for a more relaxed approach.

Manual Freezing Method

If you don’t have an ice cream maker, don’t worry! You can whip up ice cream using a simple manual method. This requires just a few tools, some timing, and a bit of patience.

Step-by-Step Guide:

1.Prepare Your Base: Whether you've decided on a custard or Philadelphia-style base, prepare your mixture according to the method of your choice.
2.Chill Your Mixture: Before freezing, it’s vital to cool your mixture completely, ideally to around 40°F (4°C). This helps it freeze more evenly. You can chill it in the refrigerator for at least 2 hours or overnight for the best result.
3.Freeze: Pour the cold mixture into a shallow, freezer-safe dish to maximize surface area.
4.Initial Freeze: Place your dish in the freezer and set a timer for 30-45 minutes. During this time, the mixture will begin to freeze at the edges.
5.Stirring: Once the edges are frozen, take it out and stir vigorously with a spatula or fork, breaking up the ice crystals. This aeration is crucial for velvety texture. Return to the freezer.
6.Repeat: Continue to check and stir every 30-45 minutes for the next 4-5 hours. Each time you stir, you’ll incorporate more air into the mixture, help prevent ice crystals from forming, and contribute to a smoother texture.

Chef Insight: If you want an even creamier result, consider using an electric handheld mixer during the stirring process to introduce even more air into the base.

Using a Stand Mixer

If you happen to own a stand mixer, you can use it to help in the churning phase. Once your mixture has chilled, here’s what to do:

1.Chill the Bowl: Place your mixing bowl in the freezer for about 15-20 minutes before using it to whip your mixture. This will help keep the ice cream mixture cold during the mixing.
2.Whipping the Base: Pour your chilled mixture into the chilled bowl and start whipping it on medium speed until soft peaks form.
3.Freeze Again: Transfer the whipped mixture back into a shallow dish and proceed with the manual method of stirring every 30-45 minutes until it's fully set.

This method allows for a bit more air to be introduced into the mix, creating an even more delightful consistency!

Flavoring Your Ice Cream

The next exciting aspect of making ice cream is deciding how to flavor it. The options are only limited by your imagination! Here are some enticing ideas to stimulate your creativity, along with suggestions for incorporating these flavors into your base.

Classic Flavors

1.Vanilla Bean: Use freshly scraped seeds from a vanilla bean pod along with a teaspoon of pure vanilla extract in your base. This classic flavor enhances beautifully with add-ins like chocolate chunks or fruit swirls.
2.Chocolate: To create a delectable chocolate ice cream, dissolve ½ cup of unsweetened cocoa powder in the milk before mixing in with the cream or melt dark chocolate and blend it into the custard base for a richer result.
3.Strawberry: Puree fresh, hulled strawberries with a touch of sugar and fold them into your ice cream base for a refreshing springtime dessert. Strain the puree if you desire an extra-smooth finish.

More Adventurous Options

●Lavender Honey: Infuse your cream with dried lavender buds before straining and mixing in honey for a sophisticated dessert—perfect for warm summer evenings.
●Salted Caramel: Make a caramel sauce using sugar, cream, and a pinch of salt, and swirl it through your base for an indulgent treat that tantalizes the taste buds.
●Coffee: Brew a double shot of espresso and mix it into your ice cream base. Pair with chocolate chunks for a delightful mocha ice cream.

Swirls and Mix-Ins

Once you’ve added your primary flavor, you can also enhance the texture and flavors further with fun mix-ins and swirls:

●Chopped Nuts: Toasted almonds, pecans, or hazelnuts lend a delightful crunch.
●Cookie Pieces: Crumble Oreos, chocolate chip cookies, or biscotti into the mix.
●Fruit Swirls: Include a homemade fruit puree or jam while folding in flavors to create beautiful swirls.
●Chocolate Chips: Always a favorite, fold these in at the end to keep them intact.

Storing Your Ice Cream

Your homemade ice cream is a labor of love, and you’ll want to store it properly for the best taste and texture over time. Here are some storage tips:

1.Containers: Use airtight containers to prevent freezer burn. Plastic containers and glass jars work well, but avoid metal containers as they can cause the ice cream to freeze too hard.
2.Layering: For extra protection, press a piece of parchment paper against the surface of the ice cream before sealing the container.
3.Temperature: Store your ice cream in the back of the freezer, where the temperature is the most stable. Aim for a freezer temperature of around 0°F (-18°C) for optimal freezing.
4.Serving: When you're ready to serve it, allow the ice cream to soften for 5-10 minutes at room temperature for the perfect scoop. If it's too hard, you might end up with a cracked spoon!

Pro Tip: Re-churn any ice cream that has been frozen too hard by letting it sit for a few minutes and then whipping it again to reintroduce air.

Experimenting: Ice Cream Substitutes

While traditional ice cream is undeniably delicious, there are countless dairy-free and vegan options you might want to explore as nice alternatives. These substitutes use different bases but still create delicious ice cream-like desserts.

Non-Dairy Bases

1.Coconut Milk: Rich, creamy coconut cream is an excellent substitute for heavy cream. Combine it with sweetener and any favorite flavors to create a luscious tropical ice cream.
2.Almond Milk: Thicker almond milk can be used for a lighter version; however, consider adding a bit of cornstarch to thicken and improve the texture.
3.Cashew Cream: Soak cashews overnight and blend them with sweeteners and flavors for an ultra-creamy vegan option. The natural fat content in cashews gives it a soft and scoopable consistency when frozen.

Flavoring Non-Dairy Ice Cream

Dairy-free ice creams can offer flavorful versions similar to traditional kinds:

●Matcha Green Tea: Combine coconut milk with matcha powder for a refreshing treat.
●Chocolate Avocado: Blend ripe avocados with cocoa powder and your favorite sweeteners for a healthy, creamy chocolate dessert rich in healthy fats.

Final Thoughts

Homemade ice cream is not only about the enjoyment of creating something delicious; it's about the connection to family, memories, and the joy of sharing. By mastering the basic techniques without the reliance on a machine, you’ve opened the door to endless possibilities in dessert-making. You can now produce an array of flavors, from nostalgic classics to innovative new tastes that may astonish your friends and family.

As you experiment with different combinations and methods, remember that practice makes perfect; each batch is a learning experience that brings you closer to finding your signature ice cream style. The beauty of making your own ice cream lies in the opportunity for personalization—there's no right or wrong flavor as long as it satisfies your palate.

Now, whether for a casual gathering, a summer barbecue, or simply because you want a scoop of your favorite flavor on a weekday, you can feel empowered to create something truly special at home. Embrace these techniques, and let the joy of homemade ice cream fill your kitchen (and your heart) as you embark on this delicious journey. Enjoy every moment!
🧰 Gear for this recipe
Tools our chefs reach for when cooking this
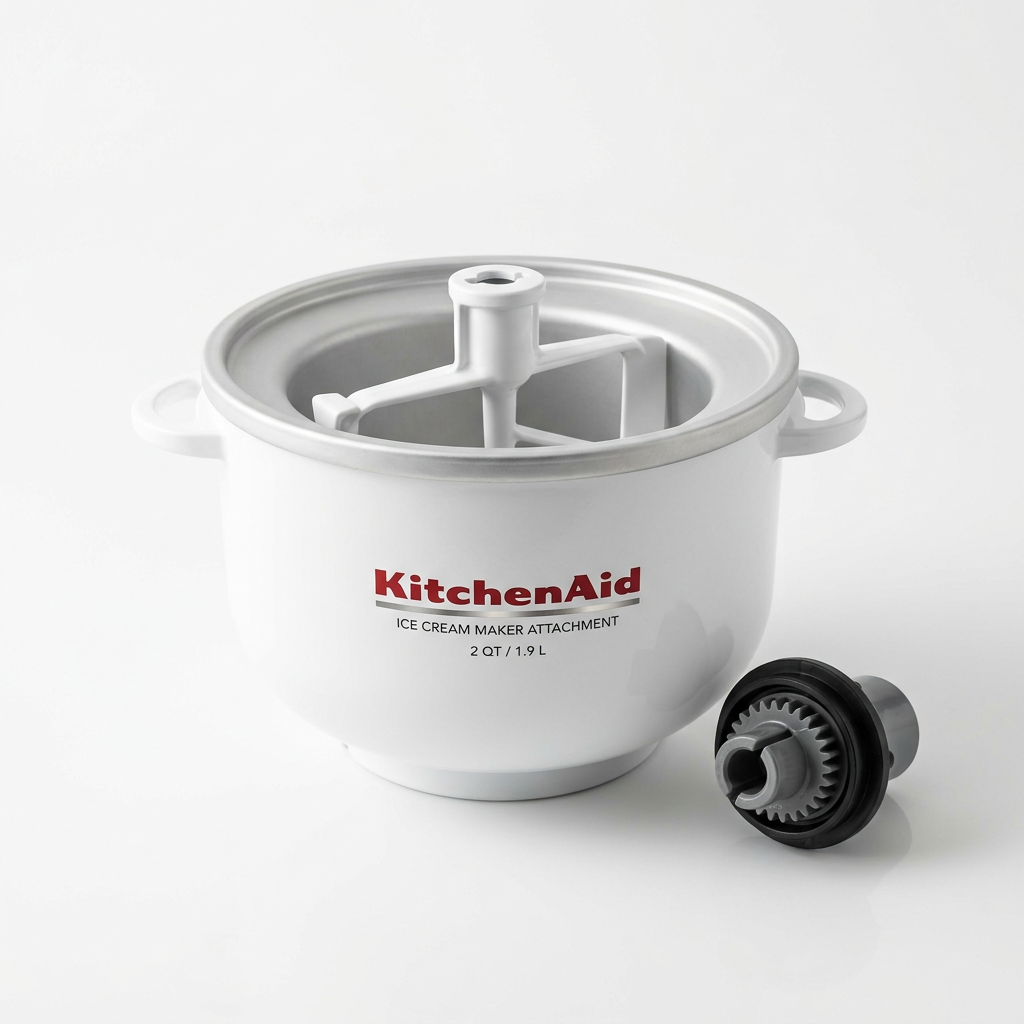
KitchenAid Ice Cream Bowl Attachment 2qt
Small Appliances
KitchenAid Ice Cream Bowl Attachment 2qt
★★★★★4.5
$55-$70
View on Amazon
Cuisinox Roma Stainless Pasta Machine
Prep Tools
Cuisinox Roma Stainless Pasta Machine
★★★★★4.5
$60-$80
View on Amazon
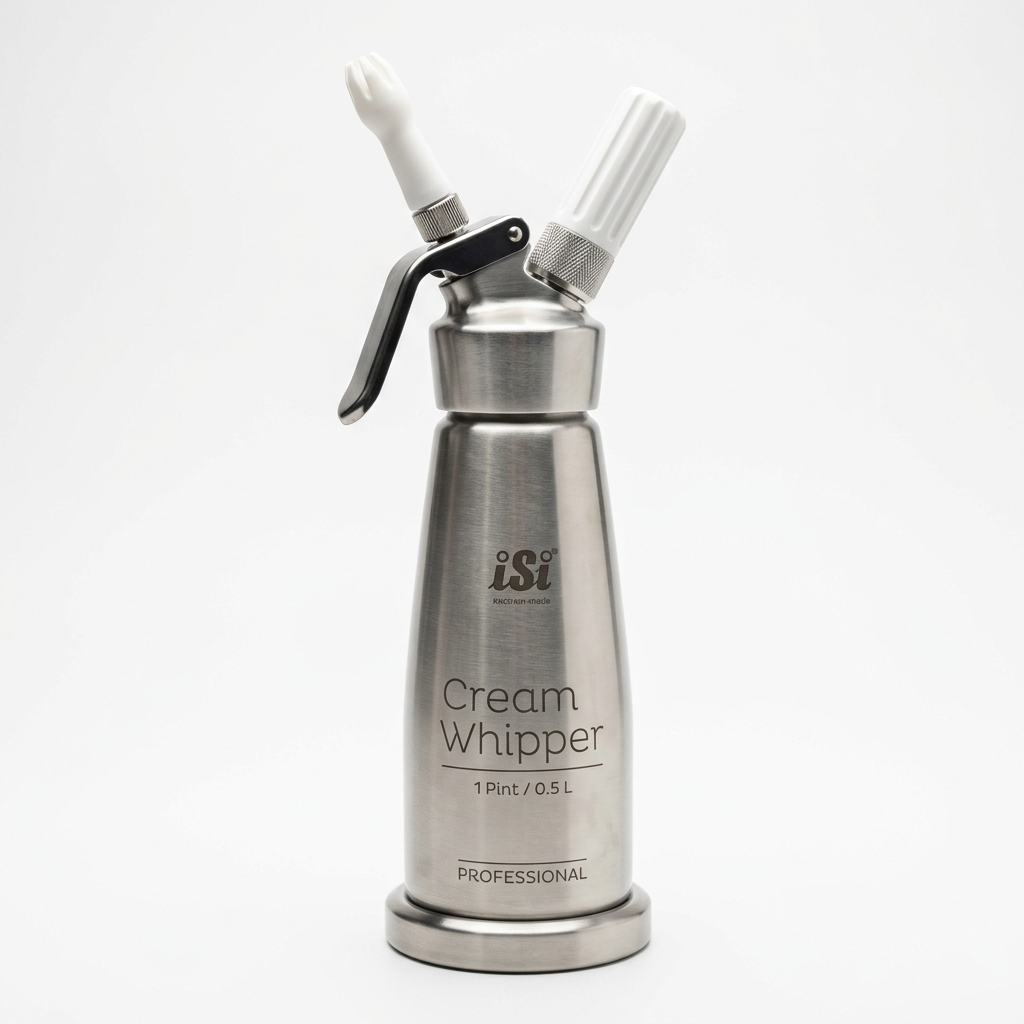
ISI Stainless Cream Whipper 1-pint
Serving
ISI Stainless Cream Whipper 1-pint
★★★★★4.6
$60-$80
View on Amazon
KitchenAid Pasta Drying Rack
Prep Tools
KitchenAid Pasta Drying Rack
★★★★★4.5
$25-$35
View on Amazon

As an Amazon Associate we earn from qualifying purchases.

🍳

Get the Next Recipe

Weekly recipes, techniques, and gear picks — straight to your inbox.

No spam, ever. Unsubscribe anytime.

YesChef - Learn from the world's best chefs
© 2026 Blame The Chef
🍳

Never Miss a Recipe

Weekly recipes, kitchen tips, and gadget picks — straight to your inbox.

No spam, ever. Unsubscribe anytime.