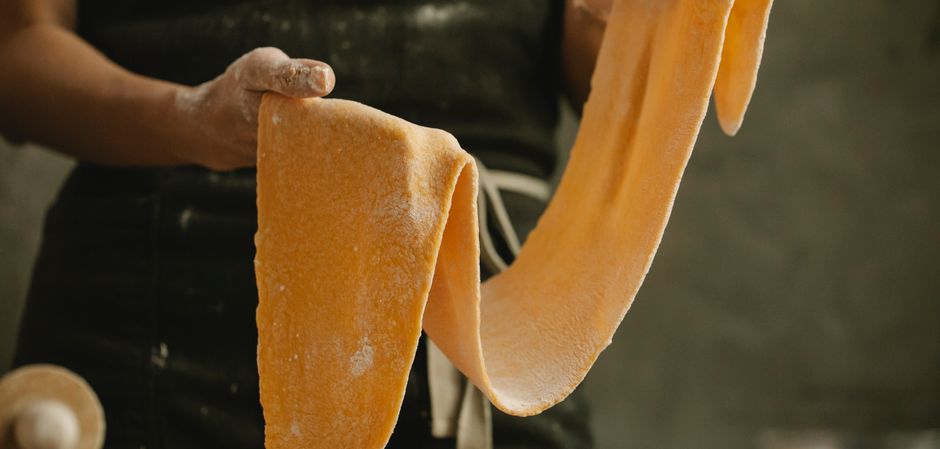
Homemade Pasta: Just Eggs, Flour, and Patience
There is a certain kind of magic that happens the moment you crack an egg into a well of flour and begin to work them together with your bare hands. It feels almost alchemical, as if you are performing a kitchen ritual that has been passed down through generations of Italian grandmothers, village cooks, and professional chefs alike. The transformation from two humble, unremarkable ingredients into a silky, elastic sheet of pasta dough is one of the most satisfying processes in all of home cooking. Homemade pasta is not difficult, but it does demand attention, respect, and—true to its nature—patience.
What surprises most home cooks is how few ingredients are actually required. A basic egg pasta dough needs nothing more than flour, eggs, a pinch of salt, and perhaps a drop of olive oil if your environment is particularly dry. There is no yeast to wait for, no fermentation schedule to manage, no chemical leaveners to balance. The entire craft lives in the technique: how you mix, how you knead, how you rest, and how you roll. Once you understand those four pillars, you unlock an entire universe of shapes, from delicate tagliatelle to plump ravioli stuffed with ricotta and lemon zest.
I want to be honest with you from the start: your first batch may not be perfect. The dough may feel too dry, or it may stick to everything it touches. You might roll it too thick or cut it unevenly. This is not failure—this is learning. The beauty of pasta making is that it forgives you, over and over, because the ingredients are cheap, the process is repeatable, and every attempt teaches your hands something new. By the third or fourth batch, you will develop a tactile intuition that no recipe can fully describe. Your fingers will know when the dough is ready, and that knowledge will stay with you for the rest of your cooking life.
The Ingredients: Simplicity Demands Quality
When a recipe contains only two primary ingredients, there is nowhere for poor quality to hide. Eggs and flour are the entire foundation of your pasta, and their character will directly determine the character of your finished product. This is not the moment to reach for the cheapest carton at the supermarket or the all-purpose flour that has been sitting in your pantry for a year. Treat your ingredients the way a baker treats flour for a sourdough loaf—with intention.
Choosing the Right Flour
The classic Italian egg pasta tradition relies on 00 flour, a finely milled soft wheat flour with a protein content typically around 9–11%. The "00" refers to the grind, not the protein, and it produces a dough that is exceptionally smooth and pliable. If you cannot find 00 flour, do not despair. All-purpose flour will produce a perfectly good pasta, though the texture will be slightly less tender and the dough may require a touch more moisture to come together. Some chefs prefer a blend: half 00 flour and half semolina flour for added bite and structure, particularly when making shapes that need to hold up to robust sauces.
The flour you choose is the first decision you make as a pasta maker, and it will whisper through every bite of the finished dish. Choose with care, but do not let perfectionism paralyze you—start with what you have, and refine as you learn.
For those who want to push further, consider experimenting with ancient grain flours like spelt or einkorn. These will change the flavor and texture significantly, often producing a more rustic, nuttier dough. However, I strongly recommend mastering a basic dough first before branching out. You need to know what "correct" feels like before you can intelligently modify it.
The Eggs and Their Golden Role
Use the freshest, highest-quality eggs you can reasonably source. Pasture-raised eggs with deep orange yolks will give your pasta that signature golden hue and a richer flavor. The ratio I teach most often is 100 grams of flour per large egg, which yields enough pasta for one generous main-course serving. For a dough that feeds four people, you would use 400 grams of flour and four whole eggs, plus a pinch of salt.
Some traditionalists, particularly in regions like Emilia-Romagna, use only egg yolks for their dough, resulting in an extraordinarily rich, yellow, and tender pasta often reserved for filled shapes like tortellini. A yolk-only ratio might be 200 grams of flour to six yolks. This dough is luxurious but more delicate and harder to work with for beginners. I recommend starting with whole eggs and graduating to yolk-only doughs once you are comfortable.
The Dough: Mixing and Kneading
The mixing method you choose will influence how your dough comes together, but the goal is always the same: a smooth, homogeneous ball of dough that springs back lightly when pressed. There are two primary approaches, and both have their devoted advocates.
The Well Method (Traditional)
The well method is the classic technique, romantic and visual. You mound your flour on a clean work surface, create a deep crater in the center, and crack your eggs into that crater. Add a pinch of salt and a few drops of olive oil if you like. Using a fork, you begin beating the eggs gently, then gradually pull in flour from the inner walls of the well. As the mixture thickens, you switch to a bench scraper and eventually your hands.
This method is beautiful, but it can be messy and intimidating for beginners. The risk is that the well breaks and egg spills across your counter. If this happens, do not panic—simply use your bench scraper to corral the runaway liquid and continue working it into the flour. The dough does not care about your technique; it only cares that the ingredients eventually combine.
The Bowl Method (Beginner-Friendly)
For a more controlled approach, crack your eggs into a bowl, add the salt and optional oil, and whisk lightly. Pile your flour in a separate larger bowl or on your counter, create a well, and pour in the egg mixture. This gives you a contained environment and reduces the chance of catastrophic spillage. The resulting dough will be identical to one made with the well method, so choose whichever feels less stressful.
Kneading: Developing the Gluten
Once your ingredients are combined into a shaggy mass, kneading becomes the central act. Push the heel of your palm into the dough, fold it over itself, give it a quarter turn, and repeat. This process develops the gluten network, which gives pasta its characteristic chew and allows it to be rolled thin without tearing. Knead for a full 8 to 10 minutes by hand. Yes, that feels like a long time. Yes, it is necessary. The dough is ready when it is smooth, elastic, and springs back when you press a finger into it.
Kneading is not a step to rush. It is the moment when pasta becomes pasta—when flour and egg stop being separate ingredients and become a single, living substance responsive to your touch.
If the dough feels too dry and refuses to come together, wet your hands with water and continue kneading—the moisture will transfer gradually. If it is too sticky, dust your surface lightly with flour. Always add moisture or flour in tiny increments; it is far easier to add than to remove.
Resting: The Patience the Title Promises
Once your dough is smooth and elastic, wrap it tightly in plastic wrap and let it rest at room temperature for at least 30 minutes, and up to 1 hour. This rest is not optional, and it is not a convenience step you can skip. Resting allows the gluten to relax and the flour to fully hydrate, transforming a tight, resistant ball into a pliable dough that will roll out smoothly.
If you try to roll un-rested dough, you will fight it every inch of the way. It will shrink back, resist thinning, and may even tear. If you are short on time, 30 minutes is the absolute minimum. If you have the luxury, an hour is better. You can also refrigerate the dough for up to 24 hours, but you must bring it back to room temperature before rolling—cold dough will crack and resist.
Hydration and Rest Chemistry
During the rest, two things happen simultaneously. First, the proteins in the flour continue absorbing water from the eggs, completing the hydration process that began during mixing. Second, the gluten strands you developed through kneading relax, which means the dough becomes more extensible—willing to stretch rather than snap back. This is why rested dough rolls like silk while un-rested dough rolls like rubber.
Rolling and Shaping: From Sheet to Strand
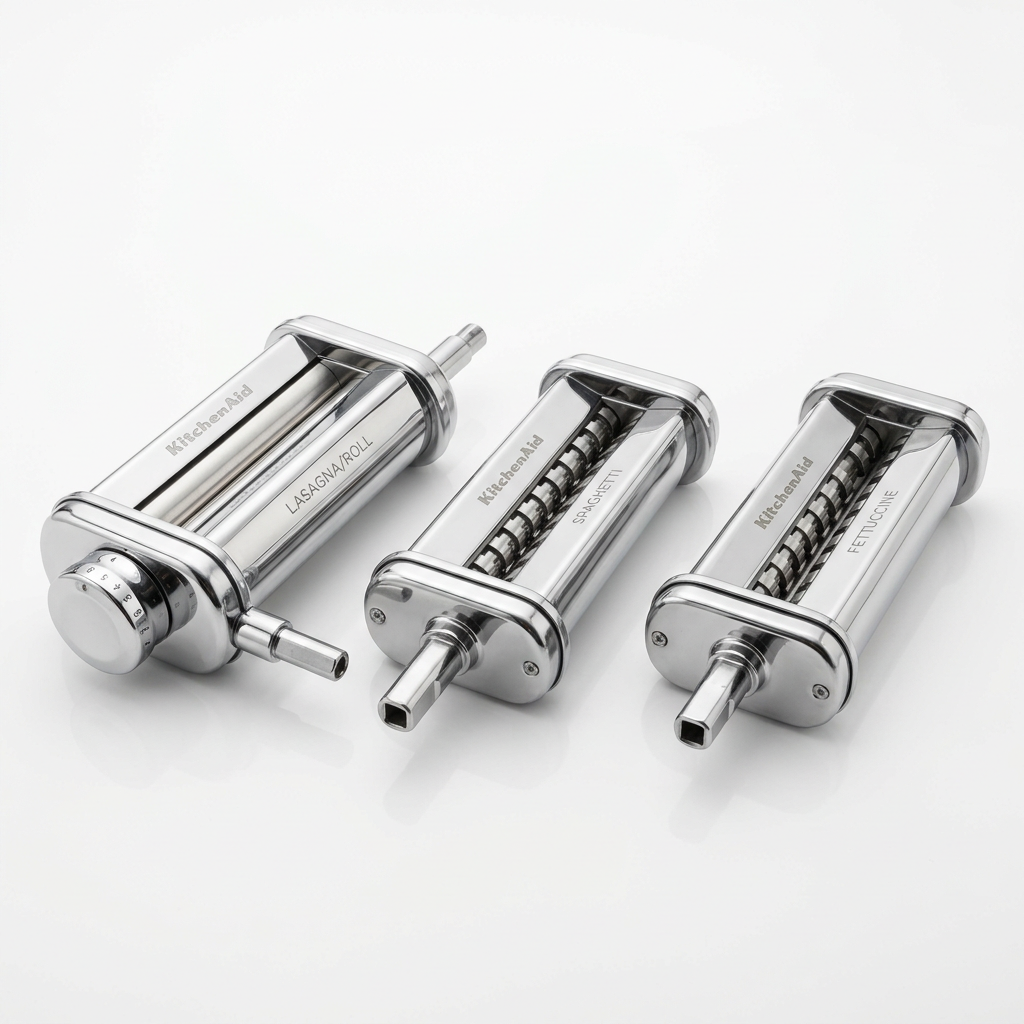
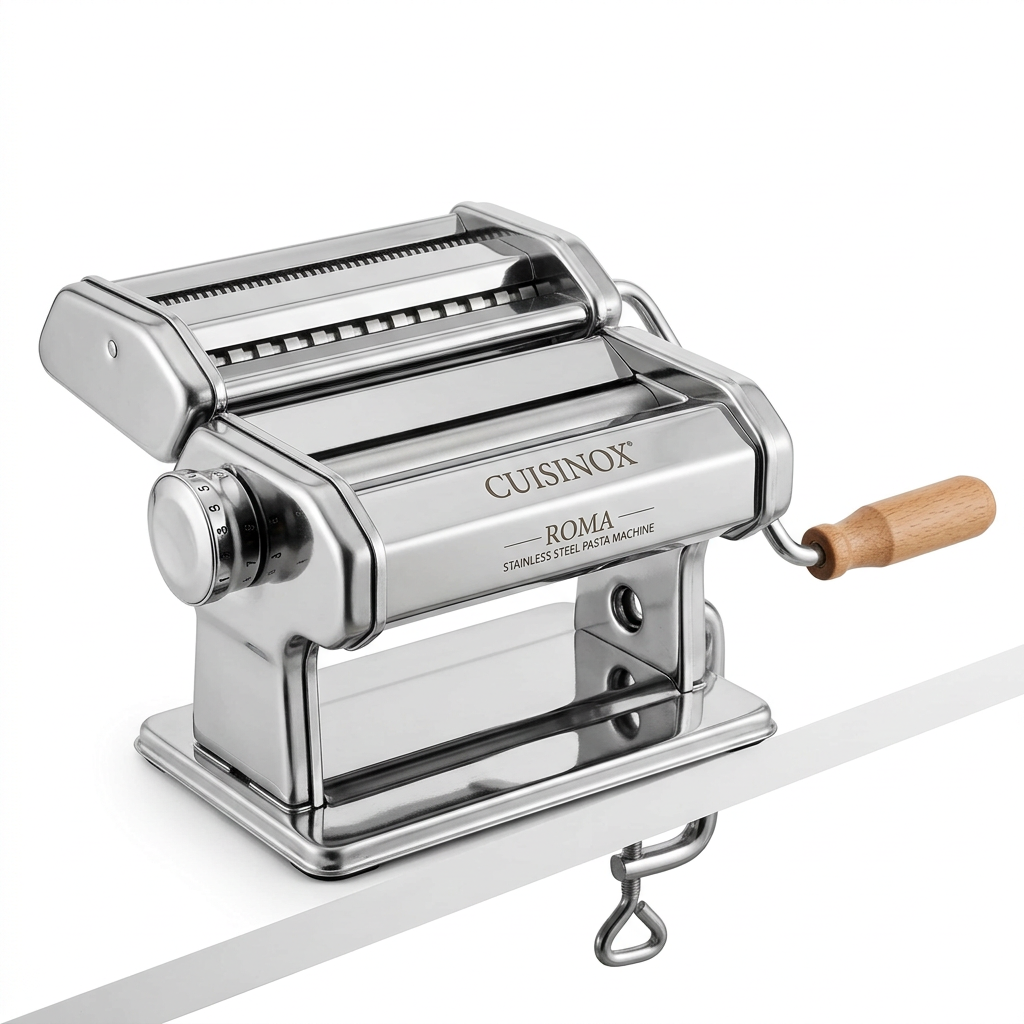
When your dough has rested, cut it into four equal pieces with a bench scraper and keep the pieces you are not working with wrapped to prevent them from drying out. Flatten one piece into a rough oval with your hands or a rolling pin, dust it lightly with flour, and begin passing it through your pasta machine at its widest setting—usually marked as 0 or 1, depending on the brand.
Machine Rolling Technique
Fold the sheet into thirds like a letter, flatten it gently, and pass it through the widest setting again. Repeat this folding and rolling two or three times. This laminating process further develops the gluten and creates a beautifully smooth, uniform sheet. After the initial folds, begin reducing the thickness setting one notch at a time, passing the sheet through without folding. Continue until you reach your desired thickness—typically the second-to-last or last setting for tagliatelle, and slightly thinner for ravioli or cappelletti.
Dust the sheet with flour if it becomes sticky, but avoid over-flouring, which can make the dough dry and brittle. Aim for sheets that are thin enough to see the shadow of your hand through but still strong enough to handle without tearing.
Hand Rolling (No Machine Required)
If you do not own a pasta machine, you can absolutely roll dough by hand using a long wooden rolling pin—ideally a thin one, like an Italian mattarello. This requires more effort and practice but rewards you with a more rustic, personal product. Work from the center outward, rotating the dough a quarter turn after each roll. Aim for a thickness of about 1 millimeter for most shapes. It will take longer, and your arms will feel it, but many traditionalists insist hand-rolled pasta has a superior texture that machine rolling cannot replicate.
Cutting Into Shapes
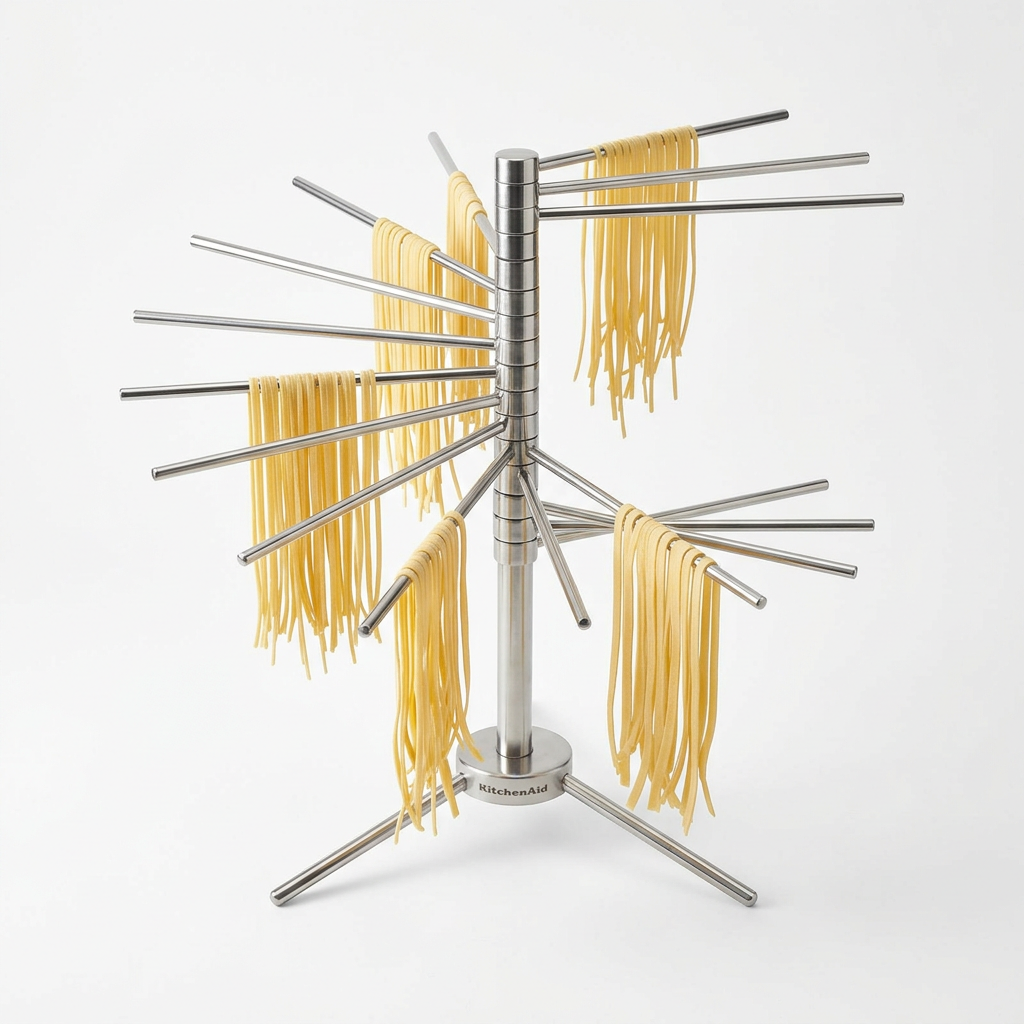
Once you have your sheets, the world of shapes opens to you. For tagliatelle, lightly flour a sheet and roll it loosely into a cylinder, then cut across with a sharp knife into strips roughly 6–7 millimeters wide. Unroll the strips immediately and toss them with a little flour or semolina to prevent sticking. For pappardelle, cut wider ribbons of about 2 centimeters. For filled pasta, lay the sheet flat and add your filling at intervals, fold, seal, and cut.
You can also hand-shape pasta without any rolling at all. Orecchiette, cavatelli, and gnocchi are formed from small pieces of dough rolled and shaped with your fingers or a butter knife. These shapes are wonderful entry points for beginners because they require no equipment and develop your sense of dough feel.
Cooking: The Final, Critical Minute
Cooking fresh pasta is dramatically different from cooking dried pasta. Dried pasta needs 9–12 minutes to rehydrate and become tender; fresh pasta needs 60 to 90 seconds in vigorously boiling, well-salted water. That is not a typo. Your fresh egg pasta will cook in the time it takes to pour a glass of wine and set the table.
The Water
Use a large pot with plenty of water—at least 4 liters for a batch of pasta. Salt the water generously; it should taste like the sea, roughly 10 grams of salt per liter of water. The salt does not make the water boil faster—that is a kitchen myth—but it does season the pasta from the outside in, and that seasoning matters enormously when your sauce is delicate.
The Sauce and the Marriage
Fresh pasta pairs beautifully with sauces that are lighter and more refined than what you might use for dried pasta. A simple brown butter and sage sauce, a quick tomato sauce with garlic and olive oil, or a silky cacio e pepe all shine. The key technique to master is finishing the pasta in the sauce: remove the pasta from the water a minute before it is fully cooked, transfer it directly into your warm sauce, and add a splash of pasta cooking water. Toss vigorously for 30–60 seconds. The starch in the cooking water emulsifies with the fat in the sauce, creating a glossy, clinging coating that is the hallmark of restaurant-quality pasta.
The pasta water is not waste; it is liquid gold. Always reserve a cup of it before draining. That cloudy, starchy water is what turns a sauce from coating to clinging, from decent to transcendent.
For filled pastas like ravioli, handle them more gently. Boil them for 3 to 4 minutes until they float and the edges are tender, then lift them out with a slotted spoon and place them directly into a warm, butter-based sauce. Avoid heavy tomato sauces with filled pasta, as they can overwhelm the delicate filling.
Troubleshooting and Professional Tips
Even experienced pasta makers encounter problems. The difference between a novice and a seasoned cook is not avoiding mistakes but knowing how to fix them. Here are the most common issues and their solutions, drawn from professional kitchens and home experience alike.
Dough Is Too Dry
If your dough cracks at the edges, resists kneading, or feels brittle, it is under-hydrated. Wet your hands with water and continue kneading—do not pour water directly onto the dough, as this creates uneven hydration. Add moisture in tiny increments until the dough becomes supple. If the dough is already resting and cracks when you try to roll it, let it rest another 15 minutes wrapped in a damp towel to introduce moisture gradually.
Dough Is Too Sticky
A sticky dough usually means too much moisture or insufficient kneading. Dust your work surface with flour and knead longer to develop more gluten, which will absorb some of the excess moisture. If it remains sticky after several minutes of additional kneading, incorporate a small handful of flour. Be cautious—over-flouring leads to a dry, tough final product.
Sheets Tear During Rolling
Tearing usually indicates dough that is too dry, rolled too quickly, or passed through too great a thickness jump. Always reduce thickness one setting at a time. If tearing occurs, fold the sheet back on itself, rest it for 5 minutes under a damp towel, and try again. Older dough that has been resting for many hours may also tear; if this happens, lightly rehydrate it.
Professional Tips for Elevating Your Pasta
Variations to Expand Your Repertoire
Once you have mastered the basic egg pasta dough, a world of variations becomes available. Each addition changes the character of the dough, opening new flavor and visual possibilities while building on the same foundational technique.
Spinach and Herb Pastas
For spinach pasta, blanch 100 grams of fresh spinach, squeeze it completely dry, and purée it until smooth. Substitute this purée for one of your eggs in the standard ratio. The resulting dough will be a vivid green with a subtle earthy flavor, ideal for lasagna or ravioli with ricotta filling. You can apply the same technique with basil, parsley, or nettles, though spinach provides the most reliable color.
Squash Ink and Colored Doughs
Squash or pumpkin purée creates a beautiful orange dough with a gentle sweetness that pairs well with brown butter and sage. Cuttlefish ink produces a striking black pasta that carries a briny minerality, perfect with seafood sauces. Use roughly 2–3 grams of ink per 100 grams of flour, replacing some of the egg moisture. These colored doughs impress on a plate and are surprisingly simple once you are comfortable with the base recipe.
Whole Wheat and Rustic Blends
Replacing 30% of your white flour with whole wheat flour creates a heartier, nuttier dough that pairs beautifully with rustic sauces like wild boar ragù or mushroom sauces. Whole wheat absorbs more moisture, so you may need to add an extra egg yolk or a tablespoon of water. Stone-milled flours behave similarly and offer wonderful flavor complexity.
Final Thoughts
Making pasta by hand is one of those rare cooking projects that reconnects you with the most fundamental pleasures of the kitchen. It asks nothing of you except attention and patience, and it rewards you with something that feels, tastes, and looks like a small miracle. There is no gadget that can replicate the satisfaction of cutting a sheet of dough you mixed, kneaded, rested, and rolled yourself. Every strand of tagliatelle you produce is a direct expression of your hands, your attention, and your willingness to slow down.
I encourage you to make pasta when you have time—not when you are rushing to get dinner on the table in twenty minutes. Make it on a Sunday afternoon with music playing and a glass of wine within reach. Make it with a friend or a child who can help with the rolling. Make it as a meditation rather than a task. The dough will teach you things about texture and timing that no blog post, including this one, can fully convey. Your hands will learn the difference between a dough that is ready and one that needs another minute of kneading, and that knowledge will deepen every other aspect of your cooking.
Most importantly, do not wait for perfection to begin. Buy a bag of 00 flour and a dozen good eggs this week. Clear your counter, set aside an hour, and make your first batch. It will not be flawless, but it will be yours, and that is the only starting point that matters. The next batch will be better, and the one after that better still. Welcome to the quiet, patient, deeply rewarding craft of homemade pasta. Blame The Chef for the obsession that follows—but thank yourself for the meals that come with it.
Get the Next Recipe
Weekly recipes, techniques, and gear picks — straight to your inbox.
