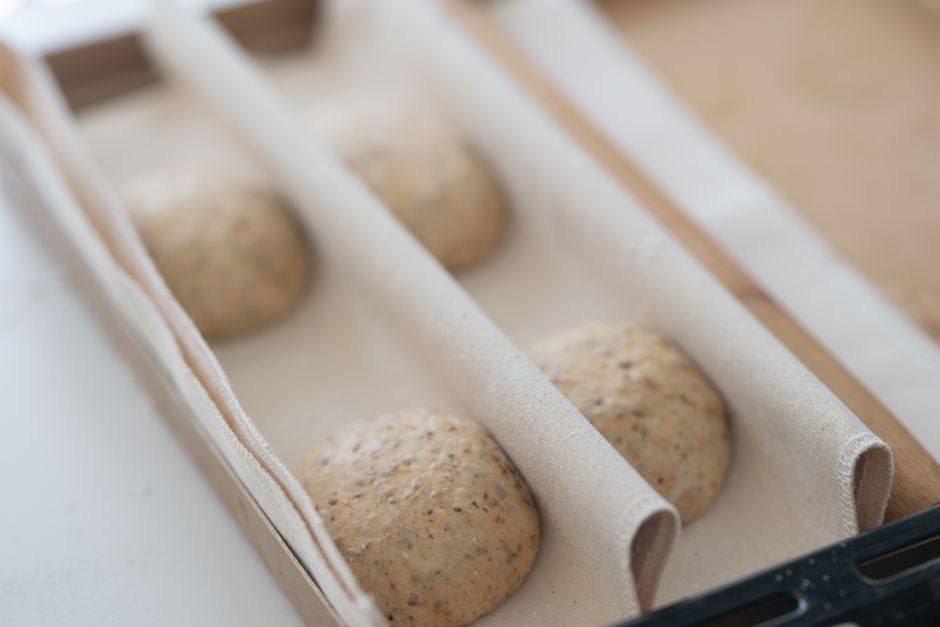
How Long to Proof Sourdough in the Fridge
Sourdough baking is often described as a journey of patience, a rhythmic dance between biology and technique that rewards the dedicated home baker with the most glorious crusts and airy crumbs imaginable. When you embark on the path of mastering wild yeast, you quickly learn that the secret to professional-grade loaves lies not just in your starter or your flour, but in your mastery of time and temperature. The refrigerator, once thought of as a mere storage unit for milk and leftovers, becomes the baker’s most potent tool for flavor development and structural integrity. By slowing down the fermentation process, we allow complex organic acids to build, transforming a simple mixture of flour, water, and salt into a culinary masterpiece that dances on the palate.
The process of cold proofing, or retarding as it is known in professional kitchens, is the bridge between a good loaf and a spectacular one. Many beginners view the fridge as a way to pause the process when life gets in the way, but in reality, it is an active phase of production that dictates the character of your bread. During this chilled incubation, the lactic and acetic acids produced by your starter begin to mellow and deepen, creating that signature tang that supermarket bread can never replicate. Understanding exactly how long to proof in the fridge requires a keen sense of observation, as variables like ambient temperature, starter vitality, and the specific flour blend you chose will all play their part in the final result.
As you step into the world of extended cold fermentation, prepare to embrace the nuance that comes with long-term proofing. It is not an exact science where a timer dictates the result; rather, it is a sensory experience that teaches you to read the dough. You will learn to recognize the subtle swelling of the basket, the slight increase in gaseous activity, and the tell-tale elasticity that signals your dough is ready to face the fire of a screaming hot oven. Let this guide be your roadmap to navigating the cooling currents of the refrigerator, ensuring that every bake you produce under the "Blame The Chef" banner is worthy of the pride you put into it.
The Science of Cold Retardation
At its core, cold retardation is the deliberate act of lowering the temperature of the dough to slow down the metabolic activity of wild yeast and Lactobacilli bacteria. By moving your shaped dough into an environment between 37°F and 42°F (3°C to 6°C), you are essentially shifting the fermentation process into a low gear. While the yeast activity slows down significantly, it does not stop entirely, allowing for the gentle accumulation of gasses that will provide the structure for your rise once the dough hits the heat.
Understanding Metabolic Rates
The relationship between temperature and fermentation is exponential rather than linear. When your kitchen is warm, at roughly 75°F (24°C), your yeast works with exuberant speed, consuming sugars and producing carbon dioxide at a rapid pace. By contrast, a refrigerator environment forces the yeast to work incrementally. This sluggish pace is a blessing; it prevents the dough from over-proofing, which leads to the collapse of the gluten network, and instead gives the bacteria time to produce the complex flavor compounds that define a premium sourdough loaf.
The Role of Enzymes
Beyond simple yeast metabolism, cold storage facilitates crucial enzymatic activity. During the long hold in the fridge, enzymes such as protease and amylase work to break down starches into simpler sugars. This creates a supply of "fuel" for the yeast during the bake, which is why a cold-proofed loaf often shows a superior oven spring and a deep, caramelized crust. This process is effectively an internal chemistry experiment that improves both the nutritional profile and the digestibility of the bread.
"The refrigerator is not a place for your dough to sleep; it is a stage where the most sophisticated alchemy of bread baking takes place. Treat it with the respect you would a high-heat oven."
Determining the Ideal Proofing Duration
The question of "how long" is the most frequent query we receive, and while the answer is rarely a single digit, there are reliable windows that work for most home kitchens. A standard cold proof typically lasts anywhere from 8 to 24 hours. Anything less than 8 hours, and the dough has not had enough time to undergo the necessary structural changes; anything beyond 48 hours risks degradation of the gluten matrix, leading to a loaf that may struggle to hold its shape during the score.
Short Retard (8-12 Hours)
A short retard is ideal if you are working on a tighter schedule or if your dough was quite active during the bulk fermentation phase. If your kitchen was particularly warm and the dough grew significantly before shaping, an 8 to 12-hour stint in the fridge will firm up the dough, making it much easier to score without collapsing. This duration is also ideal for loaves made with a higher percentage of whole grains, which can sometimes over-ferment faster than white flour doughs.
Long Retard (18-24+ Hours)
This is the "sweet spot" for many professional bakers. Leaving your dough for 18 to 24 hours allows for the full development of those deep, complex sourdough flavors. During this time, the acidity profile shifts, creating a more pronounced tang that enthusiasts adore. If you have a high-performing, vigorous starter, a long retard is often necessary to tame the fermentation, ensuring that the loaf retains its strength despite the extended time.
Factors Affecting Your Timing
Several variables will shift your window of success:
Mastering the Mechanics of the Fridge
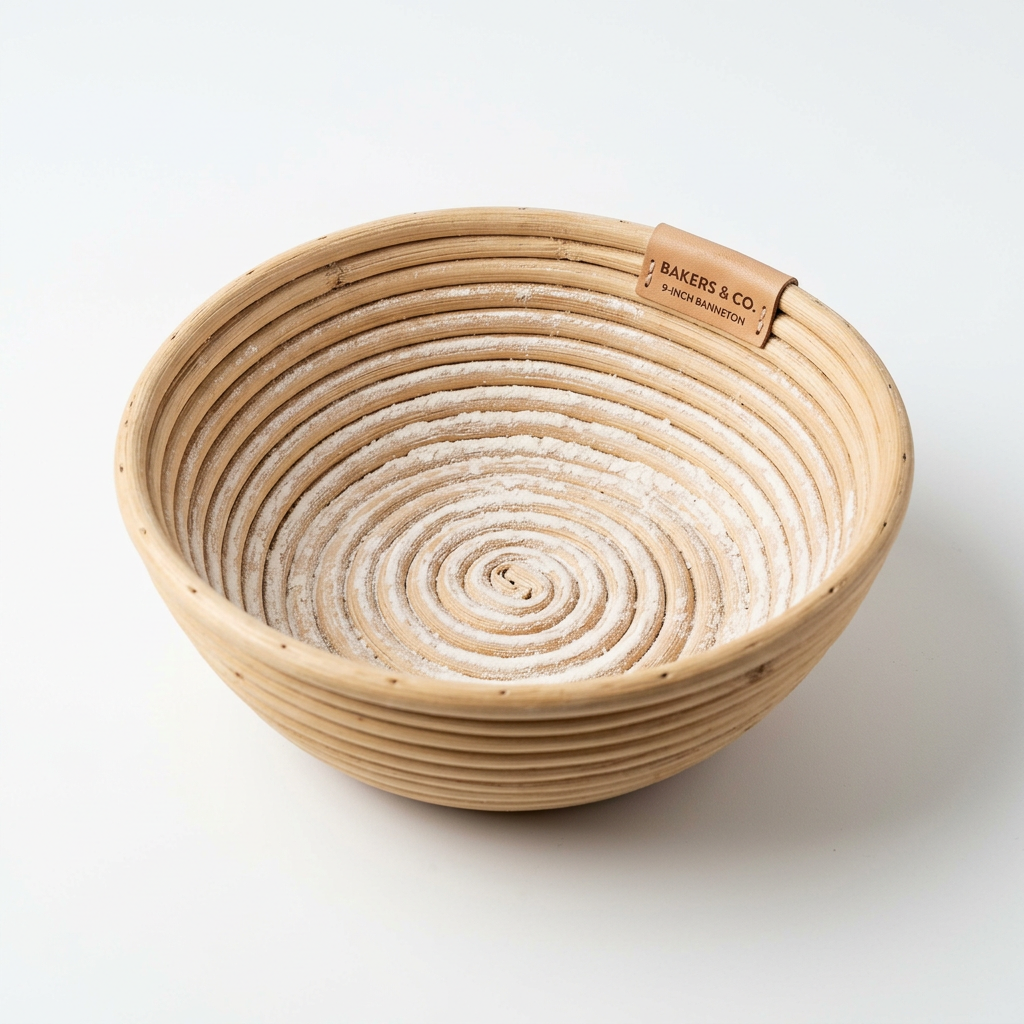
The refrigerator is a chaotic environment, often packed with varying moisture levels and temperature fluctuations. To get the best results, you need to manage how your dough interacts with its environment. First, ensure your banneton or proofing basket is well-floured, preferably with a blend of white flour and rice flour. Rice flour is essential here because it does not contain gluten, meaning it will not turn into glue when it meets the surface of the dough, preventing the dreaded sticking that can ruin a long-proofed loaf.
Creating the Perfect Microclimate
Once your dough is shaped and placed in the basket, it is vital to cover it. The cold, dry air of a refrigerator can rapidly form a "skin" on your dough, which prevents it from expanding properly in the oven and leads to a leathery, tough crust. Use a compostable bag or a large shower cap to create a humid, sealed environment around the basket. This maintains the dough surface integrity and ensures the dough remains supple until the moment it touches the Dutch oven.
Managing Airflow and Spacing
Do not crowd your fridge. The cold air needs to circulate around the basket to bring the core temperature of the dough down to the target 40°F (4°C) as quickly as possible. If the fridge is packed to the brim, the dough will remain warm in the center for too long, leading to uneven fermentation—a phenomenon we call "spotty proofing." Leave at least three inches of clearance around your dough baskets for the most consistent cooling effect.
"Great bread is not made by accident; it is the result of managing the variables that the oven cannot fix. Control the cold, and you control the loaf."
The Finger Poke Test Revisited
Since the refrigerator changes the physical properties of the dough, the standard "poke test" requires a recalibration. When you pull your dough from the fridge, it will feel firm and potentially smaller than you expected. You must allow the dough to recover slightly or evaluate it carefully. A cold dough will always feel slightly under-proofed simply because the gas bubbles have contracted in the cold, so don't be fooled into letting it sit out for too long.
Identifying Readiness
When you perform the poke test on chilled dough, the indentation should spring back slowly but leave a slight mark. If the dough snaps back immediately and aggressively, it needs more time in the fridge—or it was under-proofed before it even went into the cold. If the indentation remains entirely depressed, you are dealing with an over-proofed dough; in this case, skip the bench rest, move immediately to the oven, and hope for the best.
The "Cold-Bake" Advantage
One of the most professional tips we teach at "Blame The Chef" is that cold-proofed dough is easier to score. The firm, chilled surface allows your razor blade or lame to glide through the skin without dragging, resulting in those beautiful, "ears" that define a artisan loaf. Never let your dough come completely to room temperature before baking; the temperature differential between the cold dough and the hot stone is exactly what generates that explosive oven spring we all strive for.
Troubleshooting Common Fridge Proofing Issues
Even the most experienced bakers encounter issues when moving to long, cold-fermented schedules. The most common problem is the "pancake loaf," which often happens when the dough is left in the fridge for too long, causing the gluten to degrade under the pressure of its own acidity. If you pull your dough out and it feels like a puddle of sludge, it is likely that the enzymes have broken down the protein structure entirely.
When Things Go Wrong
Dough Stuck to the Basket:* This is usually due to insufficient dusting of rice flour or high humidity in the fridge. To fix it, gently lift the edges with a bench scraper and let gravity assist you.
Leathery Crust:* This is a sign of poor hydration control during the proof. Use a tighter cover or a damp cloth inside a plastic bag to lock in the moisture.
Pale Crust:* If your bread is lacking that rich, mahogany color, you may have exhausted the sugars during an excessively long cold proof. Try shortening the time by 4 hours next time.
The Importance of Record Keeping
Keep a baking journal. Note the time the dough went in the fridge, the time it came out, and the approximate ambient temperature of the dough when it entered. Over time, you will start to see the patterns that apply specifically to your starter and your home kitchen. This data-driven approach is the fastest way to move from amateur to professional, allowing you to replicate your greatest successes consistently.
Advanced Techniques for Flavor Depth
If you are looking to take your sourdough to the next level, consider implementing a delayed inoculation or a cold-autolyse in combination with your cold proof. By incorporating these techniques, you are manipulating the fermentation environment at every stage, not just at the end. The goal is to build a complex ecosystem within the dough that can survive the long, slow journey in the refrigerator.
The Power of Flour Blends
Experimenting with your flour is the easiest way to change how your dough reacts to the fridge. Adding 10% to 15% rye or spelt flour can introduce enzymes that thrive in colder temperatures, potentially resulting in a more complex flavor profile after a 24-hour retard. However, be aware that these flours also weaken the gluten, so you may need to reduce your fridge time by a few hours to compensate for the faster degradation.
Salt Timing
Another advanced method is adjusting when you add your salt. If you incorporate the salt 30 minutes after your initial mixing (a process known as fermentolyse), you allow the gluten to start developing earlier. This structural advantage gives the dough more "stamina" to withstand a longer cold proofing session, enabling you to reach that 36-hour mark without the dough losing its integrity.
"Every element in the bread is a variable. The flour is the canvas, the starter is the brush, and the refrigerator is the light by which you see the masterpiece emerge."
Conclusion
Mastering the duration of your cold proof is a rite of passage for any home baker. It requires you to step away from the rigidity of a clock and move toward the fluidity of observation. You have learned that the refrigerator is not a place of inactivity, but a dynamic environment where the chemistry of flour and water is refined into something truly extraordinary. Whether you choose the short, 8-hour window for a mild, easy-to-manage loaf, or push the boundaries into the 24-hour mark for that deep, artisanal tang, you are now equipped with the knowledge to make that decision with confidence.
Remember that each failure is simply a data point in your journey. If a loaf comes out over-proofed, note it, adjust your next bake, and blame the chef—yourself—for the lesson it taught you. Bread baking is a pursuit of a lifetime, and the mastery of cold fermentation is a tool that will serve you for years to come. Continue to push your skills, stay curious about the science, and most importantly, enjoy the process of turning simple ingredients into something that sustains the soul. Happy baking, and may your crusts always be crackly and your crumbs always be open.
Final Thoughts
As we wrap up this exploration of cold proofing, I want to leave you with one final piece of advice: do not fear the dough. It is a living, breathing thing that responds to the environment you create for it. By utilizing the refrigerator effectively, you are gaining mastery over the timeline of your craft. You no longer have to wait around for your bread to be ready; the bread now waits for you.
When you pull that basket from the fridge, feel its weight and its texture. That firmness is the potential energy of a beautiful loaf. As you turn it out onto your hot stone, watch as it holds its shape, ready to spring to life in the oven. That moment of transition—from the cold, dormant state to the fierce, transformative heat—is the culmination of your patience and technique. Keep baking, keep adjusting, and keep sharing your loaves with the people you love, as that is the true purpose of the craft. Your kitchen is now a professional space, and you have all the tools you need to excel.
Get the Next Recipe
Weekly recipes, techniques, and gear picks — straight to your inbox.