How Many Cups in a Gallon? (Chart)
Every home cook has stood in the middle of their kitchen, hands coated in flour or dripping with marinade, frantically trying to remember a basic unit conversion. It is a moment of pure culinary vulnerability that happens to the best of us, whether we are seasoned professionals or weekend hobbyists. The frustration of needing to scale a recipe for a crowd while your brain refuses to cooperate with basic arithmetic is a universal experience that often leads to the dreaded "Blame The Chef" moment. Accuracy in the kitchen is not just about following instructions; it is about building a foundation of confidence that allows you to cook intuitively rather than just reading off a screen. When you understand the relationships between volume measurements, you gain the freedom to adjust, experiment, and succeed without the constant fear of ruining a delicate balance of flavors.
In the realm of professional kitchens, consistency is the bedrock of excellence, and that consistency begins with precise measurement. While many home cooks rely on "eyeballing" their ingredients, professional chefs lean heavily on standardized units to ensure that a dish served on a Tuesday tastes exactly like the dish served on a Saturday. Mastering the conversion between gallons, quarts, pints, and cups is more than just a math lesson; it is an essential skill that elevates your efficiency. By knowing how many cups fit into a gallon, you can work faster, prep larger quantities for meal planning, and avoid the common pitfalls of over-salting or under-seasoning. This guide is designed to be your permanent reference point, turning those messy, panic-filled moments into effortless kitchen operations that keep your culinary rhythm smooth and professional.
Understanding liquid volume is the first step toward reclaiming your kitchen from the chaos of mismatched measuring cups and half-remembered school lessons. Whether you are brewing a giant batch of iced tea for a summer barbecue, brining a massive holiday turkey, or scaling up a complex stock, having a firm grasp of these volumes ensures that your ratios remain mathematically sound. We often treat baking and cooking as separate entities, but they share the same reliance on the physical reality of space and capacity. By internalizing these basic conversions, you stop being a slave to the recipe card and start acting as the architect of your own meals. It is time to move past the uncertainty and embrace the rigor that truly separates a good home cook from an exceptional one, one measurement at a time.
The Foundation of Liquid Volume Conversions
The most fundamental relationship in the American standard volume system is the one that connects the gallon to the smaller, more manageable units we use daily. A gallon is the largest unit most home cooks handle, and it serves as the "master container" for all other liquid measurements. When you grasp that there are exactly 16 cups in one gallon, you unlock the ability to scale almost any liquid-based recipe with ease. Understanding that there are 4 quarts in a gallon, 2 pints in a quart, and 2 cups in a pint provides a hierarchy that makes mental math instantaneous.
When scaling recipes, the "4-2-2" rule is your best friend: 1 gallon equals 4 quarts, 8 pints, or 16 cups. This hierarchy is not just arbitrary; it is designed to facilitate quick adjustments when you are mid-prep. If you are preparing a large batch of consommé or a brine, knowing these ratios prevents the common mistake of overcrowding your pots or diluting your flavor profiles. Always remember that volume is susceptible to temperature, but for standard liquids like water, stock, milk, or juice, these conversions remain constant at room temperature.
Why Precision Matters in Scaling
Professional chefs emphasize that cooking is chemistry. If you are doubling or tripling a recipe, failing to account for the total volume can lead to uneven cooking times or improper ingredient ratios. For instance, if you are making a roux-based sauce, adding too much liquid because you miscalculated the cups-to-gallon ratio will result in a thin, watery mess rather than a velvety, rich sauce. Using a standardized measuring set is vital, but understanding the math behind it is what truly empowers you to fix errors as they happen.
"Precision is not about obsession; it is about the freedom to create consistently great food without the lingering fear of failure."
A Quick-Reference Chart for the Modern Kitchen
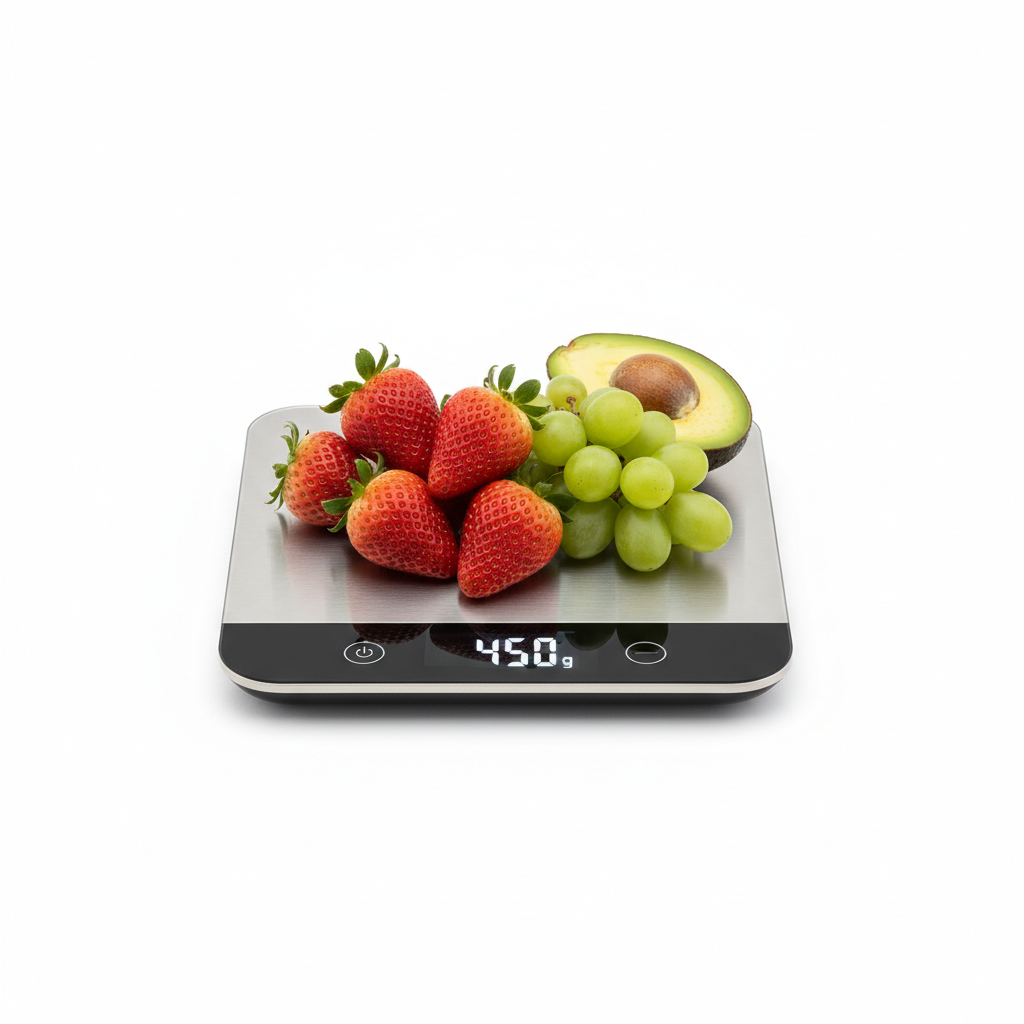
To eliminate confusion, refer to this breakdown as you work. Keeping this chart posted on your refrigerator or inside a cupboard door will save you precious time during the heat of a busy kitchen session. Remember that these measurements apply strictly to liquid volume. Dry ingredients, such as flour or sugar, are notoriously inconsistent when measured by volume and are best handled using a digital kitchen scale for absolute accuracy.
The Conversion Breakdown
* 1 Gallon = 4 Quarts
* 1 Gallon = 8 Pints
* 1 Gallon = 16 Cups
* 1 Quart = 2 Pints
* 1 Quart = 4 Cups
* 1 Pint = 2 Cups
* 1 Cup = 8 Fluid Ounces
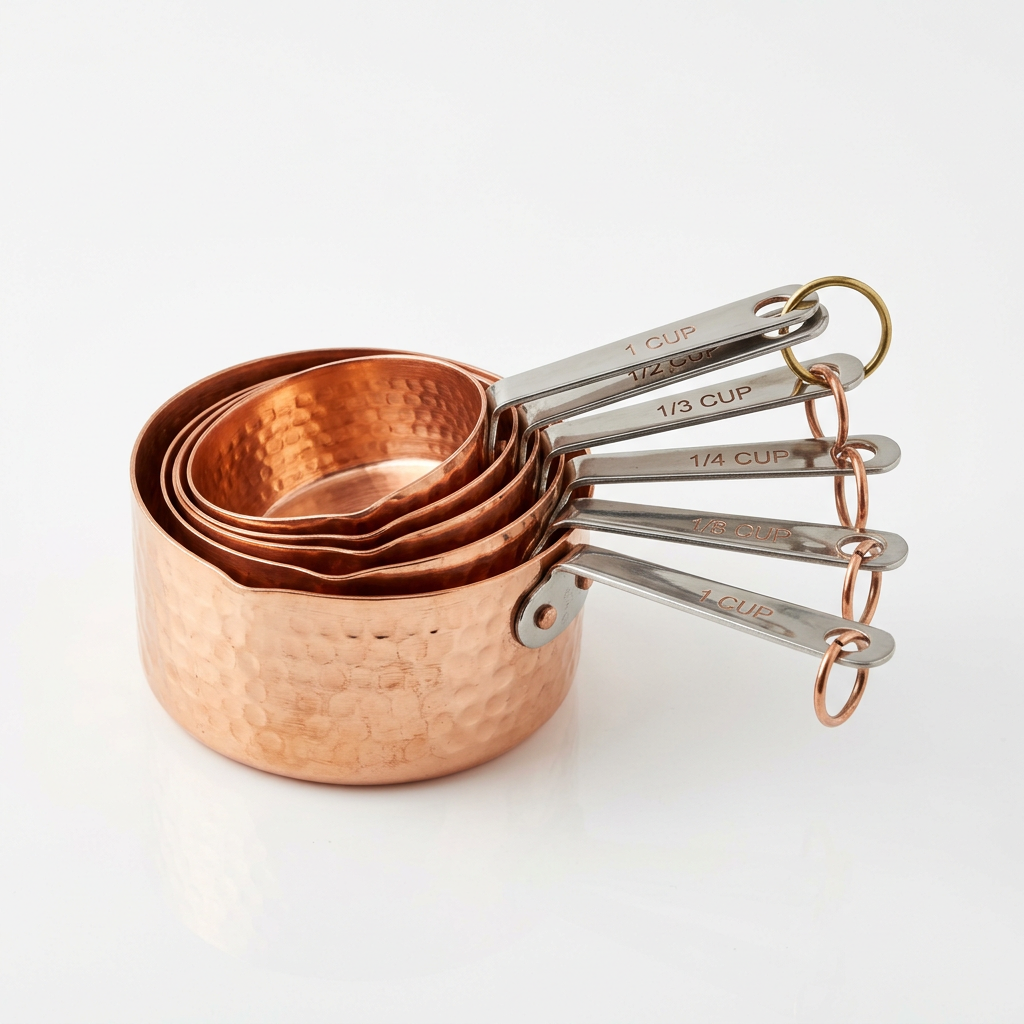
When working with these units, always use the correct tool. Measuring cups designed for liquids often have a pouring spout and clear markings, while dry measuring cups are designed to be leveled off with a straight edge. Using a dry cup for liquids often results in under-measuring because you cannot fill it to the absolute brim without spilling. This subtle difference is exactly what separates a good cook from a great one—the attention to the right tool for the right job.
Master Techniques for Large-Scale Cooking
When you are preparing food for a large gathering, the volume of your ingredients increases, and so does the potential for error. Scaling a soup or stew from a family-sized recipe to one that feeds twenty people requires more than just multiplication; it requires an understanding of surface-area-to-volume ratios. As you scale up, the evaporation rate changes, meaning you might need to adjust your cooking time and heat levels to maintain the desired texture and concentration of flavor.
Scaling Soups and Stocks
When producing large volumes of stock, start with your base aromatics (mirepoix) and build flavor slowly. If you are aiming for a gallon of finished stock, keep in mind that the reduction process is key. You may need to start with slightly more than a gallon of liquid to account for the steam that will inevitably escape during a long, gentle simmer. Always keep a liquid measuring vessel nearby to track how much reduction has occurred; checking the volume at specific intervals—say, every 30 minutes—allows you to keep the intensity of your flavors exactly where you want them.
"A great chef knows that the pot is the laboratory. If you do not monitor your volumes as the liquid reduces, you are flying blind."
Managing Heat and Evaporation
Large pots require more time to reach a boil and retain heat much longer than smaller ones. When you are dealing with a full gallon or more of liquid, the thermal mass is significant. Professional chefs use this to their advantage by allowing for "carry-over cooking" once the heat is turned off. If you are adding delicate ingredients like fresh herbs or cream, do so at the very end to prevent them from losing their vibrancy or separating under the influence of prolonged heat.
Handling Dry vs. Liquid Measurements
One of the most frequent mistakes in the kitchen is attempting to convert dry ingredients using liquid volume metrics. While a cup is a cup when it comes to measuring physical space, the density of ingredients like flour, cocoa powder, or grains makes volume measurement inherently unreliable. For example, a "cup" of packed brown sugar can weigh significantly more than a "cup" of sifted flour, leading to massive discrepancies in your final product's hydration and structure.
Why You Should Invest in a Scale
If you want to move into professional-level baking or precise sauce work, a digital kitchen scale is non-negotiable. Weighing ingredients in grams or ounces removes the human error associated with packing down powders or failing to level off cups. When you switch to weight, the "how many cups" question becomes irrelevant because you are working with the absolute mass of the ingredient. This is the secret to why professional patisseries can produce identical macarons day after day.
Best Practices for Dry Ingredients
If you do not have a scale, follow the dip-and-sweep method. Dip your measuring cup into the ingredient container, fill it until it is overflowing, and then use the back of a flat knife to sweep away the excess. Never tap the cup against the counter to settle the ingredient, as this effectively packs it down and forces you to use more than the recipe requires. Consistency in your technique is the only way to mimic the reliability of weight-based measurements when forced to rely on volume.
Professional Tips for Temperature Control
Temperature and volume are inextricably linked when cooking. As you increase the volume of your liquid, the time required for that liquid to reach its target temperature increases linearly. When you are working with large quantities—such as heating up a gallon of milk for yogurt or tempering a massive batch of chocolate—use a calibrated probe thermometer to ensure safety and quality. Guesswork is the enemy of the professional kitchen.
The Importance of Tempering
When you are combining ingredients of different temperatures—such as adding cold cream to a hot sauce or eggs to a hot custard—the volume of the liquid matters immensely. To avoid curdling or breaking an emulsion, utilize the tempering technique. This involves adding a small amount of the hot liquid to the cold component while whisking vigorously, gradually bringing the cold component up to temperature before combining the two main bodies of liquid. This prevents the shock that leads to split sauces and ruined textures.
Safety and Large Batch Cooking
When dealing with large volumes of food, cooling is just as important as heating. If you have prepared a gallon of soup, it must be cooled to 40°F (4°C) within a specific time frame to ensure food safety. Do not place a massive, steaming pot of soup directly into the refrigerator, as this will raise the ambient temperature of your fridge and threaten the safety of other ingredients. Instead, use an ice bath to bring the temperature down rapidly, or divide the liquid into smaller, shallower containers to expedite the cooling process.
The Science of Flavor Concentration
Volume directly influences the potency of your seasonings. When you scale up a recipe, you cannot simply multiply the salt, herbs, and spices by the same factor as the primary liquids. This is a common trap that leads to overly salty or aggressively spiced dishes. Start by scaling your base liquids, but add seasonings gradually. You can always add more salt, but you can never take it out.
The "Taste-Adjust-Taste" Cycle
The most effective technique for scaling recipes is the taste-adjust-taste cycle. Once you have calculated your volumes and combined your ingredients, taste the dish. Add a small portion of your dry spices, stir thoroughly to ensure proper integration throughout the larger volume, and wait for the flavors to bloom before tasting again. Aromatics like garlic, onion, and dried herbs require time to rehydrate and infuse their essence into the larger mass of liquid.
"Cooking is not a static process. It is a dialogue between the chef and the ingredients, and the larger the pot, the slower that conversation needs to happen."
Developing Flavor Through Reduction
When you work with a gallon of stock, you have a massive canvas for developing complexity. Use this volume to your advantage by practicing layering. Start by searing your proteins, deglazing the fond with wine or vinegar, and then building the bulk of the stock. As the volume reduces, the concentration of those early flavors increases, creating a depth that cannot be replicated in a quick, small-batch preparation. Understanding how to manage the intensity of your reduction is the hallmark of a master.
Troubleshooting Common Culinary Blunders
Every chef has made the mistake of adding too much water to a sauce or forgetting to account for the space taken up by solids in a pot. When you find yourself with an over-diluted broth, do not panic. The solution is usually found in patience. Increase the surface area by moving the liquid to a wider pot, which will speed up evaporation, and turn up the heat to a steady, rolling simmer. Keep an eye on it, as the concentration will change rapidly once the evaporation process hits its stride.
Fixing Broken Emulsions
If you are dealing with a gallon of sauce that has "broken"—meaning the oil and water-based ingredients have separated—do not throw it away. A broken emulsion can often be saved by whisking the mixture into a fresh bowl with a small amount of an emulsifier, such as a tablespoon of Dijon mustard or a few drops of hot water. Add the broken sauce to the new base slowly, drop by drop, while whisking constantly. This creates a new foundation for the emulsion to reform, saving your hard work from the drain.
Managing Ingredient Displacement
Always remember that when you add solid ingredients—like potatoes, carrots, or meat—to a pot, they displace the liquid. If your recipe calls for one gallon of liquid, adding several pounds of vegetables will cause the level to rise, potentially overflowing your pot. Account for this displacement volume before you turn on the heat. A good rule of thumb is to fill your pot no more than two-thirds full of liquid if you know you will be adding a high volume of solid mass later in the cooking process.
Final Thoughts
Mastering the relationship between cups, pints, quarts, and gallons is the definitive transition point for the home cook who wants to move beyond following recipes toward true culinary autonomy. By internalizing these volumes, you eliminate the mental friction that holds you back during busy prep sessions and ensure that your kitchen operates with the same precision and efficiency as a high-end restaurant. Remember that measurement is only one side of the coin; the other is the intuition gained through practice, tasting, and the willingness to learn from every mistake.
As you continue your journey in the kitchen, keep this guide as a reference, but do not be afraid to look beyond it. Experiment with different volumes, observe how large batches of food behave differently than small ones, and continue to prioritize the use of high-quality tools and reliable techniques. The "Blame The Chef" mindset is about taking responsibility for the process and finding joy in the accuracy of your craft. Whether you are scaling up for a holiday feast or perfecting a single, soul-warming soup, your commitment to the fundamentals will always be reflected in the final result. Keep practicing, keep tasting, and most importantly, keep cooking with confidence. Your kitchen is your domain, and with these techniques in your arsenal, you are more than capable of mastering it. Focus on the ratios, respect the science of heat and volume, and you will find that the professional results you crave are well within your reach. Happy cooking!

Get the Next Recipe
Weekly recipes, techniques, and gear picks — straight to your inbox.