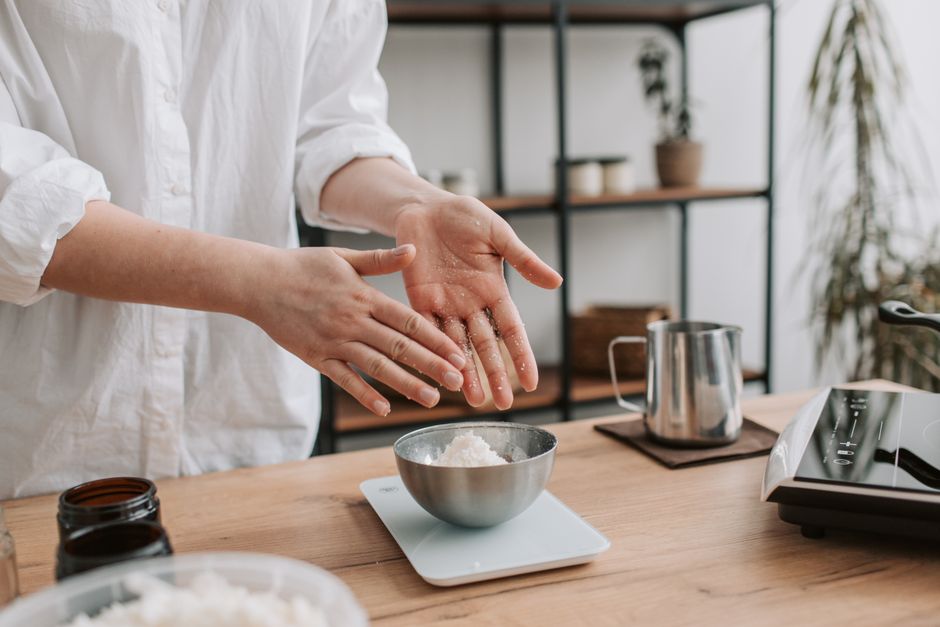
How Many Cups in a Pound of Flour? Chart
If you have ever stared at a recipe calling for a specific weight of flour while your kitchen scale sat buried under a stack of cookbooks, you know the quiet panic of a baking project gone wrong. Precision is the silent partner of every great baker, yet the culinary world remains frustratingly divided between those who measure by volume and those who measure by mass. Understanding how to convert your ingredients is not just a math exercise; it is the fundamental bridge between a dense, crumbling loaf and a delicate, airy crumb. When you master the conversion from weight to volume, you stop blaming your oven or your ingredients and start mastering the science of the bake.
The conversion of a pound of flour into cups is rarely as straightforward as it seems because flour is a compressible solid that behaves differently depending on how it is handled. A cup of all-purpose flour can weigh anywhere from 120 to 150 grams depending on whether you scooped it directly from the bag or sifted it gently into your measuring cup. Because a pound consists of roughly 453.6 grams, this variability can lead to a difference of nearly half a cup in your total recipe. This discrepancy is often the primary reason why home bakers struggle to replicate professional results consistently.
In this guide, we will dismantle the mystery of ingredient density and provide you with the tools to transition from imprecise scoops to professional-grade measurements. We will explore the mechanics of flour types, the importance of calibration, and the definitive charts you need to keep taped to your pantry door. By the time you finish reading, you will understand exactly how volume measurements can deceive you and why the humble kitchen scale is the most important investment in your culinary arsenal. Let us turn your kitchen into a laboratory of consistent, delicious success where "guessing" is a thing of the past.
The Science of Flour Density and Volume
The fundamental problem with measuring flour by volume is that it settles over time. When flour sits in a bag or a bin, the weight of the particles on top compresses the ones on the bottom, increasing the density of the ingredient. If you use a measuring cup to scoop directly from the bag, you are effectively packing the flour into the cup, which can lead to an over-measurement of 20 percent or more. For a delicate recipe like a sponge cake, that extra 20 percent of flour can mean the difference between a light, ethereal dessert and a dry, tough brick.
Understanding Aeration and Compression
To combat this, professional bakers use a technique called aeration. By whisking the flour in its container or sifting it before measurement, you introduce air pockets between the particles, effectively lowering the density and creating a more uniform measurement. However, even with perfect aeration, volume is an inherently flawed metric because human technique varies wildly from person to person. A "light scoop" is never the same as a "firm scoop," and unless you are using a consistent leveling technique, your recipes will fluctuate every time you bake.
Why Scales Rule the Kitchen
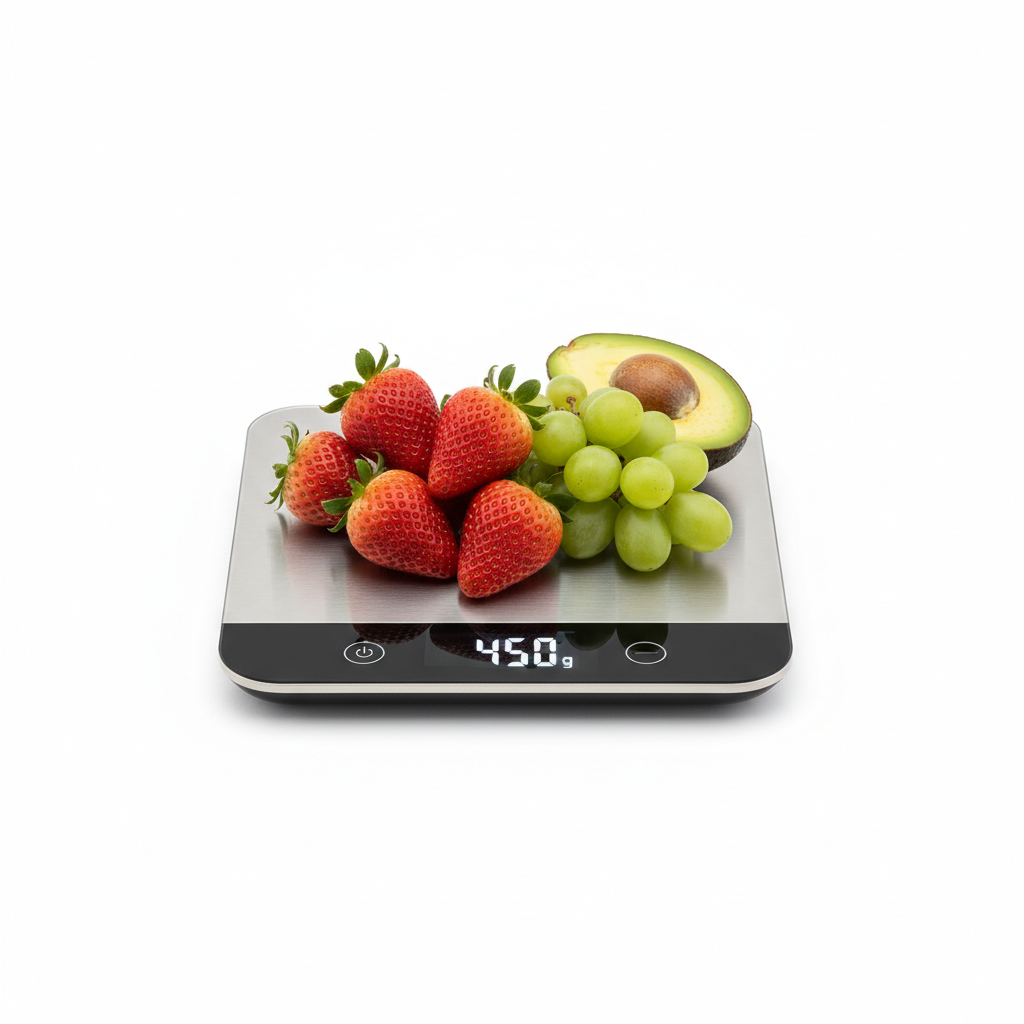
A digital scale eliminates the human variable entirely. When you place a bowl on a scale and tare it to zero, you are measuring the actual mass of the flour, regardless of how packed or airy it might be. In the professional world, we never speak in cups for dry ingredients; we speak in grams and kilograms. This allows for perfect scalability. If you want to double a recipe, you simply multiply the weight by two. Trying to double a recipe using cups introduces compounding errors that can ruin your proportions, especially when it comes to hydration levels in bread or the fat-to-flour ratio in pastries.
"Baking is chemistry, and chemistry requires precision. If you are baking by volume, you are not following a recipe; you are following a suggestion. If you want consistency, put down the cup and pick up the scale."
Definitive Conversion Charts for Common Flours
The weight of flour varies significantly based on its protein content and milling process. While the standard rule of thumb for all-purpose flour is roughly 4 to 4.5 cups per pound, this can change dramatically when you switch to specialty flours like whole wheat or cake flour. Understanding these differences is vital for recipe development and for adapting professional formulas to your home kitchen.
The Standard Conversions Table
Below is a reference for the approximate weight of common flours per cup, assuming a "dip and sweep" method—though we always recommend weighing for accuracy. Note that one pound equals 453.6 grams.
All-Purpose Flour:* 1 cup = approx. 125 grams (Approx. 3.6 cups per pound)
Cake Flour:* 1 cup = approx. 115 grams (Approx. 3.9 cups per pound)
Bread Flour:* 1 cup = approx. 130 grams (Approx. 3.5 cups per pound)
Whole Wheat Flour:* 1 cup = approx. 120 grams (Approx. 3.8 cups per pound)
Pastry Flour:* 1 cup = approx. 110 grams (Approx. 4.1 cups per pound)
Factors Influencing Your Results
It is important to remember that these numbers are averages. Humidity plays a massive role in how much moisture flour absorbs from the air, which in turn affects its weight. In a humid coastal environment, your flour will naturally weigh more than it would in a dry, desert climate. Professional bakers often adjust their water additions based on the ambient humidity of the day, a skill known as "baker's intuition" that only comes through repeated practice and consistent measuring habits.
Techniques for Measuring Flour Correctly
If you must use volume measurements—perhaps you are traveling or working in a kitchen without a reliable scale—you need to employ the spoon and level method. This technique is the gold standard for volume measurement because it minimizes the compression of the flour. You should never, under any circumstances, use your measuring cup as a shovel to dig into the flour container.
The Spoon and Level Method
Maintaining Your Equipment
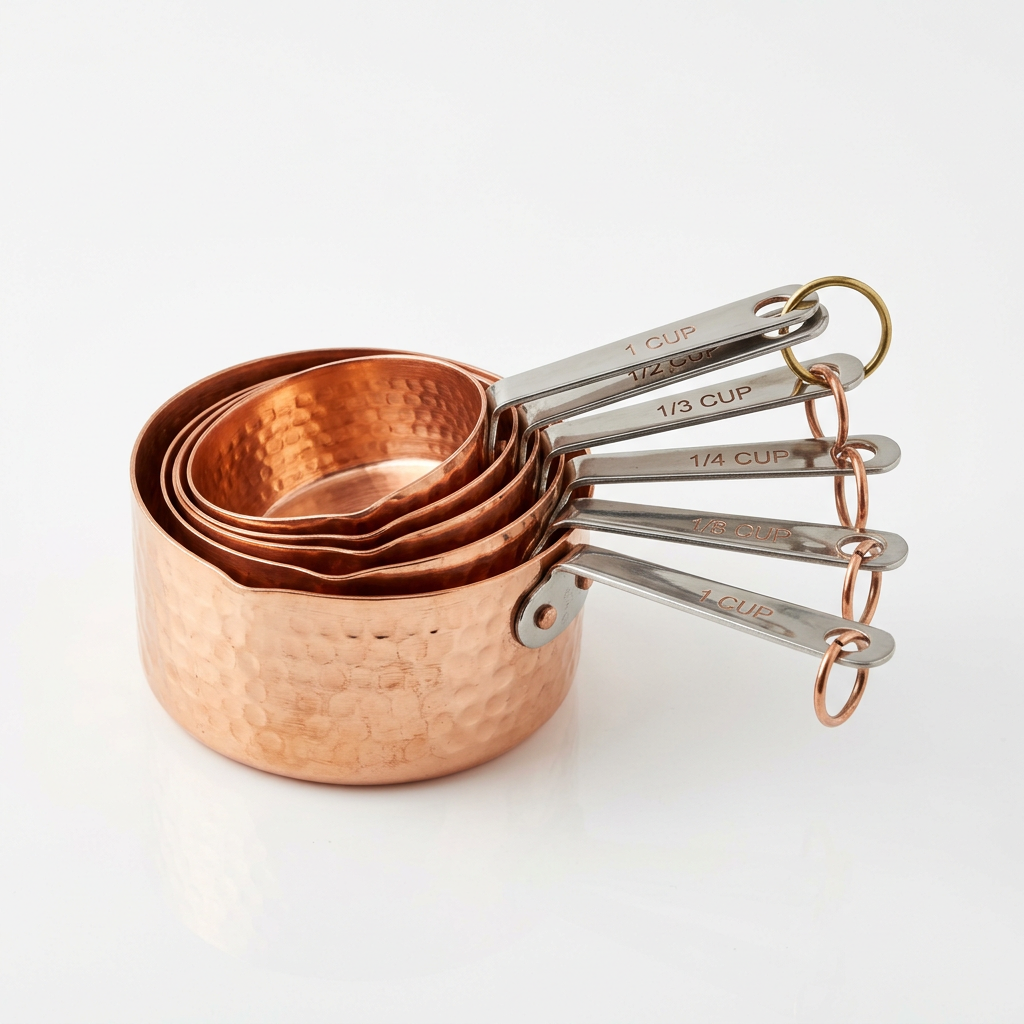
Your measuring tools also matter. Ensure your measuring cups are calibrated correctly—some cheap sets can actually be slightly off in volume. Periodically check your cups against a graduated cylinder if you have one. Furthermore, keep your flour in an airtight container to prevent it from absorbing moisture and odors from your kitchen. A clean, organized station is the hallmark of a chef who respects their ingredients.
"A great pastry chef is not defined by their ability to improvise, but by their ability to measure with absolute, unwavering consistency. The magic happens when the science is stable."
The Impact of Flour Types on Baking Performance
Not all flour is created equal, and knowing when to use which type is as important as measuring correctly. The protein content in flour is what determines the gluten formation in your dough. Bread flour, with its higher protein content (typically 12–14 percent), creates a strong, elastic network that is perfect for chewy loaves of sourdough or crusty baguettes. All-purpose flour sits in the middle (10–12 percent), making it a versatile workhorse for everything from pancakes to basic cookies.
Why Protein Content Matters
If you use bread flour for a delicate cake, the high protein content will lead to excessive gluten development, resulting in a rubbery, tough texture. Conversely, if you use cake flour—which has very low protein (7–9 percent)—for bread, the dough will struggle to hold its shape and you will end up with a flat, dense loaf that lacks the structure to rise properly. Always check your recipe's requirements regarding the flour type.
Substituting Flours in a Pinch
Can you swap flours? Yes, but you must be careful. If you are substituting all-purpose flour for cake flour, you can mimic the lower protein content by removing two tablespoons of flour from every cup and replacing them with cornstarch. This dilutes the protein and results in a more tender crumb. However, you cannot easily mimic the high strength of bread flour using other types, which is why keeping a variety of flours in your pantry is advisable for the serious baker.
Scaling Recipes and Managing Batch Sizes
When you master the weight-to-volume conversion, you open the door to scaling your recipes up or down. Whether you are baking for a holiday party of twenty or a quiet dinner for two, the math should remain constant. Using a scale allows you to express your recipes as baker's percentages, where the total flour weight is always 100 percent, and every other ingredient is expressed as a ratio of that weight.
Using Baker’s Percentages
This system is the secret weapon of professional bakeries. It allows you to change the total amount of dough you are making without recalculating the relationship between the salt, water, and yeast. For instance, if you have a recipe that calls for 500 grams of flour, 350 grams of water (70 percent hydration), and 10 grams of salt (2 percent), you can easily scale that to 1000 grams of flour by simply doubling the water to 700 grams and the salt to 20 grams.
Precision as a Habit
By adopting this mindset, you remove the guesswork from your baking. You no longer have to worry if a "cup" of this or that was accurate because you are working in a system of absolute units. If you are a beginner, start by weighing your ingredients and writing down the weights on your recipe cards. Over time, you will find that you no longer need to check charts; the weights will become second nature to you, and your baking will achieve a level of professionalism you previously thought impossible.
Managing Humidity and Environmental Factors
Baking is not a static process; it is a dynamic interaction between your ingredients and the environment. Flour is hygroscopic, meaning it attracts and retains moisture from the surrounding air. In a humid environment, flour gains moisture, which can effectively lower the amount of flour you are actually adding to your mix. This is why you might find your bread dough feels stickier in the summer than in the winter, even if you are using the exact same recipe.
Adjusting for Hydration
If you live in an area with high humidity, you may need to reduce the amount of water in your recipe by 1–2 percent to compensate for the moisture already present in the flour. Conversely, in the dead of winter when the air is dry, you might find you need to add a splash more water to achieve the desired consistency. These small, incremental adjustments are what separate the home cook from the artisan baker. It requires you to be present during the mixing process, feeling the dough and observing its texture.
Troubleshooting Your Results
If your cookies are spreading too much, it could be that your flour measurement was slightly light. If your cake is dry and crumbly, you likely added too much flour. When you use a scale, you eliminate these variables and can troubleshoot your technique rather than blaming your ingredients. Did you over-mix the batter? Was the oven temperature calibrated correctly? By controlling the flour, you narrow down the list of potential culprits, making it much easier to improve your craft with every bake.
Troubleshooting Common Baking Mistakes
Even with the best tools, things can go wrong. If your bread isn't rising, it could be the yeast, or it could be an improper salt-to-flour ratio. If your pie crust is tough, it could be too much water or over-handling the dough. Baking is a science, and every mistake is a data point that helps you understand the process better. Don't be discouraged by a flat loaf or a burnt batch of cookies; view them as lessons in ingredient behavior.
The Role of Temperature
Beyond weighing, the temperature of your ingredients is critical. When making pastry, your flour and fat should be cold to prevent the butter from melting too early. When making bread, your water temperature should be measured to ensure it is in the "sweet spot" for yeast activation—typically between 75°F and 85°F. Always use an instant-read thermometer to check your liquids before adding them to your flour.
Consistency Leads to Mastery
The goal of this entire journey is to create a predictable kitchen environment. When you measure by weight and track your environmental conditions, you are no longer crossing your fingers when you slide a tray into the oven. You are executing a plan. The "Blame The Chef" philosophy is built on the idea that the chef is responsible for the outcome; by mastering the technical aspects of measurement, you take total ownership of your results.
"The difference between a home baker and a professional is the difference between hoping for a good result and knowing, with scientific certainty, that the result will be excellent."
Conclusion
Mastering the conversion of weight to volume is the single most effective way to elevate your baking. By moving away from the unreliable nature of cups and embracing the precision of the kitchen scale, you gain total control over your recipes. Whether you are a professional chef or a curious hobbyist, the science of flour is the foundation upon which every great loaf, cake, and pastry is built. Remember that flour is not just a powder; it is a variable substance that requires your attention and respect.
Invest in a quality digital scale, stop scooping directly from your flour bags, and start measuring in grams. Keep a log of your favorite recipes, note the weights you used, and adjust them as you learn how your specific kitchen environment affects your dough. This process of documentation is how you move from following a recipe to creating your own. You will find that as your accuracy increases, your confidence grows, and the joy of baking becomes more about the process than the fear of failure.
Thank you for trusting us to guide you through the intricacies of your pantry. At "Blame The Chef," our mission is to empower you to stop blaming your equipment and start mastering your craft. Keep your scales clean, your flour aerated, and your measurements precise. The perfect bake is well within your reach, and it all starts with knowing exactly how many grams are in your bowl. Happy baking, and may your crusts always be golden and your crumbs perfectly tender. Stay curious, keep measuring, and never settle for anything less than excellence in your kitchen.

Get the Next Recipe
Weekly recipes, techniques, and gear picks — straight to your inbox.
