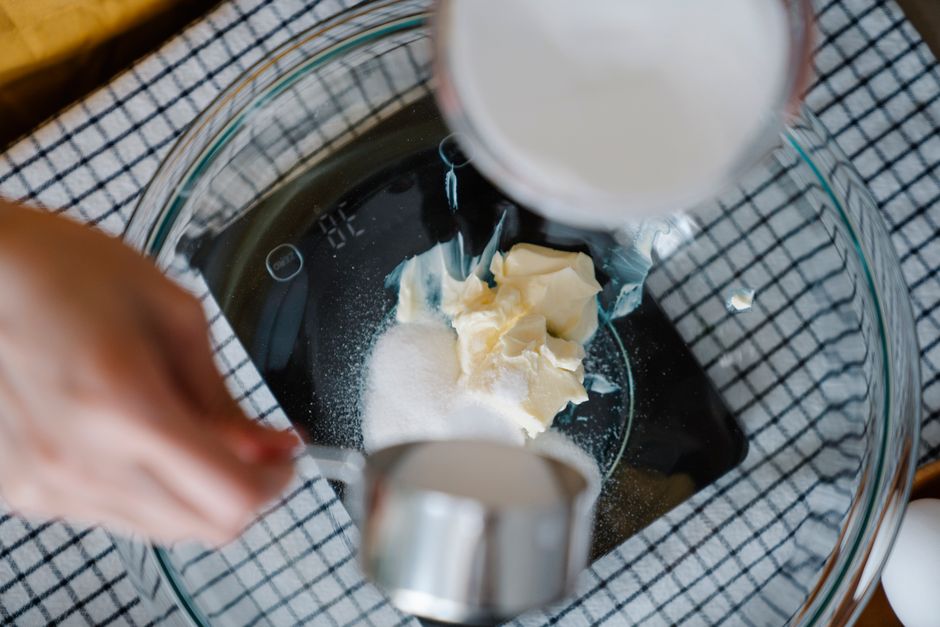
How Many Grams in a Cup of Flour? Chart
Baking is, at its core, a delicate dance of chemistry, physics, and patience. Many home cooks approach a recipe with a sense of trepidation, fearing that the slightest deviation will lead to a collapsed cake or a dense, uninspired loaf of bread. The secret that professional pastry chefs have known for decades is that success in the kitchen is not about luck or intuition, but about precision. When you transition from measuring by volume—using those ubiquitous plastic cups—to measuring by mass, your consistency levels skyrocket. It is the single most effective way to turn a kitchen disaster into a reliable, repeatable triumph, ensuring that your cookies spread perfectly and your sponges remain cloud-like.
The perennial question that plagues most beginners is exactly how much a "cup" of flour weighs. Depending on your technique, a cup of all-purpose flour can range anywhere from 120 grams to 160 grams, a discrepancy that can spell disaster for delicate recipes like macarons or biscuits. If you scoop your measuring cup directly into the flour bag, you are essentially packing the flour down, potentially adding nearly a quarter-cup of extra starch to your batter. This variation is why your grandmother’s recipes might seem to fail when you attempt them, even if you follow the directions to the letter. By embracing the kitchen scale, you eliminate the variable of "human error" and start baking with the confidence of a seasoned professional.
At "Blame The Chef," our mission is to empower you to master your tools so you can stop blaming your equipment and start celebrating your results. In this comprehensive guide, we are going to break down the science of density, provide you with the industry-standard conversion charts you need, and teach you the professional techniques for leveling up your baking game. Whether you are scaling a professional batch of sourdough or simply trying to master the art of the perfect afternoon cookie, understanding the weight of your ingredients is the foundation of culinary excellence. Grab your digital scale, set it to grams, and let us demystify the ingredient that serves as the backbone of every kitchen: flour.
The Science of Density and Flour Types
Understanding Why Grams Matter
When we talk about baking as a science, we are really talking about the relationship between structure-building proteins and tenderizing starches. Flour provides the skeleton for your baked goods, but if you have too much flour, that skeleton becomes rigid and dry. Conversely, too little flour leads to a structural collapse. The density of flour is highly dependent on how it is handled; sifted flour is aerated and light, while flour that has sat in a canister for weeks may be compacted by its own weight. When you measure by volume, you are measuring space, not the actual quantity of dry matter. Measuring by mass is the only way to ensure your ratios are exactly as the recipe developer intended.
Most commercial recipes assume an average weight for a cup of flour, but this number varies depending on the region and the author. For instance, the standard weight for a cup of all-purpose flour in the United States is generally accepted as 120 grams to 125 grams. However, if you are working with bread flour, which has a higher protein content and often a slightly different mill, that weight can increase significantly. By using a scale, you ensure that 120 grams is always 120 grams, regardless of whether the flour was scooped, sifted, or poured. This consistency is the hallmark of a professional-grade kitchen.
The Impact of Flour Types
Not all flours are created equal, and their density varies wildly based on their protein content and how they are milled. Cake flour, for example, is milled to an incredibly fine consistency and is often chlorinated to weaken the gluten-forming proteins. Because it is so fine, it packs much more easily than bread flour, which is coarse and designed for strong gluten development. If you try to use a "one-size-fits-all" volume measurement for different types of flour, your crumb texture will be inconsistent across your baking projects.
When we look at the standard weights for common flour types, we see a clear hierarchy of density. A cup of cake flour typically weighs closer to 110-115 grams due to its airy nature, whereas a cup of whole wheat flour can weigh upwards of 140 grams due to the bran and germ particles that increase its weight. If you do not have a scale, you are essentially flying blind when substituting one flour for another. Professional bakers rely on baker’s percentages, where every ingredient is measured as a percentage of the total flour weight, ensuring that even if you are baking for fifty people instead of five, the outcome remains perfectly identical.
"Baking is the only discipline where you can follow every instruction and still fail if your measurements are based on volume rather than mass. Precision is not a suggestion; it is the prerequisite for consistency."
The Professional Flour Weight Chart
Your Go-To Reference Guide
To make your baking process seamless, we have compiled a definitive chart of standard weights for the most common flour types used in professional kitchens. Keep this pinned to your pantry door or saved on your phone. Note that these measurements are based on the "Spoon and Level" method if you absolutely must use cups, but we strongly encourage using the gram weight as your primary metric.
| Flour Type | Weight per Cup (Grams) |
| :--- | :--- |
| All-Purpose Flour | 120g - 125g |
| Bread Flour | 127g - 130g |
| Cake Flour | 110g - 115g |
| Pastry Flour | 115g - 120g |
| Whole Wheat Flour | 135g - 140g |
| Rye Flour | 125g - 130g |
How to Use the Chart Effectively
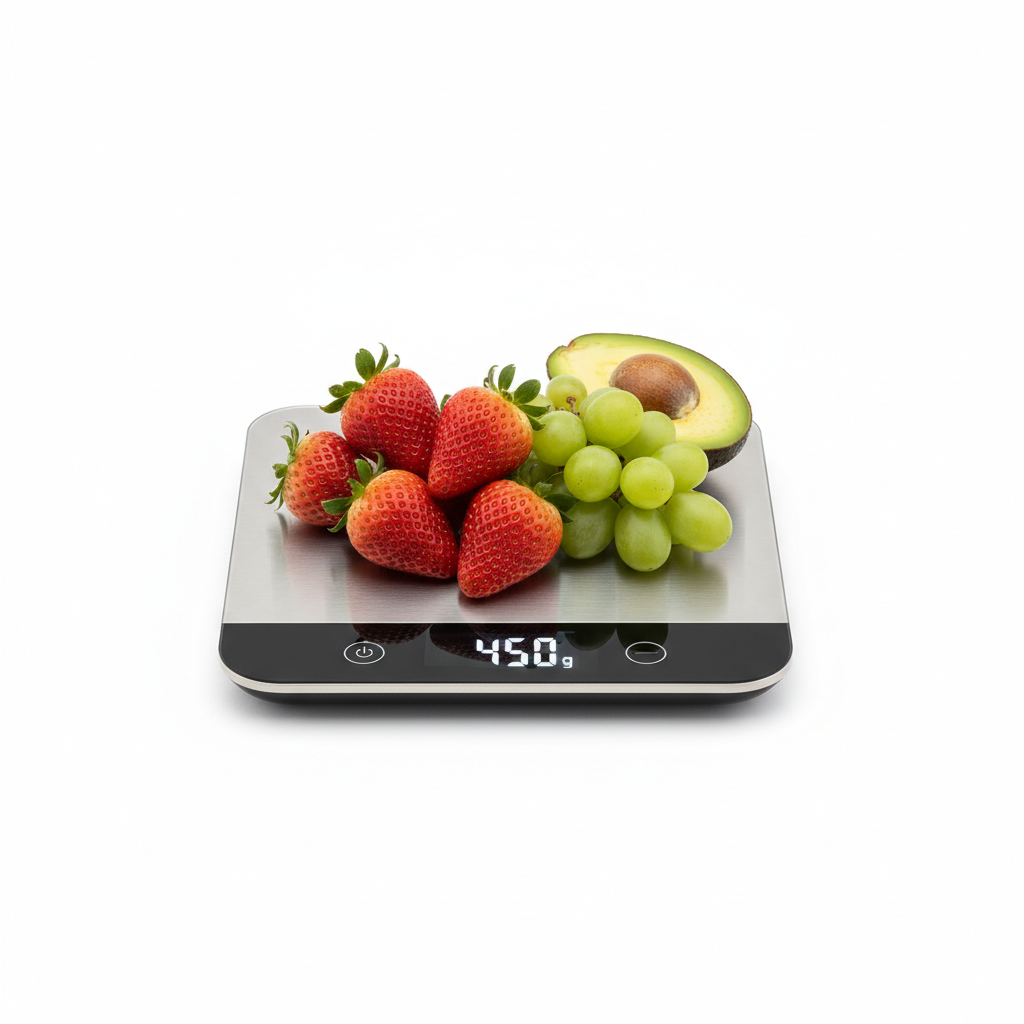
Using this chart effectively requires a shift in your mindset. Instead of pulling out your measuring cups, place your mixing bowl directly onto your digital scale, press the "tare" or "zero" button, and add your flour directly into the bowl until the scale reads the desired number. This method has the added benefit of reducing dishwashing, as you no longer need individual measuring cups for every single ingredient. It is a win-win for both the quality of your bake and the efficiency of your cleanup.
When you are working with a new recipe, take a moment to look at the gram conversion provided by the author. If they only provide volume measurements, you can use our chart to convert the values before you start mixing. This small step of preparation turns the chaotic process of baking into a rhythmic, meditative experience. Remember that for recipes that require extreme precision—such as French macarons, croissants, or delicate genoise sponges—even a five-gram difference can lead to a significant change in the final texture of the product.
The Art of the "Spoon and Level" Method
Why Scooping is the Enemy
If you must use measuring cups, you must master the "spoon and level" technique. Many home cooks take their measuring cup and dive it straight into the bag of flour, tamping it down against the side of the bag to ensure it is "full." This compression can add up to 20% more flour to your recipe than is required. That extra flour absorbs moisture from the butter, eggs, and liquids, leading to a dough that is stiff, crumbly, and far from the light, tender crumb you were aiming for.
Instead, the professional technique is to use a large spoon to fluff up the flour in the bag or canister. Then, gently scoop the flour into your measuring cup until it is slightly mounded over the top. Using the flat edge of a knife or a metal spatula, sweep across the top of the cup to level the flour off perfectly. Do not tap the cup against the counter to settle it, as this again promotes packing. By creating a light, aerated measure, you get as close as possible to the professional weight, though even this technique is inferior to a scale.
Eliminating Variables
By mastering the spoon and level method, you are acknowledging that air is a variable in your baking. Think of your flour as a collection of tiny particles that occupy space; if they are packed tight, the density increases. If they are loose, the density decreases. In high-stakes baking, like making a flaky pie crust, the amount of flour is the most critical variable to control because it dictates how much fat can be effectively distributed.
If you find that your cookies always end up thick and cakey despite the recipe promising "crispy edges," it is almost certainly because you are inadvertently adding too much flour through improper measurement. By switching to a scale, you remove the "how hard did I press" variable entirely. The scale does not care how you handle the flour; it only cares about the gravitational pull on the mass, providing you with an objective, absolute measurement every single time.
Advanced Techniques: Baker’s Percentages
The Language of Professionals
Once you are comfortable with measuring in grams, you are ready to learn the language of professional bakers: Baker's Percentages. In a professional bakery, we do not think in cups; we think in ratios where flour is always set at 100%. If a recipe calls for 500 grams of flour, that is our 100% baseline. Everything else is calculated as a percentage of that flour weight. For example, if you want a hydration level of 70% for a sourdough loaf, you know instantly that you need 350 grams of water (70% of 500).
This system allows you to scale recipes up or down effortlessly. If you want to make a giant batch for a holiday party, you simply multiply your base weights by the scaling factor. It eliminates the need for complex, messy math and allows you to adjust the structure of your dough with scientific precision. If you find a loaf of bread is too sticky, you can reduce the water by 5% and keep the rest of the ratios identical, knowing exactly how that change will affect the final product.
Applying Ratios to Your Home Kitchen
You don't need to be a mathematician to use these principles. Start by calculating the percentages of your favorite recipes. Look at the ratio of fat to flour, or sugar to flour. You will quickly notice patterns; for instance, a classic shortbread cookie often follows a 3-2-1 ratio (3 parts flour, 2 parts fat, 1 part sugar by weight). When you view recipes as a ratio rather than a rigid list of ingredients, you become a creator rather than a follower. You can start to substitute ingredients—like swapping a portion of the flour for almond meal—while maintaining the structural integrity of the bake.
"A kitchen scale is not a tool for the obsessive; it is a tool for the liberated. Once you stop guessing, you can finally start innovating, knowing that your foundational measurements are always rock solid."
Troubleshooting Common Baking Failures
When Your Dough Won't Cooperate
We have all been there: the recipe says the dough should be "tacky but not sticky," yet yours is a wet, unmanageable mess. Often, this is a sign of inconsistent flour measurement. If you measured your flour by scooping, you likely have an incorrect flour-to-hydration ratio. When you are off by even 30 or 40 grams, the hydration balance of the entire dough is compromised. This is especially true in bread baking, where the relationship between water and flour dictates the speed of yeast fermentation and the final crumb structure.
When you encounter a dough that is not behaving correctly, look at the weight. Did you use bread flour as called for, or did you use all-purpose? Did you use a kitchen scale or a cup? If you used a scale, you can troubleshoot the issue scientifically. Perhaps the environment is particularly humid, and the flour has absorbed moisture from the air, increasing its effective weight. In professional settings, we often adjust our water percentages based on the ambient humidity of the kitchen, a level of control that is impossible if you aren't measuring by weight.
Adjusting for Environment
Baking is affected by the world around you. High altitude, humidity, and the temperature of your ingredients all play a role in how a recipe performs. When you measure by grams, you can make micro-adjustments to compensate for these factors. If the air is very dry, you might add an extra 5-10 grams of water to your dough. If the kitchen is hot, you might use slightly less yeast or colder liquid to control the fermentation rate.
These adjustments are only possible when your starting point is stable. If you start with a "roughly" measured amount of flour, any adjustment you make is just another guess. By establishing a standard weight for your flour, you create a baseline that allows you to experiment with confidence. Over time, you will start to notice the relationship between the weight of your ingredients and the performance of your final product, elevating you from a home baker to a true culinary technician.
Professional Tips for Flour Management
Proper Storage for Longevity
How you store your flour is just as important as how you measure it. Flour is a pantry staple that is susceptible to pests, moisture, and odors. In a professional kitchen, we store flour in airtight, food-grade bins that keep the contents at a consistent humidity level. At home, you should avoid keeping flour in the paper bag it comes in, as these bags are porous and allow moisture to enter, which can lead to clumps and potentially rancid oils if the flour is whole grain.
Invest in a set of clear, stackable, airtight containers. Not only does this keep the flour fresh, but it also allows you to see how much you have left at a glance. When you transfer your flour, try to pour it into the container rather than dumping it, which helps keep the particles loose. If you buy in bulk, keep a smaller supply in an active-use container and store the bulk of your flour in a cool, dark place, or even in the freezer for long-term storage of whole wheat or nut flours.
Sifting: To Do or Not To Do?
Sifting is a debated topic in the culinary world, but it is essential for certain applications. Sifting breaks up clumps and aerates the flour, which is crucial for recipes like delicate cakes or light sponges where any lump of flour could ruin the texture. However, for most sturdy doughs or cookies, sifting is an unnecessary step. The most important thing is to make sure your flour is not compacted before you measure it.
If you are a fan of sifting, do it after you have measured your flour, not before. Measuring sifted flour can lead to inconsistencies because the aeration level of sifted flour can change depending on how long it has been sitting. By weighing your flour first, then sifting it into your other ingredients, you ensure that you are working with the correct mass while still achieving the desired texture. This sequence is a simple habit, but it is one that sets professional work apart from amateur attempts.
Conclusion
Mastering the measurement of flour is a rite of passage for any cook who takes their craft seriously. While the transition from volume to mass might feel like an unnecessary extra step, you will quickly find that it is actually a shortcut to success. By using your kitchen scale to measure in grams, you strip away the uncertainty that leads to baking failures and replace it with the consistent, repeatable precision of a professional pastry kitchen. You are no longer guessing how much a cup "should" be; you are holding the exact, scientifically sound amount of building material required for your masterpiece.
As you move forward, continue to lean into the metrics. Track your favorite recipes, create your own ratios, and don't be afraid to adjust for your environment. Remember that the goal is not to reach perfection overnight, but to slowly build your confidence through practice and consistent data. "Blame The Chef" is here to guide you, but the real magic happens when you step into your kitchen with the right tools and the right mindset. Your sourdough, your croissants, and your cookies will thank you for the extra attention to detail.
Finally, keep in mind that baking should be a joy, not a burden. Precision allows you to move away from the stress of "will this work?" and into the creative process of "what can I make next?" Now that you have the tools to ensure your flour measurements are always spot on, you are ready to experiment with bolder flavors, more complex textures, and higher-level techniques. Keep your scale handy, keep your flour stored properly, and keep baking with purpose. Your kitchen is now a laboratory of flavor, and you are the head scientist.
Final Thoughts: The Road Ahead
As we wrap up this exploration of flour density, let’s reflect on why we started this journey. Every great dish, from a simple loaf of sourdough to a complex multi-layered gateau, depends on the fundamental structural support provided by flour. By treating this ingredient with the respect it deserves—measuring it accurately by weight—you are essentially guaranteeing that your foundation is sound. Never again will you have to worry about a cake that didn't rise or a cookie that spread into a puddle, because you have eliminated the largest variable in your baking equation.
Take this knowledge and apply it to your next project. Perhaps it is time to revisit that one recipe that has always given you trouble. Now that you have the gram weight for your flour and the professional techniques for mixing, you will likely find that the recipe works perfectly on the first try. That is the power of precision. It isn't about taking the fun out of baking; it is about providing yourself with the structure to let your creativity flourish without the fear of failure looming over your shoulder.
At "Blame The Chef," we believe that anyone can be an incredible baker. It simply takes the willingness to learn, the right information, and the persistence to practice. You have the chart, you have the methods, and you have the understanding of why density is the hidden key to success. Now, all that is left is to turn on your oven, grab your scale, and create something truly remarkable. Whether it is a crusty baguette or a delicate batch of muffins, your ingredients are ready for you to transform them into something special.
Remember that every time you bake, you are learning. Pay attention to how the dough feels when the ratio is exact. Feel the texture of the flour under your hands. Observe how the humidity in the room changes how the flour interacts with the liquid. These sensory experiences, combined with your new technical foundation, will eventually become your intuition. One day, you won't even need the chart anymore because you will know exactly what 120 grams of flour looks like in the bowl. Until then, stay precise, stay consistent, and keep the oven preheated.
We want to thank you for joining us on this deep dive into the world of flour measurement. Baking is a journey that lasts a lifetime, and we are honored to be part of your development as a cook. If you enjoyed this guide, check out our other posts on the importance of fat ratios and the science of sugar crystallization. Until next time, happy baking—and remember, there is no need to blame the chef when you are equipped with the precision to succeed. Every gram counts, and every bake is a new opportunity to master the art of the perfect result.
Final words: Keep your flour dry, keep your scale zeroed, and never underestimate the power of a single gram. Your journey to professional-level baking starts today. With every ingredient measured, you are one step closer to the crust, the crumb, and the flavor profile you have always dreamed of achieving in your own home. Go forth and fill your house with the scent of freshly baked perfection. You have the tools; now let the oven do the heavy lifting. The best is yet to come, and the results will speak for themselves when you put that perfectly crafted, scientifically accurate treat on the cooling rack. Happy baking, and may your oven always provide an even, consistent rise.

Get the Next Recipe
Weekly recipes, techniques, and gear picks — straight to your inbox.
