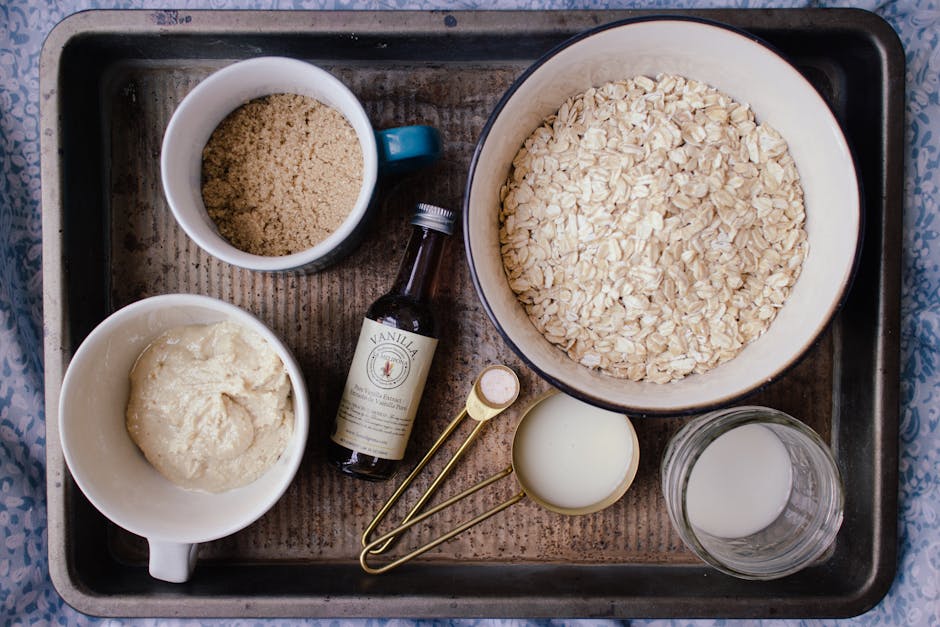
How Many Grams in a Cup of Oats? (Chart)
Precision in the kitchen is often the invisible barrier separating a home cook from a truly accomplished culinarian. When you rely solely on volume measurements like cups, you introduce variables that professional chefs strive to eliminate through the use of a digital scale. Oats, in particular, are notorious for their lack of uniformity, as they can settle, fluff, or compress depending on the humidity of your pantry and how they were poured into your measuring cup. By mastering the science of weighing your grains, you ensure that your morning porridge, baked granola, or savory oat-crusted chicken consistently hits the mark every single time.
It is common for novice bakers to scoff at the idea of weighing ingredients, viewing it as an unnecessary hurdle in an otherwise creative process. However, baking and precise breakfast cookery are fundamentally branches of chemistry, where ratios dictate the texture, moisture content, and final mouthfeel of the dish. When you treat your ingredients with the respect of a measured weight, you stop guessing why a batch of cookies turned out crumbly or why your oatmeal came out gluey instead of creamy. Embracing the scale is the single fastest way to level up your culinary game and bring professional standards into your domestic kitchen.
In this deep dive, we will explore the nuances of oat varieties and why their density shifts so significantly under different conditions. We will break down the exact gram measurements for various types of oats, provide a comprehensive conversion chart for your kitchen reference, and offer professional tips on how to handle these grains for optimal results. Whether you are prepping a complex overnight oat bowl for the week or developing a signature sourdough loaf, having a firm grasp on the gram-to-cup ratio will empower you to cook with confidence and precision. Let us leave the guesswork behind and start cooking with the accuracy that your recipes deserve.
The Science of Weight vs. Volume in Culinary Arts
The fundamental issue with volume measurement in baking lies in the physical nature of the ingredients being measured. When you use a measuring cup, you are measuring the space occupied by the ingredient, not the actual mass of the substance itself. Because oats come in various shapes—from the flat, expansive surface area of rolled oats to the dense, jagged structure of steel-cut oats—a single cup can contain drastically different amounts of actual product. Even with the same variety, the simple act of shaking the measuring cup can cause the oats to settle, leading to a much higher density than if you had gently spooned them in.
Professional kitchens operate almost exclusively on a metric system, specifically using grams, because it is an absolute unit of measurement that does not change regardless of how the ingredient is handled. When you convert your recipes to weight, you eliminate the "human error" factor. If a recipe calls for 90 grams of oats, you will have 90 grams of oats every time, regardless of whether you are in a humid coastal climate or a dry desert environment. This consistency is the secret behind the reproducibility that makes professional pastry chefs so successful in their craft.
Understanding Ingredient Density
Density is defined as mass per unit volume, and in the world of grains, it is the most significant factor you need to manage. Rolled oats, also known as old-fashioned oats, are steamed and then pressed with heavy rollers, which creates a large amount of empty space between each flake. Because they have a lower bulk density, they are easily compressed when packed into a cup. On the other hand, steel-cut oats, which are essentially the whole oat groat chopped into pieces, are much denser and have very little air space between the individual particles.
The Role of Moisture and Humidity
It is a mistake to assume that dry ingredients are always completely devoid of moisture. Oats are hygroscopic, meaning they absorb moisture from the ambient air around them. If you live in a region with high humidity, your oats will naturally hold more weight per cup than they would in a arid environment. By weighing your oats on a digital scale, you account for these minute fluctuations in water weight, ensuring that your liquid-to-oat ratios remain perfectly balanced.
"Cooking by weight is not about making your time in the kitchen more rigid or less creative; it is about providing the foundation of consistency upon which true culinary creativity can thrive."
Comprehensive Gram Conversion Chart
To help you transition away from volume-based measurement, I have compiled a detailed chart that outlines the standard gram weight for the most common oat varieties. Please note that these numbers represent the average density when using the "spoon and level" method, which is the most accurate way to use volume measurements if you absolutely must use a cup. Keep this chart taped inside your pantry door or saved on your phone for quick reference during your morning routine or weekend baking sessions.
Standard Oat Variety Conversions
Old-Fashioned Rolled Oats*: 1 cup = 90 grams
Quick-Cooking Oats*: 1 cup = 95 grams
Steel-Cut (Irish) Oats*: 1 cup = 150 grams
Oat Flour*: 1 cup = 100 grams
Instant Oats*: 1 cup = 85 grams
How to Measure Accurately
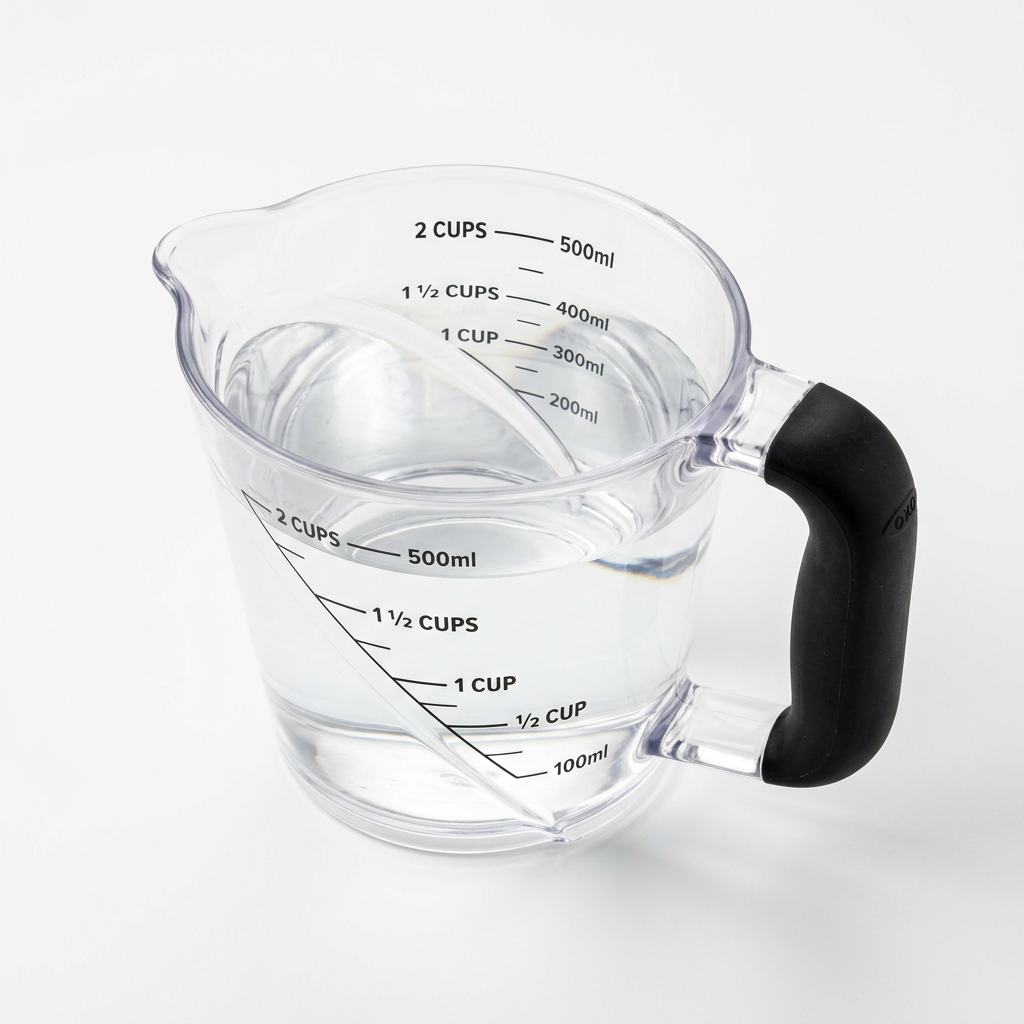
When you are forced to use a measuring cup rather than a scale, the technique you use is just as important as the vessel itself. Never scoop the cup directly into the container of oats, as this packs the oats down and leads to an inaccurate, overweight measurement. Instead, use a smaller scoop to gently fill your measuring cup until it is overflowing, then take a flat-edged knife to level off the top. This "spoon and level" technique is the industry standard for home cooks who are not yet ready to commit to digital scales for every task.
The Different Types of Oats and Their Culinary Uses
Not all oats are created equal, and understanding their physical structure is key to knowing how they will perform in your recipes. The processing of the oat groat—the edible part of the seed—dictates how much liquid it will absorb and how long it will take to soften. From the hearty, toothsome texture of steel-cut oats to the rapid-softening properties of instant varieties, your choice should always be driven by your final desired outcome for the texture of the dish.
Steel-Cut Oats (Pinhead Oats)
Steel-cut oats are the least processed of all oat varieties, having been simply cut into small pieces by steel blades. Because they retain the bran and germ, they have a nutty, chewy texture that holds up well in long-cooking preparations like slow-cooked morning porridge or as a base for savory grain bowls. Due to their high density, you will need a higher ratio of liquid, typically 3 to 4 parts water for every 1 part of oats, and a longer simmer time of approximately 25 to 30 minutes on low heat.
Rolled Oats and Quick Oats
Rolled oats (Old-Fashioned) are steamed and rolled, which partially gelatinizes the starches and makes them easier to digest and quicker to cook. These are the gold standard for baking, particularly in cookies, muffins, and granola, where you want a bit of texture but not the extreme crunch of steel-cut. Quick-cooking oats are essentially rolled oats that have been rolled thinner or cut into smaller pieces, allowing them to hydrate almost instantaneously. Avoid using instant oats in recipes that require structure, such as an oat-based crumble or a thick muffin batter, as they tend to turn into mush under sustained heat.
"The true test of a chef is not the complexity of their recipe, but the precision with which they handle the simplest ingredients in their pantry."
Professional Techniques for Perfect Oat Preparation
Now that we have established the weight-to-volume ratio and the differences between types of oats, it is time to discuss the actual preparation. Regardless of whether you are making oatmeal, granola, or a savory porridge, there are several professional techniques that will instantly improve the quality of your finished dish. Many home cooks struggle with soggy or flavorless oats, but these issues are usually a result of improper heat management or an imbalance in the liquid-to-oat ratio.
Toasting for Depth of Flavor
One of the most overlooked steps in cooking grains is toasting. Before adding your liquid, place your measured oats in a heavy-bottomed stainless steel or cast-iron skillet over medium heat. Stir them constantly for 3 to 5 minutes until they become fragrant and turn a light golden brown. This Maillard reaction releases the natural oils within the oats and imparts a deep, nutty complexity that you simply cannot achieve by adding them directly into boiling water.
Managing the Starch Content
Oats are inherently starchy, and if you aren't careful, that starch can become gummy or overly thick. If you prefer a lighter, less "pasty" oatmeal, rinse your oats in a fine-mesh sieve under cold running water before cooking to remove some of the surface starch. If you prefer a creamy, rich texture—which is the hallmark of a high-end breakfast porridge—skip the rinsing and consider adding a small amount of fat, such as a teaspoon of butter or coconut oil, to the pot as the oats simmer. This fat coats the grains and prevents them from sticking together in a clump.
The Importance of Salt
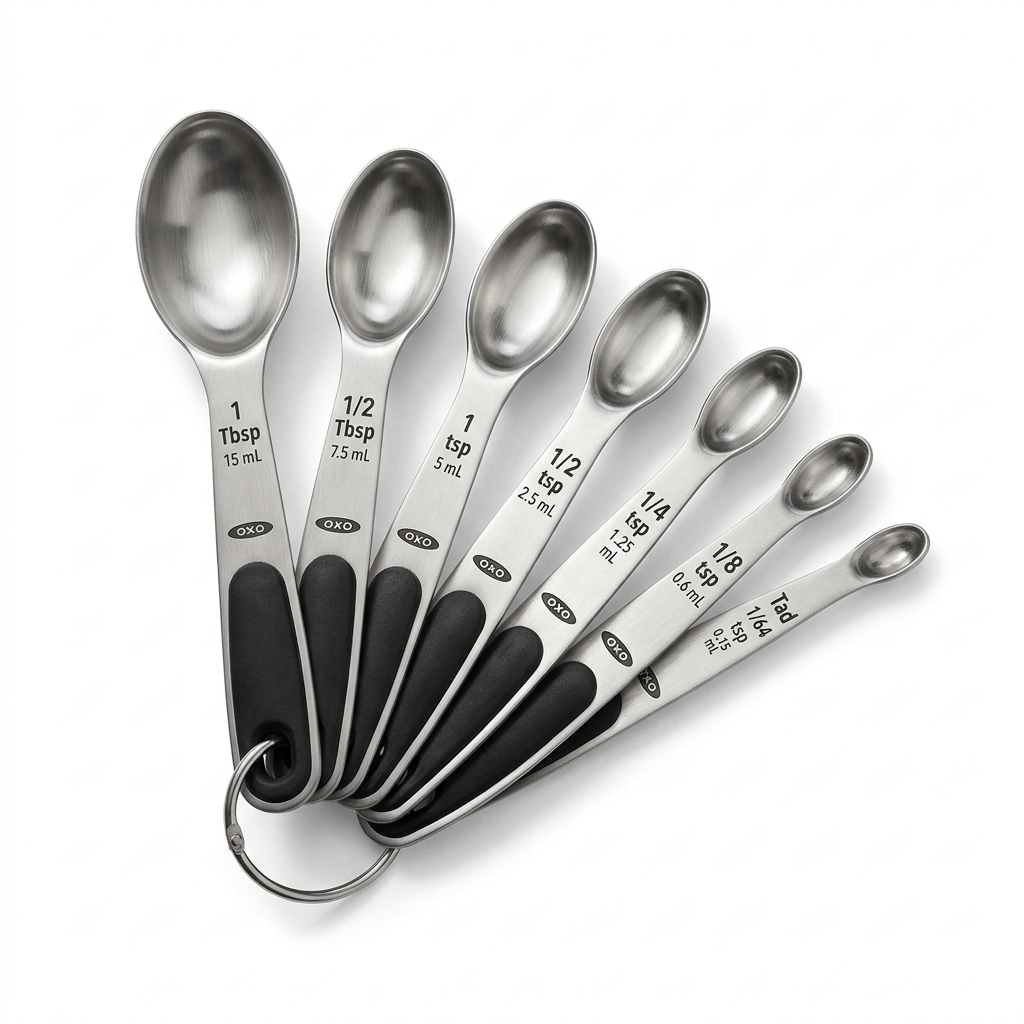
Never neglect the salt. Just like pasta, oats require salt to bring out their natural flavor. Add a pinch of sea salt at the very beginning of the cooking process, rather than at the end. This allows the salt to penetrate the grain as it rehydrates, ensuring the flavor is integrated throughout rather than just sitting on the surface. For a standard batch of oats (approx. 90 grams), a small pinch—roughly 1/8 of a teaspoon—is sufficient to elevate the profile from bland to balanced.
Troubleshooting Common Oat-Based Recipes
Even with the best measurements, things can sometimes go sideways in the kitchen. Perhaps your granola came out of the oven soft, or your overnight oats were a bit too thin in the morning. When these issues occur, they are usually a signal that your ratios were slightly off or that the environmental conditions impacted the hydration rate. By applying a troubleshooting mindset, you can adjust your techniques and salvage the dish while learning how to prevent the issue in the future.
Why Your Granola Isn't Crunchy
Granola failures are almost always related to moisture management. If your granola is chewy or soft, you likely didn't cook it long enough or you added the dried fruits too early. Always bake your granola at a lower temperature, around 300°F (150°C), for a longer period of time (30–45 minutes), and stir it every 10 minutes to ensure even browning. Additionally, wait to add dried fruit—like raisins, cranberries, or apricots—until after the granola has fully cooled, as they can reabsorb moisture from the heat if left in the oven.
Fixing Overcooked or Mushy Porridge
If you find that your porridge has turned into a glue-like consistency, it is usually because you used too much heat or the oats sat in the hot liquid for too long after being cooked. To fix this, stir in a splash of room-temperature milk or cream to loosen the starch bonds. In the future, pull your pot off the heat when the oats are still slightly "al dente," as they will continue to absorb the remaining liquid and soften as they sit for the two or three minutes it takes to plate them.
When to Use Oat Flour vs. Rolled Oats
When a baking recipe calls for oat flour, you can easily make it at home by processing rolled oats in a high-speed blender until they reach a fine consistency. Remember that 1 cup of rolled oats will generally yield slightly less than 1 cup of oat flour due to the removal of the air pockets. Always measure your oat flour by weight after processing it, as the milling process changes the density significantly. Substituting one for the other without weighing can cause your baked goods to lose their structural integrity.
Elevating Your Culinary Game Through Data
The transition to weighing ingredients is a milestone in any home cook's journey. It signifies a move away from the "cooking by feel" mentality, which, while romantic, is inherently inconsistent. When you start tracking your results by weight, you become more observant. You begin to notice, for instance, that 90 grams of steel-cut oats provide a much heartier mouthfeel for your weekend morning rituals, while 90 grams of rolled oats are better suited for a quick, mid-week breakfast.
This level of detail allows you to document your successes and recreate them with precision. If you find a perfect recipe for overnight oats that you absolutely love, writing down the weights of the oats, the liquid (like oat milk or almond milk), and the mix-ins (like chia seeds or flax) ensures that you can repeat that exact experience. You no longer have to worry about whether your scoop size changed or if you poured a bit too heavy on the milk. You simply follow the data.
Organizing Your Digital Kitchen
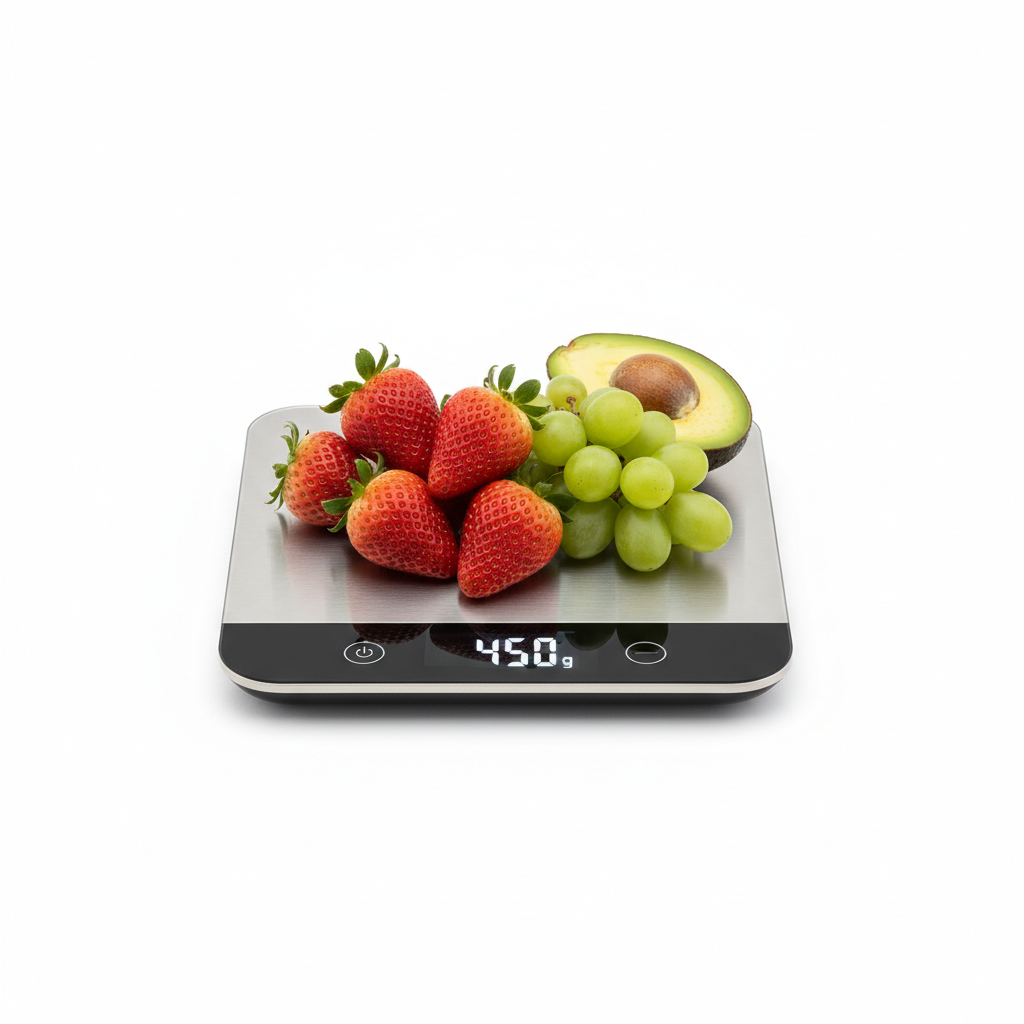
In the modern culinary landscape, the most efficient kitchens are those that utilize technology to simplify the workflow. Consider keeping a small, inexpensive kitchen scale permanently on your counter. When it is always within reach, the friction of using it disappears. Over time, weighing your oats will become second nature—a reflexive part of your mise en place, just like chopping your herbs or preheating your oven.
"The most sophisticated tool in your kitchen isn't the most expensive one; it's the one that gives you the truth about your ingredients. The humble digital scale is the cornerstone of that truth."
Final Thoughts
The journey toward culinary mastery is paved with small, deliberate adjustments. While measuring oats by weight might seem like a minor detail, it is a perfect example of how professional techniques can be easily adapted to the home kitchen to produce superior results. By understanding the density of your ingredients, learning to use a digital scale, and recognizing the unique properties of different oat varieties, you are setting yourself up for consistent success.
Remember that cooking is a cumulative process. Every meal you prepare is an opportunity to practice these skills, to observe how moisture affects texture, and to see how timing changes flavor. Do not be discouraged if your first few attempts at weighing ingredients feel cumbersome. Like any new technique, it requires a bit of repetition before it becomes an unconscious part of your kitchen rhythm. Soon, you will find that you no longer rely on volume-based intuition, but rather on the objective, reliable precision of your own measurements.
As you continue to refine your craft, I encourage you to experiment with different varieties of oats, explore the impact of toasting, and play with ratios to find your personal preference. Whether you prefer your oats creamy, chewy, savory, or sweet, having a firm grasp on the gram-to-cup relationship gives you the freedom to improvise without sacrificing quality. Keep your scales clean, your pantry stocked with quality grains, and most importantly, keep cooking with intention. You are the chef in your own kitchen, and with the right approach, every bowl you serve will be a testament to your commitment to excellence. Thank you for joining me on this deep dive into the world of oats—may your future breakfasts be consistently delicious and perfectly balanced. Happy cooking, and remember that when things don't go perfectly, there is always a lesson waiting to be learned at the stove.

Get the Next Recipe
Weekly recipes, techniques, and gear picks — straight to your inbox.