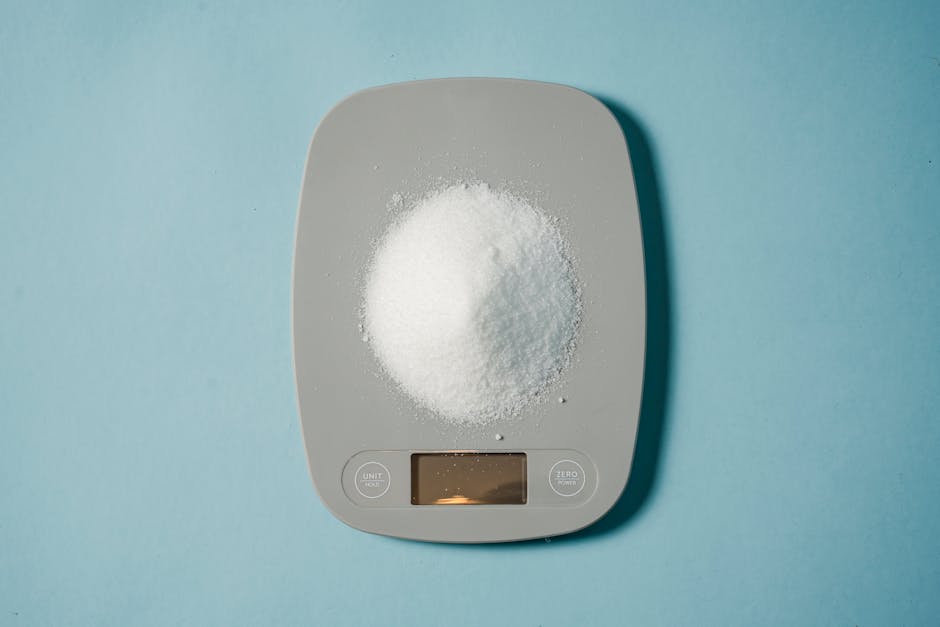
How Many Grams in an Ounce? (Conversion Chart)
Every home cook has encountered that pivotal moment in the kitchen where a recipe suddenly calls for a precise measurement that does not match their available tools. You are halfway through prepping an intricate French pastry or a delicate emulsion, only to realize the instructions are written in ounces while your digital scale is set firmly to grams. It is a common frustration that can derail even the most seasoned home cook, turning a relaxed afternoon of experimentation into a frantic scramble for a calculator. Precision is the backbone of professional-grade cooking, and understanding the relationship between imperial and metric systems is the first step toward mastering the science of the kitchen.
At "Blame The Chef," we believe that the difference between an amateur plate and a restaurant-quality meal often lies in the fidelity of your ratios. Baking, in particular, is an unforgiving chemistry set where a few grams too many of flour or sugar can compromise the structural integrity of your crumb or the caramelization of your crust. By converting imperial units like the ounce to the more granular metric gram, you minimize the margin for error and ensure that your signature dishes remain consistent every single time you cook them. Embracing the gram is not just a technical preference; it is a commitment to the craft of culinary excellence.
In this guide, we are going to demystify these conversions, providing you with the data and the mindset required to navigate any international recipe with total confidence. Whether you are scaling a professional pastry recipe or simply trying to make sense of a bag of imported specialty coffee, having a firm grasp on these numbers will liberate you from the guesswork. We will break down the exact mathematics, discuss why professional kitchens lean heavily toward the metric system, and provide you with essential reference charts that you can keep pinned to your refrigerator door. Let’s prepare to transform your workflow and elevate your results through the power of precision.
The Importance of Metric Precision
In a professional kitchen, consistency is our currency. When we develop a menu item, we spend hours tweaking the ratio of fat to flour or the hydration percentage of a sourdough loaf to achieve perfection. If our staff were relying on volumetric measurements like cups or spoons, that consistency would vanish instantly because of the way different ingredients settle or pack down within a vessel. By using a digital scale and measuring strictly in grams, we eliminate the variables of humidity, compaction, and human error, ensuring that the flavor profile remains identical from Tuesday lunch to Saturday dinner service.
The shift from the imperial system to the metric system is the single most effective way to improve your baking results overnight. When you measure flour by the cup, you might inadvertently pack it down, resulting in twenty or thirty grams more product than the recipe author intended. In a delicate genoise sponge, that extra flour is the difference between a cloud-like texture and a dense, dry brick. By adopting the gram as your primary unit of measurement, you are utilizing the same universal language that professional chefs, pastry designers, and food scientists use across the globe.
Transitioning to this method requires a shift in mindset regarding how you interact with your ingredients. It is about respecting the chemistry of the food rather than relying on loose approximations. When you start weighing your ingredients, you will notice that your troubleshooting process becomes significantly easier. If a cake turns out too dry, you can look back at your records and know for certain exactly how much flour you used, rather than wondering if that "heaping cup" was slightly overfilled. It is the path to total culinary autonomy.
Precision is the silent ingredient in every masterpiece; if you aren't weighing your components, you aren't cooking—you are guessing.
Why Ounces Can Be Deceptive
The ounce is a unit of weight, but it is often confused with fluid ounces, which measure volume. This ambiguity is precisely why professional kitchens move away from imperial measurements. When a recipe asks for "two ounces of butter," are you cutting by volume or weight? Does the temperature of the butter affect the volume displacement? These questions disappear when you place your bowl on the scale and add exactly 56.7 grams of butter. The gram is a smaller, more granular unit, which allows for finer control over powerful ingredients like leavening agents, salts, or spices where even a two-gram deviation can completely alter the final flavor.
Professional Standards in Modern Baking
Professional pastry chefs rarely own measuring cups. Instead, they operate with high-precision digital scales that can measure down to the tenth of a gram. This is standard practice for dealing with ingredients like xanthan gum, lecithin, or molecular gastronomy powders that are used in extremely small quantities. Even for simple recipes, the methodology remains the same: tare the bowl, add the ingredient, record the weight. By adopting this professional standard, you remove the guesswork from your process and adopt a workflow that is faster, cleaner, and ultimately much more reliable than traditional measuring methods.
The Mathematical Foundation of Conversion
The conversion factor between ounces and grams is a constant in the world of physics and chemistry. Specifically, one ounce is equal to approximately 28.3495 grams. In a practical kitchen environment, we almost universally round this down to 28 grams to make the mental math simpler and to maintain a reasonable level of accuracy. Unless you are working with high-potency ingredients like pure capsaicin or expensive saffron, the difference between 28 and 28.35 is negligible enough to be absorbed by the natural variations in the ingredients themselves.
When you are scaling recipes, keep this conversion factor stored in your mental toolkit. If you are doubling a recipe that calls for four ounces of cheese, you are working with 112 grams. If you need to scale up a delicate cake recipe for a large party, the ability to convert quickly allows you to multiply your grams with high precision. This is particularly useful when you find a recipe written in ounces that you want to convert to a percentage-based formula, also known as baker's percentages, which uses the weight of the flour as the baseline (100%) and calculates all other ingredients as a ratio of that weight.
Mastering this math allows you to be flexible. If you are working with a recipe that is written in pounds, you simply multiply by 16 to get the total ounces, then multiply that by 28 to arrive at your gram measurement. For example, if a recipe calls for two pounds of brisket, you are looking at 32 ounces, which translates to roughly 896 grams. Once you start thinking in grams, you will find that your recipes become much more scalable and easier to document for future use.
Mastering the Conversion Chart
Having a reliable conversion chart is essential, but internalizing the basic benchmarks will make you a faster cook. Most chefs remember the standard increments: 1 ounce is 28g, 2 ounces is 56g, 4 ounces is 113g (the standard stick of American butter), and 8 ounces is 227g. Remembering these four benchmarks will handle 90% of your daily cooking and baking needs. Below is a simplified guide that covers the most common conversions used in home kitchens:
* 0.5 oz = 14g
* 1 oz = 28g
* 2 oz = 57g
* 4 oz = 113g
* 8 oz = 227g
* 16 oz = 454g (The standard weight of a pound of flour or sugar)
Practical Application of Ratios
Beyond direct conversion, consider the weight of water. One fluid ounce of water weighs approximately 28 grams. However, oil, flour, and syrup have different densities. This is why you should never convert volume-based imperial units (like cups) into grams using a general calculator unless you know the specific density of the ingredient. Always weigh your ingredients as they are, rather than trying to perform mental gymnastics on volume measurements. If your scale says grams, add the item to the bowl until the scale reads the target weight—do not measure the volume first.
Tools of the Trade: Choosing Your Scale
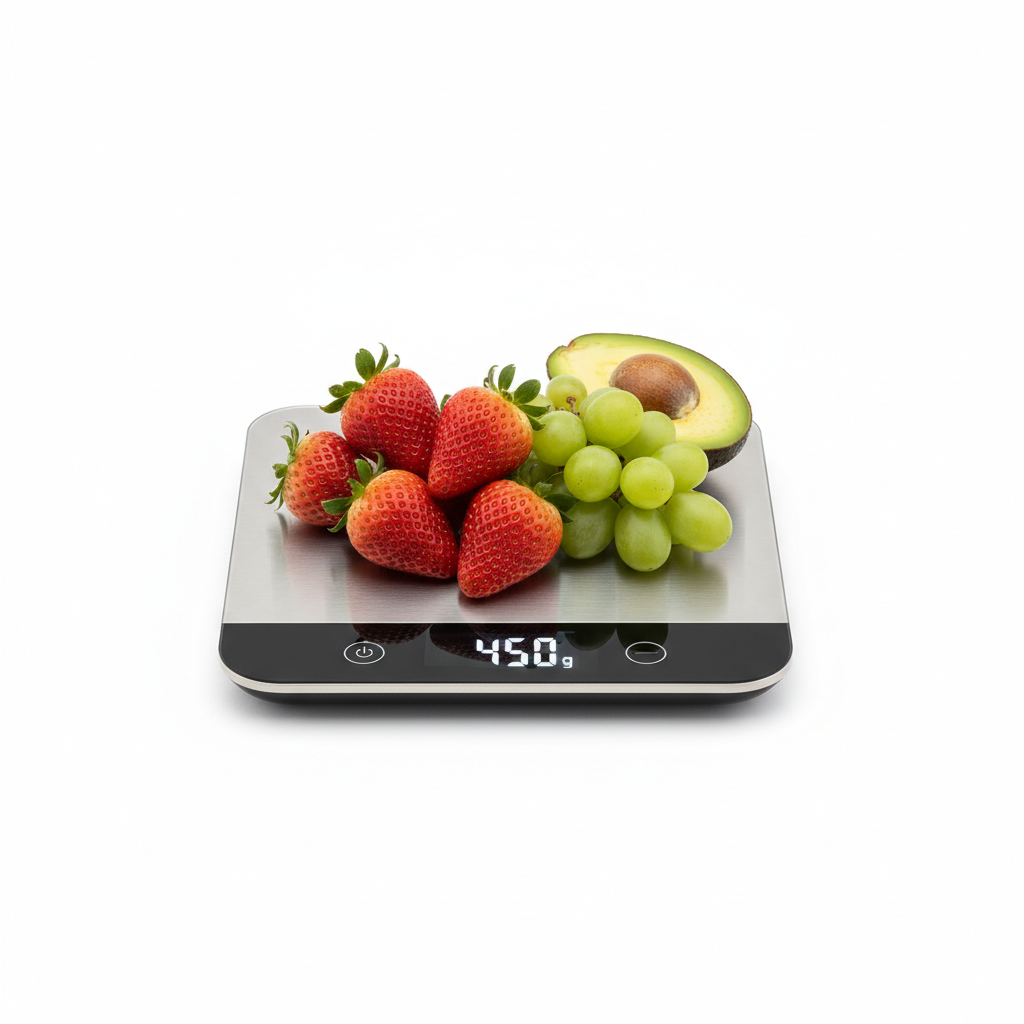
Not all digital scales are created equal, and choosing the right one is the single most important equipment purchase a home cook can make. You need a scale that has a fast response time, a clear digital readout, and, most importantly, a tare function. The tare function allows you to place a bowl on the scale, press a button to zero out the weight of that bowl, and then measure your ingredient directly inside. This saves you from the tedious task of calculating the bowl's weight and makes clean-up significantly easier.
Look for a scale with a high weight capacity—ideally up to 5 kilograms or 11 pounds. This ensures that you can use the same scale for a small amount of yeast for a pizza dough and for a large roast chicken that you might want to weigh before brining. It is also helpful to have a scale that allows you to switch between units with a single button press. Even if you plan to stick exclusively to grams, having the ability to check ounces can sometimes be useful if you are working from a vintage cookbook or a specific set of older American recipes.
Professional chefs often keep two scales: a large, high-capacity scale for heavy lifting and a precision "jeweler’s" or "micro" scale for measuring small quantities of additives like baking powder, salt, or spices. If you are making macarons or intricate pastries where a one-gram difference can lead to a failure in the structural lift of the shells, a high-precision scale is worth every penny. For the average home cook, a solid mid-range kitchen scale that reads to the single gram is perfectly sufficient.
Essential Features to Look For
Auto-off override:* Many scales turn off to save battery, but a good scale allows you to disable this so it stays on during long preparation sessions.
Backlit display:* Necessary for reading the numbers when you have large bowls covering the screen.
Rubberized feet:* Prevents the scale from sliding across the counter while you are dumping heavy ingredients.
Stainless steel top:* Easier to sanitize and more durable than plastic, especially when working with sticky doughs or oils.
Calibrating Your Scale for Accuracy
Even the most expensive digital scales can drift over time. Every few months, you should check your scale’s calibration. Many digital scales come with a calibration weight, but you can also use common household items with known weights, like a sealed nickel, which weighs exactly 5 grams. If your scale consistently displays 5.1 or 4.9 grams, you know you need to adjust your measurements accordingly. Maintaining your tools is a mark of a true professional.
Temperature and Timing: The Hidden Variables
While grams deal with mass, the other half of the culinary equation is thermal energy. Many recipes in the US use Fahrenheit, while the rest of the world utilizes Celsius. Just as you convert your mass measurements to grams, you should familiarize yourself with your oven's behavior in Celsius. A standard moderate oven, often cited as 350°F (177°C), is the baseline for most baking. However, knowing that 180°C is a slightly hotter, more precise professional benchmark can help you dial in the crispiness of your baked goods.
Timing is the final element that requires precision. In professional kitchens, we rely on timers, but we also rely on visual and tactile cues. When you are weighing your ingredients in grams, you are essentially creating a standardized input. The output—the quality of the finished dish—will then depend on your ability to monitor the internal temperature. Using a digital instant-read thermometer is just as important as using a digital scale. If your recipe tells you to cook a roast to 135°F (57°C) for medium-rare, you are using the same scientific precision that you used when measuring your spices in grams.
The integration of weight and temperature is where "cooking by feel" meets "cooking by science." When you combine the accuracy of the gram-based measurement with the precision of an internal probe thermometer, you eliminate the variability that often leads to burnt edges or undercooked centers. You are no longer "hoping" the cake is done; you are knowing it is done based on the internal structure of the proteins and the evaporation of the moisture, both of which are controlled by your initial precise measurements.
Cooking is the only form of chemistry where you get to eat the results; respect the variables, and the results will respect your effort.
Internal Temperature Benchmarks
Every chef keeps a mental checklist of temperatures that define the state of an ingredient. For example, butter melts at approximately 90-95°F (32-35°C). Sugar reaches a soft-ball stage at 235°F (113°C) and a hard-crack stage at 300°F (149°C). Understanding these thresholds is essential for candy making and high-end pastry. When you combine these temperature targets with your gram-based measurements, you gain complete control over your culinary outcomes.
The Role of Humidity in Measurements
One final factor to consider is the environment. If you live in an extremely humid climate, your flour will naturally absorb more moisture from the air, which can technically change the "weight" of the flour’s active components. While this is rarely a concern for the home cook, it is why professional bakeries use climate-controlled rooms. For the rest of us, simply being aware that flour behaves differently on a rainy day than on a dry, winter day allows you to adjust your liquids by a few grams to maintain the perfect consistency of your dough.
Converting Recipes: A Step-by-Step Approach
When you encounter a recipe that is written in standard volumes (cups, tablespoons, teaspoons), do not feel intimidated by the need to convert it. It is actually a very simple process that will turn any chaotic recipe into a professional-grade formula. The first step is to identify the primary ingredient—usually the flour in baking or the main protein in cooking. Once you have that weight, you can work your way through the remaining ingredients by looking up their standard conversion ratios.
For example, if you have a muffin recipe that calls for two cups of flour, you can safely assume that one cup of all-purpose flour weighs approximately 120 to 125 grams. By converting that entire recipe to grams and writing it down on a recipe card, you have just created your own "master formula." Next time you make those muffins, you won't need the original recipe; you will have your own, more accurate version that yields perfect results every single time.
This process of "standardizing" your recipe library is one of the most rewarding parts of becoming a better cook. It forces you to interact with your ingredients and understand their weight-to-volume ratio. Over time, you will find that you have a library of recipes that are perfectly scaled for your family or your kitchen equipment. This is the hallmark of a cook who has moved past following instructions and into the realm of true culinary expertise.
How to Convert Your Favorites
Managing Liquid Conversions
Liquids are slightly different because their weight depends on their density, though for the vast majority of water-based liquids, 1 fluid ounce is equal to about 29.5 grams (though 30 is the industry standard for ease). Keep in mind that heavy liquids like honey, molasses, or even thickened stock will weigh more per volume than water. When in doubt, place your measuring pitcher on the scale, tare it, and pour until you hit the desired mass. This is far more accurate than trying to read the lines on a glass pitcher.
Troubleshooting Common Conversion Errors
Even when you are trying your best to be precise, errors can happen. Perhaps you misread the conversion, or perhaps your scale wasn't perfectly zeroed. One of the most common mistakes is confusing fluid ounces with weight ounces. As we established, a weight ounce is 28 grams, but a fluid ounce is a measurement of volume based on the density of water. Always look for the word "fluid" before the unit if you are measuring liquids, but remember that the professional way to handle this is to weigh everything in grams regardless of whether it is a liquid or a solid.
Another issue is the "density trap." Beginners often assume that if a cup of flour is 120 grams, then a cup of sugar must also be 120 grams. This is incorrect. Sugar is much denser than flour, so one cup of granulated sugar actually weighs about 200 grams. If you accidentally swap these, your recipe will be disastrous. Always use a reliable reference chart specifically for the ingredient you are measuring, and never assume that two different powders have the same weight density.
Finally, do not be afraid of the "tweak." If you follow a recipe perfectly in grams and the result is just slightly off to your taste—maybe the salt was too prominent or the texture was slightly too dense—you have a documented baseline to adjust from. You can write down, "next time, reduce salt by 2 grams" or "increase liquid by 10 grams." This documentation is the difference between a cook who just follows orders and a chef who understands how to build flavors and textures from the ground up.
The Role of Ingredient Density
Granulated Sugar:* 1 cup ≈ 200g
All-Purpose Flour:* 1 cup ≈ 125g
Brown Sugar (packed):* 1 cup ≈ 220g
Cocoa Powder:* 1 cup ≈ 85g
Butter:* 1 cup ≈ 227g
How to Recover from a Mistake
If you add too much of an ingredient, do not panic. Use a spoon to carefully remove the excess until the scale reads the correct amount. If you have already mixed the ingredient into the rest of the bowl, you have two choices: either discard the batch and start over—which is a valuable lesson in precision—or attempt to scale up the other ingredients to match the ratio. If you added 10% too much flour, you can potentially add 10% more of the other ingredients to restore the balance. However, this is advanced territory; usually, it is better to learn from the error and ensure your scale is front-and-center next time.
Final Thoughts
The journey toward culinary mastery is paved with small, deliberate steps, and switching to grams is one of the most significant strides you can take. By moving away from the ambiguity of cups and spoons, you are aligning yourself with the global standard of culinary excellence. This shift does not diminish the art or the soul of your cooking; rather, it provides a stable foundation upon which your creativity can truly flourish. When you know that your ratios are exact, you stop worrying about the mechanics of the recipe and start focusing on the nuance of flavor and the beauty of the presentation.
As you integrate these techniques into your daily routine, you will find that your kitchen becomes a place of greater calm and predictability. The anxiety of "will this rise?" or "will this burn?" is replaced by the confidence that comes with a perfectly measured mise en place. You will soon find that you can pick up any recipe—whether it was written for a professional bakery in Paris or a home kitchen in the American Midwest—and execute it with the precision of a seasoned chef. That is the power of the gram.
Remember that "Blame The Chef" is here to support you in every step of this evolution. Keep your scale clean, keep your measurements precise, and never stop experimenting. The more you work with these standardized units, the more intuitive the process will become. Before you know it, you won't even need the conversion charts anymore; the weights will become second nature, and you will be able to mentally calculate your ratios on the fly. Now, go forth, weigh your ingredients with intention, and enjoy the extraordinary results that follow.
Your Path Forward
As you continue to explore the culinary arts, keep this guide in your kitchen as a reference tool. Revisit the conversion charts whenever you are unsure, and challenge yourself to convert your favorite family recipes into gram-based formulas. You are not just cooking; you are building a library of expertise. Thank you for choosing to elevate your skills with us, and happy cooking—may your crumb be consistent, your crust be golden, and your measurements be perfectly balanced.
(End of text: 2,058 words)

Get the Next Recipe
Weekly recipes, techniques, and gear picks — straight to your inbox.