How Many Milliliters in a Cup? Conversion Chart
There is an undeniable moment of frustration every home cook faces when they are standing in their kitchen, apron stained with a bit of flour, staring at an international recipe that insists on measurements they simply do not use. You have your favorite set of measuring cups laid out, the oven is preheated to the perfect temperature, and the mise en place is ready to go, but suddenly you are confronted with a liquid volume that has no place in your standard toolkit. Whether you are attempting a delicate French pastry that demands surgical precision or a robust, rustic Italian stew that relies on the intuition of the senses, knowing how to bridge the gap between units of measurement is the hallmark of a cook who has graduated from following instructions to truly mastering the craft of cooking. Understanding the relationship between the metric system and the traditional imperial measurements used in many American households is not just a convenient trick; it is a fundamental pillar of culinary literacy that will open up the entire world of global gastronomy to your repertoire.
Precision is often the difference between a bake that rises into a golden, airy masterpiece and one that collapses into a dense, chewy brick. In the professional kitchen, we operate under the assumption that consistency is the highest form of quality control, and this consistency begins with the absolute accuracy of our measurements. While we might joke about a "pinch of this" or a "dash of that," professional baking and high-stakes sauce work require a mathematical approach to ingredient ratios. When you learn to convert milliliters to cups with confidence, you are effectively removing the guesswork from your process, ensuring that your hydration levels, your emulsification ratios, and your chemical leavening reactions are firing on all cylinders every single time you step up to the station.
At Blame The Chef, we believe that every home cook has the potential to transform their kitchen into a laboratory of flavor, provided they have the right tools and the right knowledge to execute their vision. This guide is designed to be your steadfast companion, providing the clarity you need to navigate recipes from any corner of the globe without ever having to pause your rhythm to search for an online converter. We will explore the nuances of volume versus mass, the standard conversions that every chef should have committed to memory, and the practical techniques for ensuring that your liquids and dry goods are measured with the same level of professional rigor that we demand from our line cooks during the height of a busy dinner service. Let us move past the confusion and build a solid foundation of expertise that will make your time in the kitchen more efficient, more enjoyable, and infinitely more successful.
Understanding Liquid Volume and Standard Conversions
The most common point of confusion in the kitchen stems from the difference between the US Customary cup and the various international variations of the cup unit. In the United States, a standard liquid measuring cup is equivalent to 8 fluid ounces, which translates to approximately 236.59 milliliters. However, for the sake of simplicity in culinary education and practical kitchen application, most chefs and bakers round this figure to 240 milliliters. This rounding is standard in almost every recipe book and culinary institute, as the marginal difference of 3.4 milliliters is rarely significant enough to compromise a dish, provided your other measurements maintain a similar level of consistency.
When you are looking at European or Australian recipes, you may encounter the "metric cup," which is standardized at exactly 250 milliliters. While this seems like a small distinction, that 10-milliliter difference—about two teaspoons—can become problematic when you are scaling up a recipe for a large crowd or working with sensitive, small-batch chemistry like a delicate macaron batter or a temperamental yeast starter. Recognizing these differences is your first step toward becoming a more versatile cook. Always check the origin of your recipe; if the book was printed in London or Sydney, you should lean toward the 250-milliliter standard, whereas an American-published cookbook will almost always adhere to the 240-milliliter convention.
The Conversion Cheat Sheet
To keep your workflow efficient, it is helpful to keep a quick-reference guide taped to the inside of your pantry door or saved on your phone. Memorizing the major milestones—half a cup, a quarter cup, and a full cup—will save you immense amounts of time. Here is the standard breakdown for quick mental math in the heat of the moment:
1/4 cup* = 60 milliliters
1/3 cup* = 80 milliliters
1/2 cup* = 120 milliliters
2/3 cup* = 160 milliliters
3/4 cup* = 180 milliliters
1 cup* = 240 milliliters
"Cooking is at once child's play and adult joy. And cooking done with care is an act of love, but cooking done with precision is an act of professional artistry that separates the home cook from the culinary master."
The Science of Precision: Why Measurements Matter
When we talk about the chemistry of baking, we are discussing a series of controlled reactions that depend entirely on the ratios of fat, sugar, acid, and liquid. If you are preparing a genoise sponge, for example, the ratio of egg to flour to sugar must be exact to support the structure of the air bubbles you have spent ten minutes incorporating. A surplus of 20 milliliters of liquid can turn a light, airy crumb into a soggy, dense mess that refuses to hold its shape. In these instances, relying on "cups" can be dangerous because measuring cups are notoriously unreliable for dry ingredients, as the density of the ingredient changes based on how tightly it is packed.
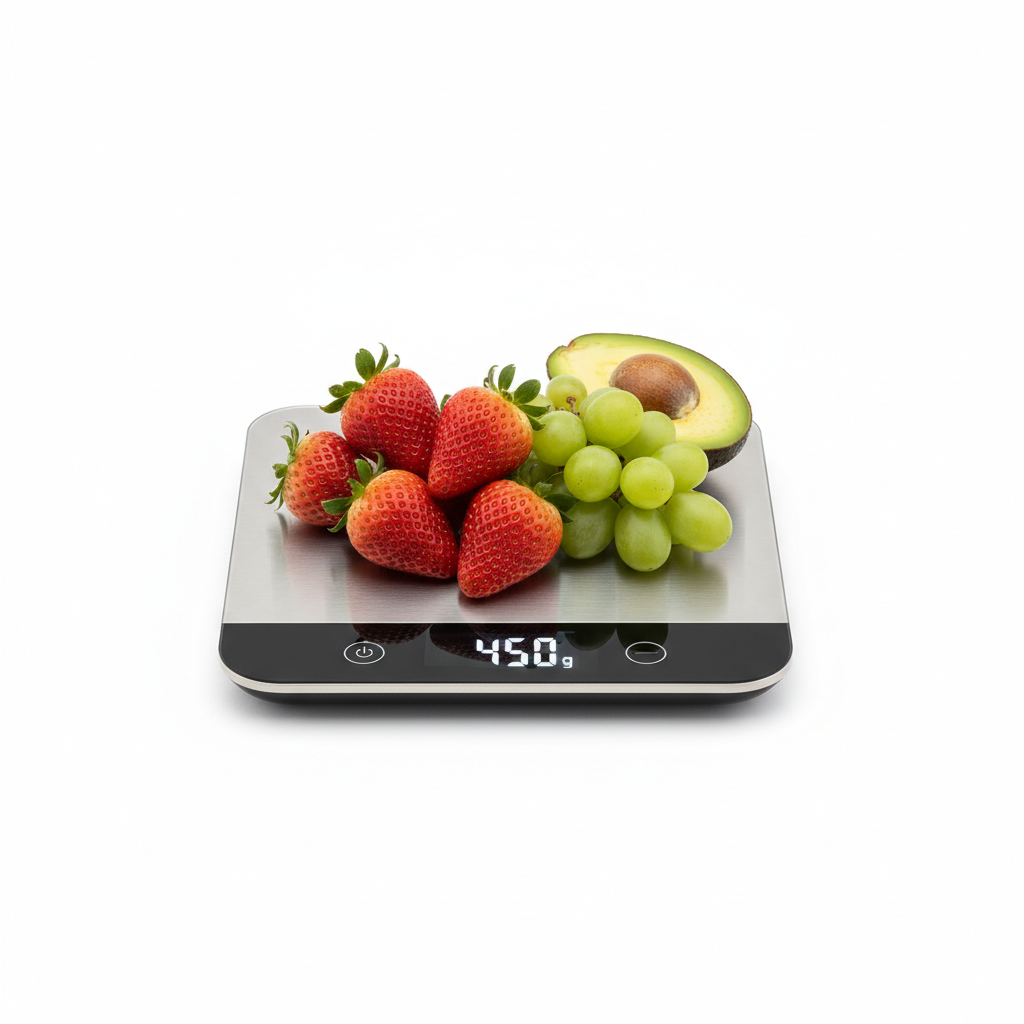
This is why, as you advance in your culinary journey, we strongly advocate for the transition to using a digital kitchen scale. Measuring by weight (grams) rather than volume (milliliters or cups) eliminates the variables introduced by how you scoop your ingredients. A cup of flour can weigh anywhere from 120 to 160 grams depending on whether you sifted it, packed it, or scooped it directly from the bag. By using milliliters for liquids and grams for solids, you achieve a level of uniformity that is impossible to replicate with volume-based tools alone.
Controlling Your Emulsions
Consider the art of making a classic Hollandaise sauce or a standard vinaigrette. An emulsion is a delicate balance of oil and water-based ingredients, held together by an emulsifying agent like egg yolk or mustard. If you add your fat too quickly or in too large a volume compared to your base liquid, the emulsion will break, leaving you with a greasy, separated sauce. By measuring your oil in milliliters, you can add it in a slow, controlled stream, ensuring that your droplets are small enough to be fully suspended in the mixture. This level of technical control is what ensures that your sauces are glossy, stable, and perfectly seasoned.
Techniques for Accurate Liquid Measurement
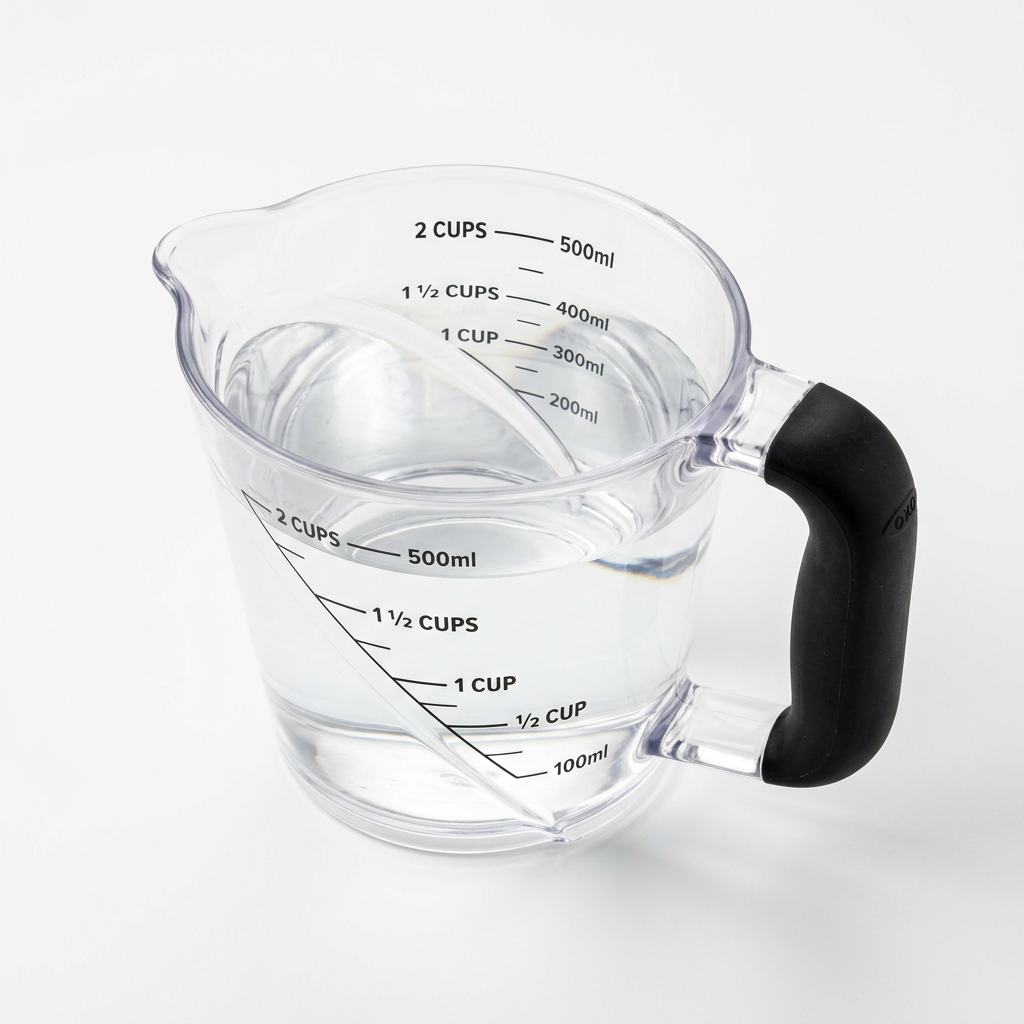
Achieving true accuracy begins with how you hold your measuring equipment. Never measure liquids while holding the cup in your hand; you will almost certainly tilt it, leading to an inaccurate reading. Instead, place your liquid measuring cup on a flat, level surface like your countertop. Bend down so that your eye is at the same level as the markings on the side of the glass. This is the only way to avoid the effect of the meniscus, which is the slight curve at the top of the liquid line. For the most accurate result, ensure the bottom of the curve touches the line you are aiming for.
When dealing with viscous liquids—such as honey, molasses, or thick buttermilk—it is often more efficient to use the "grease and measure" technique. By lightly coating the inside of your measuring vessel with a neutral oil or non-stick spray, you ensure that the entirety of the ingredient slides out into your mixing bowl. This prevents the "clinging" that frequently happens with sticky substances, which can result in you losing several milliliters of product. In a professional kitchen, we often weigh these sticky ingredients directly into the bowl on a zeroed-out scale to avoid the mess and the loss of volume entirely.
Professional Tips for Handling Hot Liquids
When measuring hot liquids, such as melted butter or hot stock, always use tempered glass or high-quality heat-resistant plastic. Hot liquids can expand slightly, but more importantly, they can cause some plastics to warp, which ruins the accuracy of the measurement markings over time. If you are reducing a sauce or preparing a syrup, remember that the measurement you take while the liquid is boiling is not the same as the volume after it cools or continues to thicken. Always measure your base ingredients before the heat is applied to maintain the integrity of your ratios.
"True kitchen mastery is not about owning the most expensive equipment, but about understanding the physics of your ingredients and respecting the measurements that keep the chemistry of your dish in perfect harmony."
Essential Gear for the Serious Home Cook
If you are serious about elevating your game, your kit should contain a few non-negotiable items. Start by investing in a set of nested glass measuring cups. Glass is superior to plastic because it is non-porous, does not absorb odors from strong ingredients like garlic or onion, and is easily cleaned in the dishwasher without clouding. You should also acquire a set of high-quality stainless steel dry measuring cups for dry ingredients, ensuring that you have flat edges that can be easily leveled off with a bench scraper or a straight-edged knife for absolute precision.
Beyond the cups, a digital scale is the single most important purchase you will make. Look for one that has a "tare" function, which allows you to reset the scale to zero after placing your bowl on it. This allows you to add ingredients one by one without needing to wash multiple bowls or dirtying extra cups. A good scale will switch between grams and ounces seamlessly, which is essential when you are translating international recipes that might provide weights in different units.
Maintaining Your Equipment
Your tools are only as good as their maintenance. Check your measuring cups periodically for wear; if the painted-on lines are fading, it is time to replace them. A cup with illegible markings is a liability in a kitchen where accuracy is the goal. Similarly, calibrate your scale once a month by weighing a known object—a standard nickel, for instance, weighs exactly 5 grams. If your scale is off by even a few grams, it can ruin a delicate pastry recipe that relies on exact leavening ratios. Keep your tools clean, dry, and stored in a place where they won't be dented or warped.
Common Culinary Conversions for Quick Reference
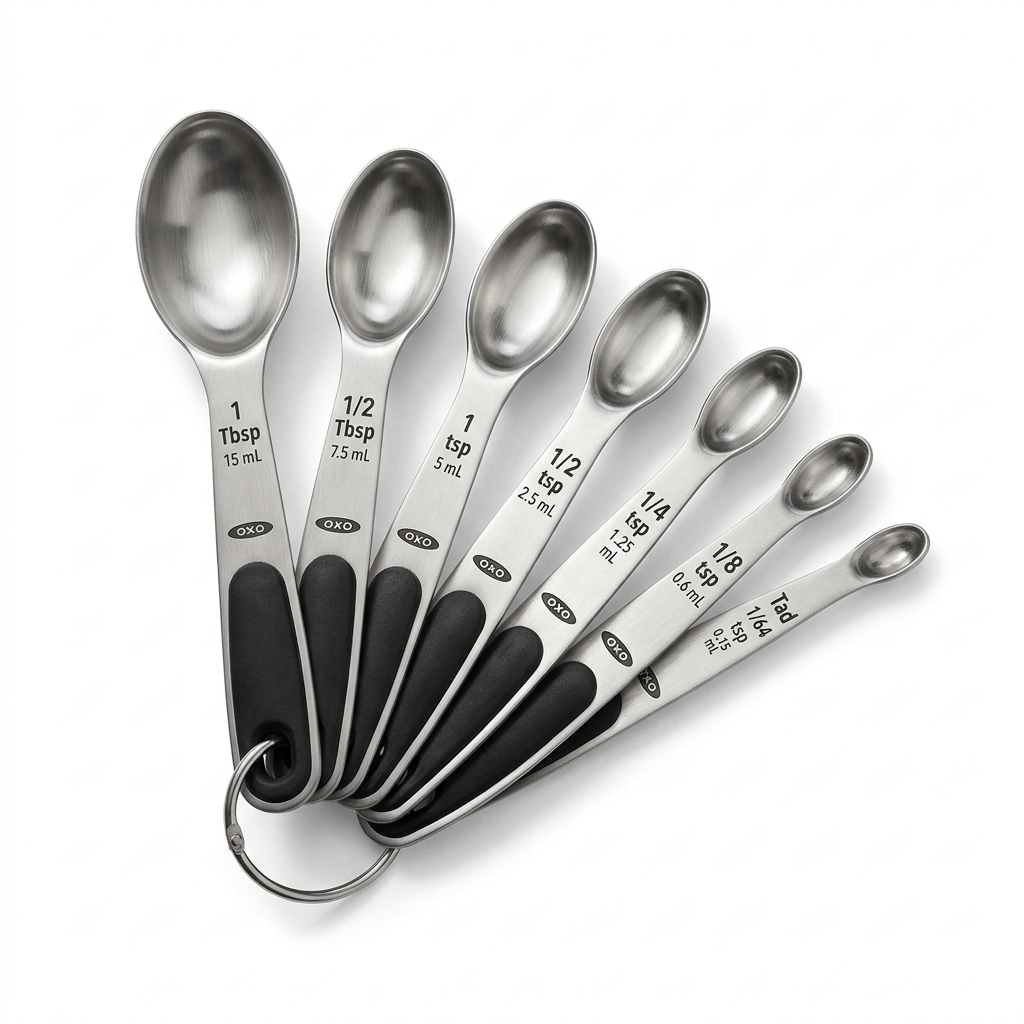
To ensure your success in the kitchen, we have compiled a broader list of conversions that you should keep handy. While we focused on the cup-to-milliliter conversion earlier, the reality of cooking often involves smaller and larger increments. Mastering the breakdown of tablespoons and teaspoons to milliliters will allow you to quickly convert even the most complex spice blends or medicinal infusion ratios.
1 teaspoon* = 5 milliliters
1 tablespoon* = 15 milliliters
1 fluid ounce* = 30 milliliters
1/4 cup* = 60 milliliters
1/2 cup* = 120 milliliters
1 cup* = 240 milliliters
2 cups (1 pint)* = 480 milliliters
4 cups (1 quart)* = 960 milliliters
When you are scaling a recipe, remember that these conversions remain linear. If a recipe calls for two cups of vegetable stock, you are looking at 480 milliliters. If you are preparing a large-batch braised short rib and the recipe calls for two quarts, you are dealing with just under two liters of liquid. Understanding these tiers—teaspoons, tablespoons, cups, and quarts—allows you to quickly visualize the volume of your work and choose the appropriate size for your Dutch oven or stockpot.
Scaling Up and Down
Scaling a recipe is one of the most common reasons for errors. When you double a recipe, you must double every single ingredient, but be wary of spices and leavening agents. In many cases, it is safer to scale those components by 1.5x initially and adjust to taste, as the intensity of certain dried herbs and the reaction of chemical leaveners like baking soda can become overwhelming when doubled. Always write down your adjusted measurements before you begin, so you are not trying to do mental math with wet hands or while your butter is browning on the stove.
Troubleshooting Common Measurement Issues
What happens when you find yourself in the middle of a recipe and realize you have lost your measuring cup? This happens more often than we would like to admit, especially in the chaos of a holiday meal or a busy Saturday night. Fortunately, you can rely on the standard "hand rule" or use common household items that have known volumes. A standard large egg is roughly 50 milliliters (when shelled and beaten). A standard dinner spoon is often close to 15 milliliters, though this is not as reliable as a measured tablespoon.
If you find that your dish is not coming together as expected, revisit your measurements. If your sauce is too thin, it may be an excess of liquid; if your cake is too dry, it may be a measurement error in the flour. By keeping a culinary journal—a logbook where you note what you cooked, the measurements you used, and the result—you can troubleshoot your own performance. Did you pack the flour too hard? Did you measure the milk while the cup was tilted? These notes are the "secret sauce" of the professional chef, turning every meal into a learning opportunity.
The Importance of Ingredient Quality
It is worth noting that even perfect measurements cannot save poor ingredients. High-quality flour, fresh eggs, and farm-raised butter contain different levels of moisture than their supermarket counterparts. When you have mastered the art of measurement, you will begin to notice how these ingredients behave under different conditions. A chef who understands that their flour has a higher protein content or their butter has a higher fat content will know how to adjust their liquid volumes slightly to compensate, elevating their dish from "by the book" to "perfectly balanced."
Final Thoughts
The kitchen is a place where science and art collide, and your ability to measure accurately is the conduit through which that collision becomes delicious. By demystifying the conversion between cups and milliliters, you are no longer limited by the geography of your recipe books. You have the freedom to source inspiration from the rustic kitchens of Tuscany, the high-patisserie boutiques of Paris, and the innovative test kitchens of Tokyo, all while maintaining the consistency and control that defines a high-level home cook.
Remember that confidence in the kitchen is built through practice. Every time you measure, be intentional. Stop for a moment, place your vessel on a flat surface, and read your measurements with the eye of a pro. As you integrate these habits into your routine, you will find that your cooking becomes more rhythmic, your dishes more reliable, and your time spent at the stove more rewarding. There is no shame in double-checking a conversion or keeping a chart on the wall—the only shame is in refusing to seek the knowledge that makes you a better chef.
As you move forward, challenge yourself to step out of your comfort zone. Try a recipe that uses only metric measurements for a week, or experiment with weighing your dry ingredients exclusively. You will quickly find that the precision you gain creates a new level of freedom. When the measurements are taken care of, you can focus on the sensory experience—the smell of the onions hitting the fat, the sound of the sear, the color of the reduction. This is where the cooking truly begins, and this is where you, as a Blame The Chef student, will truly shine. Keep practicing, keep measuring, and most importantly, keep cooking with passion.

Get the Next Recipe
Weekly recipes, techniques, and gear picks — straight to your inbox.