
How Many Ounces in a Cup? Dry vs Liquid Guide
Whether you are a seasoned home cook or someone just starting to find their footing in the kitchen, there is one universal hurdle that nearly everyone faces at least once: the confusing world of kitchen measurements. It is the silent culprit behind a sunken cake, a watery sauce, or a batch of cookies that spread too much on the pan. At "Blame The Chef," we believe that cooking should be an act of joy, not a mathematical nightmare that leaves you questioning your skills. When a recipe calls for a cup, you shouldn't have to scramble to remember the conversion rates or wonder if the author meant a liquid cup or a scoop of dry flour. Mastery starts with the fundamentals, and today we are demystifying the essential ratios that will save your next dinner party.
Understanding the difference between volume and mass is the first step toward becoming a truly confident cook. Many home recipes in the United States rely on the volume-based system, which measures how much space an ingredient takes up in a cup, rather than how much it weighs on a scale. While this is convenient for quick weeknight meals, it lacks the scientific precision that professional chefs rely on in high-pressure environments. By bridging the gap between cups, ounces, and grams, you are not just following instructions—you are gaining the ability to troubleshoot your own recipes in real time. We are going to strip away the mystery so you can focus on the flavors, textures, and aromas that make cooking such an incredible pursuit.
In the sections that follow, we will break down the precise conversion rates for liquids and solids, providing you with a cheat sheet that you will want to bookmark for every future culinary project. We will touch on the nuances of dry ingredients versus liquid ingredients, discuss why a scale is often your best friend, and offer professional tips for achieving consistency every single time you step up to the cutting board. Whether you are tempering chocolate, whisking a delicate hollandaise, or baking a loaf of sourdough, precision is your most reliable tool. Let’s dive into the metrics of the kitchen and ensure that you never have to second-guess your measurements again.
The Liquid Standard: Fluids and Volumes
When we talk about liquids, the math is relatively straightforward, which makes it the perfect starting point for your culinary education. One standard U.S. cup is equivalent to 8 fluid ounces. This holds true for water, milk, stocks, juices, and thin oils. Understanding this 1:8 ratio is the baseline for nearly all beverage preparation, soup making, and emulsified dressings. However, it is vital to remember that fluid ounces refer to the volume of a liquid, not its weight. If you were to weigh 8 fluid ounces of water, it would weigh exactly 8 ounces, but 8 fluid ounces of honey would weigh significantly more because it is much denser.
Essential Liquid Conversions
To keep your workspace organized and efficient, memorize these quick conversions. They will save you from having to reach for a measuring cup when you are in the middle of a boil.
* 1 cup = 8 fluid ounces (or 16 tablespoons)
* 1/2 cup = 4 fluid ounces (or 8 tablespoons)
* 1/4 cup = 2 fluid ounces (or 4 tablespoons)
* 1 tablespoon = 0.5 fluid ounces (or 3 teaspoons)
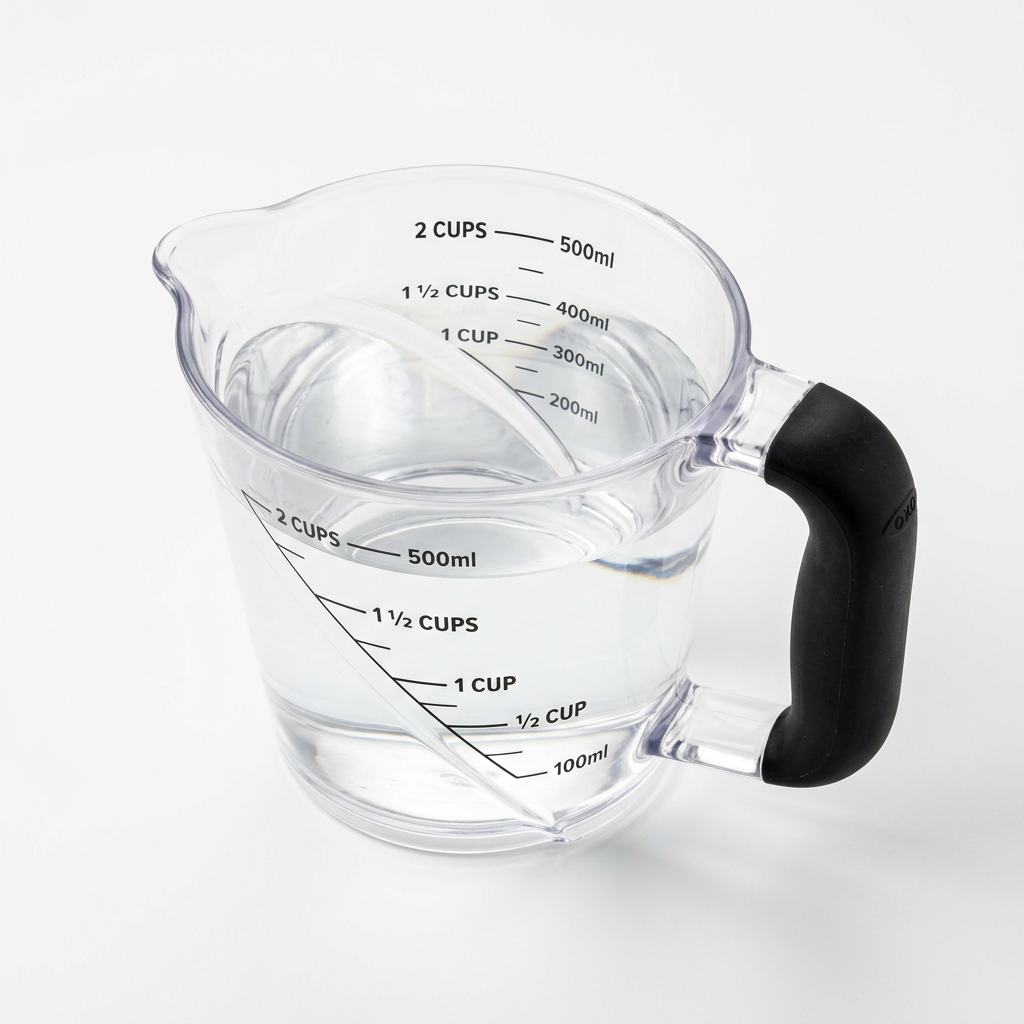
When dealing with liquids, you must always use a clear liquid measuring cup placed on a level surface. A professional chef’s trick is to bend down so that your eye level is perfectly aligned with the graduation mark on the side of the glass. Never measure while holding the cup in mid-air, as the natural tilt of your hand will inevitably lead to an inaccurate pour. Even a small error of a few milliliters can disrupt the chemistry of a delicate gelatin set or a complex reduction, so take those extra three seconds to get it right on the counter.
Accuracy in the kitchen is not about being a robot; it is about respecting the ingredients. If you treat your measurements with care, the recipe will reward you with consistency.
The Dry Ingredient Challenge: Why Cups Are Deceptive
Measuring dry ingredients like flour, sugar, or cocoa powder by volume is where most home cooks run into trouble. Unlike liquids, which find their own level, dry ingredients settle and compress. A cup of flour scooped directly from a bag can result in anywhere from 120 to 150 grams of product, depending on how much you pack it down. This discrepancy is the primary reason why two people can follow the exact same recipe and end up with entirely different results. This is the "Blame The Chef" rule: if you want perfection, you must stop relying solely on cups for dry goods and start using a kitchen scale.
The "Spoon and Level" Method
If you absolutely must use measuring cups for your dry ingredients, you must master the spoon and level technique. Never scoop the flour directly with the cup; doing so acts like a piston, compressing the flour and adding way more than the recipe intends. Instead, use a large spoon to fluff up the flour in the canister, then gently spoon it into your measuring cup until it is overflowing. Use the back of a flat knife to scrape the excess off the top, ensuring a perfectly level measurement. This process prevents the dense, gummy results that often plague novice bakers.
Understanding Density and Weight
Every dry ingredient has a different density. A cup of heavy brown sugar weighs much more than a cup of sifted powdered sugar. When you move to a digital scale, you eliminate the guesswork entirely. For most baking, aim for these standard weights:
* 1 cup of All-Purpose Flour is generally 120 to 125 grams.
* 1 cup of Granulated Sugar is generally 200 grams.
* 1 cup of Packed Brown Sugar is generally 220 grams.
By adopting these weight-based measurements, you gain the ability to scale recipes up or down without the headache of multiplication. Need to double your cookie recipe for a bake sale? Just double the grams. This creates a mathematical foundation that allows you to experiment with flavors while keeping the structural integrity of your baked goods intact. Precision is the difference between a amateur home cook and a seasoned culinary pro.
Master the Equipment: Scales vs. Cups
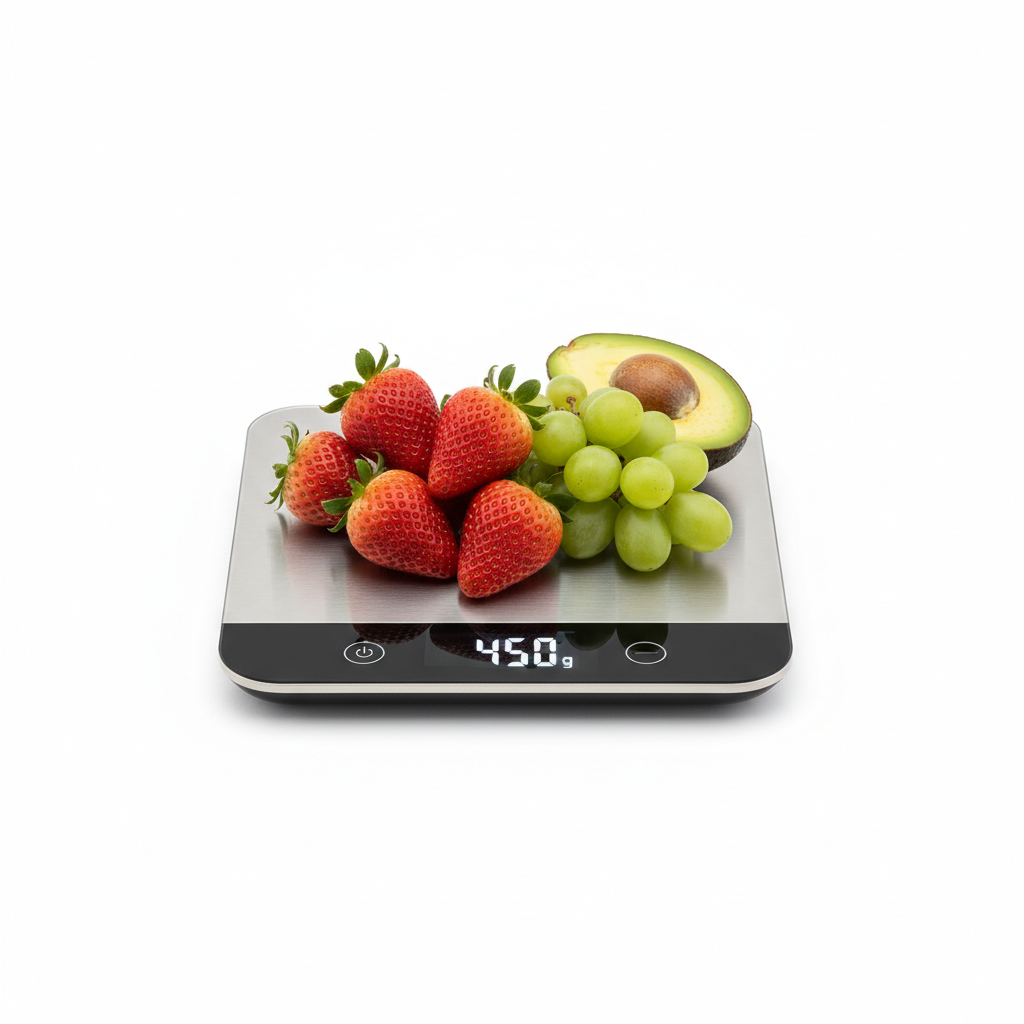
Every well-equipped kitchen requires both a set of high-quality stainless steel measuring cups and a reliable digital kitchen scale. Your cups are excellent for quick, casual cooking where slight variances won't ruin a dish, such as adding a splash of cream to a potato soup or measuring out a cup of rice. However, when it comes to the chemistry of baking or the delicate ratios of a soufflé, the scale is non-negotiable. Invest in a scale that can toggle between grams and ounces, and make sure it has a "tare" function, which allows you to reset the display to zero after placing your bowl on the platform.
Taring Your Bowl
The tare function is perhaps the most useful feature for the home cook. Simply place your mixing bowl on the scale, press the power or tare button until the display reads zero, and then add your first ingredient. You can then tare the scale again to add the next ingredient in the same bowl. This reduces the number of dishes you have to wash and ensures that you are tracking exactly how much of each component is going into your recipe. It is efficient, clean, and minimizes the potential for human error.
Maintaining Your Tools
To ensure the accuracy of your measurements over time, treat your tools with care. Stainless steel cups are durable and preferred over plastic, which can warp under heat. For your scale, keep it away from direct heat sources and moisture, which can damage the internal sensors. If you notice the readings becoming erratic, change the batteries immediately; low power is the most common cause of "scale drift," where the reading changes while you are holding your ingredient. Treat these tools as professional assets, and they will serve you for decades of culinary experimentation.
If you find yourself frustrated by inconsistent results, the answer is rarely the recipe. Nine times out of ten, the culprit is the way the ingredients were measured.
The Chemistry of Ratios in Baking
Baking is essentially a science project you can eat. Unlike stovetop cooking, where you can taste and adjust for salt or acid, baking is a commitment to chemistry. Once that cake goes into the oven, the reaction between the leavening agents, the fats, and the structure-building proteins is locked in. Understanding that 8 fluid ounces of liquid equals 1 cup is helpful, but understanding how that liquid interacts with your dry components is essential. For instance, too much flour will create a dry, crumbly texture, while too little will lead to a collapse in the center of the loaf.
The Power of Baker’s Percentages
In professional kitchens, we use a system called Baker’s Percentages. Everything is based on the weight of the flour, which is always 100%. If a recipe calls for 500 grams of flour, and you want 60% hydration, you know you need exactly 300 grams of water. This removes all the ambiguity of "cups" and "ounces" and brings everything to a single, scalable unit of measurement. While you don't need to be a mathematician to make dinner, understanding these ratios gives you the power to invent your own recipes rather than just following someone else's.
Tips for Success
Troubleshooting Common Measurement Errors
Even the best chefs have days where things don't go according to plan. If you are struggling with a recipe, go back to the basics and analyze your measurements. Did you pack the brown sugar too tightly? Was your liquid measured at a slight angle? Is your baking soda past its shelf life? Sometimes, the error isn't in your technique but in the equipment you are using. A common mistake is using dry measuring cups for liquid ingredients or vice versa. Dry cups are designed to be filled to the brim and leveled off; liquid cups are designed with a pouring spout and headspace to prevent spills. Never interchange them.
When to Trust Your Gut
While we emphasize precision, there is always room for culinary intuition. If a sauce is too thick, don't feel obligated to add the exact amount of liquid called for in a recipe. Add it slowly, whisking as you go, until you achieve the desired nappe consistency—where the sauce coats the back of a spoon. This ability to adjust based on sight and feel is what separates a cook who follows directions from a chef who truly understands food. The goal is to use measurements as a safety net, allowing you the freedom to focus on the sensory experience of cooking.
The Role of Altitude and Humidity
For advanced home cooks, remember that geography matters. At high altitudes, flour is drier and leavening agents react more aggressively. You may need to slightly adjust your liquid-to-dry ratios. Similarly, on a humid day, your flour will absorb more moisture from the air, meaning you might need a little less water in your bread dough than a recipe suggests. Keep a culinary journal where you record the weather, your measurements, and the outcome of your bakes. This log will become your most prized possession as you continue to elevate your skills in the kitchen.
Professional Chef Tips for Efficiency
Efficiency is the hallmark of a professional kitchen. When you are prepping for a dinner, every movement should be intentional. The goal is "mise en place," a French term meaning "everything in its place." Before you turn on the stove or heat the oven, ensure that every ingredient is measured, weighed, and set out in small bowls. This creates a rhythm to your cooking, allowing you to focus on the technique—like the sear on a steak or the emulsification of a vinaigrette—rather than searching for the flour bag.
Workflow Optimization
Group your ingredients*: Keep your dry ingredients on one side of the workspace and your liquids on the other. This prevents accidental cross-contamination and spills.
Prep in bulk*: If you are measuring spices for a rub, measure enough for three or four batches and keep the excess in an airtight jar. You will be much more likely to cook regularly if the prep work is already done.
Clean as you go*: A cluttered workspace leads to cluttered thinking. As soon as you are done with a measuring tool, rinse it or put it in the dishwasher. A clear bench is a clear mind.
The Importance of Salt
We cannot conclude a discussion on measurement without mentioning salt. Salt is not just a flavor; it is a chemical agent. If you are using kosher salt, note that the flakes are larger and airier than table salt. One tablespoon of Diamond Crystal Kosher salt does not have the same salinity as one tablespoon of Morton's Kosher salt. Always season to taste at the end of the cooking process, but use your measurements for the base ratios of a soup or a baking recipe to ensure the structural science remains sound.
Conclusion
Mastering the relationship between ounces and cups is not about memorizing a list of numbers; it is about building a foundation of confidence that will allow you to flourish in the kitchen. Once you stop fearing the measurements, you can start focusing on the art of cooking. You will be able to pivot when a dish needs more acid, thicken a sauce without panic, and bake cakes that rise beautifully every single time. The kitchen is a place of infinite possibility, provided you have the right tools and the knowledge to use them effectively.
At "Blame The Chef," our mission is to empower you to take control of your culinary narrative. We want you to stop seeing recipes as rigid sets of commands and start seeing them as fluid guidelines that you can adapt to your own tastes and needs. Take the time to master your scale, practice your measuring technique, and keep your workspace organized. When you treat the process with the respect it deserves, the ingredients will come together in harmony. Remember that every great chef was once a beginner who wasn't afraid to ask, "How many ounces are in a cup?"
Keep practicing, keep tasting, and don't be afraid to experiment. Whether you are aiming for the perfect loaf of crusty sourdough or a delicate, light-as-air sponge cake, the principles of measurement remain the same. If you follow the guidelines we have laid out today, you will find that your results become more consistent, your stress levels lower, and your enjoyment of the cooking process reaches new heights. Go forth and season with confidence, measure with precision, and always, always trust your instincts. The kitchen is yours to conquer.
Final Thoughts
As we wrap up this deep dive into the world of culinary measurements, take a moment to look at your kitchen tools with fresh eyes. They are the instruments that bridge the gap between a raw ingredient and a masterpiece. By moving away from the guesswork of volume-based cups and embracing the precision of weight-based scales, you have already taken a significant step toward professional-grade cooking. It is a subtle shift, but one that yields profound results in the texture, taste, and reliability of your food.
Continue to refer back to this guide whenever you feel uncertain, but don't forget to look up from the scale occasionally. Cooking is meant to be a sensory experience—the smell of onions sweating in butter, the sight of a perfect golden-brown crust, the sound of a sauté pan sizzling. Your measurements are merely the support system for these wonderful experiences. Keep learning, keep pushing your boundaries, and remember that even if a dish doesn't come out perfectly, the act of cooking is always a victory. Stay curious, keep your blades sharp, and we look forward to seeing you back here at "Blame The Chef" for your next culinary adventure. We are proud to be a part of your journey toward mastering the art of the kitchen, one measurement at a time. The world of flavor is wide open to you now—go and make something extraordinary.


Get the Next Recipe
Weekly recipes, techniques, and gear picks — straight to your inbox.
