How Many Tablespoons in a Cup? Quick Chart
Cooking is often described as an art form, but at its foundational level, it is a rigorous science defined by precision and consistency. Every successful recipe relies on the delicate balance of fats, acids, leavening agents, and moisture, all of which are governed by specific measurements. When you step into your kitchen, whether you are a novice peeling your first potato or a seasoned home cook tackling a complex soufflé, the most common hurdle you will face is the translation of volume. Understanding the basic ratios of kitchen mathematics is the difference between a golden, airy cake and a dense, flavorless brick that will have you looking for someone to blame for the kitchen disaster.
Many beginners assume that cooking is all about "feeling" the ingredients, but that intuition is something earned through years of repetition and fundamental knowledge. Before you can improvise with flair, you must first respect the standard measurements that ensure your dish remains stable and delicious every single time. One of the most frequent questions we receive at Blame The Chef is how to properly navigate the conversion between larger volume measurements like cups and smaller ones like tablespoons. Mastering these small conversions allows you to scale recipes up or down with ease, which is a vital skill for anyone hosting dinner parties or prepping meals for the week ahead.
Think of these conversions as the building blocks of your culinary library, providing you with a framework that stays with you regardless of what is on the menu. If you ever find yourself mid-recipe, covered in flour and frantically searching for how many tablespoons fit into a single cup, do not panic. We have all been there, and the goal of this guide is to demystify the process so you can keep your momentum steady without needing to reach for your phone or a dusty textbook. By internalizing these figures, you will move through your kitchen with a newfound sense of confidence, knowing that your measurements are accurate and your final product is poised for greatness.
The Foundation of Volume Measurement
In the professional culinary world, accuracy is the currency of success. Whether you are tempering chocolate to a precise 88 degrees Fahrenheit or folding egg whites into a batter, every variable must be accounted for. While some parts of the world rely almost exclusively on weight—using scales for everything from flour to water—the standard US kitchen still leans heavily on volume measurements like cups, tablespoons, and teaspoons. Understanding the relationship between these units is not just helpful; it is essential for the integrity of your baked goods and savory sauces alike.
The most critical ratio to memorize is the conversion between a cup and a tablespoon. One standard US cup is equal to 16 tablespoons. This is a constant value that holds true whether you are measuring granulated sugar, heavy cream, or melted butter. When you encounter a recipe that calls for half a cup, you are looking at exactly 8 tablespoons. If the recipe calls for a quarter cup, you are working with 4 tablespoons. This simple multiplication helps you avoid the dreaded "overflow" or "under-mix" scenarios that plague inexperienced cooks.
Why Precision Matters in Baking
Baking is essentially chemistry performed in an oven. Unlike sautéing, where you can add a pinch more salt or an extra splash of wine to adjust the flavor profile, baking requires strict adherence to ratios. If you are measuring baking powder—a leavening agent that reacts immediately when introduced to moisture—a wrong measurement by just one or two tablespoons can lead to a cake that falls flat or overflows its pan entirely. Always use dedicated measuring tools, and remember to level off your scoops for maximum consistency.
Cooking is the only art form that engages all five senses, but it is the precision of your measurements that ensures the masterpiece remains consistent from the first bite to the last.
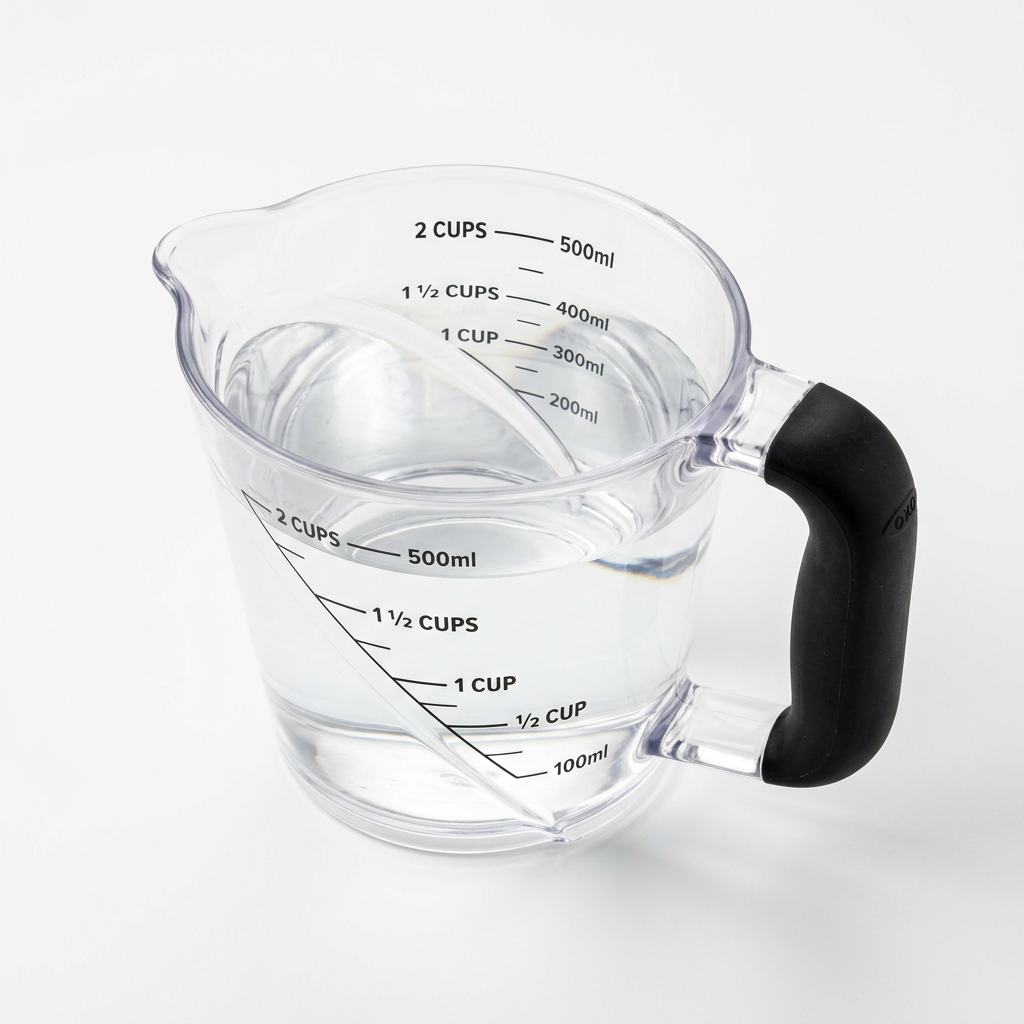
When measuring dry ingredients, the "dip and sweep" method is the industry gold standard. Dip your measuring spoon or cup into the ingredient container, and use the back of a flat-bladed knife to level the top perfectly flush with the rim. Do not pack ingredients like flour or cocoa powder into the cup unless the recipe specifically dictates it, as this can add significantly more weight than the author intended, drying out your finished product. For liquids, always ensure you are using a transparent measuring vessel and that you are checking the meniscus at eye level on a flat surface.
The Standard Conversion Chart
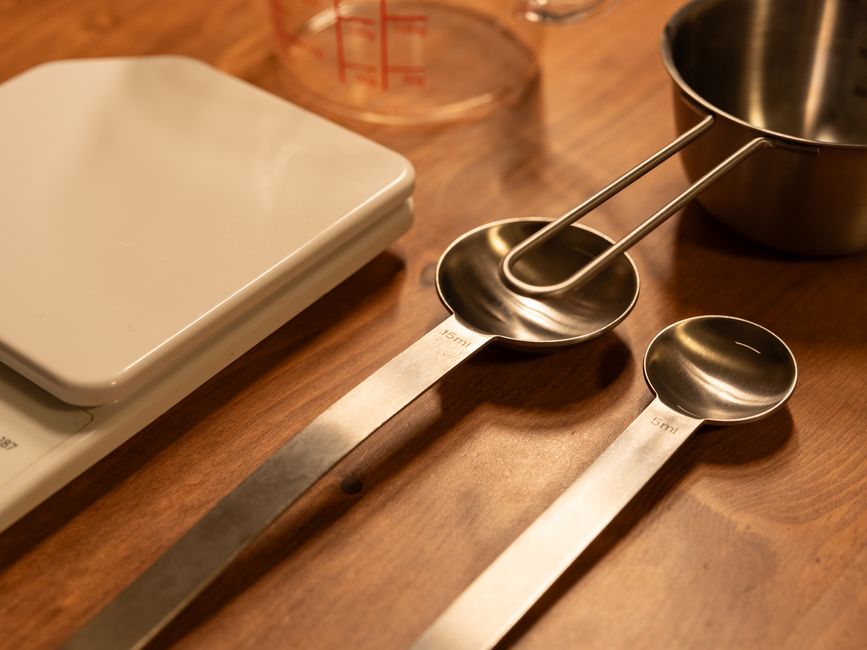
To make your life significantly easier, we have compiled a quick-reference chart for your kitchen wall or refrigerator door. Keep this handy during your next baking session to avoid mental fatigue. When you are moving at a fast pace during a dinner rush or a holiday meal prep, having this visual aid is a total game-changer. Consistency is the hallmark of a professional kitchen, and this chart is your first step toward achieving that level of efficiency.
* 1 cup = 16 tablespoons
* 3/4 cup = 12 tablespoons
* 2/3 cup = 10 tablespoons plus 2 teaspoons
* 1/2 cup = 8 tablespoons
* 1/3 cup = 5 tablespoons plus 1 teaspoon
* 1/4 cup = 4 tablespoons
* 1/8 cup = 2 tablespoons
* 1 tablespoon = 3 teaspoons
Navigating Non-Standard Fractions
Not every recipe is as simple as a full cup or half a cup. Sometimes, you will encounter the tricky measurements like two-thirds or one-third of a cup. These measurements are the ones where most home cooks make mistakes. If you are measuring two-thirds of a cup, do not guess. Fill your quarter-cup measure twice, and then add four teaspoons, or use the tablespoon conversion of 10 tablespoons and 2 teaspoons. By breaking down these fractions into smaller, manageable units, you eliminate the risk of an imbalanced ratio.
Another common point of confusion arises when scaling recipes. If you are doubling a cookie recipe that calls for a half-cup of butter, you are effectively using a full cup, or 16 tablespoons. If you are cutting a recipe in half, the same math applies in reverse. Keeping a notepad nearby during these calculations can help you avoid simple arithmetic errors that often lead to "blaming the chef" for a dish that didn't turn out as expected. Always double-check your math before you start the stove.
Understanding Ingredient Density
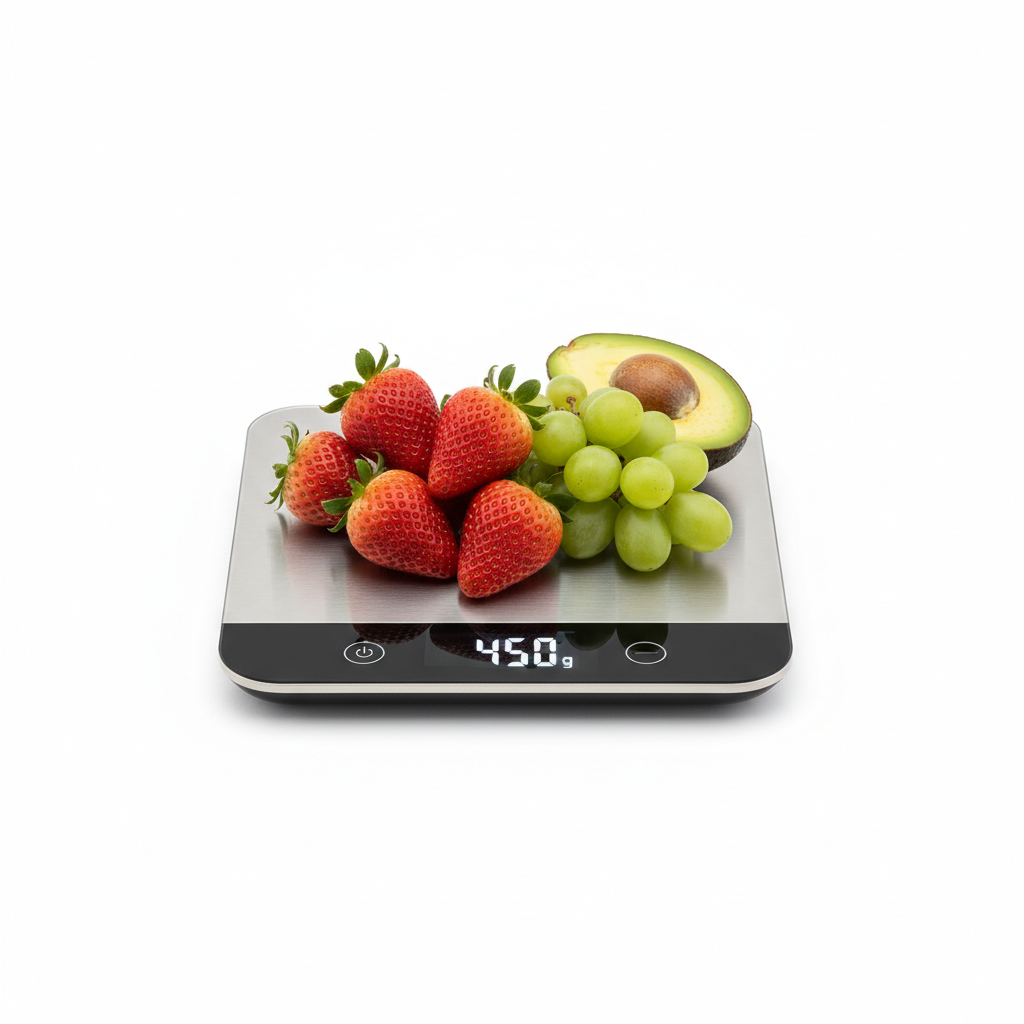
While the volume conversion chart is universally applicable to tools, the way ingredients settle within those tools varies greatly. For example, a tablespoon of sifted cake flour will have a different mass than a tablespoon of packed brown sugar. This is why many professional pastry chefs eventually move toward using digital scales. However, for most home cooking, volume is the standard language of the kitchen. You simply need to understand how to handle different textures and physical states of matter to get the most accurate result from your measuring spoons.
Liquids vs. Solids
Liquids, such as olive oil or milk, are relatively straightforward to measure; they level themselves out in the cup. Solids, however, require more care. If you are measuring sticky ingredients like honey or maple syrup, spray your measuring spoon with a light coating of neutral vegetable oil or non-stick spray before pouring. The syrup will slide out completely, ensuring you get the full measure you need. If you don't do this, a significant portion of your ingredient will remain stuck to the spoon, altering the chemical balance of your dish.
The secret to professional cooking isn't just a high-end range or a set of expensive copper pots; it is the unwavering commitment to the accuracy of your foundational techniques.
When dealing with fats like butter, it is helpful to note that most butter packaging includes tablespoon markings right on the wrapper. Use these as your guide rather than trying to cram a solid block of cold butter into a measuring cup. If you are using lard or shortening, use the "water displacement" method: if you need 4 tablespoons of shortening, fill a measuring cup with enough water to reach a certain line, add the shortening until the water rises by the equivalent volume, and then drain the water. This ensures you aren't fighting with the air pockets that naturally occur when you spoon solid fats into a cup.
The Impact of Heat and Temperature
Temperature plays a surprising role in how accurately you measure. While this might seem like a niche concern, it is a reality in professional kitchens. Cold butter, for instance, is harder to pack into a spoon than softened butter, which can lead to inaccuracies. When a recipe calls for room-temperature ingredients, there is a reason for it: it allows for proper emulsification and more accurate volumetric measurement. Always bring your dairy and eggs to 68-70 degrees Fahrenheit before starting your mise-en-place.
Monitoring Your Environment
The ambient temperature of your kitchen can also affect your results. If you are working in a very hot kitchen, solid fats will begin to soften quickly, potentially changing their volume as they melt or slump. If you are working with chocolate, even a few degrees of difference can change the way it adheres to your measuring tools. Keeping your workstation cool and your ingredients organized will make your measurements more precise. When you are measuring out dry ingredients, ensure they are stored in a cool, dry place to prevent clumping, which is the enemy of accurate measurement.
Moreover, the heat of the cooking vessel itself matters when you are adding ingredients. If you are measuring seasonings directly over a steaming pot, the steam will enter your measuring spoon and cause salt or spices to stick to the metal, leading to an inaccurate pour. Always measure your spices or liquids into a prep bowl away from the heat source, and then add them to the pan. This simple professional habit prevents you from over-salting or accidentally dumping too much liquid into a simmering reduction.
Advanced Techniques for Scaling
Scaling a recipe seems like a simple task until you realize that some variables, like leavening agents or spices, do not scale linearly. While the conversion of 16 tablespoons to 1 cup is constant, the way that volume reacts in a larger or smaller batch can change. If you are scaling a recipe up by a factor of four, you might not need four times the amount of baking soda. This is where your own experience and the "feel" of the dough or batter come into play. Always start by sticking to the math, then observe the texture.
Adjusting for Consistency
When you are working with large-scale recipes, keep an eye on the viscosity of your mixture. If you have accurately measured your ingredients using the cup-to-tablespoon conversions but the batter seems too thin, it might be due to the humidity in the room or the specific brand of flour you are using. Do not be afraid to adjust by small amounts—perhaps a single tablespoon at a time—until you reach the desired consistency. Cooking is a living process, and you should always be prepared to adapt while keeping your foundational ratios intact.
Numbering your steps during the process is a great way to stay organized. If you are prepping a complex sauce, write down your measurements in order of addition. This way, if you are interrupted, you know exactly where you left off.
Chef-Tested Tips for Consistency
To truly elevate your skills, you must treat your measuring tools with the same respect you show your high-carbon steel knives. A bent measuring spoon or a cracked plastic cup can alter your measurements significantly. Regularly calibrate your eyes by measuring the same amount of water into your different cups. If you notice one cup holds more or less than it should, label it or replace it immediately. These small failures in equipment are often what people "blame the chef" for, when in reality, it was a simple tool failure.
The Power of Mise-en-Place
Everything in its place—that is the translation of mise-en-place. By organizing your kitchen before the heat is turned on, you reduce the stress of measurement. Set out all your ingredients, measure them into their respective bowls using the tablespoon-to-cup conversion chart provided above, and arrange them in the order they will be used. This allows you to focus entirely on the cooking technique—the sear, the reduction, or the fold—without worrying about whether you have enough tablespoons of flour left in the bag.
A professional is not someone who never makes a mistake, but someone who understands the science well enough to correct the course before the meal is served.
When you are in the thick of a complex recipe, don't rush the measurement phase. The few extra seconds it takes to level off a tablespoon of baking powder or correctly measure your liquid is saved tenfold when you don't have to start over because a cake failed to rise. Treat your measurements as the most important step of the recipe. Even the most talented chef in the world cannot save a dish if the foundation—the chemical ratios—is fundamentally flawed from the start.
Conclusion
Mastering the conversion of tablespoons to cups is not just about memorizing numbers; it is about embracing the discipline that separates good home cooks from great ones. By understanding that 16 tablespoons make a cup, you have unlocked the ability to manipulate any recipe with precision and care. Whether you are scaling a family favorite for a large gathering or simply trying to get the ratios right for a weeknight dinner, remember that consistency is your best friend in the kitchen.
We encourage you to print the conversion guide provided in this post and keep it in a place where you can reference it at a moment's notice. The more you use these standard measurements, the more natural they will become. Soon, you won't even need to look at the chart; you will simply know that when a recipe calls for a quarter cup of stock, you are reaching for four tablespoons. This intuition is the hallmark of a cook who has truly mastered their craft.
As you continue your culinary journey, remember to always be patient with yourself. Every mistake is a learning opportunity, and every perfectly executed dish is a result of the effort you put into the details. The kitchen is a place for creativity, but it is the accuracy of your technique that allows that creativity to shine. Keep practicing, keep measuring, and most importantly, keep cooking with passion and intent. Your next meal is a blank canvas, and with these tools in your repertoire, you are more than ready to create something extraordinary. Happy cooking, and may your measurements always be precise!


Get the Next Recipe
Weekly recipes, techniques, and gear picks — straight to your inbox.
