
How Many Tablespoons in a Stick of Butter? Chart
Few things in the world of professional baking are as deceptively simple as the humble stick of butter. Whether you are folding layers into a classic laminated dough or creaming sugar for a delicate sponge cake, the precision of your measurements serves as the bedrock upon which your entire culinary success is built. Many home cooks approach their recipes with a sense of "close enough" intuition, but the reality is that baking is a science governed by specific ratios and chemical reactions. When a recipe calls for a precise amount of fat, substituting even a tablespoon too much or too little can alter the structural integrity, hydration levels, and final texture of your masterpiece. Understanding the fundamental geometry of a standard stick of butter is the first step toward moving from a novice follower of recipes to a confident, intuitive baker who understands the "why" behind every instruction.
At "Blame The Chef," we believe that the kitchen should be a laboratory of creativity, but one that respects the rigid laws of physics and chemistry. If you have ever wondered why your cookies spread too thin on the baking sheet or why your pie crust failed to produce those sought-after, shatter-crisp flakes, the culprit is often found in the measuring cup—or, more accurately, in the failure to measure properly. Butter is not merely an ingredient; it is a complex emulsion of fat, water, and milk solids that behaves differently depending on its temperature and the physical volume it occupies. By mastering the conversion of sticks to tablespoons, cups, and grams, you gain the ability to troubleshoot your bakes, adjust for regional packaging differences, and handle European-style butter with the same ease as the standard grocery store variety.
This comprehensive guide is designed to demigade the confusion surrounding butter conversions once and for all. We will explore the standard measurements used in the United States, how to translate those into metric units for international recipes, and the best techniques for accurate measuring when you are dealing with softened or melted fats. We are moving beyond the surface level to ensure you possess the technical knowledge required to manipulate recipes like a professional. Pull up a stool, grab your favorite whisk, and let’s dive into the essential components of the baker’s most versatile fat. By the time you finish reading, you will never again have to guess if your butter ratio is correct, allowing you to focus your energy where it truly belongs: the artistry of the final product.
The Standard American Measurement System
In the United States, the packaging of butter is standardized in a way that provides immense convenience for home bakers, provided you understand the markings on the wrapper. A standard box of butter contains four individual sticks, each wrapped in a paper sleeve that often serves as a built-in ruler. One stick of butter is equivalent to exactly one-half cup, which translates to eight tablespoons. This neat, fractional system is designed to make common culinary tasks—like cutting butter into flour for biscuits or creaming it with sugar—fast and reliable. However, the reliance on this system can lead to confusion when you encounter international recipes or specialty professional formulas that rely on weight rather than volume.
Understanding the Volume Breakdown
To break it down for your kitchen repertoire, it is helpful to visualize the hierarchy of measurements. One stick is one-half cup, and since there are two tablespoons in every fluid ounce, the math is straightforward. Specifically, one stick contains 8 tablespoons, which equals 1/4 pound. If your recipe requires a specific amount of butter, you can easily divide a stick by slicing it according to the markings on the wrapper. Most wrappers are even printed with tablespoon indicators, allowing you to slice off a single tablespoon or two with perfect accuracy, provided the butter is properly chilled.
The Importance of Consistency
When you are aiming for high-level baking, consistency is your best friend. Even if a recipe says "one stick," it is professional practice to verify the weight on a digital scale whenever possible. A standard stick of butter in the U.S. weighs approximately 113 grams or 4 ounces. Using a scale removes the margin of error introduced by how tightly the butter is packed into a measuring spoon or how soft it is when you slice it. Even a small difference in butter density can impact the aeration process during the creaming stage, which is vital for the leavening of cakes and cookies.
The secret to a perfect bake isn't just following the instructions—it's understanding the fundamental physics of your ingredients. When you master the measurements, you master the chemistry, and that is where the magic truly happens.
Conversions and Metric Equivalencies
For those who regularly utilize recipes from professional pastry journals or international sources, the volume-based American system can feel restrictive. Pastry chefs globally prefer to measure by weight because volume can be affected by the temperature of the fat and the presence of air pockets. Measuring butter by the tablespoon is perfectly acceptable for home cooking, but when you begin to scale up your production or venture into delicate recipes like French Macarons or genoise, transitioning to a gram-based system is essential for repeatable results.
Converting Tablespoons to Grams
To convert your tablespoons to grams, remember that one tablespoon of butter weighs approximately 14.17 grams. While most home scales don't need to be that precise, rounding to 14 grams is standard practice in professional kitchens. If a recipe calls for 4 tablespoons, you are looking at roughly 56 grams of fat. Understanding this conversion is particularly useful when you are using European-style butter, which often has a higher butterfat content—typically 82-86% compared to the 80% found in standard American brands. This higher fat percentage can lead to a more luxurious mouthfeel, but it also means it is slightly denser by volume, making the scale an even more critical tool.
Adapting to Different Packaging
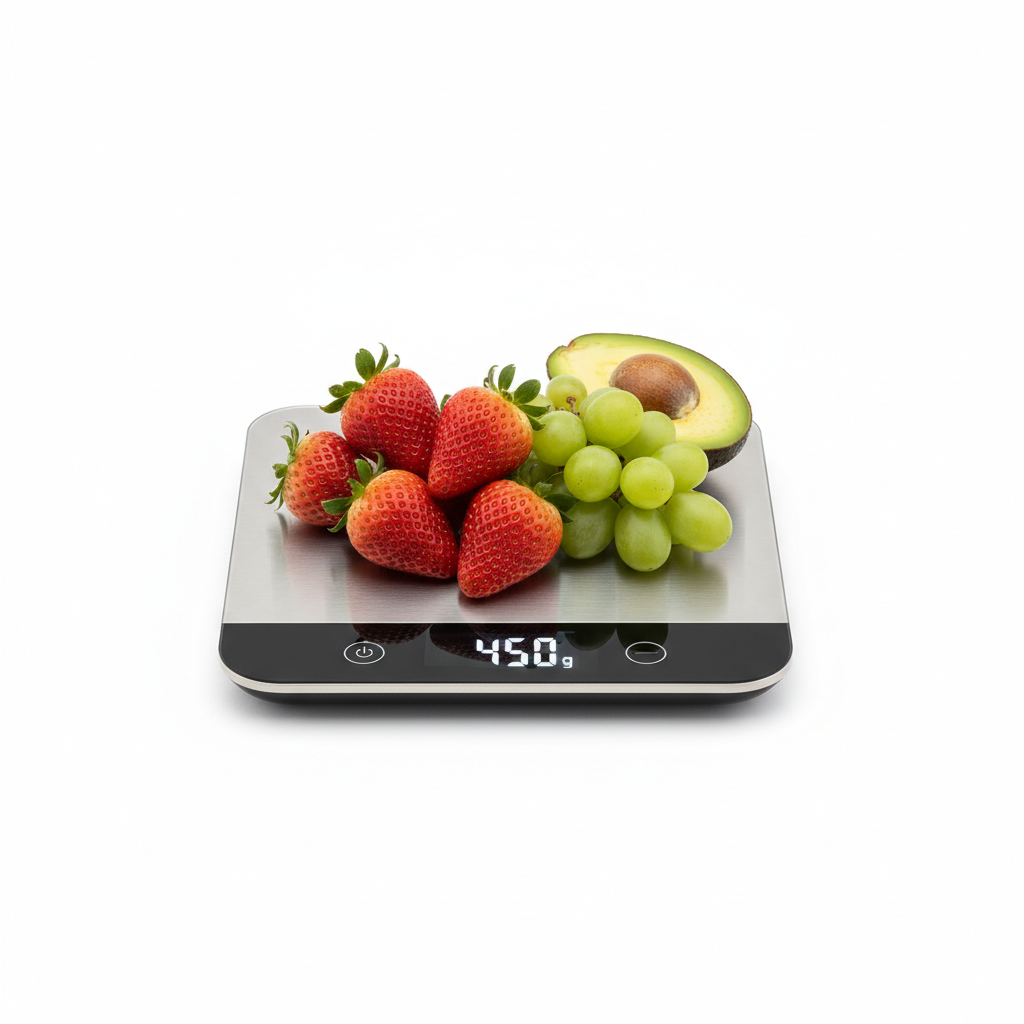
Not all butter comes in sticks. If you purchase high-end butter in blocks or tubs, your ability to measure accurately depends on your tools. Using a digital kitchen scale is the most precise method. Place your bowl on the scale, press the "tare" button to zero it out, and add your butter until you reach the required weight. This eliminates the need to pack butter into a measuring cup, which is notoriously difficult to clean and frequently results in inaccurate measurements due to leftover fat clinging to the sides of the cup.
Measuring Techniques for Success
The way you handle your butter before it reaches the bowl can significantly impact your recipe’s success. The physical state of the butter—whether it is cold, room temperature, or melted—dictates how it reacts with other ingredients. For instance, in recipes for pie crusts or puff pastry, you need the butter to be kept at a temperature below 65°F (18°C) to prevent the fat from melting into the flour before the bake. If the fat melts prematurely, you lose the layers that create the flaky, airy structure associated with professional-grade pastry.
The Art of the Creaming Method
When a recipe calls for room temperature butter, it is generally to facilitate the creaming method. You want your butter to be at roughly 65°F to 67°F. At this temperature, the fat is pliable enough to hold air bubbles when beaten with sugar crystals. These tiny pockets of air are what expand in the oven, giving your cakes and cookies their light, tender crumb. If your butter is too cold, it will not aerate; if it is too warm, it will turn into a greasy, uncooperative puddle that fails to trap air, leading to a dense and rubbery final product.
Handling Melted Butter
Conversely, when a recipe calls for melted butter, you are looking to create a denser, fudgier texture, such as in brownies or certain types of blondies. When measuring melted butter, always measure the solid block first, then melt it. Measuring liquid fat in a measuring cup is rarely accurate because of the surface tension of the fat and the difficulty of ensuring every last drop exits the cup and enters the mixing bowl. By weighing or measuring the solid state, you ensure the exact ratio of fat-to-solids is maintained.
Navigating European vs. American Butter
The culinary world is divided when it comes to butter preferences. American butter is typically cultured or sweet cream and contains about 80% fat, 16-18% water, and 1-2% milk solids. European-style butter, however, often undergoes a longer churning process and contains a higher percentage of butterfat, sometimes reaching as high as 86%. This difference is not merely a matter of taste; it is a structural difference that affects the outcome of your baking.
Adjusting for Fat Content
When substituting European butter into a standard American recipe, you may notice that your dough feels slightly stiffer or that your cookies have a deeper, richer flavor profile. Because European butter has less water content, the evaporation rate during baking is different. If you find your cookies are a bit too crisp, you might consider slightly increasing the liquid component or reducing the bake time by thirty to sixty seconds. The nuances are subtle, but for the discerning baker, they are the difference between a good bake and a great one.
Flavor and Texture Impacts
The water-to-fat ratio in your butter also influences the browning process, known as the Maillard reaction. Higher fat content allows for a more intense browning and a nuttier aroma. In recipes like shortbread or butter cookies where butter is the star ingredient, the quality and type of butter are paramount. Always choose high-quality unsalted butter for your baking unless the recipe explicitly states otherwise. This gives you complete control over the salt levels, allowing you to fine-tune the flavor profile of your finished treats.
"Precision in baking is not about being rigid; it is about providing yourself with the consistency required to be truly creative. When you control the variables, you earn the freedom to experiment with confidence."
Troubleshooting Common Measurement Errors
Even the most experienced chefs occasionally find themselves staring at a bowl of dough that simply doesn't look right. If your batter is weeping, your crust is tough, or your cookies turned into flat pancakes, the error often traces back to an incorrect measurement of fat. One of the most common issues occurs when bakers use "softened" butter that has actually been microwaved until partially melted. This destroys the emulsion potential of the butter, preventing it from holding onto the sugar properly.
Identifying the Signs of Trouble
If your creamed mixture looks greasy and separated rather than fluffy and pale, your butter was likely too warm. If you find small, hard chunks of butter remaining in your cookie dough, your butter was likely too cold to incorporate properly. These physical signs are your kitchen's way of telling you that the chemistry is off. To fix a greasy mixture, you can try chilling the bowl for five minutes and then re-whipping, but prevention is always superior to a mid-recipe fix.
The Importance of Proper Storage
Butter is highly absorbent, meaning it can easily take on the odors of other foods in your refrigerator—onions, garlic, or fish are common culprits. Always store your butter in its original wrapper and inside an airtight container or zip-top bag. For long-term storage, keeping it in the freezer is perfectly acceptable; just remember that frozen butter will take longer to reach the optimal creaming temperature. When you need it in a hurry, you can grate frozen butter using a box grater to allow it to reach room temperature in a fraction of the time.
Advanced Techniques for The Home Baker
Once you have mastered the basics of butter measurement, you can begin to explore advanced culinary techniques that utilize butter as a medium for flavor and texture. One such technique is beurre noisette, or brown butter. By heating butter until the milk solids brown, you create a complex, nutty flavor profile that elevates simple recipes into gourmet territory. Measuring brown butter is tricky because you lose some volume through evaporation during the browning process.
Using Brown Butter Effectively
When a recipe requires brown butter, start with roughly 20-25% more butter than the recipe requires to account for the moisture loss. Cook it over medium heat, swirling the pan constantly until the foam subsides and the solids at the bottom turn a deep golden brown. Immediately transfer it to a cool bowl to stop the cooking process. Because the water has been cooked out, the resulting fat is pure, concentrated, and intense. It will change the texture of your dough, so be prepared for a slightly different hydration requirement.
Laminated Doughs and Butter Blocks
If you are moving into advanced pastry like croissants or puff pastry, you will need to create a butter block (or beurrage). This involves taking your measured butter and shaping it into a flat, pliable rectangle. The key here is the consistency of the butter. It must be as malleable as the dough itself. If the butter is too cold, it will shatter into small bits, creating hard lumps instead of layers; if it is too warm, it will be absorbed by the dough, resulting in a greasy, cakey mess instead of flaky, crisp layers.
Maintaining Your Equipment
Your tools are an extension of your hands in the kitchen. If your measuring spoons are bent, or your scale is uncalibrated, your measurements will be skewed before you even begin. Digital scales should be checked regularly using a known weight—a simple nickel weighs exactly 5 grams, which is a perfect, easy way to verify that your scale is accurate. Keep your surface areas clean and your tools organized to ensure that the process of measuring butter remains a peaceful, methodical part of your baking routine rather than a chore.
Investing in Quality
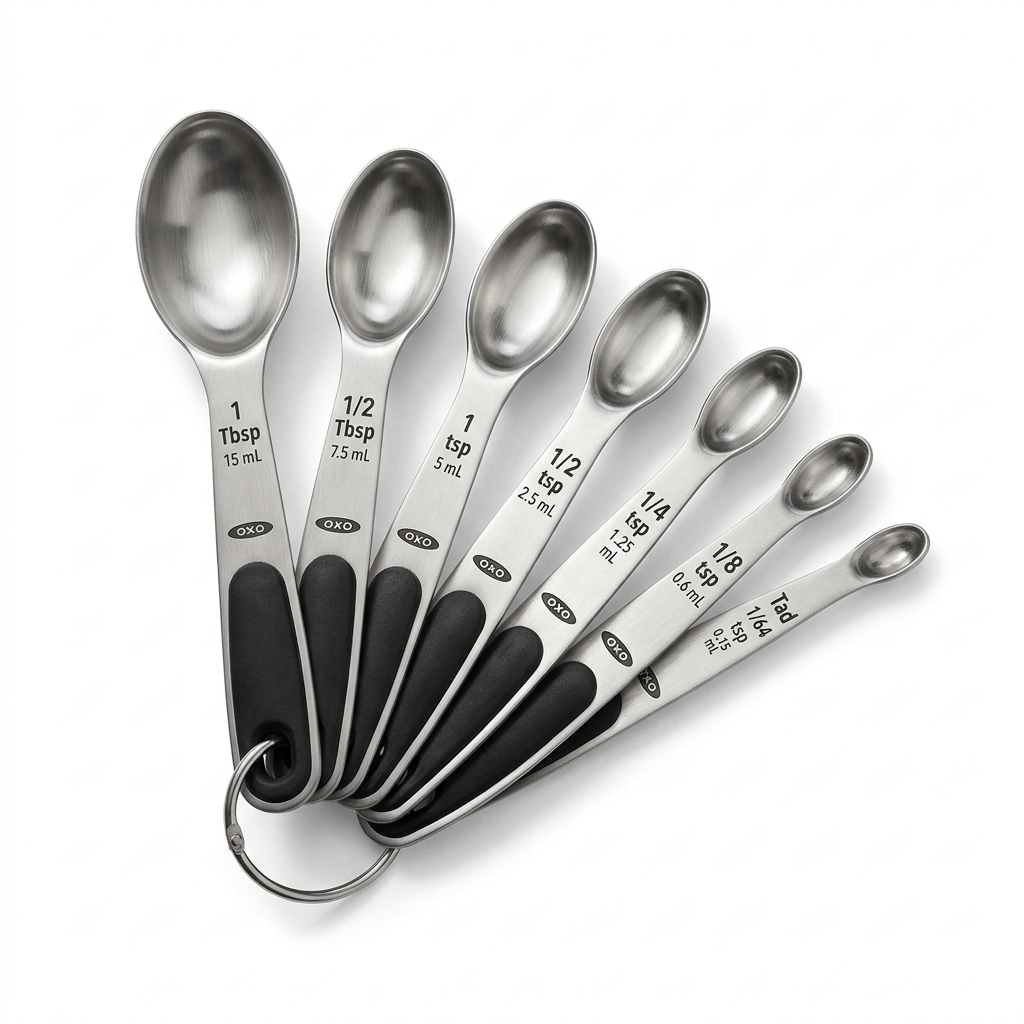
It is worth investing in a high-quality set of stainless steel measuring spoons and a reliable digital scale. Cheap plastic tools can warp over time, and their markings can wear away, leading to inaccuracies. Furthermore, always ensure your measuring cups and spoons are dry before use. Wet tools can cause ingredients to stick, which is particularly problematic when you are trying to be precise with fat or sugar.
Final Best Practices
Remember that baking is a journey, and every recipe is a learning opportunity. If you find that a recipe consistently requires a little more butter than stated, trust your instincts and adjust accordingly—but only after you have measured exactly what the recipe requested at least once. When you understand the baseline, you gain the authority to modify, elevate, and refine your bakes to suit your personal preferences.
Conclusion
Mastering the conversion of butter is about more than just remembering that there are eight tablespoons in a stick. It is about understanding the fundamental role that fat plays in your culinary creations. Whether you are baking a delicate sponge cake, a hearty loaf of sourdough, or a complex batch of croissants, the butter you choose and the way you measure it are the first steps toward excellence. By utilizing your digital scale, respecting the temperature requirements of your butter, and keeping your tools in top condition, you are setting the stage for consistent, professional-quality results every single time you preheat your oven.
As you move forward in your baking career, don't be afraid to lean into the science. Keep a notebook of your measurements, your adjustments, and your results. Baking is an iterative process; the more you document, the better you become at predicting how your ingredients will behave. "Blame The Chef" is here to provide the foundation, but the true artistry happens in your kitchen, at your hands, and with your unique creative vision. Remember to stay curious, keep your butter at the right temperature, and never stop experimenting with the ratios that make baking the most rewarding culinary discipline of all.
Take this knowledge and apply it to your next project. Perhaps it is a batch of classic butter cookies where the fat content is the soul of the recipe, or a pie crust where the technique of keeping the butter cold is your secret weapon. Whatever you choose to bake, do so with the confidence that you have mastered the most essential ingredient in your pantry. The journey from a home cook to a master baker is paved with small details and precise measurements, and you are well on your way to reaching the top of your game. Happy baking, and may your crusts always be flaky and your cakes always rise to the occasion.


Get the Next Recipe
Weekly recipes, techniques, and gear picks — straight to your inbox.
