How to Bake Sourdough in a Cold Kitchen
There is a peculiar, soul-crushing silence that fills a kitchen in the dead of winter, especially when you are trying to coax a temperamental sourdough starter into life. We have all been there, hovering over a jar of bubbling flour and water, watching the clock tick by with agonizing slowness as the ambient temperature stubbornly refuses to cooperate. When your home is hovering around 60 degrees Fahrenheit, your yeast colonies essentially decide to take a permanent vacation, leading to dense, flat loaves that feel more like bricks than artisan bread. Many home bakers assume that a cold environment is a death sentence for their craft, but the reality is that the cold is merely a variable that demands a shift in your baking strategy. By understanding the science of fermentation and the delicate balance of heat, you can turn your chilly kitchen into an asset rather than an obstacle.
Mastering the art of cold-weather baking requires a shift in your mindset; you must move from being a baker who follows a rigid recipe to a baker who understands the living biology of your dough. When temperatures plummet, the enzymatic activity within the dough slows down drastically, meaning that the traditional three-hour bulk fermentation windows found in most cookbooks become irrelevant. You are essentially working in a slow-motion environment where every movement, every fold, and every degree of temperature fluctuation is amplified. Instead of fighting the cold, we learn to manipulate it, using longer durations to develop complex flavor profiles that simply cannot be achieved in the rapid fermentation of a summer kitchen. This is your invitation to slow down, be patient, and embrace the nuances of a process that rewards those who pay attention to the details.
Welcome to the deep dive into temperature control, where we will peel back the curtain on how professional kitchens handle ambient temperature shifts without the luxury of climate-controlled proofing chambers. Whether you are battling a drafty farmhouse kitchen or an apartment that simply refuses to hold heat, the techniques outlined here will ensure your crumb is open, your crust is blistered, and your spirit is unbroken. We are going to explore everything from dough temperature monitoring to the clever use of kitchen appliances to create micro-climates that mimic a tropical paradise for your wild yeast. Put on your apron, pour yourself a strong cup of coffee, and let’s stop blaming the weather and start taking control of the oven. After all, if the chef can’t handle a little cold, who will?
The Science of Cold Fermentation
At the heart of every loaf of bread is the fermentation process, a biological dance between wild yeast and lactic acid bacteria. When the room temperature drops below 70 degrees Fahrenheit, the metabolism of these microorganisms slows significantly, leading to sluggish dough and long, drawn-out bulk fermentation. This can often lead to a "stalling" effect where the dough lacks the structural integrity to hold gas, resulting in a dense, gummy center. To combat this, we must focus on Dough Temperature (DT), which is the most critical metric for any serious home baker.
The most vital tool in your arsenal is not a fancy stand mixer or a cast-iron Dutch oven; it is a reliable, high-speed digital thermometer. Without measuring the temperature of your water and your final mixed dough, you are essentially driving in the dark with your headlights turned off.
When you are baking in a cold kitchen, you must compensate by increasing the temperature of your innocent ingredients. If your kitchen is 65 degrees, your flour is likely also 65 degrees, and your water will need to be significantly warmer—often between 85 and 95 degrees—to bring the final dough temperature into the ideal 78-degree range. If you ignore this initial step, you will be fighting an uphill battle for the next twelve hours.
Understanding Kinetic Energy in Dough
The yeast and bacteria within your sourdough are living creatures that thrive on warmth. Think of your dough as a small ecosystem; if the environment gets too cold, the yeast slows down its production of carbon dioxide, which is the gas responsible for the lift and rise of your loaf. If the bacteria, which produce the acetic and lactic acids that give sourdough its signature tang, also slow down, you lose that depth of flavor. Achieving the perfect balance requires you to actively manage the internal temperature of the dough mass rather than the room temperature.
The Role of Temperature in Enzyme Activity
Enzymes like protease and amylase are hard at work during the fermentation process, breaking down starches into sugars and proteins into extensible strands. In a cold kitchen, these enzymes don't work in unison. Often, the amylase slows down so much that the yeast doesn't have enough sugar to consume, leading to a weak structure. By keeping the dough warm during the early stages, you ensure these enzymes function at their optimal speed, creating a robust network that can survive a later, longer cold proof if desired.
Tactics for Warming Your Dough
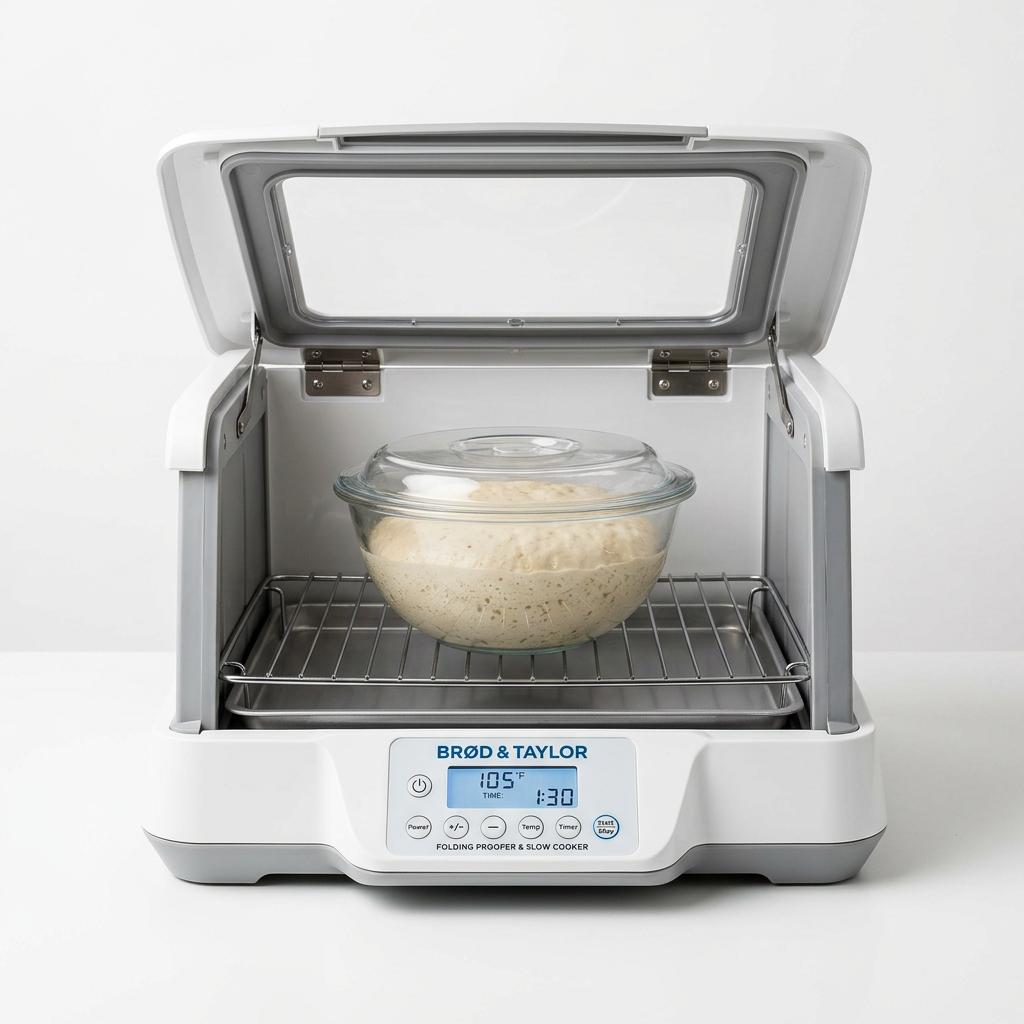
If you don't have a professional proofing cabinet, you have to get creative. The most effective method for warming your dough in a cold environment is to leverage the residual heat of your kitchen appliances. An oven that has been warmed briefly—turned on for sixty seconds and then turned off—can act as a perfect, draft-free environment. However, you must be careful; a hot oven will kill your yeast, so always use a thermometer to check that the internal temperature is between 75 and 80 degrees Fahrenheit.
Another professional trick is the use of a heated water bath or a cooler. By placing your mixing bowl inside a larger container filled with warm water, you create a thermal barrier that protects the dough from the ambient chill of the room. You can also utilize heating pads set to their lowest setting, but place a thick towel between the pad and the bowl to prevent localized overheating, which can create a "hot spot" that ferments faster than the rest of the dough.
Utilizing the Oven as a Proofing Chamber
The oven is your best friend during the winter months. To turn it into a proofing chamber, place a large tray of boiling water on the bottom rack. The steam creates a warm, humid environment that is ideal for dough development. The ambient moisture also prevents the surface of the dough from drying out, which is a common issue in dry, heated homes. Just remember to place a sticky note on the oven dial so you don't accidentally turn the oven on while your precious dough is inside.
The "Sourdough Blanket" Technique
Sometimes, the simplest solutions are the most effective. If your kitchen is cold, wrap your proofing bowl in a thick wool blanket or a specialized insulating wrap. This traps the heat generated by the yeast activity itself. Fermentation is an exothermic process, meaning it produces a small amount of heat. By insulating the dough, you are essentially allowing it to keep itself warm. This is particularly effective during the bulk fermentation stage, where the mass of the dough is largest.
Adjusting Your Sourdough Starter
Your starter is the engine of your bread, and in a cold kitchen, the engine needs more fuel. If you usually feed your starter in a 1:1:1 ratio, consider increasing the ratio to 1:2:2 or even 1:3:3 in colder months. This provides more fresh flour and water for the yeast to consume, allowing it to stay active for longer without becoming overly acidic or exhausted. A healthy, active starter is non-negotiable; if your starter is sluggish, your bread will fail regardless of what temperature tricks you use.
A common mistake bakers make is using a starter that has just come out of the refrigerator. In a cold kitchen, this is a recipe for disaster. Always bring your starter to room temperature or, better yet, give it two or three consistent feedings in a warm spot before you plan to mix your final dough.
You should also look for visual cues rather than relying strictly on the clock. If your recipe says to wait four hours for the starter to double, but your kitchen is 60 degrees, it might take eight hours. Learn to read the bubbles, the dome structure, and the aroma. A starter that is ready to bake should smell sweet and yeasty, not like vinegar or acetone. If it smells overly sharp, it is over-fermented and has run out of food.
Feeding Schedules and Consistency
Consistency is more important than speed. If you feed your starter at the same time every day in a warm, consistent location, you are training your yeast to peak at a certain time. In a cold kitchen, try to find the one spot in your house that stays warmest—usually near a radiator, on top of the refrigerator, or even inside a cupboard near a heat vent. Keep your starter there consistently, and it will become much more resilient to the ambient cold of the rest of the house.
The Power of "Leaven-Building"
When you are preparing for a bake, consider building a levain—a small, separate portion of your starter that you prime specifically for the dough. By building a levain with slightly warmer water and keeping it in a dedicated warm spot, you ensure that the yeast is at its absolute peak performance when it hits your flour. This "booster shot" of energy helps the dough overcome the initial shock of being mixed into a cooler environment.
The Importance of Dough Temperature (DT)
To achieve consistent, bakery-quality bread, you must understand the concept of Desired Dough Temperature. Professionals use a simple formula to calculate the necessary water temperature: multiply your desired final temperature by three, then subtract the ambient room temperature, the flour temperature, and the friction factor (the heat added by your mixer). This calculation ensures that your dough hits the perfect temperature range (76-80°F) the moment you stop mixing.
Don't be intimidated by the math; it is a simple way to ensure success every single time. If your kitchen is 65 degrees and your flour is 65 degrees, and you want a final dough of 78 degrees, you calculate: (78 x 3) = 234. Subtract 65 (room) and 65 (flour) = 104. Assuming a friction factor of 5 degrees (if hand mixing, use 2-3), your water needs to be roughly 99 degrees. This warm water will provide the energy needed to kickstart the fermentation in a cold room.
Recording Your Data for Success
Keep a baking log. Document the temperature of your kitchen, the temperature of your water, and how long the dough took to double in size. Over the course of a few months, you will start to see patterns. You will learn, for instance, that at 62 degrees, your dough typically takes an extra two hours of bulk fermentation. This log will become your most trusted guide, allowing you to predict exactly when your bread will be ready to bake, no matter what the weather report says.
The Effect of Ingredients on Temperature
Keep in mind that different flours have different thermal properties. Whole grain flours contain bran and germ, which can sometimes ferment slightly faster than highly refined white flours, but they are also denser and can hold onto heat differently. If you are using a high-percentage rye or whole wheat loaf, you may find that it creates more heat during fermentation. Always account for the density of your flour mix when calculating your desired water temperature.
Techniques for Better Structural Integrity
When baking in a cold kitchen, the dough can sometimes feel weak or sticky. This is often because the cold slows down the development of the gluten network, which relies on a combination of time and warmth to stretch and strengthen. To compensate, increase the number of folds you perform during the bulk fermentation. Instead of the standard three sets of stretch and folds, consider doing four or five. Each set of folds works the gluten, reinforcing the structure and trapping the gas that the yeast is trying to produce.
Another technique is the use of a bench rest. In a cold kitchen, the dough can be quite stiff, making it difficult to shape into a tight boule or batard. If you let the dough rest on the bench for 30 minutes after the bulk fermentation is complete, the gluten relaxes, making the final shaping much easier. This step is essential; if you try to shape a cold, stiff dough, you will likely tear the gluten strands, which will result in a flat loaf that cannot rise in the oven.
Mastering the Stretch and Fold
The stretch and fold is the foundational move for high-hydration sourdough. To do this, reach under the side of the dough, pull it up until you feel resistance, and fold it over the center. Rotate the bowl 90 degrees and repeat. In a cold kitchen, perform these folds gently but firmly. You want to align the gluten fibers without deflating the dough. As the dough warms and the fermentation progresses, you will feel the dough transition from a shaggy, disorganized mass into a smooth, elastic, and slightly bubbly ball.
Shaping for Surface Tension
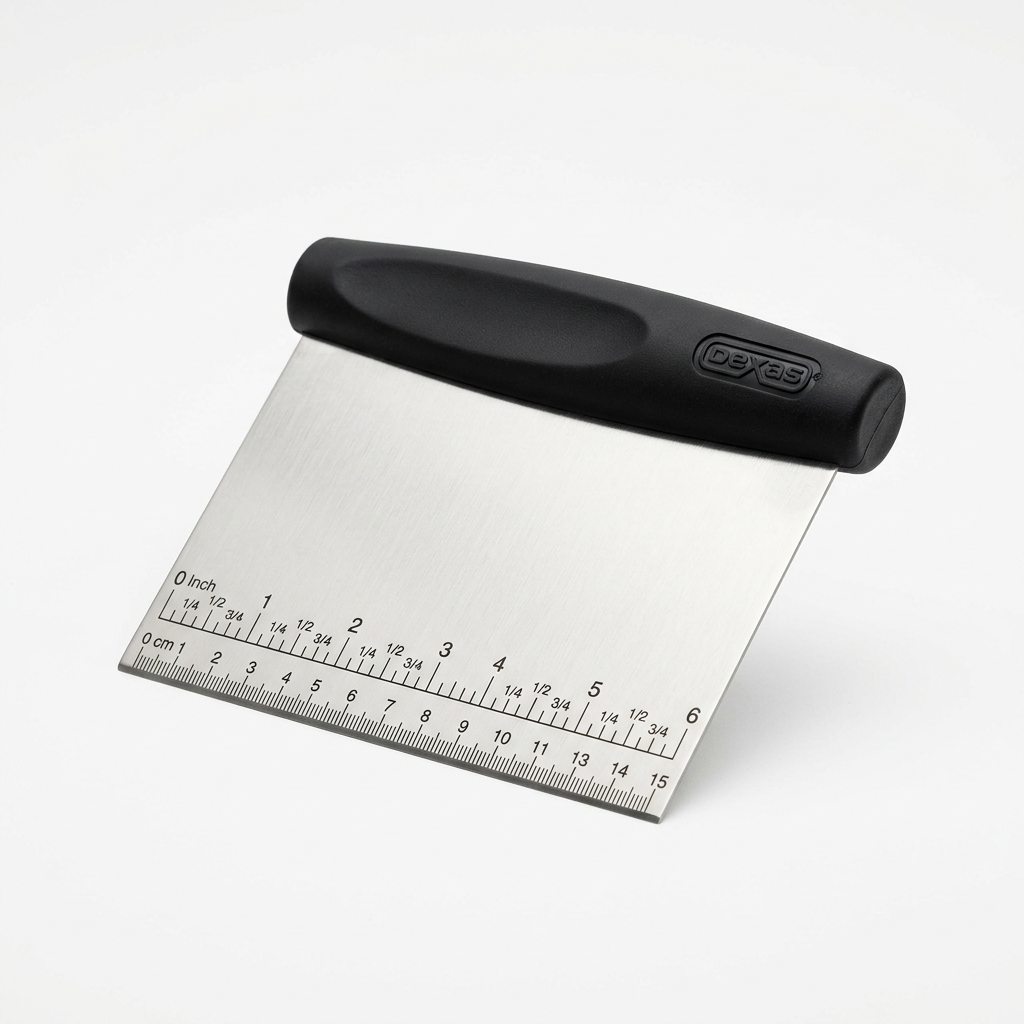
Surface tension is the key to that beautiful ear on your sourdough loaf. When you shape your dough, you are essentially trying to create a smooth, tight outer skin. In a cold kitchen, the dough may be less extensible, so you need to be precise with your bench work. Use a dough scraper to create friction against the counter, dragging the dough toward you to tighten the outer layer. This tension acts like a corset, holding the loaf together while it expands in the oven.
The Final Proof and the Bake
The final proof is the final stretch. If you have done your job well, the loaf should be lively, puffy, and full of air. Many bakers make the mistake of cold-proofing for too long in a cold kitchen, which can lead to over-proofing if the dough never actually reached the desired temperature during the bulk phase. Remember, the goal of the final proof is to get the dough to about 75-80% of its total potential rise before it hits the Dutch oven.
Once your loaf is shaped and in the banneton, you have a choice. You can let it proof at room temperature, which might take six to ten hours in a cold kitchen, or you can use the cold to your advantage with a retarded proof in the refrigerator. A cold retard in the fridge (usually 38-40 degrees) for 12 to 24 hours can significantly enhance the sour flavor and improve the blistering of the crust. The cold temperature slows the fermentation to a crawl, allowing the bacteria to produce complex acids that define artisan bread.
The Magic of the Dutch Oven
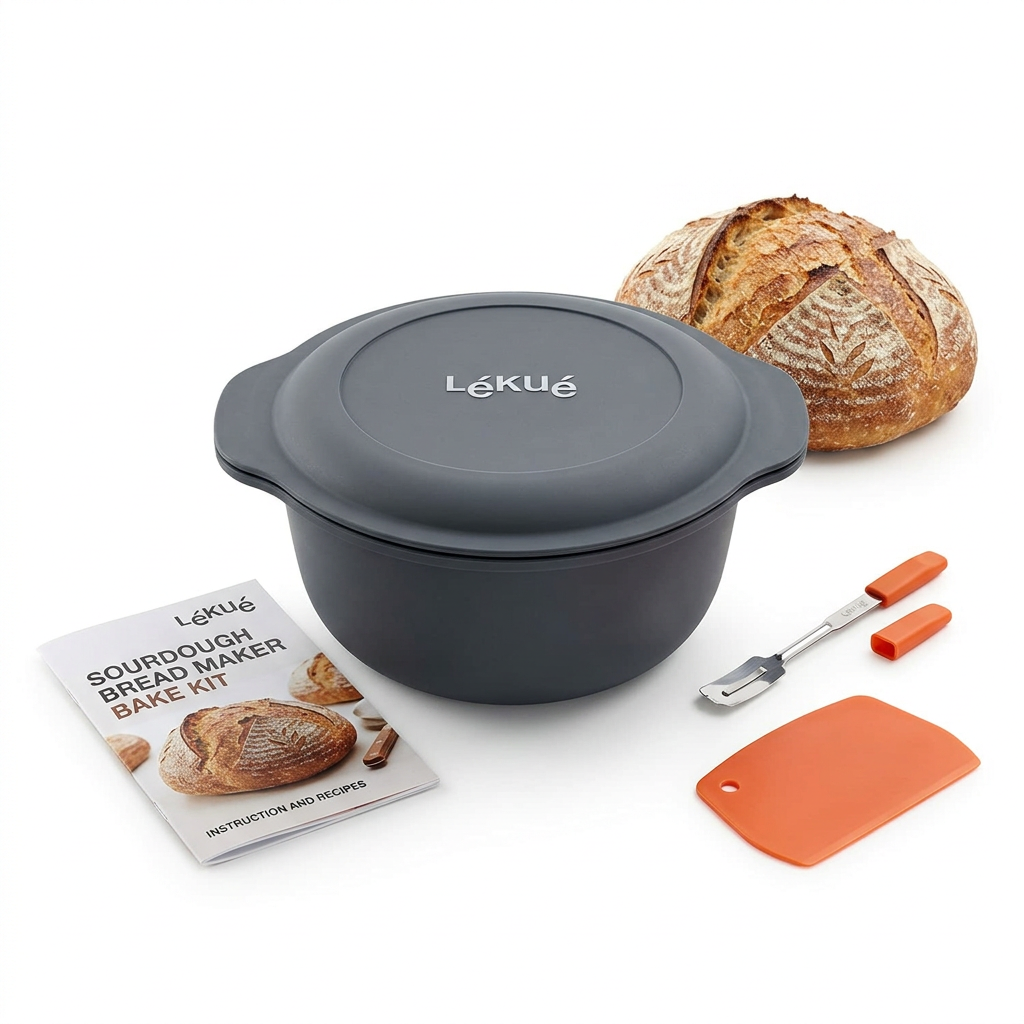
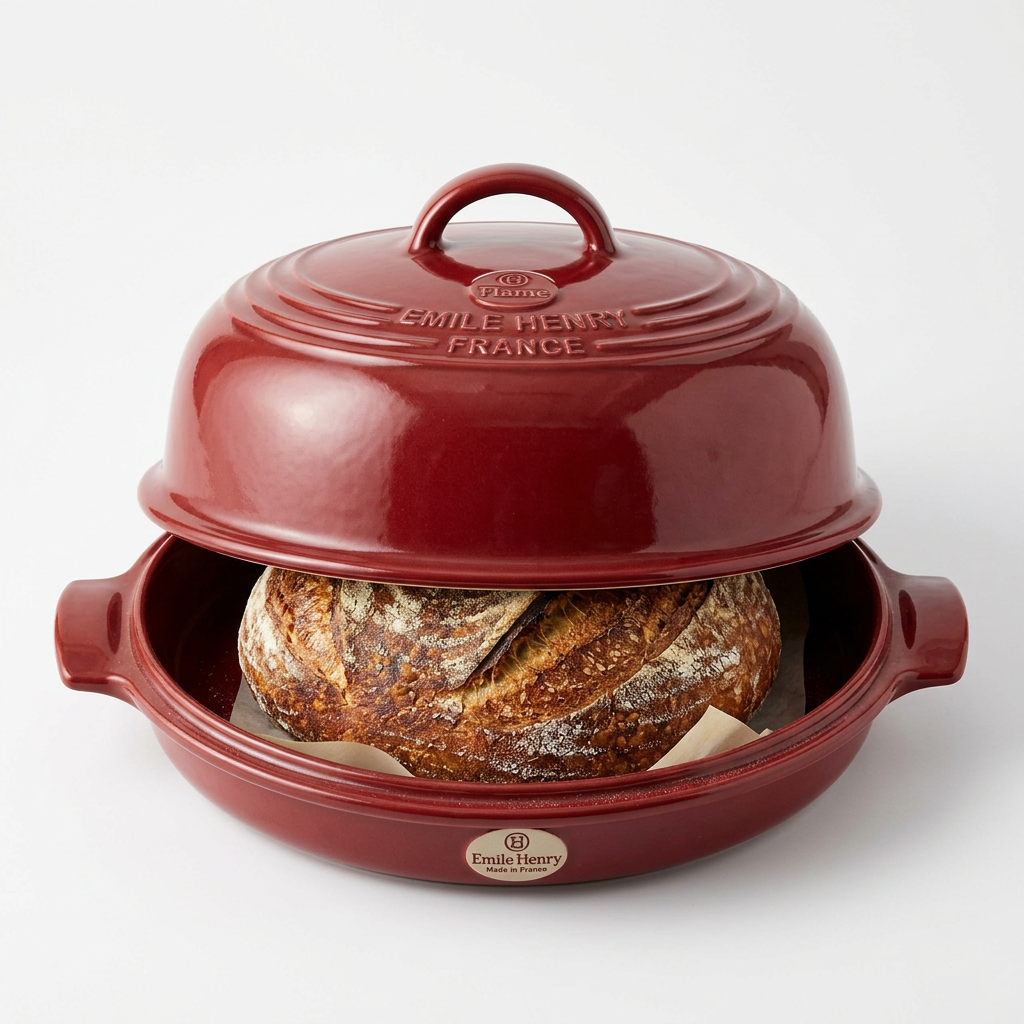
There is no substitute for a Dutch oven when it comes to home baking. The heavy cast iron traps the steam that evaporates from the dough, keeping the crust soft during the first half of the bake. This allows the loaf to spring (the "oven spring") to its maximum potential before the crust sets and browns. If your kitchen is cold, ensure your Dutch oven is preheated for at least 45 minutes to an hour. The intense, consistent heat is exactly what the loaf needs to kick off the final expansion.
Scoring Your Bread for Success
Scoring is not just for aesthetics; it provides a controlled point of expansion for the loaf. In a cold kitchen, the dough might be slightly more prone to tearing during the bake if it wasn't proofed perfectly. Use a lame or a sharp razor blade to make a decisive cut at a 45-degree angle. This allows the steam to escape and the bread to rise outward rather than collapsing inward. If you find your scoring is dragging, place your loaf in the freezer for 10 minutes before scoring; a slightly chilled surface is much easier to cut.
Conclusion
Baking sourdough in a cold kitchen is an exercise in mindfulness. It forces you to stop relying on the rigid, arbitrary timelines of a recipe and instead start listening to the dough itself. When you embrace the cold, you aren't just making bread; you are learning to read the subtle biological cues of yeast and bacteria. You are adjusting water temperatures, insulating your bowls, and timing your folds based on the reality of your environment. This is the difference between being a recipe-follower and becoming a true baker.
The journey to the perfect loaf is rarely a straight line. There will be days when the bread is dense, days when the crust is too pale, and days when you feel like you've completely failed. But every loaf you pull from the oven—no matter the temperature of the room—teaches you something new. By mastering the variables, you turn the "Blame The Chef" attitude on its head. You aren't blaming the cold; you are using it to your advantage to develop the flavors, textures, and structures that make sourdough such a rewarding pursuit.
Keep your thermometer handy, keep your starter active, and don't be afraid to leave your dough to ferment that extra hour or two when the thermometer tells you it's lagging. You have all the tools you need to succeed, even when the thermometer dips low. Your kitchen may be cold, but your bread should never be a reflection of that. Instead, let your loaves be the warm, vibrant center of your home, crafted with patience, precision, and the knowledge that every challenge is just another layer of flavor waiting to be developed. Now, preheat that oven, get your flour ready, and happy baking—the perfect crumb is waiting for you to find it.
Get the Next Recipe
Weekly recipes, techniques, and gear picks — straight to your inbox.