No Dutch Oven? How to Bake Sourdough Bread
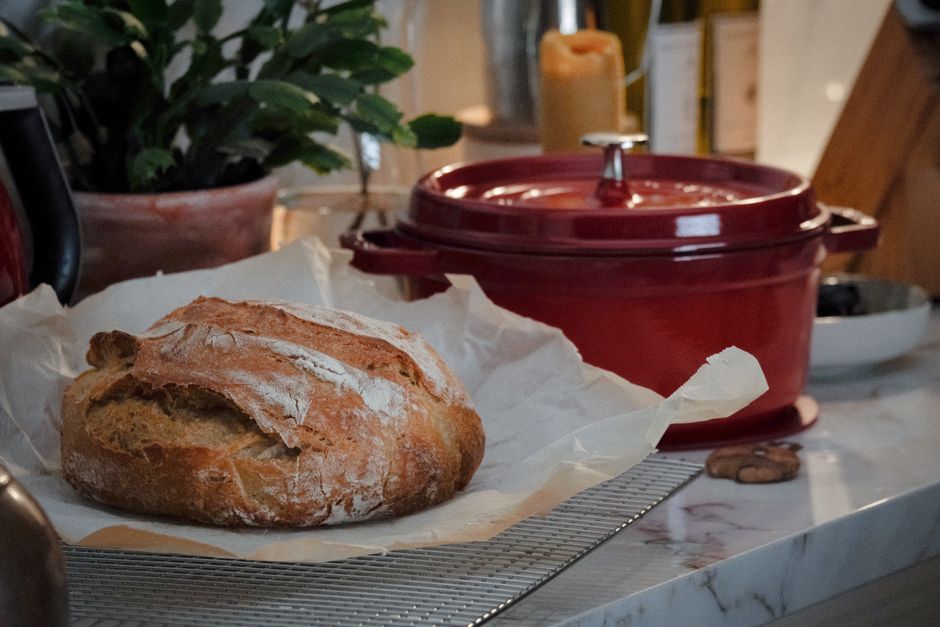
There is a pervasive myth in the sourdough community that you simply cannot achieve a professional-grade loaf without an expensive cast-iron Dutch oven. We see the photos of blistered, golden-brown crusts and wide-open crumb structures, all attributed to the steam-trapping magic of those heavy, lidded pots. While it is true that a Dutch oven provides an ideal environment for bread, it is by no means the only way to reach sourdough nirvana in your home kitchen. The art of baking is rooted in understanding the physics of heat transfer and moisture, not just in the gear you happen to own. By learning to manipulate your home oven, you can bypass the specialty equipment entirely and still produce a loaf that would make a seasoned boulanger proud.
The core requirement for a great sourdough loaf is not the vessel, but the environment it creates during the first twenty minutes of the bake. During this time, we need consistent heat and enough steam to keep the surface of the dough supple, allowing for that dramatic oven spring to occur before the crust sets. When we omit the Dutch oven, we have to engineer that same environment using common household items like baking stones, roasting pans, and simple spray bottles. It requires a bit more active management than dropping a loaf into a preheated pot, but the results are often indistinguishable once you master the technique. You do not need to spend hundreds of dollars on artisan gear to bring the bakery experience into your home; you only need a bit of patience and a few clever workarounds.
At Blame The Chef, we believe that the best kitchen tools are the ones you already have tucked away in your cabinets. This guide is designed to dismantle the barrier to entry for aspiring bread bakers who feel limited by their equipment. We will explore the hydration ratios, temperature controls, and steam-generation hacks necessary to get that perfect, crackling crust and airy interior without a single piece of specialized cast iron. Prepare to adjust your expectations, calibrate your oven, and perhaps get a little creative with your hardware. Let’s demystify the process of baking high-hydration sourdough bread in a standard oven, proving once and for all that the secret to a great loaf lies in the baker’s hands, not in the weight of their cookware.
Understanding the Physics of Steam and Heat
Why Steam Matters
The primary reason professional bakeries use deck ovens with steam injection is to keep the surface of the dough hydrated during the initial phase of baking. If the crust dries out too quickly, it hardens and sets, effectively imprisoning the loaf and preventing it from expanding further. Steam keeps the exterior soft and gelatinizes the starches on the surface, which is the secret behind that thin, crispy, mahogany-colored crust we all crave. In a standard home oven, steam dissipates rapidly, which is why a Dutch oven is usually the default recommendation—it traps the dough’s own moisture to create a miniature, self-steaming chamber.
The Role of Heat Conductivity
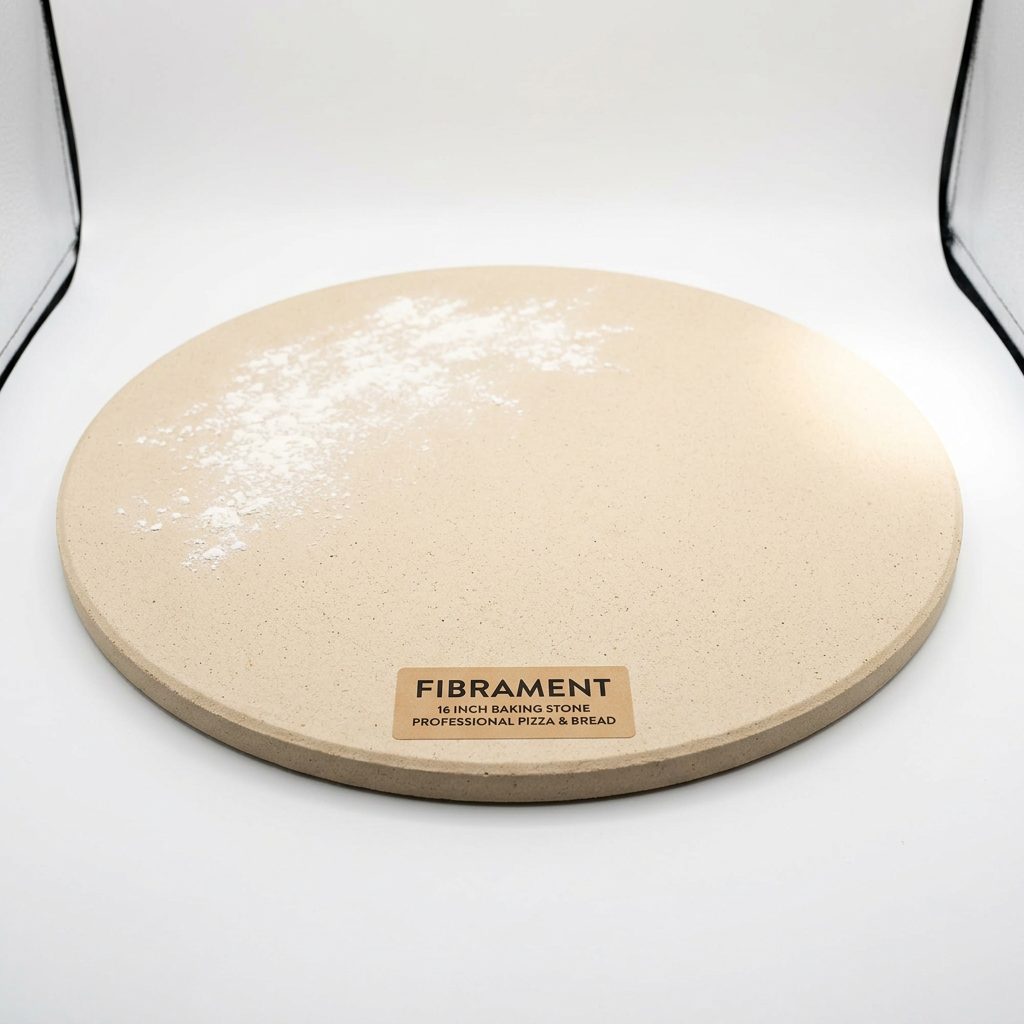
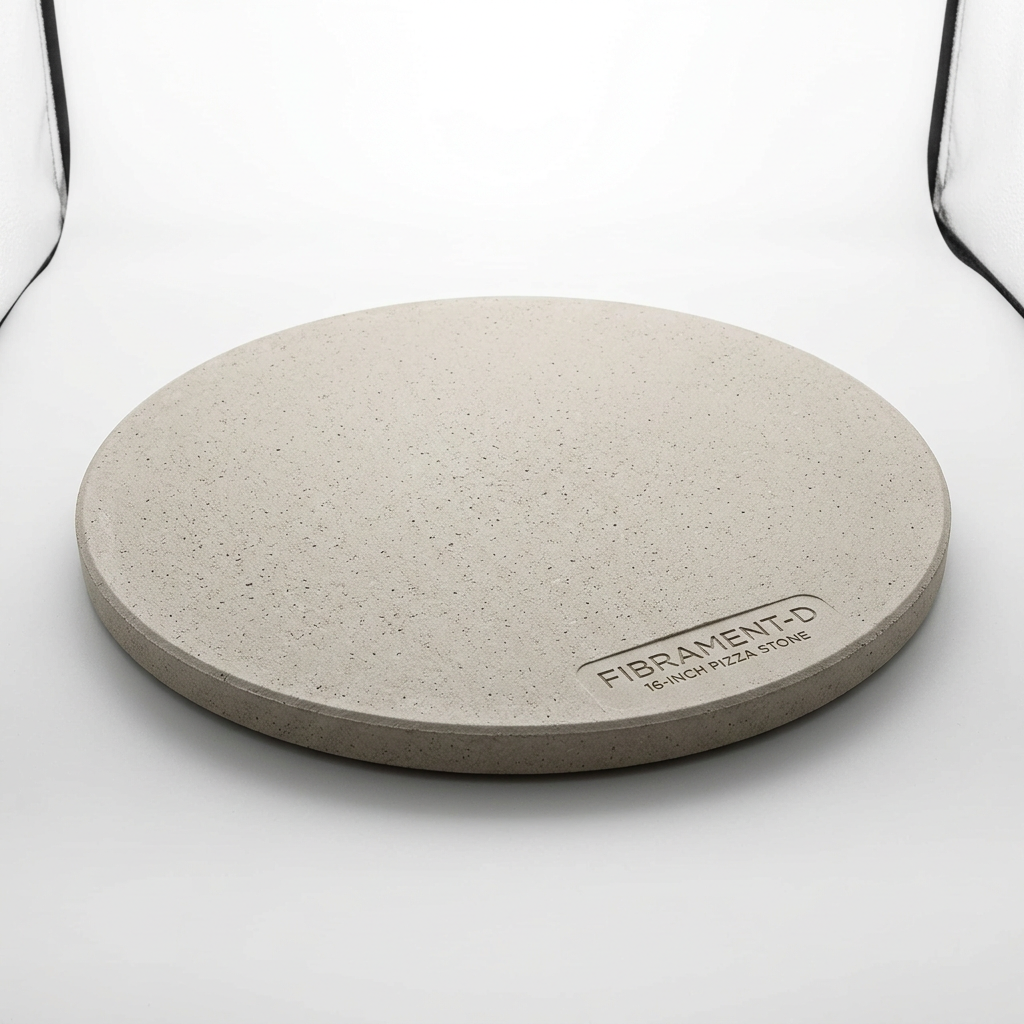
When baking without a lid, you have to compensate for the lack of concentrated, trapped ambient heat. A baking stone or baking steel is highly recommended because it acts as a thermal battery, providing a burst of intense bottom heat that encourages the dough to rise vertically. Without a lid, we have to focus on how we distribute the heat from your oven’s elements. Placing your dough on a preheated stone ensures that even if the ambient air isn't as humid as a Dutch oven, the bread receives enough energy to expand rapidly before the crust prevents it.
"The magic of sourdough doesn't live in the pot; it lives in the balance of your flour, water, and the precise management of heat and hydration."
Calibrating Your Oven
Before you begin, you must know the truth about your oven's thermostat. Most home ovens are notoriously inaccurate, often cycling wildly or running twenty degrees cooler than the set temperature. Invest in an analog oven thermometer to hang inside the chamber. When you are baking without the insurance of a heavy cast-iron lid, precision is your best friend. You want to ensure your oven is truly reaching 450°F (230°C) to 500°F (260°C) so that your loaf experiences the necessary thermal shock the moment it hits the heat.
Preparing Your Dough for Success
The Hydration Factor
When baking sourdough in a Dutch oven, high-hydration doughs (above 75%) are manageable because the walls of the pot support the sides of the loaf as it rises. Without that support, a very wet, slack dough might flatten out into a pancake on your baking stone. For non-Dutch oven baking, I recommend starting with a hydration level between 68% and 72%. This provides enough structural integrity to hold a round shape while still yielding a moist, open crumb. Autolyse is your best friend here; letting the flour and water sit for at least an hour before adding the salt and starter helps build gluten strength early on, which is vital for free-standing loaves.
Bulk Fermentation and Shaping
To compensate for the lack of a container to hold the bread's shape, your shaping technique must be impeccable. During the final shaping, you want to build maximum tension on the outer "skin" of the dough. This tension acts as a structural cage that forces the bread to grow upward rather than outward. After the final fold, use your bench scraper to pull the dough across the counter to tighten the bottom seam. A tight, well-structured loaf is significantly less likely to collapse or spread during the transition from your proofing basket to the hot baking stone.
The Importance of the Final Proof
Temperature control during the bulk fermentation phase is critical. If your dough is slightly under-proofed, it will tear during the bake; if it is over-proofed, it will lack the strength to stand up on the stone. For free-standing bakes, I always suggest a slightly firmer, more structured dough. Use a proofing basket (banneton) and dust it liberally with rice flour to prevent sticking. The cold retard in the refrigerator for 12 to 24 hours is highly recommended because cold dough is easier to score and holds its shape much better during the critical loading phase than room-temperature dough.
Engineering a Steam Environment
The Roasting Pan Method
One of the most effective ways to simulate a Dutch oven is to use a heavy-duty stainless steel roasting pan turned upside down to cover your loaf while it sits on a baking stone. This effectively creates a localized, enclosed environment that traps steam released from the dough. Simply preheat your stone and the roasting pan inside the oven for at least an hour. Once you slide your loaf onto the stone, immediately cover it with the inverted pan. Remove the pan after 20 minutes to allow the crust to caramelize and harden.
The Lava Rock Hack
If you don't have a large roasting pan, you can create a "steam generator" using a cast-iron skillet filled with lava rocks. Place the skillet on the bottom rack of your oven while it preheats. When you are ready to bake, boil a kettle of water. Once your bread is in the oven, carefully pour half a cup of boiling water into the skillet with the lava rocks. The rocks maximize the surface area, causing the water to turn into steam almost instantaneously. Be extremely careful of the steam—it can cause severe burns if you are not cautious when opening the oven door.
The Spray Bottle Technique
For a simpler, albeit less intense method, use a heavy-duty spray bottle filled with water. Immediately after sliding your loaf onto the stone, mist the walls of the oven thoroughly before closing the door. You can repeat this once more after two minutes. While this does not provide the continuous steam of the other methods, it is often sufficient for a great crust when combined with a well-proofed loaf. It is a technique used by many professional bread makers who rely on commercial steam-injected ovens but need to replicate the effect in a domestic environment.
"True craftsmanship is displayed when a baker faces a constraint and finds a way to master it, turning a lack of equipment into a signature technique."
The Art of the Score
Scoring for Expansion
When baking free-standing loaves, scoring is not just decorative; it is a structural necessity. Because you are not using a Dutch oven, the crust may begin to set slightly faster. A deep, confident slash allows the steam to escape and provides a dedicated channel for the loaf to expand. If you don't score, the bread will find its own weak point, often resulting in a messy "blowout" along the bottom of the loaf where you don't want it. Use a sharp lame or a razor blade held at a 45-degree angle to create a "shelf" that will lift as the bread rises.
Creating a Decorative Ear
To achieve that beautiful, professional "ear" on your sourdough, your blade must be angled shallowly against the surface of the dough. A vertical cut will cause the bread to open up like a mountain, whereas an angled cut will encourage the dough to fold over itself, creating the characteristic ridge. The depth of the cut should be about one-quarter to one-half inch. Practice makes perfect here; don't be afraid to be firm and swift with your movement. A hesitant stroke leads to jagged edges, while a quick, deliberate cut leads to a smooth, elegant opening.
Managing Dough Temperature
If your dough is too warm, it will be sticky and difficult to score. If you struggle with your razor dragging through the dough, try popping the loaf into the freezer for 15 to 20 minutes before you score it. This firms up the outer layer of the dough, allowing for a much cleaner, more precise cut. This is a pro tip that many bakers overlook, but it significantly impacts the aesthetic quality of your final result. Remember: a clean score is the hallmark of a controlled, professional-quality bake.
Troubleshooting Common Issues
Addressing the Flat Loaf
If your bread comes out flat, you likely have an issue with your gluten development or your proofing duration. Without the physical walls of a Dutch oven to constrain it, weak dough will always spread. Ensure you are performing regular stretch and folds during the bulk fermentation to build internal structure. If the dough feels slack or puddle-like when you dump it out of the proofing basket, you may have over-proofed. Next time, try shortening your bulk fermentation by 30 minutes to see if you can maintain more tension.
Dealing with Dark or Pale Crusts
The color of your crust is a function of the Maillard reaction and the sugar content in your dough. If your crust is too pale, you are likely not using enough steam or your oven temperature is too low. If the crust is burning before the inside is cooked, your oven might be too hot or you may have placed the rack too high. Use the "tenting" technique: if the bread is browning too fast, loosely cover the top with a sheet of aluminum foil for the last ten minutes of the bake. This allows the center to finish cooking without darkening the exterior further.
Managing Oven Spring
If your bread isn't rising properly in the oven, check your starter activity. A weak starter will lead to a dense, flat loaf regardless of your baking method. Ensure your starter is consistently peaking about 4 to 6 hours after feeding before you mix your dough. Additionally, monitor the ambient temperature of your kitchen. Sourdough thrives in a warm environment (around 75°F to 80°F). If your kitchen is cold, consider using a proofing box or placing your dough in the oven with the light turned on to create a consistent, warm proofing zone.
Advanced Techniques for the Home Baker
Developing Flavor Through Long Fermentation
One of the distinct advantages of baking sourdough is the ability to develop complex flavors through a long, cold fermentation. By keeping your dough in the refrigerator for 24 to 48 hours, you allow the bacteria to produce more lactic and acetic acids. This results in a deeper, more sour flavor profile. When baking without a Dutch oven, this extra time also helps the dough gain structure, making it slightly easier to score and less prone to collapsing on your baking stone. Treat this time as part of the "baking process," not just a waiting period.
Using Enriched Doughs
Once you have mastered a basic country loaf, you can experiment with adding small amounts of fat, such as olive oil or butter, to your dough. Fat acts as a tenderizer and can help create a slightly softer crust, which is often easier to manage when you aren't using a lidded vessel. A sourdough focaccia or a high-hydration ciabatta-style loaf is excellent for practicing these techniques, as they are naturally designed to be baked directly on a stone or tray without needing the support of a Dutch oven.
"Every loaf you bake is an experiment, and every 'failed' loaf is simply a lesson in the chemistry of fermentation and the variables of your specific home kitchen."
The Final Flour Dusted Aesthetic
To achieve the professional artisan look, be generous with the flour you use for dusting your proofing basket. Rice flour is superior to wheat flour for this because it does not absorb moisture and will not become sticky. When you invert your loaf onto the baking peel or stone, the pattern from the basket will remain clear and sharp. You can also use a fine-mesh sieve to dust the top of the loaf with a very thin layer of flour just before scoring; this creates a beautiful contrast once the bread is baked and the scored areas open up to show the darker, caramelized crumb underneath.
The Science of Cooling
Why Cooling Matters
It might be tempting to slice into your sourdough the second it comes out of the oven, but this is a mistake. The bread continues to cook internally for a long time after it leaves the heat. The starch structure is still setting, and the moisture is redistributing throughout the loaf. If you cut it while it is steaming hot, the interior will become gummy and the texture will be ruined. Always place your loaf on a wire cooling rack to allow air to circulate around all sides, preventing the bottom from becoming soggy.
Patience is a Ingredient
Wait at least two hours before slicing. During this time, the crust will reach its final state of crispiness. If you listen closely, you can often hear the bread "singing"—a series of tiny crackling sounds caused by the cooling of the crust and the contraction of the internal crumb. This is the sound of success. It signifies that your hard work in mastering heat, steam, and timing has paid off. Your kitchen will be filled with the intoxicating aroma of toasted grains, and you will be rewarded with a loaf that is light, airy, and perfectly developed.
Storing Your Masterpiece
Once the bread is fully cooled, store it in a paper bag or a linen cloth. Avoid plastic bags, as these will trap moisture and soften your beautiful crust within hours. If you need to keep the bread for more than two days, it is better to slice it and freeze it. When you are ready to eat, a quick toast will bring back the original texture, keeping that artisan quality intact even days after the bake. This is the ultimate test of a well-baked loaf: it should remain enjoyable long after the initial excitement of the bake has faded.
Conclusion
Baking sourdough bread without a Dutch oven is not merely a compromise; it is an invitation to understand the fundamental mechanics of your oven and the behavior of your dough. By prioritizing steam management, thermal conductivity, and precise fermentation, you can unlock a level of control that a heavy cast-iron pot often hides from the baker. You have learned that the secret to a high-rise loaf is in the tension of your shaping, the precision of your scoring, and the clever application of steam using the tools already at your disposal.
The path to bakery-quality bread at home is defined by curiosity and the willingness to learn from every bake. Do not be discouraged if your first attempts at free-standing loaves are not as aesthetically perfect as you had hoped; the taste and texture will undoubtedly be superior to anything found in a grocery store aisle. As you continue to refine your process, remember that sourdough is a living, breathing project. Every kitchen, every flour brand, and every oven possesses its own unique variables, and your role as the baker is to be the conductor of these elements.
Take pride in the fact that you have moved beyond the crutch of standardized equipment. You have demonstrated that with a little creativity, the right techniques, and a fundamental understanding of baking physics, the possibilities for your home kitchen are nearly endless. Go forth and experiment, embrace the process, and above all, enjoy the incredible satisfaction of tearing into a loaf of bread that you crafted entirely on your own terms. Your journey into the heart of artisan baking has only just begun, and the results are truly yours to claim. Happy baking, and remember—if anything goes wrong, you can always blame the chef, but keep in mind that the chef is you.
Get the Next Recipe
Weekly recipes, techniques, and gear picks — straight to your inbox.