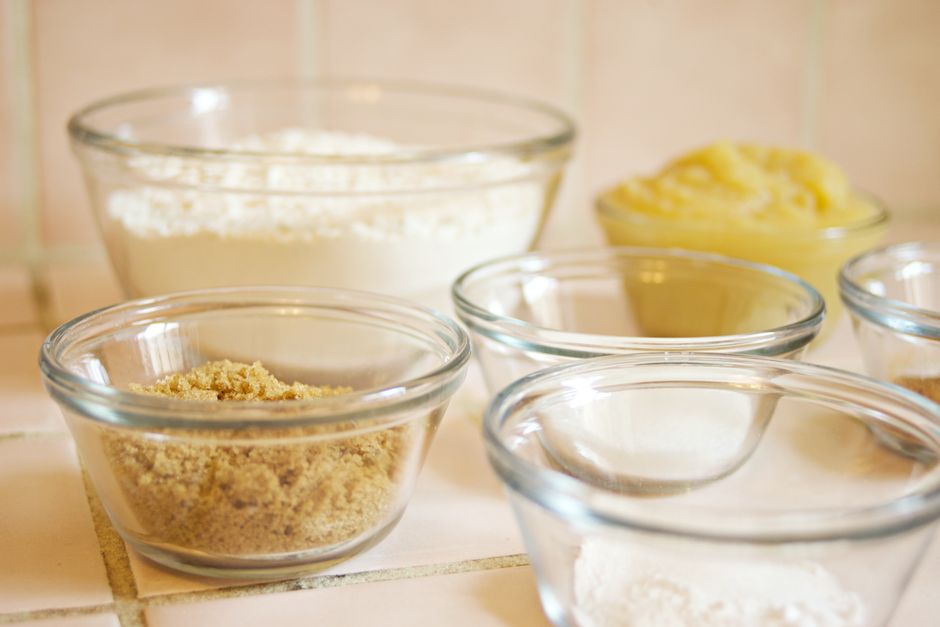
How to Keep Brown Sugar Soft (5 Easy Fixes)
We have all been there, standing in the kitchen mid-recipe, measuring cup in hand, only to reach into the pantry and discover that our brown sugar has morphed into a solid, impenetrable brick. It is one of those kitchen frustrations that feels personal, as if the sugar is conspiring against your attempt to bake the perfect batch of chocolate chip cookies. Whether you are a novice baker just learning the ropes or a seasoned home chef refining your technique, dealing with hardened sugar is a rite of passage. Understanding the science behind this crystallization is the first step toward reclaiming control over your pantry staples. It is not just about the convenience of having soft ingredients; it is about ensuring that your leavening agents and fats incorporate properly for the best possible crumb.
The secret to maintaining the perfect texture of brown sugar lies entirely in managing its moisture content. Brown sugar is essentially white granulated sugar that has been coated with molasses, which is a hygroscopic substance. This means it naturally attracts and retains water from its environment, which is exactly what gives it that signature chewiness and deep, caramel-like flavor. When that moisture evaporates due to improper storage, the sugar crystals bind together, creating the dreaded "brick" effect. By mastering the art of storage and understanding how to reintroduce that lost moisture, you can ensure your ingredients are always ready for action.
At "Blame The Chef," we believe that baking should be a stress-free, joyful experience where the only thing you have to blame is how quickly your treats disappear from the cooling rack. We are committed to providing you with the technical knowledge necessary to troubleshoot these small but impactful kitchen hurdles with confidence. In this guide, we are going to explore five tried-and-true methods to soften your sugar and, more importantly, how to prevent it from hardening in the first place. You will learn the professional standards for storage, the impact of humidity on your pantry, and the simple chemistry of hydration that keeps your baking game sharp. Let us turn those stubborn sugar bricks back into the soft, sandy delight they were meant to be.
The Science of Molasses and Moisture
To truly conquer the problem of hardened brown sugar, we must first look at what it actually is on a molecular level. Brown sugar is refined white sugar that has been processed to retain a certain percentage of molasses, which provides both the color and the distinct flavor profile. Molasses is a byproduct of the sugar refining process, containing water, minerals, and invert sugars that are highly sensitive to the surrounding atmosphere. When exposed to air, the water molecules in the molasses evaporate, leaving behind the sugar crystals to clump together.
Why Exposure Matters
The primary enemy of brown sugar is evaporation. Once the seal on a bag of brown sugar is broken, the clock starts ticking. If the sugar is left in its original paper packaging, the moisture will migrate out into the dry environment of your pantry. Professional kitchens often prioritize airtight containers to prevent this exact phenomenon. The lower the humidity in your home, the faster your sugar will harden. If you live in a climate that is particularly dry or if you store your sugar near a heat source like an oven or dishwasher, you will find that your sugar hardens much faster than in a humid, temperate environment.
The Role of Humidity
While excess humidity can make other pantry items like salt clump, it is actually a friend to brown sugar. However, the goal is not to introduce outside moisture, but to retain the internal moisture already present in the molasses coating. When you seal your sugar, you are creating a micro-climate that prevents the volatile water content from escaping. Understanding that brown sugar behaves differently than granulated white sugar is the hallmark of an experienced baker who understands that ingredient integrity is the foundation of a high-quality finished product.
"Brown sugar is a living ingredient in the context of your pantry; it responds to the environment just as a dough responds to the temperature of your kitchen. Treat it with the respect you would give a delicate starter or a temperamental pastry."
The Terracotta Disc Method
One of the most effective and professional ways to keep brown sugar soft indefinitely is the use of a terracotta sugar saver. These small, porous clay discs are designed to be soaked in water and then placed directly into your sugar container. Because terracotta is porous, it absorbs the water and then slowly releases it back into the environment of the airtight container over several weeks. It is a simple, low-tech solution that relies on basic physics to maintain the ideal hydration levels for your sugar.
How to Use a Sugar Saver
To use a terracotta disc effectively, you must first ensure it is properly prepared. Soak the disc in a bowl of clean, lukewarm water for approximately 15 to 20 minutes. Once the clay is fully saturated, pat it dry with a paper towel so there is no surface water dripping into the sugar. Place the damp disc directly into your container, burying it slightly into the sugar. You will notice that within 24 hours, even the hardest brick will begin to soften and become malleable again. This method is highly favored by professional pastry chefs who demand consistency and do not want to worry about their supplies mid-bake.
Maintenance and Longevity
These discs are incredibly durable and can be reused for years. When you notice the sugar starting to stiffen again after a month or so, simply remove the disc and repeat the soaking process. It is important to ensure that the container you are using is truly airtight; if air is constantly circulating, the disc will dry out much faster and the moisture will be lost to the room rather than staying in the sugar. If you are buying these, look for unglazed terracotta, as the glaze would prevent the necessary moisture exchange from occurring.
The Bread Slice Technique
For those times when you are in a pinch and need to soften your sugar immediately without waiting for a trip to the store, the bread slice method is a classic culinary hack. This technique works by transferring the moisture from a fresh slice of bread into the dry brown sugar. Because bread is packed with water and starch, it acts as a humidity sponge that slowly releases its moisture into the sugar crystals. It is a brilliant, waste-free way to use up the end of a loaf of sandwich bread that might otherwise go stale.
Execution of the Method
Why It Works
The osmosis process occurring within that container is fascinating. The sugar, which is highly hygroscopic, literally pulls the moisture out of the bread. You will find that when you open the container, the bread has transformed into a rock-hard crouton, while your brown sugar has become supple and easy to measure. It is critical to use plain white bread; avoid flavored breads like rye or sourdough, as the oils and aromatics could potentially impart a flavor to your sugar that you do not want in your cookies or cakes.
"The beauty of the bread slice method lies in its accessibility. You are using the simple chemistry of moisture migration to fix a storage issue using nothing but a pantry staple. It is the epitome of resourceful, effective home cooking."
The Microwave Method for Immediate Use
Sometimes, you do not have eight hours to wait for your sugar to soften. You have an oven preheated to 350 degrees Fahrenheit, the butter is creamed, and the eggs are at room temperature. In these high-pressure scenarios, the microwave method is your best friend. This technique uses a quick burst of heat to loosen the sugar crystals, making them pliable enough to measure and mix instantly. However, you must be careful, as sugar can burn or melt into a hot syrup if exposed to too much heat for too long.
Step-by-Step Microwave Softening
Place the hardened sugar into a microwave-safe bowl. Cover the sugar with a damp (not dripping wet) paper towel. Microwave the sugar on high power in 15-second intervals. After each 15-second burst, check the sugar with a fork to see if it has broken down. It usually takes between 30 to 60 seconds total. Once the sugar yields to the pressure of the fork, remove it from the microwave and use it immediately. Do not let it sit, as the sugar will quickly re-harden as it cools down to room temperature.
Safety and Quality Control
Always ensure your bowl is microwave-safe, as glass or ceramic can get extremely hot. Also, be aware that sugar heats up significantly faster than water. If you microwave it for too long, you risk melting the sugar into a caramel, which will change the texture of your final baked goods. This is a "rescue" method, not a storage method. It is meant for the moment of need, not for long-term maintenance, so treat it with the precision required for any high-temperature culinary process.
The Airtight Container Essential
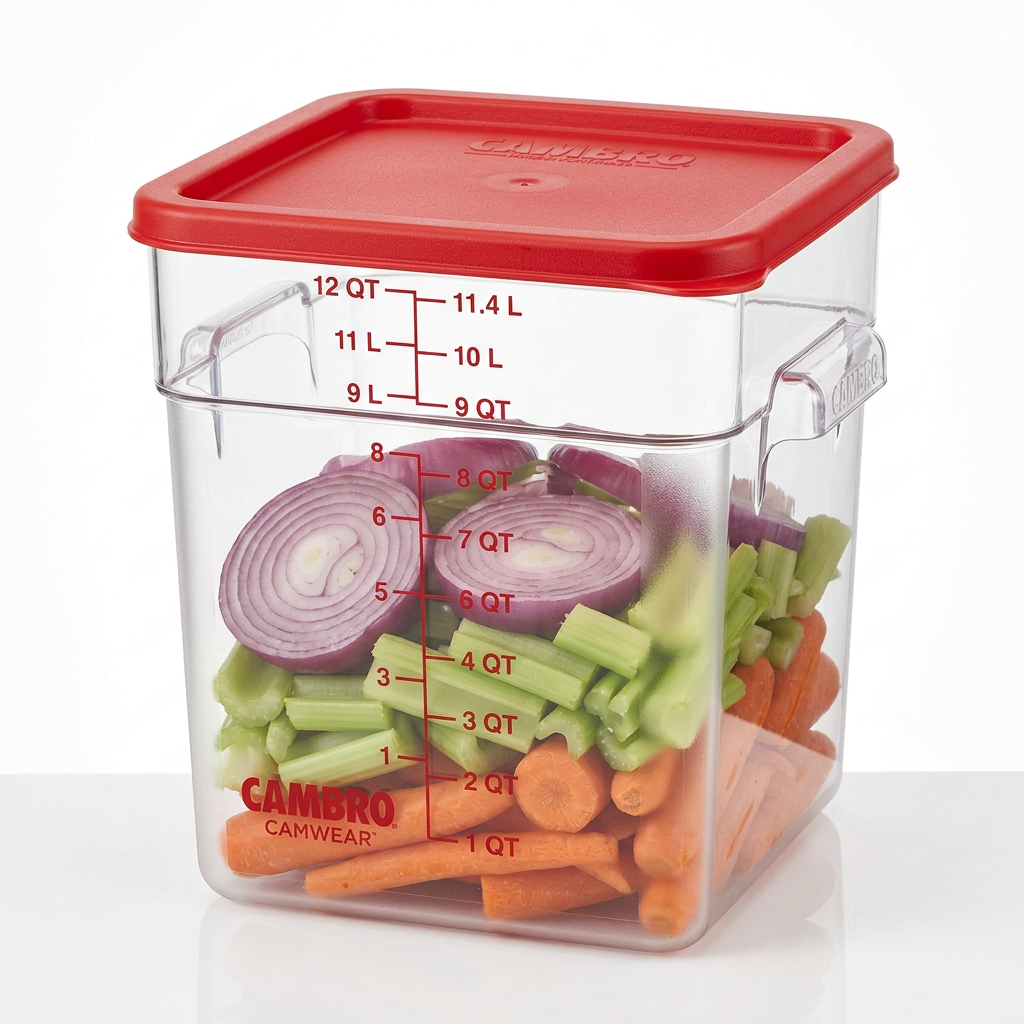
The most professional tip I can give you is to stop keeping your brown sugar in the bag it comes in. Most commercial sugar bags are made of paper or thin plastic that is porous and not designed for long-term storage once opened. Transitioning your sugar into a proper airtight storage container is the single biggest step you can take to prevent the hardening process entirely. Whether you use glass canisters with silicone-seal lids or high-quality plastic storage systems, the goal is the same: eliminate air exchange.
Choosing the Right Materials
When selecting a container, look for a lid that features a silicone gasket. Glass is an excellent material because it is non-porous and does not retain odors. If you are using a plastic container, ensure that it is food-grade and BPA-free. The size of the container should ideally match the amount of sugar you have; if you have a massive container with only a small amount of sugar, the excess air inside the container will lead to faster drying. Use a smaller container for smaller amounts of sugar to keep that internal environment stable.
The Professional Baker’s Workflow
In a professional bakeshop, ingredients are kept in specialized bins that are clearly labeled and airtight. While you do not need a commercial bin at home, you should adopt the habit of transferring your sugar immediately upon purchase. Label the container with the date of purchase. If you frequently bake, you might also consider keeping two containers: a small one for daily use and a larger, sealed one for backstock. This limits how often you are opening the main supply, which in turn limits the amount of dry air that reaches your sugar.
Using a Food Processor to Revive
If you have a massive rock of brown sugar and you need a lot of it for a large batch of muffins or a birthday cake, the food processor method is the most efficient way to break it down. While the other methods are great for smaller amounts, a food processor can pulverize a hardened brick into fine, usable sugar in seconds. This is essentially mechanical re-hydration. By breaking the bonds of the crystals physically, you restore the sugar to a state where it is easy to incorporate into your wet ingredients during the creaming stage.
Technique and Timing
Break the sugar into smaller, manageable chunks with a heavy spoon or a meat mallet before adding it to the bowl of your food processor. Pulse the processor in short, sharp bursts. Do not run it continuously, or you will create friction that heats the sugar. Once it reaches a uniform, sandy texture, transfer it immediately into an airtight container. If you leave it in the processor bowl, it will be exposed to the air and begin hardening again within hours.
The Benefit of Texture
Using a processor has a side benefit: it creates a very fine, uniform grain. This is actually ideal for baking, as it allows for a more consistent creaming process with your butter. When the sugar granules are uniform in size, they create a better emulsion with the fat, which leads to better aeration and a lighter texture in your cookies and cakes. If you are making a delicate sponge or a fine-textured shortbread, this method is actually superior to hand-mixing, as it removes any large, stubborn lumps that might cause dark spots in your finished pastry.
"A well-equipped kitchen is a symphony of tools working in harmony. The food processor is not just for pestos or doughs; it is a vital tool for ingredient maintenance, ensuring your mise-en-place is perfect before the first flame is ever lit."
Advanced Tips for Flavor Retention
Now that you know how to soften and store your brown sugar, let us discuss how to keep it fresh and flavorful. Brown sugar relies on the quality of its molasses content for that signature deep, malty flavor. If your brown sugar has become extremely light in color, it has likely lost much of its molasses through evaporation. While you can soften it, you cannot easily restore that deep, complex flavor profile. This is why proper storage is not just about texture; it is about the culinary quality of your finished goods.
The Marshmallow Trick
One secret trick used by pastry chefs to keep brown sugar soft and add a tiny bit of extra moisture is adding a single, fresh jumbo marshmallow to the container. The marshmallow acts similarly to the bread slice but lasts much longer and does not mold as quickly. The gelatin in the marshmallow helps lock in the surrounding moisture, and because it is made of sugar, it blends seamlessly into the environment of the container. It is a subtle, effective way to keep your pantry staples in prime condition for months at a time.
Assessing Sugar Quality
Always check the color and smell of your brown sugar before you bake. High-quality brown sugar should be dark, aromatic, and have a slight dampness when squeezed. If it has a "musty" smell or has turned into an off-white color, it is time to discard it. Baking is a science, and your ingredients must be fresh to perform the chemical reactions—like the Maillard reaction—that give baked goods their golden-brown color and rich, toasted flavor. Never compromise on the quality of your base ingredients.
Incorporating Molasses
If you have found that your brown sugar has lost its color and flavor, you can manually "re-brand" it. Simply take your white sugar, add a tablespoon of high-quality, unsulphured blackstrap molasses, and mix it thoroughly using a stand mixer with the paddle attachment. You have essentially created fresh brown sugar. This allows you to customize the intensity of your sugar—making it either "light" or "dark" depending on your specific needs for a particular recipe, such as a gingerbread or a dark chocolate brownie.
Conclusion
Mastering the storage and maintenance of your pantry staples is what separates the average home cook from the truly skilled baker. Brown sugar is an essential component in our culinary repertoire, providing not only sweetness but the vital moisture and color that define our favorite comfort foods. By understanding the science of moisture and utilizing these five methods—the terracotta disc, the bread slice, the microwave shortcut, the airtight container, and the food processor pulse—you have the power to conquer the brick-like texture of hardened sugar.
Never again should you have to pause your baking because of a pantry oversight. Remember that the environment of your kitchen is a variable that you can control. By keeping your sugar in an airtight container, monitoring your humidity, and using these simple, effective re-hydration techniques, you ensure that every ingredient you reach for is performing at its peak. The result is consistently better baking, less frustration, and a more enjoyable time in the kitchen.
As you move forward with your baking journey, remember that "Blame The Chef" is here to support you in every step. From the science of the crust to the chemistry of the crumb, we want you to feel confident and empowered. Take these tips, apply them to your workflow, and enjoy the satisfaction of perfect cookies, moist cakes, and perfectly caramelized toppings. After all, the best ingredient you can add to any recipe is the confidence that comes with preparation and knowledge. Happy baking, and may your sugar always stay soft and your ovens always run true to temperature.
We hope you found this deep dive into the properties and maintenance of brown sugar helpful. Whether you are a professional or a hobbyist, keeping your ingredients at their best is a fundamental skill that will pay dividends in the quality of your finished desserts. Next time you encounter a stubborn brick of sugar, smile, knowing you have the tools to handle it with the skill of a seasoned pro. Keep experimenting, keep tasting, and above all, keep baking with passion and precision. Every great dish starts with the basics, and now, those basics are well within your control.
To recap, your strategy for success is simple:
Baking is a wonderful blend of art and discipline. By mastering these small technical details, you are building a foundation of knowledge that will allow you to tackle more complex recipes with ease. When the stress of ingredient prep is removed, you are free to focus on the creative aspect of the process—the flavors, the textures, and the joy of sharing your creations with others. Thank you for choosing "Blame The Chef" to guide you through this process; we look forward to joining you in your next culinary adventure. Stay curious, stay precise, and let the results of your hard work speak for themselves in every bite.
Final word of advice: never let a hard bag of sugar be the reason you skip a dessert. You now have the knowledge to fix it in minutes. Go forth and bake with the confidence that you are the master of your kitchen, the commander of your ingredients, and the chef behind every delicious success. Whether it is a batch of chewy ginger molasses cookies, a rich caramel sauce, or a simple brown sugar glaze for your morning coffee cake, your ingredients are now, and will always be, ready when you are. Your pantry is now fully optimized, and the path to perfect bakes is clear and sweet.

Get the Next Recipe
Weekly recipes, techniques, and gear picks — straight to your inbox.
