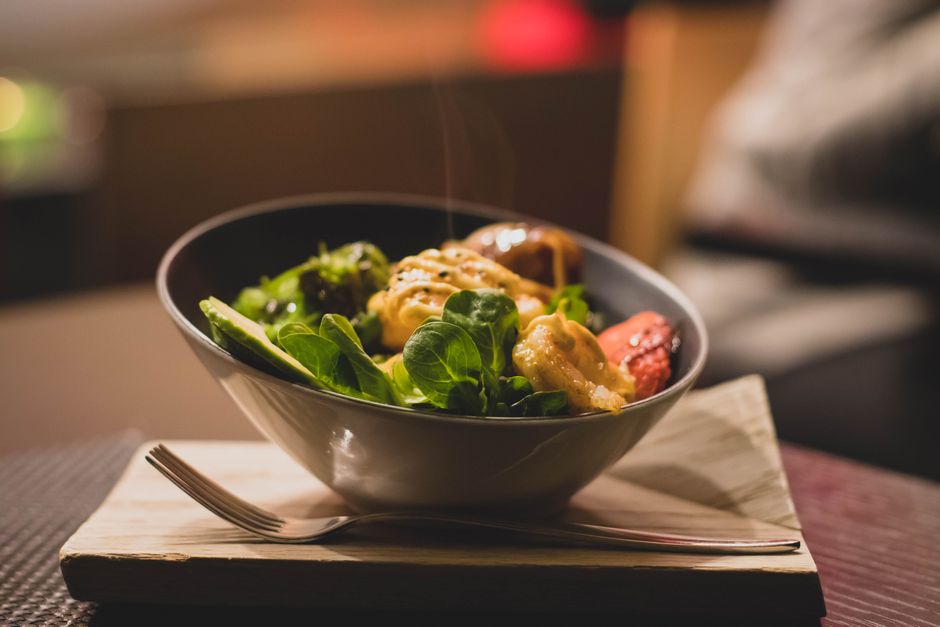
How to Keep Salad Greens Crisp All Week
We have all been there: you stand in the produce aisle, inspired by the vibrant, verdant hues of organic butter lettuce, peppery arugula, and sturdy kale, promising yourself that this is the week you will finally become a person who eats a salad every single day. You bring those greens home, tuck them neatly into the crisper drawer, and fully intend to honor your commitment to health and freshness. Yet, three days later, when you open the refrigerator door with an appetite for something crisp and refreshing, you are greeted by a sad, slimy, translucent mess that belongs in the compost bin rather than on your dinner plate. It is a heartbreaking rite of passage for every home cook, but I am here to tell you that it does not have to be your reality.
The secret to maintaining garden-fresh greens for an entire week—and sometimes even longer—lies not in expensive gadgets or magical preservation sprays, but in understanding the basic biology of leafy vegetables and the physics of moisture control. Produce, even after it has been harvested, remains a living organism that continues to respire, taking in oxygen and releasing carbon dioxide and moisture. If you trap that moisture against the delicate leaves, you create a breeding ground for bacteria and mold, which is why your greens turn to sludge within a few days. Conversely, if you leave them exposed to the dry, circulating air of your refrigerator, they quickly wilt, losing their structural integrity and that satisfying, toothsome crunch we all crave.
Achieving the perfect, crisp salad requires a shift in how you perceive your grocery store haul; you must treat your greens with the same level of care you would afford a delicate herb or a piece of high-quality produce. By implementing a consistent workflow of washing, drying, and strategic storing, you can extend the shelf life of your salad greens by upwards of seven to ten days. In this guide, we will break down the precise techniques professional chefs use to keep their mise en place pristine and flavorful. Whether you are dealing with hearty cruciferous greens or delicate spring mixes, these methods will ensure that your greens remain crisp, vibrant, and ready to eat whenever hunger strikes.
The Science of Moisture and Why It Is Your Greatest Enemy
To keep greens crisp, we must first address the concept of evapotranspiration. When you bring greens home from the store, they are already dehydrated from their time in transit and storage, so they are naturally thirsty. However, the excess surface water left behind after washing is the primary catalyst for decay. Most home cooks make the mistake of washing their greens and putting them away while they are still damp, which is essentially the culinary equivalent of wrapping your produce in a warm, moist towel—the perfect environment for rapid spoilage.
Understanding the Humidity Balance
Your refrigerator is essentially a cold, dry box designed to suck moisture out of anything unprotected. The crisper drawer is intended to mitigate this, but it is rarely enough to protect delicate leaves. You want your greens to remain in an environment with high humidity to prevent wilting, but with zero surface moisture. This is a subtle but critical distinction that separates a soggy leaf from a crisp one.
The Impact of Ethylene Gas
Many people do not realize that their salad greens are sensitive to ethylene gas, a natural plant hormone that triggers ripening and, eventually, decay. If your leafy greens are stored in the same vicinity as apples, bananas, or tomatoes, they will begin to break down significantly faster. Always isolate your delicate greens from high-ethylene producers.
"The difference between a crisp salad and a sad, wilted pile of leaves is often just a matter of minutes spent on proper prep. If you dry your greens like you mean it, they will reward you with a week of crunch."
The Art of the Initial Wash and Sanitation
The moment you bring your greens home, the clock starts ticking. Even if the bag says "triple washed," I strongly advise you to give them a second pass. Not only does this remove residual grit and bacteria, but it also allows you to rehydrate the leaves, which helps them maintain their structure. The goal here is to introduce clean, cold water to the plant cells, plumping them back up before you lock them away for storage.
The Ice Water Shock Technique
If your greens look slightly tired when you get home, submerge them in a large bowl of ice water for about ten to fifteen minutes. This thermal shock causes the cells to absorb water and firm up, effectively "waking up" the greens. Ensure the water is truly icy—the lower temperature helps minimize bacterial growth while you are performing the soak.
Rinsing and Draining
After the ice bath, gently lift the greens out of the water rather than dumping the whole bowl into a colander, which would just pour all the grit and dirt right back onto the leaves. Use a salad spinner—this is the one tool I consider non-negotiable for anyone serious about salad storage. Spin the greens thoroughly, in small batches, to ensure they are as dry as possible. If you do not have a spinner, lay the leaves out in a single layer on a clean, lint-free kitchen towel and pat them down with the utmost gentleness.
Choosing the Right Vessel for Storage
The container you choose for your greens is just as important as the preparation method. You want something that allows for a tiny bit of airflow but prevents the greens from drying out entirely. A large, airtight plastic container is usually a bad choice because it traps moisture against the leaves, leading to that dreaded slimy texture. Instead, look for containers that allow the greens a bit of room to breathe.
The Paper Towel Lining Method
This is a classic professional hack that never fails. Line the bottom of your container with one or two layers of high-quality paper towels. Place your washed and dried greens on top, and then add another layer of paper towel over the top before sealing the container. The paper towels act as a moisture sponge, absorbing any condensation that forms inside the container without letting it touch the delicate leaves of your lettuce or arugula.
Using Glass vs. Plastic
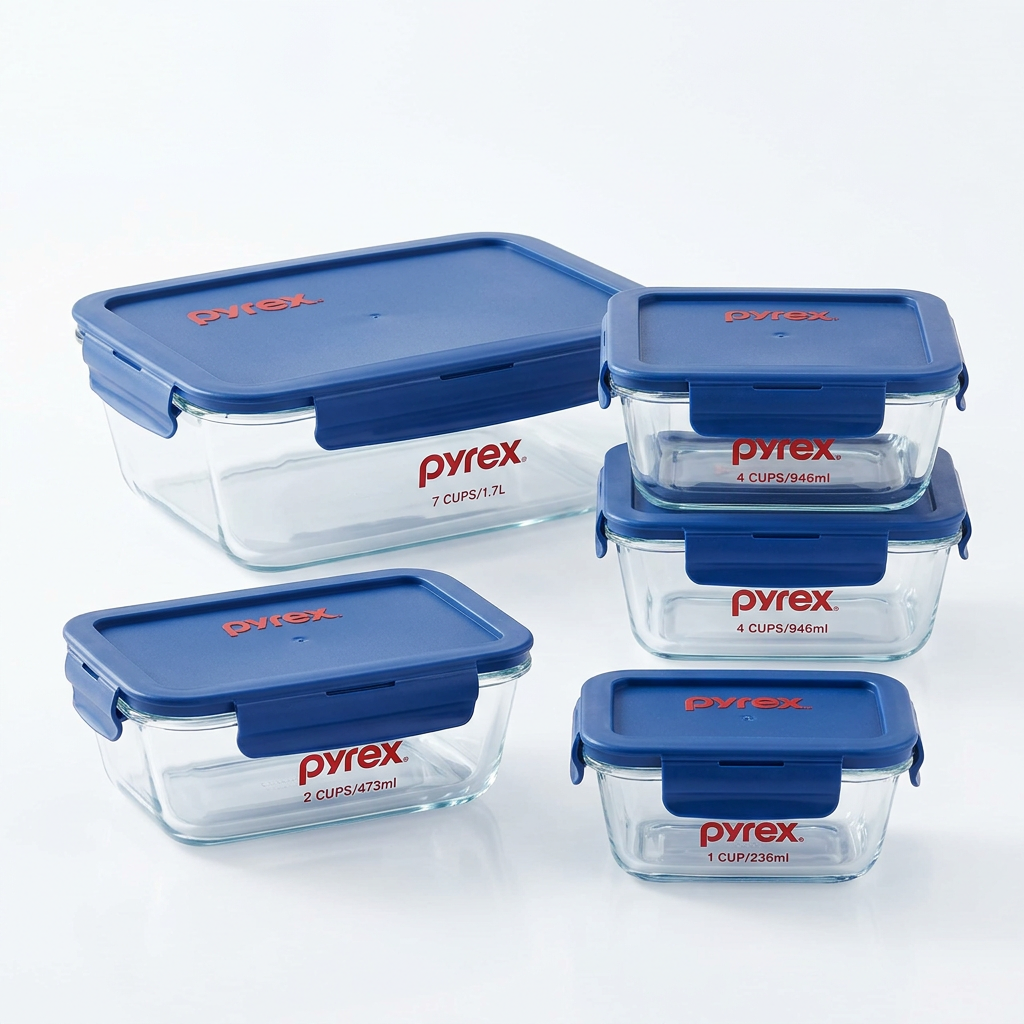
While plastic containers are lightweight and convenient, glass containers, such as Mason jars or glass lock-top bins, are often superior for longevity. Glass does not retain odors or harbor bacteria as easily as plastic can over time. Furthermore, glass provides a consistent temperature barrier. If you are storing larger batches of kale or sturdier greens, a glass container is a reliable choice that ensures your produce remains untouched by the drying effects of your refrigerator's fan.
Tailoring Storage to Specific Green Varieties
Not all greens are created equal, and treating a delicate butter lettuce the same way you treat a robust Tuscan kale will lead to disappointment. Different greens have different water contents and structural architectures, which means their storage requirements vary slightly. You must learn to identify the strength of your leaves to adjust your storage strategy accordingly.
Delicate Greens (Butter, Spring Mix, Arugula)
These greens have thin cell walls and high water content. They are the most prone to wilting and bruising. For these, the double-layer paper towel method is mandatory. Keep these in the most stable temperature zone of your fridge—usually the middle shelf or the crisper, away from the back wall where the temperature might fluctuate or, worse, freeze the leaves.
Hearty Greens (Kale, Collards, Swiss Chard)
Hearty greens are much more forgiving. You can often get away with washing them and storing them in a large zip-top bag with a single paper towel included. These greens can handle a bit more moisture and are less susceptible to the "slime factor" that plagues softer lettuces. You can also strip the stems off before storage to save space, but keep in mind that the stem acts as a natural handle for the leaf, and keeping it intact can sometimes help the leaf stay hydrated for an extra day or two.
Herbs and Mixed Greens
If you are incorporating herbs like cilantro, parsley, or dill into your salads, treat them like a bouquet of flowers. Trim the ends of the stems and place them in a glass with an inch of water, then cover the leaves loosely with a plastic bag. This keeps the herbs vibrant and hydrated. When it comes to mixed greens, always sort through them upon opening the package to remove any leaves that already show signs of bruising or darkening; one bad apple really does spoil the bunch.
"A salad is only as good as the state of its leaves. If your base is wilted, no amount of expensive vinaigrette or high-end toppings can save the experience."
The Professional Chef’s Workflow for Daily Prep
In a professional kitchen, the line cooks are not washing and prepping greens every single time a salad is ordered. They have a station, a routine, and a systematic approach to ensuring that every plate that goes out is consistently crisp. You should adopt this "mise en place" mindset at home to save time and guarantee better results.
Batch Processing on Sundays
Dedicate twenty minutes on your grocery day to the wash-and-dry cycle. By doing this all at once, you eliminate the mental hurdle of prepping a salad during a busy weeknight. If the greens are already cleaned, dried, and stored, you are significantly more likely to actually eat them. This is the biggest hurdle for most home cooks; the "convenience factor" of a pre-washed bag is what usually leads people to purchase bagged greens, even though those often spoil within 48 hours.
The "Refresh" Protocol
If you notice that your greens are looking a little bit sad mid-week, do not despair. You can perform a quick refresh by rinsing them in cold water again and letting them air dry in the salad spinner for a few minutes. While it won't be as perfect as day one, it will bring back enough structural integrity for a weeknight dinner. Avoid adding dressing until the absolute last second, as the salt in your vinaigrette will begin to break down the cellular structure of the leaves within minutes, turning them into a wilted mass.
Managing Temperature Fluctuations
Your refrigerator's temperature should ideally sit between 34°F and 38°F (1°C–3°C). Any colder and you risk freezing the high-water-content leaves, which ruins their texture, turning them into mush upon thawing. Ensure your fridge is not packed too tightly, as good airflow is essential for maintaining that consistent temperature throughout the unit. If you find your greens are freezing, move them to a warmer spot, such as the door shelves or higher up in the fridge.
Strategies for Extending Longevity Even Further
If you find yourself with an abundance of greens—perhaps from a garden harvest or a great farmer's market haul—you might need to think beyond the standard storage methods. There are specialized techniques that can push your greens to that two-week mark, provided you are meticulous about the environment you create.
The Vacuum Sealing Option
For very sturdy greens like kale or chard, a vacuum sealer can work wonders. By removing the oxygen, you effectively put the plant into a state of suspended animation. However, be cautious: if there is even a tiny bit of moisture on the leaves, vacuum sealing them will accelerate decay. This method is best reserved for greens that have been thoroughly dried in a spinner and then patted individually with paper towels.
The "Damp Cloth" Trick
Instead of paper towels, some professional chefs prefer using a clean, thin cotton tea towel. The cotton is more breathable than paper and can be washed and reused, making it a more sustainable option. If you dampen the tea towel slightly and wrap your greens in it, the cloth acts as a moisture regulator, providing the perfect level of hydration for heartier greens like romaine or endive.
Monitoring for Early Signs of Spoilage
Part of the chef's expertise is knowing when to pivot. Even with the best intentions, a single leaf might go bad. If you see a leaf that is turning transparent or developing a dark, slimy spot, remove it immediately. This prevents the spread of botrytis or bacterial rot to the surrounding leaves. Keeping your container clean and periodically checking the state of the paper towel (if it feels overly wet, replace it) will add days to your salad’s life.
The Role of Vinaigrette and Timing
We have covered the storage, but we must touch on the serving aspect, as this is where so many home cooks sabotage their efforts. The timing of when you dress your salad is the final variable in the equation of "crispness." Salt, an essential component of any vinaigrette, is highly osmotic. When it touches the surface of a leaf, it pulls water out of the plant cells, leading to an immediate loss of crunch.
Dressing Technique 101
Never dress your salad until the plate is headed to the table. If you are preparing lunch for later, keep your vinaigrette in a small, separate container and toss the greens only when you are ready to eat. If you must mix them in advance, aim for no more than ten minutes before service. This ensures the greens retain their texture, even if they have been stored for several days.
Emulsions and Their Effect
If you are using a heavy, creamy dressing, the fat content creates a barrier that can actually delay the wilting process slightly compared to a sharp, acidic vinaigrette. However, the weight of the dressing can also crush delicate greens. Therefore, use a gentle hand when tossing, ensuring the leaves are lightly coated rather than drowned in dressing. A light, airy coat of vinaigrette is all you need to elevate the natural flavors of the produce.
The "Massage" Technique for Hearty Greens
When working with kale or other tough cruciferous greens, the "massage" is your friend. Before you store them, or right before you serve, add a little olive oil or lemon juice and use your hands to firmly rub the leaves. This breaks down the tough cell walls, making them tender and easier to digest. You can do this at the start of the week for kale, and it will actually taste better after sitting for 24 hours.
Final Thoughts
Mastering the storage of salad greens is not just about saving money or reducing food waste; it is about building the foundation for a healthier lifestyle. By treating your produce with respect and understanding the science behind how it interacts with its environment, you move from a passive consumer to an active culinary participant. The simple act of washing, drying, and properly storing your greens becomes a ritual—a moment of intentionality in your kitchen that pays dividends throughout your busy week.
Remember that there is no single "magic bullet" that works for every household, as every refrigerator behaves a little differently and every climate has its own humidity challenges. Start with the paper towel method, use your salad spinner religiously, and pay close attention to your greens over the next few weeks. Adjust your storage zones, rotate your stock, and keep your containers clean. Soon enough, you will find that a crisp, vibrant salad is always within reach, just waiting for you to add your favorite toppings and a touch of well-made dressing.
Ultimately, your goal is to make the healthiest choice the most convenient choice. When your greens are clean, crisp, and ready to go, you are far more likely to throw together a quick, nutritious meal rather than reaching for something processed. This is the hallmark of a skilled home cook—the ability to keep their pantry and fridge stocked with high-quality, ready-to-use ingredients. Keep experimenting, keep your blades sharp, and above all, keep your greens crisp. Your future self, and your palate, will thank you every single time you sit down to a beautiful, fresh, and perfectly stored salad.
Get the Next Recipe
Weekly recipes, techniques, and gear picks — straight to your inbox.
