How to Make Perfect Pie Crust
Creating the perfect pie crust is an art that many home bakers aspire to master. The flaky, buttery layers that melt in your mouth set the stage for a myriad of delicious pies, whether it's a classic apple pie or a rich chocolate tart. This essential component is often what separates a good pie from a truly extraordinary one. However, achieving that ideal balance of texture and flavor can be elusive for many. Luckily, with a bit of knowledge, patience, and practice, you can make a pie crust that elevates your baking to new heights.
Understanding the mechanics of pie crust is fundamental. A pie crust relies on just a few simple ingredients: flour, fat, salt, and water. Yet, it's the techniques and methods of combining these elements that can significantly influence the outcome. The right ratio of ingredients, along with proper handling, ensures tenderness and flakiness. Moreover, the temperature of your ingredients and your workspace can also have profound effects on the crust’s final texture — the colder everything is, the flakier your crust will be.
Whether you’re preparing a sweet dessert pie or a savory quiche, mastering the art of pie crust can enhance your culinary repertoire and fill your kitchen with enticing aromas. From the selection of ingredients to the finishing touches, this guide will walk you through the process of making a perfect pie crust that will make your baked goods shine. Fine-tuning your technique will not only improve your pie crust but will also boost your confidence as a baker.
Understanding Ingredients: The Foundation of a Great Pie Crust
To create the perfect pie crust, a solid understanding of each ingredient's purpose is essential. Let's break down the key components and see what makes them indispensable.
Flour: The Backbone
The choice of flour plays a crucial role in the texture of your crust. All-purpose flour is the most common choice for pie crusts, striking a balance between tenderness and structural integrity. If you're feeling adventurous, you can experiment with pastry flour for a more tender result or bread flour for additional chewiness.
For most of your pie crust needs, all-purpose flour will suffice. Aim for a protein content between 10-12% for a balanced outcome.
Fat: The Key to Flakiness
Fat is essential for a flaky crust. It coats the flour, interrupting the formation of gluten and creating layers that contribute to the crust's texture. Butter is the gold standard for flavor, while shortening and lard can enhance flakiness. For the best results, many bakers combine butter with shortening or lard.
Pro Tip: Use unsalted butter to have more control over the salt content in your crust. Always keep your fats cold – this is vital for achieving that desired flakiness.
Salt and Water: Enhancers and Binding Agents
Salt is a flavour booster, enhancing the overall taste of your crust. It’s best to use kosher salt, as its texture allows for even distribution without overpowering your pie.
Water acts as the binding agent, bringing the dough together. The goal is to add just enough water to hydrate the flour without making it sticky:
Balancing these ingredients is essential in achieving the pastry that holds up under weight and is tender to the bite.
"The secret to a perfect pie crust lies in the balance and handling of its ingredients. Treat them with care, and they'll reward you with flaky perfection."
Tools of the Trade: Essential Equipment for Pie Making
While the recipe is vital, the right tools can elevate your baking experience. Here are some essential tools you'll need for making pie crusts.
Mixing Bowls: The Right Size Matters
Having a good set of mixing bowls in various sizes is crucial. When mixing your dry ingredients and cutting in your fat, it's essential to have enough space to work without spilling.
Pastry Cutter: For Perfect Integration
A pastry cutter is an excellent tool for cutting in your fat. It allows you to break the fat into small pieces without overly warming it by hand.
Rolling Pin: The Key to Uniformity
When it comes to rolling out your dough, a rolling pin is essential. It helps you achieve a uniform thickness, which ensures even baking.
Pie Dish: Shape Matters
Choosing the right pie dish can significantly affect how your pie bakes. Glass or ceramic dishes retain heat well and promote even baking.
Bench Scraper: Both a Cutting and a Transferring Tool
A bench scraper is a multipurpose tool that helps you handle dough effectively. It can cut, lift, and scrape your working surface, ensuring your dough doesn’t stick.
Whisk and Liquid Measuring Cups
A whisk helps combine dry ingredients or whisk together any liquids efficiently, while liquid measuring cups ensure you get precise amounts of water for your crust.
Technique: Mastering the Art of Mixing and Rolling Dough
The process of making pie dough is as important as the ingredients you use. Let’s dive into the techniques that will ensure your crust is both flavorful and flaky.
Mixing Your Dough: The Right Method
Rolling Out the Dough: Even Thickness is Key
Once your dough is mixed, it’s time to roll it out. The technique can make a significant difference in your pie's final texture.
"A perfectly rolled pie crust should be about the thickness of a quarter; thin enough to be delicate, yet strong enough to hold its shape."
Crimping and Finishing Touches
The final part of your pie crust journey involves crimping the edges and preparing for baking.
Pre-Baking the Crust: When It’s Necessary
For pies filled with custard or other fillings that require a long baking time, pre-baking (or blind baking) ensures the crust remains flaky and doesn't become soggy.
Variations on a Classic: Sweet vs. Savory Crusts
While the foundational technique remains the same, there are subtle differences in making sweet versus savory crusts. Understanding these distinctions allows you to adapt your method based on the dish you are preparing.
Sweet Pie Crusts
Sweet pie crusts, often called pâté sucrée, include sugar in the mix. The incorporation of sugar enhances flavor and creates a more tender crust.
Sweet crusts are typically used for dessert pies like fruit tarts, creamy custards, and cheese cakes. The baking time may vary slightly; these crusts typically bake for a shorter duration.
Savory Pie Crusts
Savory crusts, often used for quiches or meat pies, embrace different flavors and do not contain sugar. Fat remains consistent, but herbs or spices can elevate the flavor profile.
Savory crusts can be prepared using the same basic method, but adjust your salt level to balance the flavors in your filling.
Troubleshooting Common Pie Crust Issues
Even the most skilled bakers encounter troubles from time to time. Here are some common mistakes and how to troubleshoot them effectively.
Dry Crust
If your pie dough turns out too dry, it can become crumbly and difficult to work with.
Tough Crust
A tough crust usually results from overworking the dough or too much water.
Shrinking Crust
If your crust shrinks away from the pie dish during baking, it can be frustrating.
Creative Pie Ideas: Beyond the Classic Apple Pie
Once you’ve mastered the art of the pie crust, it’s time to get creative! Here are a few delightful pies to inspire your next baking session:
Fresh Fruit Galette
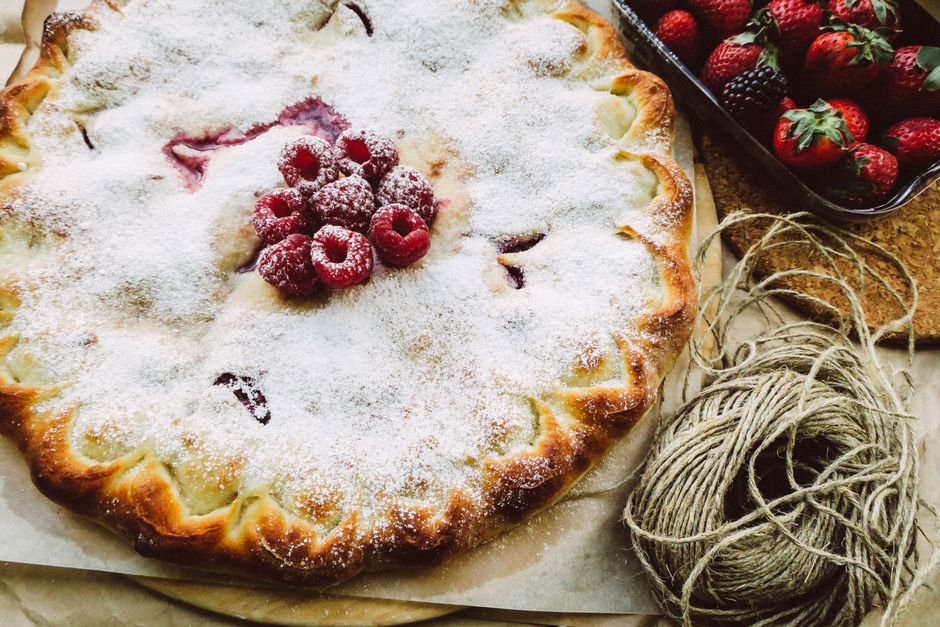
A galette is a freeform pie that allows you to showcase seasonal fruits without needing to fuss over a traditional pie shape.
Savory Quiche
Whip up a quiche using your savory pie crust for a delightful brunch or dinner option.
Chocolate Cream Pie
For those with a sweet tooth, a rich chocolate cream pie is a decadent choice.
Lemon Meringue Pie
Bright and tangy, a lemon meringue pie balances a sweet and tart filling under a fluffy meringue topping.
Final Thoughts
Mastering the perfect pie crust is a rite of passage for any serious home baker. It combines science, skill, and a touch of artistry. By understanding your ingredients, honing your techniques, and troubleshooting challenges along the way, you’re well on your path to creating pies that will impress family and friends alike.
Remember, pie making is as much about joy as it is about precision. Enjoy the process, don’t be afraid to experiment, and allow yourself the grace to learn through trial and error. From sweet to savory, flaky to decadent, the perfect pie crust awaits you — all you need are the right skills and a dash of love. Happy baking!




Get the Next Recipe
Weekly recipes, techniques, and gear picks — straight to your inbox.
