
How to Measure Sticky Ingredients Like Honey
We have all been there, standing in the middle of a kitchen disaster that seems to manifest the moment a recipe calls for a sticky, viscous ingredient like honey, molasses, or corn syrup. You reach for your favorite measuring cup, pour in that golden, slow-moving nectar, and watch in agony as half of it clings to the glass while the other half inevitably drips onto your clean countertop. It is a frustration that has plagued home cooks for generations, turning a simple baking project into a sticky, time-consuming chore. Most people simply accept this messy reality as part of the culinary process, but it does not have to be that way. By understanding the physics of viscosity and employing a few professional trade secrets, you can regain control over your ingredients and ensure your measurements are precise every single time.
The importance of accuracy in baking cannot be overstated, particularly when dealing with high-sugar syrups that define the structural integrity of your cakes, cookies, and glazes. When you lose a tablespoon of honey to the sides of a measuring cup, you are not just losing a bit of sweetness; you are fundamentally altering the moisture content and chemical reaction of your dough. This leads to baked goods that are dry, crumbly, or lacking the signature chew that honey or molasses provides. In professional kitchens, we rely on weight rather than volume, but for those who prefer the traditional methods of home cooking, there are ingenious ways to bridge the gap. Learning to manipulate these stubborn liquids is a rite of passage for any home cook looking to elevate their technique from amateur to expert.
In the following guide, we will dismantle the mystery behind measuring sticky ingredients and provide you with a toolkit of practical, effective strategies. We will explore the science of lubrication, the benefits of scale-based measurement, and the various hacks that chefs use behind closed doors to keep their stations clean and their recipes accurate. Whether you are working with thick, amber-colored honey or the dark, complex depth of blackstrap molasses, these techniques will save you time, reduce waste, and make your kitchen experience significantly more enjoyable. Prepare to say goodbye to the frantic scrubbing of measuring cups and the annoying waste of expensive ingredients, because we are going to master the art of the pour.
The Science of Viscosity and Adhesion
Understanding why ingredients like honey and molasses stick to your tools requires a quick dive into the world of fluid dynamics. At a molecular level, these liquids possess high viscosity, which is a measure of a fluid's resistance to flow. When you pour honey, the intermolecular forces (specifically cohesion) cause the liquid to want to stick to itself, while the adhesion between the honey and the surface of your measuring cup creates a stubborn bond that gravity often fails to break. As the temperature of the honey drops, these forces intensify, making the substance thicker and even harder to measure accurately.
To combat this, you must understand how heat influences the molecular structure of the syrup. Warming your honey slightly reduces its viscosity, allowing it to flow more freely and release from surfaces more easily. However, you must be careful not to overheat it, as this can caramelize the sugars prematurely or alter the delicate floral notes if you are using a premium, raw honey. We aim for a temperature of approximately 95 to 100 degrees Fahrenheit, which is warm enough to improve flow but cool enough to maintain the integrity of the ingredient.
"The secret to working with viscous liquids isn't just about having the right tools; it’s about understanding the environment in which your ingredients exist. When you master the temperature of your workspace and the physics of your equipment, you turn a chore into a seamless culinary flow."
Managing Room Temperature
If you store your honey in a pantry that drops below 65 degrees, crystallization is likely to occur. While crystals are natural, they significantly impede your ability to measure effectively. Before measuring, ensure your honey is at a stable room temperature. If it has crystallized, a gentle water bath—placing the jar in a bowl of warm water for ten minutes—will return it to a fluid state that is far easier to handle.
The Role of Surface Tension
Surface tension acts as the invisible barrier that keeps honey stuck to your measuring vessel. By modifying the surface, we can effectively "break" this tension. This is where the most common professional hack comes into play: lubrication. By coating the measuring vessel with a thin film of neutral oil or non-stick spray, you change the surface energy, allowing the honey to slide out completely without leaving a sticky residue behind.
The Professional Standard: Measuring by Weight
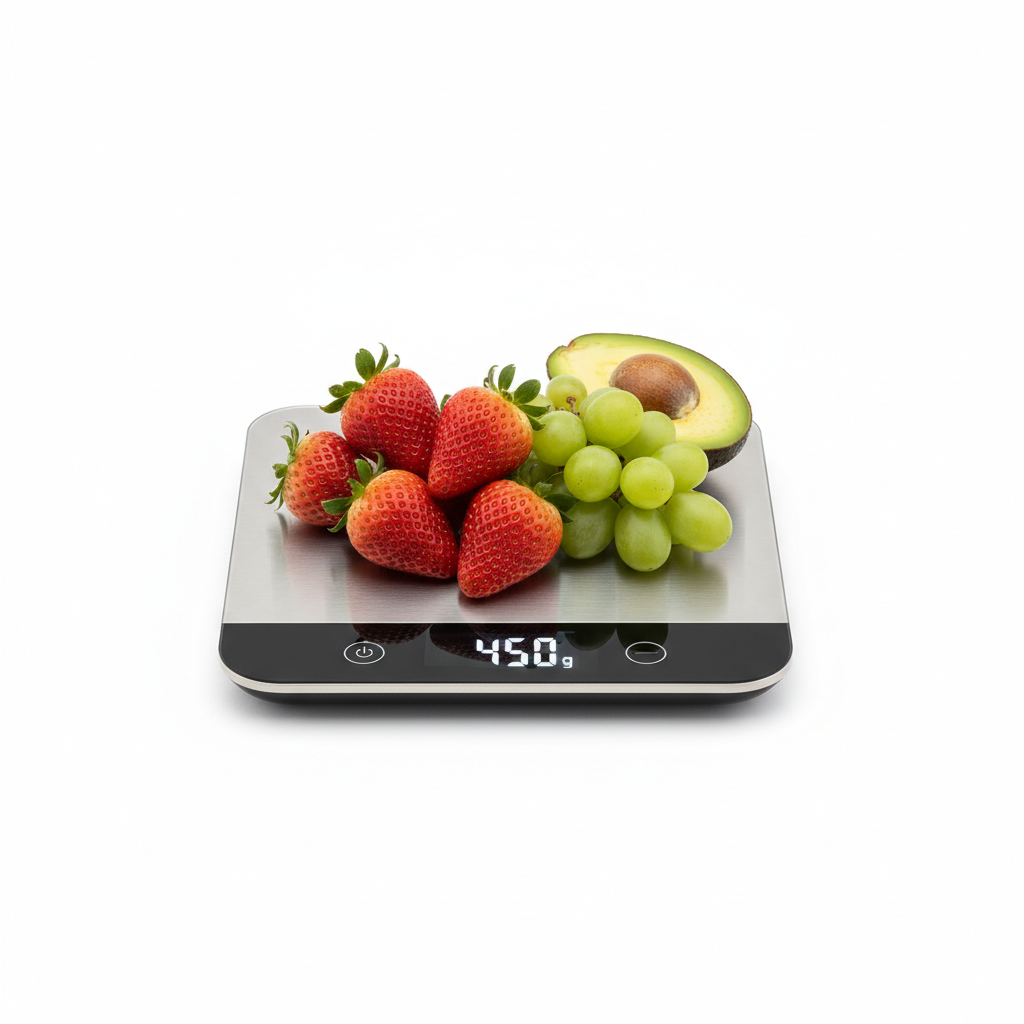
If you are serious about baking and consistency, it is time to move away from volume measurements altogether. A digital kitchen scale is the single most important investment a home cook can make. When a recipe calls for a "cup of honey," the actual weight can vary wildly depending on the density of the honey, its moisture content, and how much is left stuck to the measuring cup. By weighing your ingredients in grams or ounces, you remove the element of error entirely.
Most bakers agree that honey weighs approximately 340 grams per cup, but this can fluctuate. By using a scale, you can place your mixing bowl directly on the platform, tare it to zero, and pour the honey directly into the bowl. This eliminates the need for a measuring cup entirely, meaning zero waste, no sticky cleanup, and perfect accuracy. This is how high-volume bakeries ensure that every loaf of bread or batch of granola bars tastes identical, regardless of who is working the station.
Setting Up Your Workspace for Success
Precision in Recipes
When you weigh your ingredients, you gain the ability to scale your recipes up or down with mathematical precision. If you decide to double a recipe for a large party, you won't have to worry about the cumulative error of measuring multiple cups of sticky syrup. Instead, you simply multiply your gram weight by two, keeping your ratio of liquid to dry ingredients perfectly balanced for the best possible crumb and structure.
The Lubrication Technique
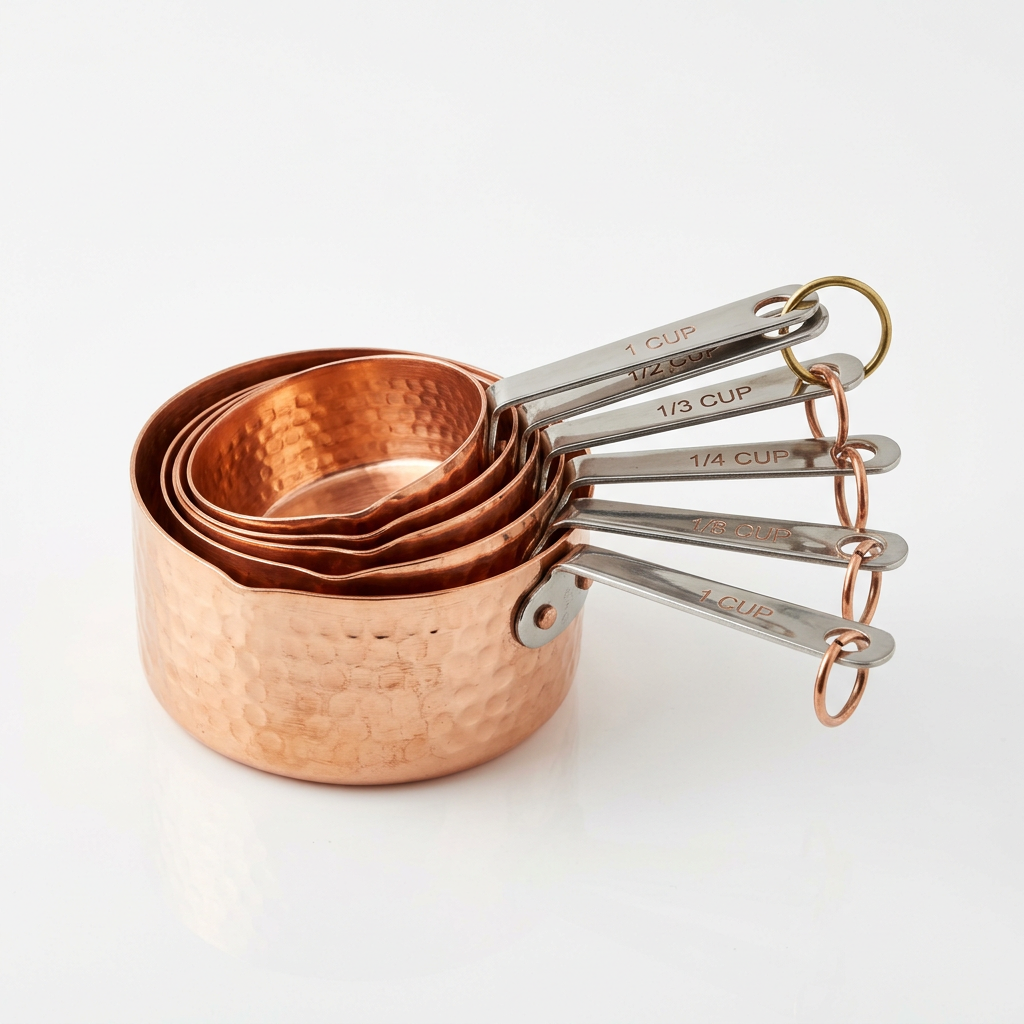
When a recipe demands the use of a measuring cup, the lubrication method is your best friend. This technique works by creating a hydrophobic layer between the glass or plastic of the measuring cup and the hydrophilic honey. Neutral-flavored oils, such as grapeseed oil, avocado oil, or a flavorless vegetable oil, are ideal for this purpose. Avoid using heavy olive oils, as their flavor profile might interfere with delicate desserts.
The process is remarkably simple but requires a mindful approach to ensure the entire interior surface is covered. You do not need a pool of oil at the bottom of the cup; you only need a microscopic layer. If you use too much oil, it will pool on top of your honey or create streaks in your final product, which can affect the emulsification process in cake batters or doughs.
"A well-lubricated vessel is the difference between a frustrating baking experience and a fluid, efficient process. Always prioritize thin, even coverage over quantity when preparing your tools."
Step-by-Step Lubrication
* Select a measuring cup that is appropriate for the volume required.
* Add a few drops of neutral oil to the cup.
* Tilt and rotate the cup to ensure the oil coats every millimeter of the interior surface, including the rim.
* Hold the cup upside down over a scrap bowl for five seconds to let any excess oil drain out.
* Measure your honey, then pour it into your bowl; you will notice the honey slides out in one smooth, continuous motion.
When to Avoid Lubrication
While this technique is perfect for honey, molasses, and corn syrup, it should be avoided if you are measuring very small amounts of liquid where the added oil would significantly change the recipe's fat-to-sugar ratio. Additionally, if you are working with a delicate mousse or a meringue where oil residue could cause the fat-sensitive proteins to collapse, skip the lubrication and opt for the heat-based method or the weight-based method instead.
The Heat Transfer Strategy
In instances where you cannot use oil, or when working with exceptionally thick molasses, applying a gentle amount of heat is the most reliable way to ensure your measurements are precise. Heat lowers the internal friction of the liquid, causing it to flow more like water. This is especially useful in professional environments where you may be working with bulk containers of ingredients that have been stored in a cooler area.
The goal here is not to cook the ingredient, but simply to make it more pliable. A double boiler or a very short burst in the microwave can work, but you must be vigilant about the temperature. If you heat honey to the point of boiling, you lose the subtle, volatile aromatics that make it a premium ingredient. For most applications, 100 degrees Fahrenheit is the absolute ceiling for this technique.
Microwave Best Practices
If you choose to use the microwave to soften your honey, do so in ten-second increments at 50% power. This prevents the "hot spot" effect where the middle of the honey might burn while the exterior remains cool. Always stir the honey after each interval to distribute the heat evenly. Once the honey reaches a consistency similar to a thick syrup or maple syrup, it is ready to be measured.
Managing Residual Heat
If you have warmed your container or the honey itself, be aware that the heat will transfer to your other ingredients. If you are adding this honey to a mixture that includes butter, the temperature of the honey could cause the butter to melt prematurely. Allow the honey to sit for a minute or two to return to a manageable room temperature before incorporating it into a creamed mixture, ensuring that you maintain the texture of your butter-sugar base.
Advanced Tips for Clean Measuring
Beyond the primary techniques, there are several subtle "chef's tricks" that can help maintain cleanliness and accuracy in your kitchen. One of these is the "water displacement" method, though it is rarely used for sticky liquids because it dilutes the ingredient. However, there is a variation using warm water that can be incredibly effective if you are dealing with a measuring cup that already has stubborn remnants of honey in it.
Another technique involves using the right type of tool for the job. Often, the shape of your measuring tool is the enemy. A deep, narrow measuring cup provides more surface area for the liquid to cling to. Using a wide-mouthed, shallow vessel makes it much easier to scrape the ingredient out with a silicone spatula. In the professional world, we prefer silicone tools specifically because they are flexible enough to conform to the shape of any container, ensuring every last drop of the ingredient makes it into the mixing bowl.
The Power of the Silicone Spatula
Never underestimate the effectiveness of a high-quality, heat-resistant silicone spatula. When measuring sticky liquids, use the spatula to scrape the sides of the measuring vessel firmly. Unlike metal spoons or plastic scoops, silicone acts like a squeegee, removing almost 100% of the viscous liquid. When buying tools, look for "one-piece" silicone spatulas to prevent food particles and sticky syrups from getting trapped in the seams where the handle meets the blade.
Organizing Your Mise en Place
Troubleshooting Common Measurement Issues
Even the most seasoned home cooks encounter problems. Perhaps your honey started to crystallize halfway through the measurement, or perhaps you realized too late that your scale was calibrated incorrectly. The most important thing to remember is that baking is a chemistry experiment, but it is one that allows for minor adjustments.
If you find that your honey has become too thick to measure accurately, do not force it. Pushing cold, stiff honey through a measuring cup often leads to "air pockets," where you think you have measured a full cup, but in reality, you have only captured three-quarters of a cup because of the trapped air within the dense syrup. Always tap your measuring vessel against the counter to force air bubbles to the surface. This simple vibration technique is standard in pastry shops to ensure the density of the ingredient is uniform.
"Consistency is the hallmark of the professional. By mastering the small details—like tapping your cups to release trapped air—you ensure that your results are predictable and your final product is of the highest quality."
Dealing with Air Pockets
* Pour the honey in stages: Add one-third of the measurement, tap the cup on the counter, and repeat.
* Watch for the "level" line: Because honey is so thick, the surface will often appear higher than it is due to the meniscus effect.
* Always use eye-level confirmation: Get down to the level of the measuring mark on the cup to ensure you aren't reading the liquid at an angle, which can cause a 5-10% error in volume.
Correcting Over-Pouring
If you accidentally pour more than you need into your mixing bowl, do not panic. Use your silicone spatula to gently scoop it out. If you have already mixed it into the batter, there is no way to remove it. In this case, you may need to increase your other ingredients proportionally to maintain the ratio. This is why weighing your ingredients before adding them to the bowl is so critical; it gives you a chance to rectify the error before it affects the entire batch.
Culinary Applications and Storage
Knowing how to measure honey is only half the battle; knowing how to incorporate it properly is where the real magic happens. Honey behaves differently than granulated sugar because it is a hygroscopic ingredient—it attracts and retains moisture from the air. This is why honey-based cakes stay moist for days longer than those made with plain sugar. However, this also means that if you live in a high-humidity environment, your honey-based baked goods can become sticky or soft very quickly.
Storage is also part of the technique. Always store your honey in an airtight container. If it is exposed to air, it will absorb moisture, which can lead to fermentation if the moisture content rises above 18%. Furthermore, keep your honey away from direct light and extreme temperature fluctuations. A dark pantry at a steady room temperature of 70 degrees is the ideal environment for long-term storage and easier measuring during your future baking sessions.
Understanding Ingredient Ratios
When substituting honey for sugar in a recipe, remember that honey is sweeter and contains more water. The general rule of thumb is to use 3/4 cup of honey for every 1 cup of granulated sugar and reduce the other liquids in the recipe by about 1/4 cup. You should also reduce the oven temperature by 25 degrees Fahrenheit, as the high sugar content of honey causes it to brown—and potentially burn—much faster than white sugar.
Final Prep Checklist
* Check your oven temperature calibration to ensure your baked goods don't brown too quickly.
* Ensure your mixing bowls are completely dry, as even a small amount of water can change the texture of honey or molasses.
* Keep a warm, damp cloth nearby for quick cleanup during the process; sugar-based syrups are much easier to clean while they are still warm.
* Maintain a "clean-as-you-go" mentality to prevent sticky residues from migrating onto other surfaces.
Conclusion
Mastering the measurement of sticky ingredients like honey, molasses, and syrups is a foundational skill that transforms the way you approach the craft of baking. By shifting your perspective from viewing these ingredients as a messy burden to viewing them as a precise chemical component, you unlock a higher level of accuracy and satisfaction in your kitchen. Whether you adopt the professional standard of weighing your ingredients on a digital scale, or you prefer the traditional route of lubricating your measuring cups to ensure a clean release, the techniques we have discussed here provide the framework you need to succeed.
Consistency is the thread that runs through every great culinary success story. It is the result of thousands of small, disciplined choices—measuring with care, understanding the properties of your ingredients, and maintaining a well-ordered workspace. Do not be discouraged if it takes a few tries to get your process down perfectly. Baking is a practice, and like any craft, it rewards those who are patient and diligent.
As you continue your culinary journey, remember that the "Blame the Chef" philosophy is all about empowerment. The chef—that is, you—is in complete control of the environment, the technique, and the result. No longer will you be held hostage by the clingy, stubborn nature of honey. You now possess the knowledge to handle it with ease, ensuring that every batch of cookies, every glaze, and every loaf of bread is balanced, delicious, and exactly as you intended. Happy baking, and may your measurements always be spot on.

Get the Next Recipe
Weekly recipes, techniques, and gear picks — straight to your inbox.
