
How to Measure Sticky Ingredients Like Honey
Few things in the professional kitchen are as universally loathed as the simple act of measuring honey, molasses, or golden syrup. We have all stood there, measuring spoon in hand, watching a viscous, amber ribbon slowly descend from the jar, feeling the seconds tick away as our mise-en-place prep falls behind schedule. It is a sticky, frustrating, and ultimately inefficient dance that often results in more product on the side of the jar or the counter than in the mixing bowl. Yet, honey is a foundational ingredient in everything from delicate glazes to robust artisanal breads, making the mastery of its handling a non-negotiable skill for the home cook who aspires to professional results.
When we talk about precision in baking, we are rarely just discussing the act of following a recipe; we are discussing the physics of culinary success. Sticky ingredients are notorious for their lack of cooperation, clinging to glass and plastic alike due to their high sugar content and unique molecular density. If you find yourself scraping the sides of a measuring cup with a spatula, you are losing money, losing flavor, and—most importantly—losing the precise ratio required for your chemistry-driven baked goods. Learning to handle these substances with grace will not only clean up your workspace but will ensure that the sugar-to-fat ratio in your cookies remains consistent every single time you preheat the oven.
In this guide, we are going to dismantle the struggle of the sticky ingredient, moving away from archaic cup-based measurements toward the gold standard of culinary accuracy. I will show you how to manipulate viscosity using temperature, physical barriers, and simple math to ensure every gram of honey makes it into your dish. By the time we reach the end of this deep dive, you will approach your pantry with the confidence of a line cook and the precision of a pastry chef. Prepare to say goodbye to the frustration of the slow-drip pour and hello to a cleaner, faster, and more professional way of working in your kitchen.
The Science of Viscosity and Surface Tension
At the heart of the sticky struggle is the concept of viscosity, which is essentially a liquid’s resistance to flow. Honey, in particular, is a supersaturated solution of sugars, primarily glucose and fructose, with very little water content. Because it is so dense, it exhibits high internal friction. When you pour honey into a dry, room-temperature measuring cup, the molecules at the surface of the cup experience a strong attraction to the glass, a phenomenon known as adhesion. This is why the honey "clings" to the sides, refusing to release even when you turn the vessel upside down for a full minute.
To combat this, we must look toward surface tension and how it interacts with the materials of your kitchen tools. If you are using a standard plastic measuring cup, the plastic’s texture creates a higher surface area, giving the honey more "grip." By understanding that this is a physical battle between the pull of gravity and the strength of the adhesive force, we can begin to implement techniques that tip the scales in our favor. It is not just about moving the honey; it is about reducing the friction that holds it back.
The Thermal Advantage
Heat is your greatest ally when working with thick syrups. When you warm honey, you decrease its viscosity significantly, allowing it to pour like water rather than sludge. You do not need to boil it; simply placing your jar in a bowl of warm water for five minutes will alter the kinetic energy of the sugar molecules, allowing them to slide past one another much more easily.
"When you warm your honey, you are essentially lubricating the molecular structure, allowing it to flow with minimal resistance. A simple warm water bath is the difference between a frustrating pour and a seamless, professional movement."
Material Selection Matters
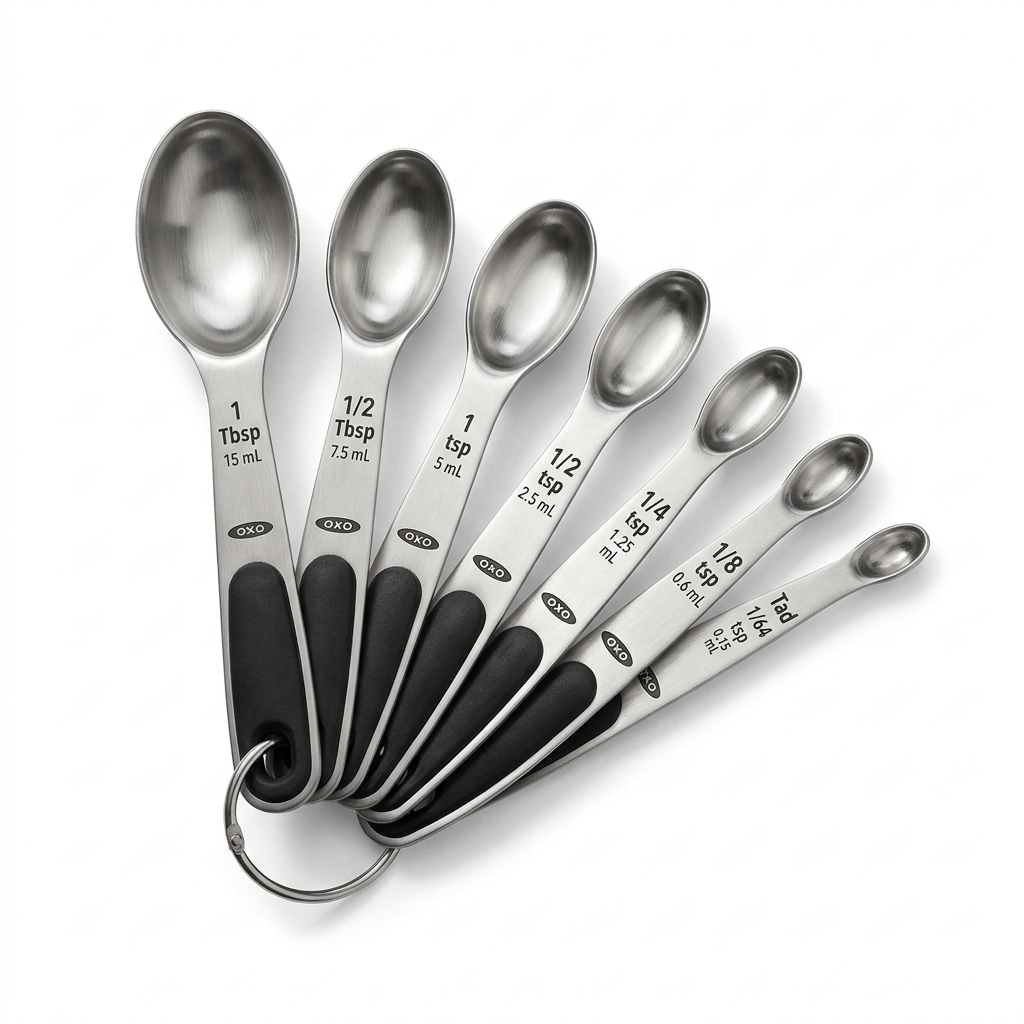
Not all tools are created equal. Professional kitchens favor metal or high-grade silicone for a reason. Unlike porous plastic, which can trap sticky residues, non-stick silicone or polished stainless steel allows for a cleaner release. Investing in a silicone measuring set is one of the most practical upgrades a home cook can make to their kit. The flexibility of the material allows you to pinch the sides, creating a funnel that directs the honey directly into your mixing bowl without the dreaded spillover.
The Master Technique: The Oil-Coat Method
If there is one "secret" that separates the professional pastry chef from the home hobbyist, it is the simple, elegant oil-coat method. It is a trick that sounds too good to be true, yet it functions on the basic principles of culinary physics. By creating a microscopic barrier between the sticky ingredient and the measuring vessel, you essentially render the adhesive forces inert. The honey will literally slide out of the cup in a single, beautiful motion, leaving nothing behind but a faint, glistening film of oil.
To execute this, you should select a neutral-flavored oil, such as grapeseed, canola, or a very light sunflower oil. Using a spray bottle is the most efficient way to achieve an even, thin coating, but you can also use a small pastry brush. It is vital that you do not overdo it; you only need a thin, uniform sheen. If you add too much oil, it can alter the chemical composition of your recipe, which could affect the crumb structure of your cakes or the elasticity of your doughs.
Step-by-Step Implementation
This method works for almost any high-viscosity ingredient, including peanut butter, corn syrup, blackstrap molasses, and even thick condensed milks. By the time you are finished, you will find that your cleanup time is cut in half. The dishwashing process becomes a rinse rather than a scrub, protecting your gear from long-term wear and tear caused by abrasive scouring pads.
Precision Through Weight: The Digital Scale
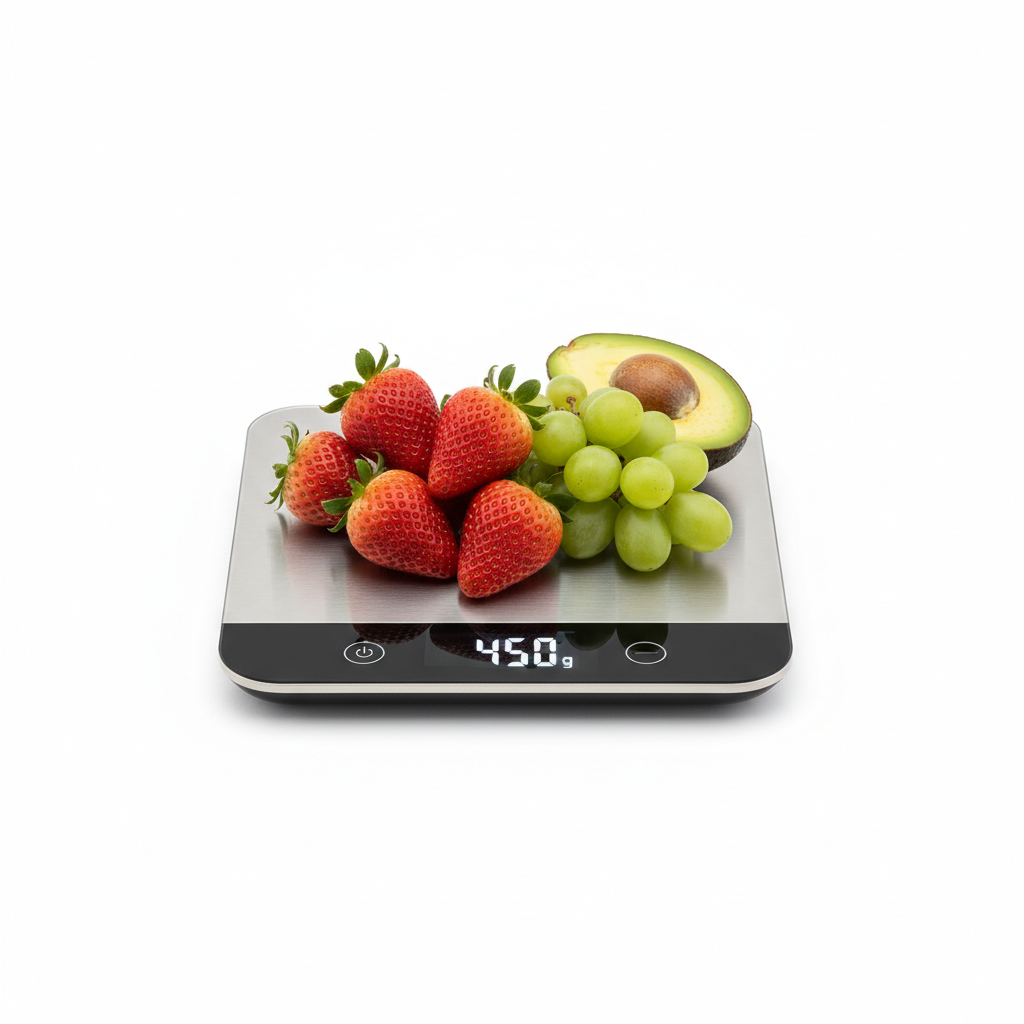
While the oil-coat method is a brilliant mechanical workaround, the only true way to achieve professional consistency is to abandon volume measurements entirely in favor of mass-based measurements. In the professional culinary world, we rarely use measuring cups for anything other than liquids like water or milk. When dealing with honey, we rely exclusively on a digital kitchen scale. Measuring in grams provides a level of repeatability that volume measurements simply cannot touch, especially when dealing with variables like temperature or the crystallization level of the honey.
When you use a scale, you are removing the error of the "leveling off" process. How tightly do you pack your honey? Did you account for the air bubbles trapped in the cup? When you weigh your ingredients, these questions vanish. You place your bowl on the scale, hit "tare" to zero it out, and pour the honey until you hit your target weight. It is cleaner, faster, and more accurate.
The Importance of Tare
The "tare" function is the most important button on your scale. It allows you to measure ingredients directly into your primary mixing vessel. By eliminating the need for an intermediate measuring cup, you effectively eliminate the need to clean an extra dish. This is the definition of mise-en-place efficiency. You weigh your honey, you tare, you add your butter, you tare, you add your flour. In five minutes, you have a perfectly measured dough ready for the mixer.
"True professional baking is not about how many cups you fill, but about the total mass of the ingredients. A digital scale is the single most important investment you can make for your culinary development."
Dealing with Scaling Errors
If you overshoot your target weight, do not panic. Because you are working with a scale, you have the ability to calculate the rest of your recipe in real-time. If you accidentally pour five grams too much honey, you can simply adjust your other liquid ingredients by a proportional amount. This is a level of control you simply cannot achieve when you are trying to "eyeball" a fraction of a tablespoon left in a plastic measuring cup.
Mastering Specialized Tools
Beyond the basics, there are specific tools designed to handle the unique physics of sticky ingredients. The most notable is the plunger-style measuring cup. These are designed with a silicone seal on the inside that acts as a piston. As you push the plunger, it wipes the walls of the cylinder clean, ensuring that 100% of the contents are deposited into your bowl. This is particularly useful for substances like honey or nut butters that are too thick to "pour" efficiently.
For the home cook who prefers traditional methods, the offset spatula remains the gold standard of cleanup. A long-handled, narrow offset spatula allows you to reach into deep jars and narrow measuring vessels to recover every last milligram of product. Using the edge of the spatula, you can create a clean line across the top of a measuring cup, ensuring that your measurements are level without needing a straight-edge tool.
Maintenance and Care
Treat your measuring tools with the same respect you treat your chef's knife. Honey can be corrosive to cheap materials over time, and the sugars can create a crust that acts as a breeding ground for bacteria if not cleaned properly. Always wash your measuring tools in hot, soapy water immediately after use. If you leave a sticky cup to soak in the sink, the honey will dissolve, but the oil residue—if you used the oil-coat method—will create a film that is difficult to remove without a degreasing agent.
The Role of Temperature in Tool Selection
If you are working in a cold kitchen, your honey may have partially crystallized. In this state, it is essentially a solid. Using a metal tool is preferable here because you can briefly heat the metal over a gas flame to help the honey slide off. Never attempt to heat plastic tools this way, as they will melt and warp. If you use a metal tool, ensure it is room temperature before it touches the honey to avoid a sudden shock that could accelerate crystallization within the jar.
The Psychology of the Organized Kitchen
Beyond the technical aspects of measuring, there is a psychological component to the process. When you approach your kitchen with a structured plan, you reduce the stress of the process. Sticky ingredients are inherently messy, and if you are not organized, they have a way of coating every surface you touch. By creating a dedicated "prep zone" and ensuring your tools are staged before you open the honey jar, you control the chaos.
Think of your workflow as a narrative. You start with the dry goods, move to the sticky ingredients, and finish with the liquids. This sequence prevents the "sticky spoon" phenomenon, where your fingers get coated in honey, leading to a domino effect of residue on your mixing bowl, your phone, and your kitchen drawers. By sequencing your tasks to prioritize clean-to-dirty transitions, you maintain a level of sanitary excellence that is common in restaurant settings.
Avoiding Cross-Contamination
If you are measuring honey into a bowl that already contains flour or other dry ingredients, be careful not to dip the sticky measuring tool directly into the dry ingredient bag. This leads to the infamous "clumping" inside your flour canister. Instead, measure your honey into a separate small prep bowl or onto a scale, then transfer it. This minor extra step saves you from contaminating your bulk staples.
"A well-organized station is a calm station. If your measuring process results in a clean workspace, your cooking will inherently be more focused and your results more consistent."
Professional Tips for the Home Chef
Culinary Applications and Ratio Balancing
Honey is not just a sweetener; it is a hygroscopic agent, meaning it attracts and holds onto water. This makes it an invaluable addition to breads and cakes, as it keeps them moist for significantly longer than granulated sugar. However, because it is roughly 18% water, you must adjust your other liquids if you are substituting honey for sugar in a recipe. A standard rule of thumb is to reduce your total liquid content by about a quarter-cup for every cup of honey you introduce.
Understanding the moisture content of honey is part of the "technique" of measurement. If you are baking in a humid environment, your honey might be slightly more fluid than it would be in a dry, desert climate. This fluctuation is another reason why weighing your ingredients is superior to measuring by volume. Your scale doesn't care about the humidity in the room; it only cares about the mass of the sugar.
The Impact on Maillard Reaction
Because honey contains both glucose and fructose, it reacts to heat more rapidly than white sugar. This means your honey-based baked goods will brown faster. When measuring honey for a recipe that involves a long bake time, you might need to lower your oven temperature by 10 to 15 degrees Fahrenheit to prevent the exterior from burning before the center is cooked through. This is why precision in measurement is so critical; if you accidentally add too much honey, you are accelerating the darkening process, which could result in a bitter, burnt finish.
Storage and Shelf Life
Properly measured honey should be stored in an airtight, glass container. If your honey starts to crystallize, do not throw it away! This is a natural process and a sign of high-quality, raw honey. Simply place the glass jar in a warm water bath at approximately 100 degrees Fahrenheit. Avoid the microwave, as it can kill the beneficial enzymes and alter the complex flavor profile of the honey.
Final Thoughts
Mastering the measurement of sticky ingredients is more than just learning to avoid a mess; it is about respecting the integrity of your ingredients and the science behind your food. When you eliminate the variables of air pockets, material friction, and inaccurate measuring, you create a baseline for consistency that will drastically improve the quality of your cooking. Whether you choose to use the oil-coat method for its elegance or transition to a digital scale for its clinical accuracy, you are moving toward a more professional, intentional way of working.
The next time you reach for that jar of honey, pause for a moment. Consider the physics of what you are about to do. Warm your tool, grease the cup, or clear off your scale. When the golden stream flows effortlessly into your bowl, you will know that you have mastered the technique. Cooking is a journey of small refinements, and these moments of precision are the foundation upon which great culinary experiences are built.
Thank you for joining me on this deep dive into the mechanics of the kitchen. "Blame The Chef" is here to ensure that you are never again hindered by the tools or the ingredients that seem designed to fight back. Stay curious, stay precise, and most importantly, enjoy the process of turning simple raw materials into something spectacular. Your kitchen is your laboratory, and you are the master of your own culinary success. Happy cooking, and may your measurements always be exact.

Get the Next Recipe
Weekly recipes, techniques, and gear picks — straight to your inbox.
