How to Remove Rust from Cast Iron
There is nothing quite as heartbreaking for a home cook as walking into the kitchen, reaching for your trusty skillet to sear a perfect ribeye, and discovering a dusting of orange-red corrosion across the cooking surface. Cast iron is the workhorse of the professional kitchen and the heirloom of the home hearth, yet it remains one of the most misunderstood materials in the culinary world. Many people treat cast iron as if it were a temperamental laboratory experiment that requires constant, obsessive attention to avoid disaster. In reality, cast iron is incredibly resilient, and that dreaded layer of rust is not a death sentence for your pan; it is simply a sign that the iron has been exposed to moisture without the protection of a robust seasoning layer. By understanding the chemistry of iron oxidation and the process of polymerization, you can restore your pans to their former glory in an afternoon.
When we talk about restoring cast iron, we are essentially talking about a deep-cleaning reset that strips away years of neglect or humidity-induced damage. It is important to remember that iron is a reactive metal, and it wants nothing more than to bond with oxygen to return to its natural state of iron oxide. The beautiful, slick, black surface we cultivate on our pans is not a permanent coating; it is a living, breathing carbonized oil layer that requires maintenance. If you have neglected your pan—perhaps you left it to soak in the sink overnight or stored it in a damp cupboard—do not panic. You have not ruined the metal; you have simply lost the protective barrier that stands between the iron and the elements.
This guide is designed to walk you through the professional techniques required to reclaim your cookware, whether it is a modern pre-seasoned pan or a vintage heirloom passed down through generations. We will cover the mechanics of abrasive scrubbing, the benefits of acid baths, and the precise science behind oven-curing to ensure that your pan emerges better than the day you bought it. Cooking with cast iron should be a joy, not a source of stress, and mastering the restoration process is a rite of passage for every serious home cook. Put away your reservations and your fear of "damaging" the pan, because cast iron is virtually indestructible, and with a bit of elbow grease, we are going to make it shine like new.
The Chemistry of Corrosion and Preparation
To effectively remove rust, you must understand what you are fighting. Rust, or iron oxide, forms when iron is exposed to moisture and oxygen. In a kitchen environment, this is accelerated by leftover food acids, standing water, or even high humidity in the air. When you spot rust, you are seeing the iron reverting to its elemental, vulnerable state. Our goal is to remove the active corrosion mechanically or chemically and then build a new, impenetrable polymerized oil layer that mimics the factory-level finish of professional-grade cookware. Before you begin, gather your supplies: a stiff stainless-steel wire brush, coarse-grain salt, high-smoke-point oil (like grapeseed or sunflower oil), and a gentle dish soap.
"The beauty of cast iron is that it is a permanent tool; no matter how much abuse it has suffered, a proper restoration returns it to a state of culinary perfection that will last for another century."
Assessing the Damage
Before you start scrubbing, examine the depth of the rust. If the rust is just surface-level—a light orange tint—you can often remove it with a simple abrasive scrub. However, if you see pitting or deep, dark, crusty patches, you are dealing with deeper oxidation that requires more intensive methods. Always perform this assessment in a well-lit area. If the rust is only on the interior, you may not need to strip the exterior of the pan, but most professional chefs prefer a full strip to ensure an even, uniform finish across the entire piece of cookware.
Setting Up Your Workspace
Restoration is a messy business. I highly recommend working in a garage, on a patio, or in a sink with a dedicated mat to protect your surfaces from iron dust and oil. You will want to wear gloves, as the iron dust can be stubborn to wash off your skin, and the chemicals involved in deeper cleaning can be drying. Ensure you have plenty of paper towels on hand, as you will be cycling through many as you buff and season the metal. Preparation is the key to efficiency; have your oven preheated and your oil ready before you even touch the steel wool to the pan.
Mechanical Removal: The Power of Abrasives
The most direct way to remove rust is through physical abrasion. This is the most rewarding method because you can see your progress in real-time. For light to moderate rust, you want to use a stainless-steel scouring pad or a wire brush attachment on a handheld drill if the rust is particularly stubborn. Avoid using power tools if you are uncomfortable with them, as it is easy to gouge the softer iron if you apply too much pressure. The goal is to lift the rust flakes and expose the bare, grey, metallic surface of the cast iron without removing too much of the underlying material.
The Salt Scrub Technique
One of the oldest tricks in the professional kitchen involves using coarse sea salt as an abrasive medium. Pour about half a cup of coarse salt into the dry pan and add a tablespoon of neutral oil. Using a folded paper towel or a thick kitchen rag, scrub the salt-oil mixture firmly against the rusted areas in a circular motion. The salt acts as an exfoliant, scouring away the loose iron oxide while the oil prevents it from becoming too airborne. This method is excellent because it is food-safe and does not require harsh chemical cleaners.
Steel Wool and Vinegar
For more persistent rust that won't budge with salt, upgrade to grade #0000 steel wool. This is the gold standard for rust removal. If the rust is widespread, you can make a 1:1 solution of white vinegar and water. Soak the pan for no more than 30 to 45 minutes. Do not leave the pan in vinegar for longer than an hour, as the acid will begin to etch the metal itself, potentially causing even more rust or deep pitting. After the soak, scrub the pan with the steel wool until the metallic grey of the iron is fully visible.
Rinsing and Drying
Once you have successfully scoured away all visible signs of rust, rinse the pan thoroughly under warm water. It is vital that you wash away every trace of the vinegar or salt mixture. Immediately after rinsing, place the pan on the stove over medium-low heat for three to five minutes. This step is critical; you must drive every drop of moisture out of the pores of the iron. If you leave the pan to air dry, you will likely see a fine layer of "flash rust" develop within minutes. The pan should be bone-dry and slightly warm to the touch before you proceed to the next stage.
The Chemical Strip: When Scrubbing Isn't Enough
Sometimes, a pan has been left in a damp garage for years, and the rust has bonded deep into the surface. In these extreme cases, mechanical scrubbing is simply too labor-intensive and may not reach the crevices of a textured pan. This is when you should turn to a more heavy-duty chemical approach. The most common household method involves an electrolysis tank or a lye bath. While these sound intimidating, they are the standard for professional restoration of vintage cast iron, ensuring that every molecule of rust and old, burnt-on carbon is removed entirely.
The Lye Bath Method
Lye, or sodium hydroxide, is a potent cleaner that breaks down organic matter and helps lift oxidation without damaging the iron. Fill a large plastic container with a mixture of water and lye (always add the lye to the water, never the reverse). Submerge the rusted pan completely. Leave it to soak for 24 to 48 hours. When you remove it, the rust will essentially "melt" off. Use heavy-duty rubber gloves and eye protection, as lye is highly caustic. This method effectively returns the pan to its "factory raw" state, leaving you with a blank canvas for your new seasoning.
Electrolysis: The Professional Standard
If you restore many pans, you might consider building an electrolysis tank. By using a DC power supply (a battery charger), a sacrificial piece of steel, and a solution of water and washing soda, you can draw the rust off the iron through an electrical current. It is safer than chemicals and requires almost no physical effort. Once the process is finished, you simply pull the pan out, scrub it lightly with a brush, rinse it, and it is ready for seasoning. This is the preferred method for high-end collectors who do not want to risk losing the "crispness" of antique pans through aggressive wire brushing.
"Restoration is an act of patience; the iron has survived decades, and it will survive a few more hours of treatment if you take the time to do it correctly."
The Science of Polymerization: Seasoning
Now that you have reached the bare metal, you are standing at the most critical threshold: the seasoning process. Seasoning is not just "greasing" the pan; it is a chemical process called polymerization. When you heat an oil to its smoke point, the fatty acids break down and bond to the iron surface, creating a hard, plastic-like, non-stick coating. If you use the wrong oil, the coating will be gummy or flaky. If you use too much oil, the surface will be sticky and prone to uneven spots. The secret is the "thin-film" technique, which involves applying the oil and then attempting to wipe it all off.
Selecting the Right Oil
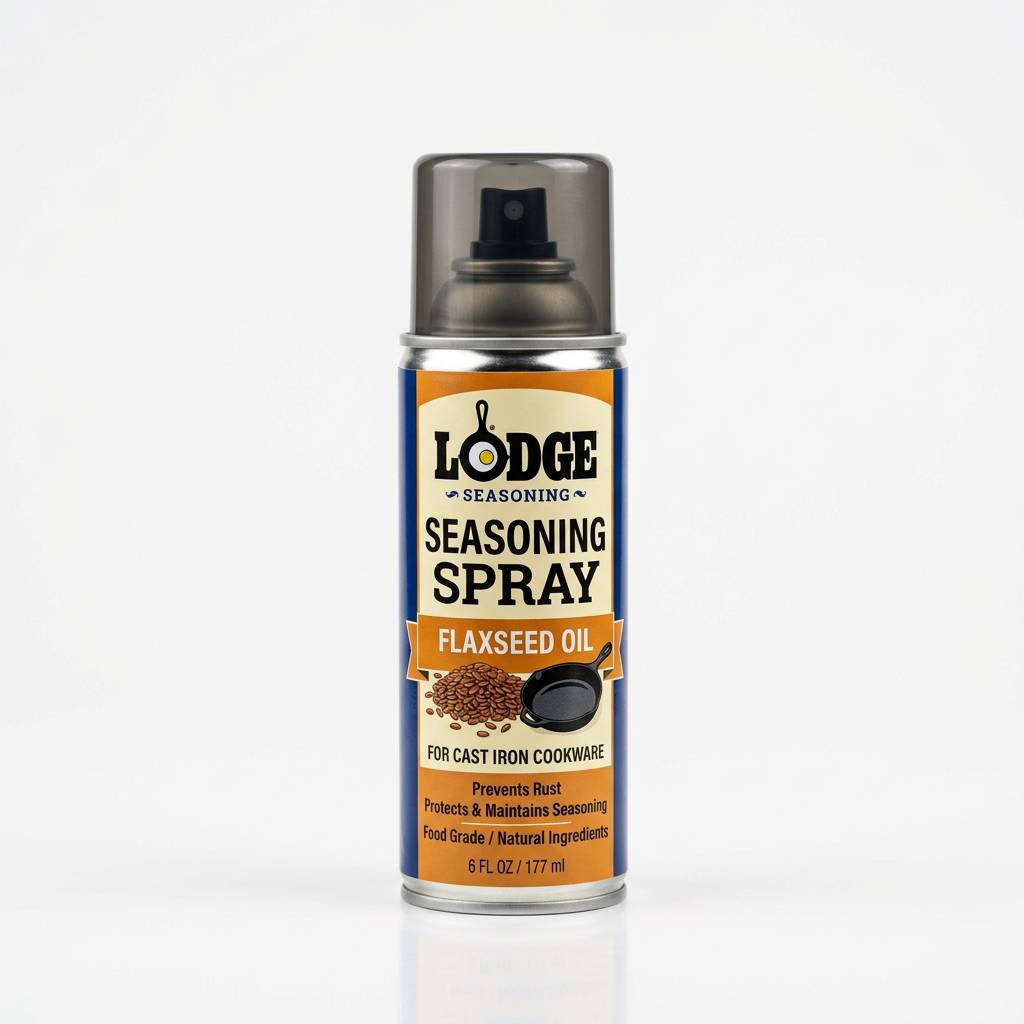
You want an oil with a high smoke point and a high degree of unsaturated fats, which facilitate better polymerization. Grapeseed oil is the gold standard for many chefs because it has a clean flavor, a very high smoke point, and creates a rock-hard, durable finish. Canola oil and flaxseed oil are also popular, though flaxseed oil can sometimes be brittle and flake over time. Whatever you choose, ensure it is a refined oil, as virgin or extra-virgin oils contain impurities that can burn and create a bitter, uneven surface.
The Thin-Film Technique
Pour a teaspoon of oil into your clean, dry, warm pan. Use a clean cloth or a lint-free paper towel to rub the oil all over the interior, exterior, handle, and even the bottom of the pan. Once the pan looks coated, take a fresh, clean paper towel and wipe the pan as if you made a mistake and put way too much oil on it. You want the surface to look matte, not shiny. If it looks shiny, it is too thick, and you will end up with a sticky, tacky finish in the oven. The layer should be microscopically thin.
The Oven Cycle
Preheat your oven to 450°F to 500°F (232°C to 260°C). Place the pan upside down on the middle rack. Placing it upside down ensures that any excess oil pools don't collect in the bottom of the pan, which would ruin your finish. Place a piece of aluminum foil on the rack below to catch any potential drips. Bake the pan for one hour, then turn the oven off and let the pan cool inside the oven completely. This slow cooling helps the polymer layer stabilize. Repeat this process three times to create a truly professional, non-stick foundation.
Maintenance and Daily Habits
Once you have restored your cast iron and built that first, beautiful foundation, your goal shifts from restoration to preservation. A well-maintained pan should never need another deep chemical strip. The secret to a long life for your cookware is, ironically, cooking with it as often as possible. High-fat cooking—bacon, searing steaks, or shallow frying—is the best way to naturally build up and reinforce the seasoning layer every time you use the pan. The more you use it, the better it performs.
The Post-Cooking Ritual
After you finish cooking, don't leave the pan to soak in the sink—this is the cardinal sin of cast iron ownership. Instead, clean it while it is still warm. Use a nylon brush or a chainmail scrubber to remove food debris. If you have stuck-on bits, add a splash of water and boil it on the stove for thirty seconds to loosen the proteins, then scrub. Avoid the dishwasher at all costs; the extreme heat and detergents will strip your seasoning and lead to instant rust.
Drying and Oiling
After washing, always return the pan to the stovetop. Turn the heat to low and leave the pan on the burner for two to three minutes. This completely evaporates any residual water from the pores of the iron. Once dry, apply a very light coat of oil to the interior using a paper towel. This acts as a protective shield against moisture in the air. If you are storing your pans in a stack, place a paper towel between each one to prevent scratching and to absorb any excess humidity.
Common Pitfalls to Avoid
Troubleshooting Common Issues
Even the most experienced home cooks run into issues from time to time. A sticky pan is a common complaint, usually caused by oiling the pan too heavily before storage or not baking the seasoning at a high enough temperature. If your pan feels tacky, it usually means the polymerization process was incomplete. You can often fix this by placing the pan back in the oven at 450°F for an additional hour. The extra heat will usually finish the polymerization of that excess oil and turn it into a hard, smooth surface.
Dealing with Flaking
If you see bits of black material flaking off into your food, do not panic. This is usually a sign that your seasoning is uneven or that you have been cooking with high heat before the seasoning was fully cured. Use a stiff brush to scrape away the loose flakes, then do a quick "mini-seasoning" by rubbing a tiny bit of oil on the spot and heating it on the stove until it smokes. You do not need to strip the whole pan just because of one small flake.
The "Metallic" Taste
If your food tastes like iron, it is almost certainly because the seasoning layer has been compromised. This is a sign that you have exposed raw iron to acidic ingredients. Simply perform a thorough cleaning, dry it well, and do a fresh oven-seasoning cycle. Once the barrier is restored, the metallic taste will vanish completely. Remember, cast iron is a tool that rewards the user for their care, and these minor setbacks are just part of the learning curve.
"A pan that has been cared for properly develops a 'patina' that is far superior to any non-stick chemical coating on the market; it is a surface that truly improves with every single use."
Building the Heirloom
Restoring a piece of cast iron is a way of honoring the history of the tool and the food you create with it. Many of the pans currently being used in homes today are older than the people using them. By learning to remove rust and maintain the seasoning, you are ensuring that your pan will still be usable for your grandchildren. This is a culinary skill that bridges the gap between the modern kitchen and the traditional techniques of the past. It is sustainable, practical, and deeply satisfying to watch a rusty, discarded piece of metal transform into a polished, high-performance cooking instrument.
The Social Aspect of Cast Iron
Cooking with cast iron often leads to deeper conversations about food. When you sear a perfect steak, your guests will notice the quality of the cook, and the conversation often turns to the gear. Teaching your family or friends how to maintain their own pans is a gift. It turns the kitchen into a space where we pass down knowledge rather than just recipes. Whether you are using a modern Lodge or a vintage Griswold, the principles of chemistry and care remain the same.
The Joy of Ownership
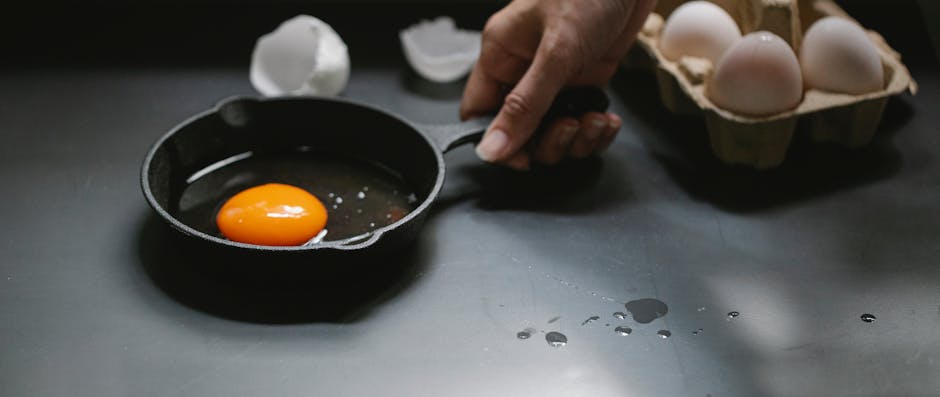
The ultimate goal of all this cleaning and seasoning is simply to remove the barrier between you and the food. When a pan is properly seasoned, it becomes a joy to use. You can slide an egg across the surface with ease, sear a scallop to a perfect golden brown, or bake a crusty cornbread that releases effortlessly from the sides. This is the reward for the work you put in. By mastering these techniques, you are not just a person who cooks; you are a chef who respects their equipment, understands their craft, and produces better meals because of it.
Conclusion
Restoring your cast iron to its former state is a journey that requires little more than time, a bit of patience, and the right technique. You have learned that rust is not a permanent enemy, but a temporary condition that can be easily remedied with the correct abrasive approach or chemical bath. You have explored the science of polymerization, understood the importance of the thin-film oiling method, and learned how to treat your pans with the respect they deserve. Most importantly, you have gained the confidence to stop fearing the iron and start using it with the authority of a professional chef.
Take pride in your kitchen. When you stand at the stove, your tools should be an extension of your own capability, and a well-seasoned, rust-free cast iron skillet is arguably the most versatile, high-performing tool in your arsenal. Don't be afraid to use it, don't be afraid to scrub it, and certainly don't be afraid to put it back to work. From this point forward, when you see a dusty, neglected pan in a thrift shop or at the back of your cupboard, you won't see a chore; you will see an opportunity to create something wonderful.
As you move forward, keep your focus on consistent maintenance rather than massive periodic repairs. If you clean and oil your pan after every use, you will rarely find yourself dealing with significant rust again. The time you invest in that final, two-minute heating and oiling process on the stove is the single most effective way to prevent future damage. Keep your knives sharp, your ingredients fresh, and your cast iron black and glassy. The results on your dinner plate will be the final, delicious proof that the effort was entirely worth it. Happy cooking, and remember that when it comes to your kitchen success, it’s always easier to Blame The Chef—but it's much better to be the chef who knows how to fix the tools.

Get the Next Recipe
Weekly recipes, techniques, and gear picks — straight to your inbox.
