How to Scale a Recipe Up or Down
Every home cook has stood in their kitchen, staring at a recipe designed for a cozy dinner for two, while looking at a refrigerator full of guests or a calendar demanding a week’s worth of meal prep. The frustration of math in the middle of a cooking session is real, often leading to the dreaded "guesswork" approach that leaves a perfectly good sauce broken or a batch of cookies burnt to a crisp. Scaling a recipe is not merely about multiplying numbers; it is an exercise in understanding the chemical ratios and structural integrity of your ingredients. When we learn to manipulate the yield of a dish, we transition from being simple followers of instructions to becoming masters of our culinary environment. This guide is designed to dismantle the fear of scaling, providing you with the technical framework to cook for a crowd or a party of one with total confidence.
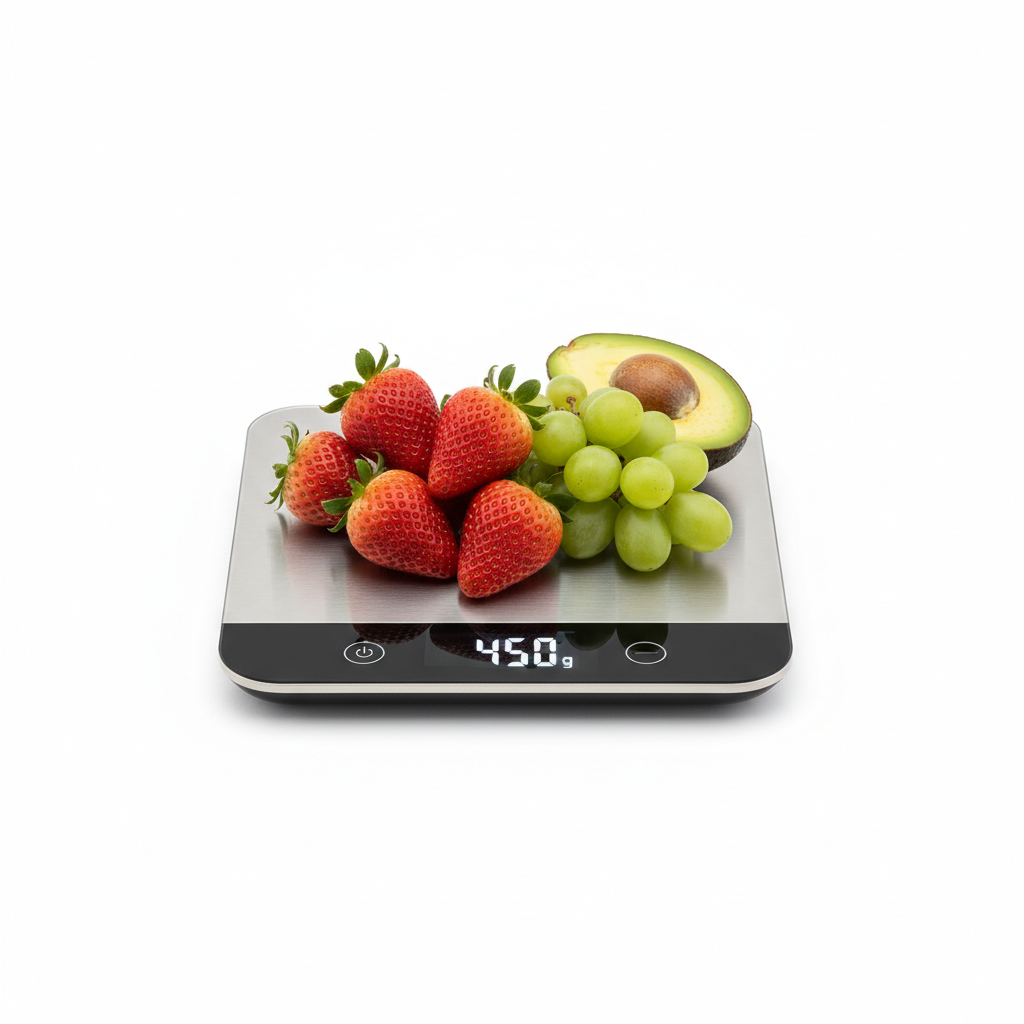
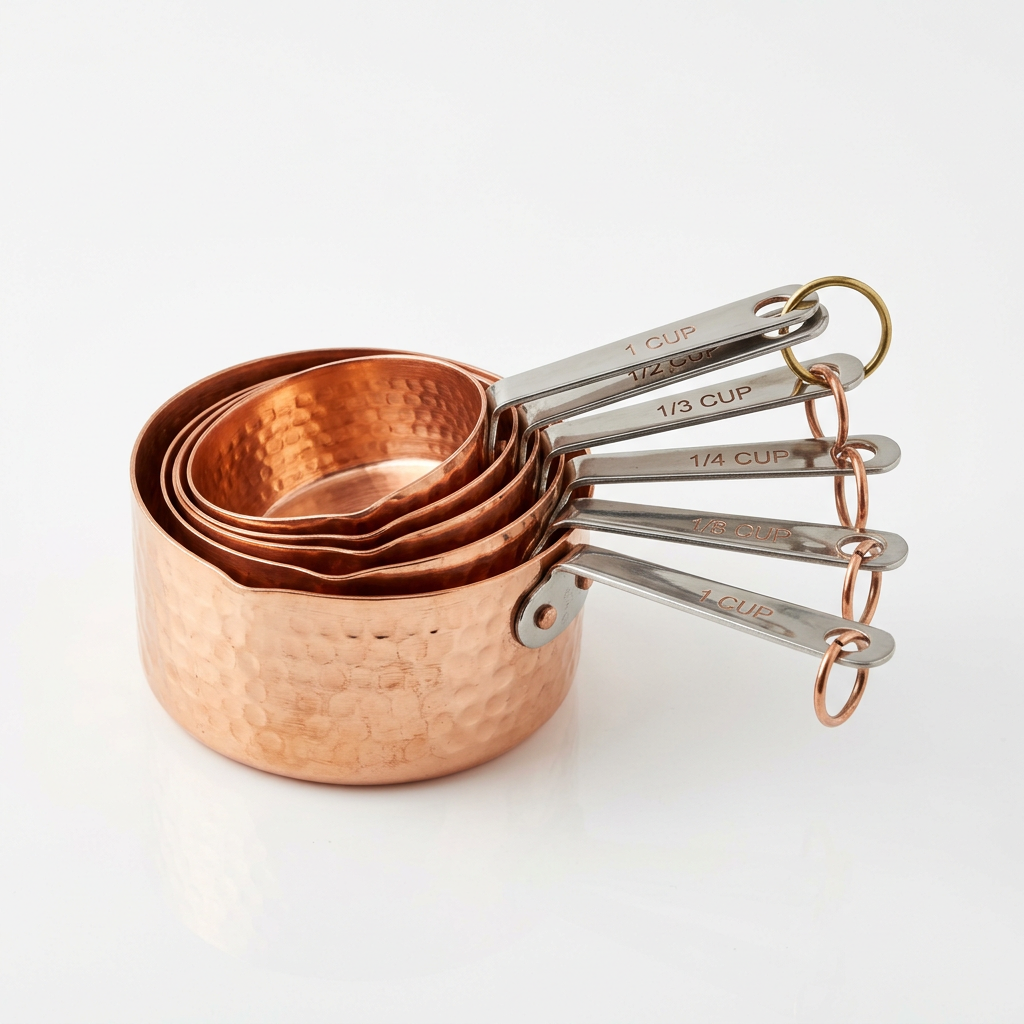
The foundation of scaling begins with the Ratio Method, a technique used in professional kitchens to ensure consistency regardless of the total volume produced. Instead of relying on rigid measurements like cups and tablespoons, which are notoriously inaccurate, we turn to weight—specifically grams. By converting your favorite recipes into percentages or weight-based ratios, you remove the variability of how tightly you pack a measuring cup or the size of a "large" egg. This shift in mindset allows you to treat your kitchen like a laboratory, where variables are controlled and the results are reproducible. Once you master the weight of your ingredients, you will find that the physical act of scaling is no longer a burden but a natural extension of your creative flow.
Professional chefs often talk about the "personality" of an ingredient, a concept that becomes glaringly obvious when you attempt to scale a recipe by a factor of ten. A soup that simmers beautifully in a three-quart pot may lose its viscosity or develop a muddy flavor profile when cooked in a massive industrial stockpot due to different evaporation rates. This is where culinary intuition meets technical precision. You must consider the surface area of your cooking vessels, the intensity of your heat source, and the way spices bloom when exposed to prolonged cooking times. As we journey through these techniques, remember that your goal is to preserve the integrity of the dish while respecting the physics of the kitchen. Let us break down the walls of the recipe card and start cooking with the freedom that professional scaling allows.
Understanding the Scaling Factor
The first step in any successful scaling endeavor is determining your scaling factor, which is simply the number you multiply your original ingredients by to reach your desired yield. If your original recipe serves four people and you need to feed twelve, your scaling factor is three. While this sounds like elementary arithmetic, the application is where many home cooks falter. You must apply this factor to every single ingredient, ensuring that the baker’s percentages remain balanced. Neglecting a single component, especially in baking, can be the difference between a light, airy loaf of bread and a dense, flavorless brick.
The Mathematics of Multipliers
When you increase a recipe, you are essentially creating a new volume. Start by identifying the number of portions in your current recipe and divide the number of portions you need by that figure. For example, if your recipe makes 8 servings and you need 20, your factor is 2.5. Write this number clearly on your recipe card. When working with complex ingredients like leavening agents or thickening starches, it is vital to keep this multiplier precise to the decimal point to avoid chemical imbalance.
The Scaling Factor Trap
It is a common misconception that all ingredients scale linearly. While salt and flour might follow the math perfectly, spices, aromatics, and liquids often do not. When scaling up by a factor of four or more, spices can become overwhelming, and liquids may not evaporate as quickly as they did in a smaller pan. Always use the "add and taste" method for seasoning, starting with 75% of your calculated spice requirement and adjusting upward as the flavors develop. This prevents the tragedy of an over-salted or spice-heavy dish that cannot be salvaged.
"The true measure of a chef is not how well they follow a recipe, but how well they adapt it to the needs of the moment. Scaling is the bridge between a cook and an artist."
The Science of Surface Area and Evaporation
One of the most overlooked aspects of scaling is the change in the surface-to-volume ratio of your cooking vessel. When you cook a small amount of liquid in a wide pan, the evaporation rate is high because of the large surface area exposed to heat. However, when you scale that same recipe up to a massive stockpot, the liquid in the center has a much lower exposure to air, resulting in a slower reduction. If you follow the original timing, you will end up with a watery sauce that lacks the concentrated, deep flavors of the original.
Adjusting for Reduction
If you are making a reduction sauce, glaze, or soup, you must account for the change in cooking surface. A larger pot means you need to cook for longer periods or increase your heat slightly to reach the same level of reduction. Professional kitchens use wide, shallow pots called rondeaus to ensure that large quantities of sauce reduce at a speed comparable to a smaller batch. If you don't have a rondeau, consider splitting the batch into two pans to maintain that critical surface-to-air ratio.
Vessel Selection and Heat Distribution
Large batches require pots with heavy, thick bottoms to prevent scorching. As you scale up, the weight of the ingredients can cause hot spots in thinner pots, leading to burnt layers at the base while the top remains undercooked. Invest in high-quality stainless steel or enameled cast iron cookware with a thick core. These materials retain heat evenly, which is essential when the volume of food in your pot increases significantly. Always ensure your burner size matches the base of your pot to maintain a consistent temperature throughout the cooking process.
Scaling for the Baker: Precision is Paramount
Baking is chemistry, and chemistry is unforgiving. When you scale a cake recipe or a bread dough, you aren't just increasing the flavor profile; you are altering the gluten network and the leavening gas release. The most professional way to scale any baked good is to convert the entire recipe to weight (grams). Volumetric measurements are far too inconsistent. If your recipe calls for one cup of flour, that could range from 120 grams to 160 grams depending on how it was scooped, which will ruin the hydration level of a large batch.
Baker’s Percentages
In the professional world, we use Baker’s Percentages, where every ingredient is expressed as a percentage of the total flour weight (which is always 100%). If your recipe requires 500g of flour and you decide to use 60% hydration, you know immediately that you need 300g of water. This makes scaling incredibly simple; if you decide to double the batch, you just multiply every component by two. It removes all doubt and ensures that your cakes rise, your cookies stay chewy, and your bread maintains its structure every single time you bake.
Leavening Agents and Scaling
One critical rule in baking: do not scale baking powder or baking soda linearly if you are multiplying by a very large factor. While flour, sugar, and fat scale by the multiplier, leavening agents often need a slight reduction when scaling beyond 4x or 5x. If you use too much leavening, the air bubbles will coalesce and collapse, leading to a cake that rises quickly and then sinks in the center. Start by reducing the leavening by 10% when scaling up by a factor of 4, and observe the reaction.
Scaling Aromatic and Liquid Components
Aromatics like onions, garlic, ginger, and herbs are the soul of a dish, but they behave differently as you increase the volume. When you saute two onions, they caramelize quickly and release their sugars. When you saute twenty onions, they release a massive amount of moisture, effectively steaming themselves instead of browning. This "crowding the pan" effect is a frequent culprit when scaled-up recipes lose their depth of flavor.
The Technique of Incremental Cooking
To avoid the steaming effect, cook your aromatics in batches or use a much larger skillet than you think you need. Do not try to sauté a gallon of diced onions in a pot that is already half-full; they will never reach the Maillard reaction stage required for a rich, flavorful base. Once your aromatics are properly browned, you can combine them with the rest of your ingredients. It adds time to your prep, but the quality of the final result will be significantly higher.
Managing Liquid Ratios
When scaling soups, stews, or braises, be careful with the liquid-to-solid ratio. Often, when you increase the amount of meat or vegetables, you do not need to increase the liquid by the same factor. Meat releases its own juices as it cooks. If you double a stew recipe, start with 1.5 times the liquid and add more only if the consistency requires it. It is always easier to add more stock than it is to boil down a massive pot of stew that has become too thin.
"The most successful chefs are those who listen to the pot. If the aromatics aren't singing, if the liquid isn't reducing, you adjust—you never just blindly follow the clock."
The "Taste and Adjust" Protocol
When you are cooking for a crowd, the stakes feel higher, which can make a home cook nervous. The best way to maintain authority in the kitchen is to rely on the "Taste and Adjust" protocol. This involves tasting your dish at every stage of the cooking process. When you scale up, the interplay between salt, acid, and fat becomes more pronounced. A pinch of salt in a small bowl is very different from a pinch of salt in a five-gallon stockpot.
Understanding Salt Thresholds
Salt is cumulative. When you scale a recipe, do not add the full amount of salt at the beginning. Add half, stir, taste, and then add more in small increments. Remember that if you are reducing a sauce for a long period, the salt concentration will intensify as the liquid evaporates. Always under-salt your initial base and finish the seasoning right before serving. This is the hallmark of a professional kitchen and is the secret to avoiding the dreaded "oversalted" disaster.
The Role of Acid
Acid—in the form of lemon juice, vinegar, or wine—is the final polish on a dish. When you scale up, you might find that the flavors become "flat" or heavy. This is a signal to introduce a brightness factor. However, be cautious: just as with salt, the acid levels can become overpowering if applied blindly using a standard multiplier. Add your acid in small splashes at the end of the cooking process, tasting between each addition to ensure the balance between the richness of the fat and the bright punch of the acid is perfectly struck.
Equipment Considerations for Large Batches
Scaling a recipe is not just about the ingredients; it is about the physics of the tools you use. If you are preparing a large-scale dinner, ensure your equipment is up to the task. Using a blender that is too small for the amount of puree you need will lead to inconsistent textures, while a whisk that is too small for a large mixing bowl will make aeration nearly impossible.
The Power of the Immersion Blender
For large batches of soup or sauce, an immersion blender (stick blender) is your best friend. It allows you to process large volumes of liquid directly in the pot, saving you from the tedious and dangerous task of transferring boiling hot liquids into a standard countertop blender. Ensure you purchase one with a heavy-duty motor if you plan on scaling up regularly, as a standard home model can overheat when tasked with a dense, thick soup.
Professional Tips for Efficiency
Managing the "Carry-Over" Cooking
One of the most frequent mistakes when scaling up is ignoring the effect of carry-over heat. A massive roast or a large pot of chili contains a tremendous amount of thermal energy. Even after you remove the pot from the burner, it will continue to cook the contents for a significant amount of time. If you ignore this, you will end up with overcooked vegetables or a roast that has lost all of its juiciness.
The Residual Heat Factor
Large cuts of meat, like a pork shoulder or a whole turkey, will continue to rise in temperature by 5 to 10 degrees Fahrenheit after they are pulled from the oven. When you scale up to cook multiple proteins at once, this cumulative heat is intense. Always pull your protein at the lower end of the recommended temperature range. For a steak or roast, aiming for 125°F (52°C) internally allows the meat to reach a perfect medium-rare (130°F to 135°F) while it rests.
Rest Periods for Large Batches
Resting is not optional, especially when you are scaling up. A large roast needs more time to redistribute its juices than a single chicken breast. For a large roast or a whole bird, plan on a rest period of at least 30 to 45 minutes, covered loosely with foil. During this time, the internal juices stabilize, ensuring that when you slice into the meat, you aren't left with a pool of liquid on your cutting board. This step is the difference between a dry, stringy roast and a succulent, professional-grade main course.
"Cooking at scale is an act of management as much as it is an act of creation. Master the heat, respect the rest time, and you will find that the size of the crowd no longer dictates the quality of your food."
Final Thoughts
The art of scaling a recipe is an empowering skill that marks the transition from a home cook to a culinary tactician. By moving away from rigid cup measurements toward weight-based ratios, and by paying close attention to the physical variables of surface area, evaporation, and carry-over heat, you gain complete control over your kitchen. Remember that math is merely a starting point—the final, ultimate judge of your success is your own palate. Use the guidelines provided here as your baseline, but never be afraid to step in and adjust based on the feedback the food is giving you.
Whether you are preparing a intimate dinner for four or a banquet for forty, the principles remain the same. Respect the ingredients, manage your heat sources with intent, and maintain the discipline of mise en place. When you approach scaling with this mindset, the anxiety of "what if it goes wrong" vanishes, replaced by the calm confidence of someone who understands exactly how their food is coming together. You have the tools, the techniques, and the temperament to scale any dish successfully. Now, turn on the stove, clear your workspace, and begin your next culinary adventure with the knowledge that you are no longer just cooking—you are orchestrating an experience.
Take these techniques and apply them to your favorite recipes this weekend. Try doubling your signature soup recipe or scaling your go-to cookie dough by 1.5. Watch how the texture changes, note how the seasoning responds, and record your findings in a journal. Over time, you will develop an internal compass for scaling that makes even the most daunting culinary projects feel like second nature. The kitchen is a place of constant learning, and every time you successfully scale a dish to feed more people, you are becoming a better, more versatile, and more capable chef. Stay curious, stay precise, and keep blaming the chef—because the chef is the one who masterfully steered the meal to perfection. Happy cooking, and may your pots always be the right size for the passion you put into them.

Get the Next Recipe
Weekly recipes, techniques, and gear picks — straight to your inbox.
