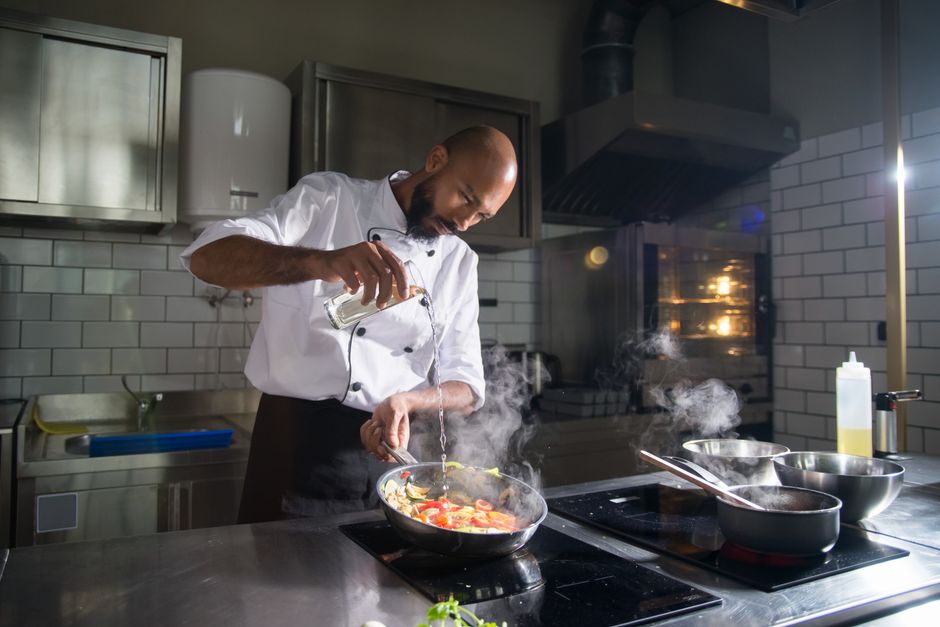
How to Season a Carbon Steel Pan
The pursuit of the perfect sear is a journey that every home cook eventually embarks upon, often leading them away from the convenience of non-stick pans and toward the professional standard of carbon steel. Unlike their delicate Teflon counterparts, carbon steel pans are rugged, responsive, and capable of achieving a level of caramelization that will transform your kitchen experience from mundane to extraordinary. However, mastering this material requires more than just high heat; it demands a fundamental understanding of seasoning, the process of building a polymerized oil layer that protects the metal and provides a naturally slick surface. This guide will demystify the science behind the pan and equip you with the technical expertise to maintain a workspace that functions as well as any high-end restaurant line.
Many novice cooks approach carbon steel with a degree of trepidation, fearing the dark, mottled patina that naturally develops over time. It is crucial to dispel the myth that a "perfect" pan must be uniformly black and pristine from day one; rather, a well-loved pan tells the story of every steak seared, every onion sautéed, and every delicate egg flip executed. Your goal is not aesthetic perfection, but functional excellence. By learning to manage the thermal conductivity and surface tension of your pan, you turn a simple piece of sheet metal into an heirloom tool that will improve with every passing year of service.
Throughout this post, we will navigate the essential rituals of cleaning, oiling, and heat-treating that define the life of a carbon steel enthusiast. Whether you are stripping a factory-applied protective coating or reviving a neglected pan that has succumbed to rust, the techniques discussed here are universally applicable. Prepare to embrace the process of polymerization, a chemical reaction that transforms simple fat into a hardy, non-stick shield. Once you grasp these principles, you will find that the "blame" for a burnt meal shifts squarely back to the chef, as you will finally have the reliable, professional-grade equipment needed to execute your culinary vision with absolute precision.
Understanding the Chemistry of Polymerization
The magic of a carbon steel pan lies in the concept of polymerization. When you apply heat to a thin layer of fat, the fatty acids undergo a chemical transformation, transitioning from a liquid state into a solid, plastic-like film. This process creates a stable, hydrophobic surface that fills the microscopic pores and imperfections in the cold-rolled steel. This is not merely a coating; it is a molecular modification of the pan's surface that prevents food from bonding to the metal.
The Role of Heat and Fat
Choosing the right fat is just as important as the heat intensity you apply. You want an oil with a high smoke point, such as grapeseed, canola, or rice bran oil. These oils contain the necessary fatty acid profiles to create a robust, resilient layer without breaking down into acrid, bitter carbon too quickly. If you use an oil with a low smoke point, like extra virgin olive oil or butter, the fat will burn and flake off before it can properly polymerize, leading to a sticky, uneven surface that fails to provide the non-stick properties you desire.
Managing Surface Microstructure
Carbon steel is forged at high temperatures, and under a microscope, the surface is not smooth but filled with tiny ridges and valleys. During the initial seasoning, you are effectively "filling in" these valleys. This is why the first few seasonings are the most critical. By applying thin layers of oil and heating them until they reach their smoke point, you are building a topographical map that eventually levels out. The goal is to build up these layers gradually rather than trying to achieve a black finish in one single, catastrophic attempt.
The secret to a perfect non-stick surface is not the thickness of the oil, but the thinness of the application. The less oil you use, the better the polymerization process will work.
Preparing Your Pan for its First Treatment
Before you can build a layer of seasoning, you must ensure the pan is completely free of any factory-applied substances. Manufacturers often coat carbon steel in a layer of beeswax or industrial mineral oil to prevent rust during transport and storage. If you attempt to season over this layer, you will create a gummy, uneven finish that will inevitably peel, forcing you to start the entire process over.
The Deep Clean Process
You will need hot, soapy water, a stiff-bristled brush, and perhaps a bit of steel wool if the factory coating is particularly stubborn. Start by scrubbing the pan vigorously inside and out. Do not fear the soapy water; while this is a "no-no" for cast iron, it is perfectly acceptable for carbon steel, especially when removing that initial waxy layer. Ensure every trace of the factory coating is gone; you will know it is clean when the water beads differently and the metal feels completely raw and slightly "squeaky" to the touch.
Drying and Initial Inspection
Once scrubbed, dry the pan thoroughly with a lint-free cloth or paper towel. Then, place the pan over a medium-low burner for about two minutes to ensure that every molecule of moisture has evaporated from the pores of the steel. Water is the enemy of raw carbon steel, and even a tiny amount of residual moisture can lead to flash rust before you even get a chance to add your oil. Once the pan is dry and slightly warm to the touch, you are ready for the application phase.
The Art of Thin-Film Application
The most common mistake home cooks make is applying too much oil. When oil is too thick during the heating process, it will pool, become tacky, and eventually flake away, leaving you with an uneven mess. The goal is to apply a film so thin that it looks like the pan is almost dry. This thinness allows the heat to penetrate the oil evenly, ensuring that the entire surface polymerizes simultaneously.
The Wipe-On, Wipe-Off Technique
Heat Intensity and Duration
Place the pan over a medium-high flame. As the oil heats up, you will notice the pan beginning to change color—this is the natural oxidation and polymerization at work. The steel may turn from silver to a light straw color, then to a deep golden, and eventually, in spots, to a dark bronze or brown. Let the pan smoke lightly. This is the indicator that you have reached the smoke point. Keep the pan on the heat for 5 to 7 minutes, moving it around to ensure the entire surface—including the sides—reaches the temperature required for the reaction.
Building the Patina Over Time
Think of the initial seasoning as the foundation of a house. It provides the base, but the true strength of the pan comes from consistent, daily use. Every time you sear a protein, roast vegetables, or sauté aromatics, you are adding microscopic layers of polymerized fat to your pan. This is called building a patina. Over the course of months, your pan will evolve from a light, mottled brown to a deep, dark espresso color, which is the gold standard for carbon steel performance.
Cooking with Fat
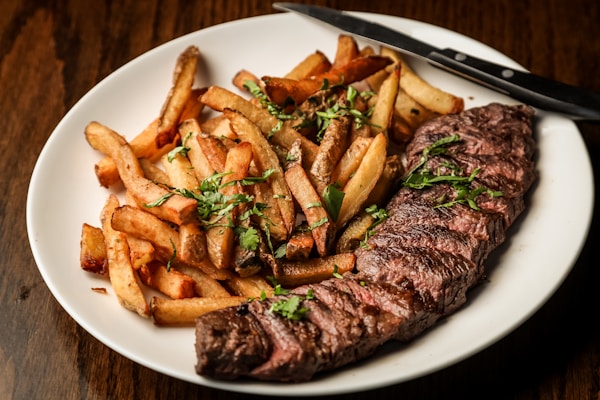
In the early days of your pan's life, prioritize high-fat cooking methods. Searing steaks, cooking bacon, or frying potatoes in a generous amount of oil or clarified butter are excellent ways to accelerate the seasoning process. The fats from these ingredients, combined with the proteins, react with the metal to create a much tougher, more durable surface than what you can achieve with oil alone. Avoid cooking acidic foods like tomato sauces or wine-based reductions during the first few weeks, as these can strip the seasoning you have worked so hard to establish.
The Evolution of the Surface
Do not panic if you see small patches of the seasoning lift after a particularly vigorous sear. This is completely normal and part of the "blame the chef" journey. If you burn something or a portion of the seasoning flakes off, simply give the pan a light scrub, dry it, and repeat the thin-film oiling process. You are not meant to baby this pan; you are meant to treat it like a workhorse. Eventually, the dark patina will become uniform and incredibly slick, capable of sliding an egg across the surface with ease.
A carbon steel pan is not a fragile piece of fine china; it is a living, breathing tool that thrives on the heat and the ingredients you feed it.
Troubleshooting Common Seasoning Pitfalls
Even with the best intentions, you might run into issues. Perhaps the pan feels sticky to the touch after cooling, or maybe you notice a metallic, iron-like taste in your food. These are common hurdles that every chef, from line cook to home enthusiast, has faced. The beauty of carbon steel is that it is incredibly forgiving; virtually any mistake can be fixed by scrubbing the pan back to its raw state and starting over.
Dealing with Stickiness
If your pan is sticky, you have violated the "thin-film" rule. You applied too much oil, and it has not fully polymerized. You can often fix this by placing the pan in a 450°F (232°C) oven for one hour. The sustained high heat of the oven will finish the polymerization process, turning that sticky, gummy layer into a hard, slick finish. If it remains tacky even after the oven treatment, you will need to scrub it off with a bit of salt and oil and restart the process with an even thinner layer.
Managing Rust and Flaking
If you leave your pan in the sink or don't dry it properly, you may see spots of orange rust. Do not throw the pan away! Simply use a scouring pad or a piece of steel wool to remove the rust entirely. Once the rust is gone, wash it, dry it, and re-season it using the steps outlined earlier. Flaking, on the other hand, usually indicates that your initial layers were too thick or that you didn't scrub the factory coating off sufficiently. It is better to have a slightly imperfect, ugly pan than a perfectly slick one that peels black flakes into your dinner.
Daily Maintenance and Storage Rituals
The secret to a long-lasting carbon steel pan isn't just the initial seasoning; it is the daily maintenance routine. After every use, treat your pan with respect. Clean it immediately while it is still warm, but avoid the dishwasher at all costs. The harsh detergents and long soak cycles will dissolve your hard-earned seasoning and likely cause the metal to warp or rust aggressively.
Post-Cooking Cleanup
Proper Storage
Store your pan in a dry location. If you stack your pans, place a paper towel or a felt pan protector between the carbon steel and any other cookware to prevent scratching the surface. If you live in an especially humid climate, consider storing your pan with a very light coating of oil, but be mindful that the oil can go rancid if left for months without use. A well-maintained pan should be ready to grab and go for your next sauté session without a second thought.
Advanced Techniques: The Oven-Seasoning Method
For those who want to get a head start, the oven-seasoning method is a fantastic way to apply multiple layers of seasoning in a controlled environment. While the stovetop method is great for building the patina through daily use, the oven method ensures the exterior and the hard-to-reach sides of the pan are fully protected, preventing rust in the long term.
The Multi-Layer Process
The Repetition Principle
You can repeat this process three or four times to build a remarkably strong, dark brown, or black base. This is particularly useful for newer, lighter-colored carbon steel pans that haven't yet developed a strong, natural patina. While this provides a great start, remember that the "chef-developed" patina—the one built from searing proteins and sautéing vegetables—is always more resilient than the factory-style oven seasoning. Do not let the oven-seasoned look fool you into thinking you are done; continue to cook with fats and build your own unique layer over time.
Conclusion
Mastering carbon steel is a rite of passage for any cook who takes their craft seriously. It is a commitment to a tool that requires your attention, your patience, and your understanding of how heat and fat interact at a molecular level. By following these steps—stripping the factory coating, applying ultra-thin layers of oil, managing your heat, and maintaining the pan through consistent use—you are doing more than just seasoning a piece of metal; you are becoming a better chef. You are learning to control the variables of your kitchen rather than relying on the "safety" of non-stick coatings that eventually degrade and end up in a landfill.
Remember that a carbon steel pan is a reflection of your tenure in the kitchen. The dark, uneven spots are not flaws; they are badges of honor. When you sear a ribeye to perfection or achieve the elusive "fond" necessary for a world-class pan sauce, you will understand why chefs have relied on this material for centuries. The process of seasoning is not a chore to be completed and checked off a list; it is a meditative ritual that connects you to the history of culinary arts.
As you move forward with your own carbon steel journey, keep your expectations realistic and your oil applications thin. Do not be afraid of the heat, and do not be discouraged by a bit of rust or a sticky surface. These are merely invitations to learn, adjust, and improve. The next time you find yourself frustrated by a meal that didn't go as planned, take a look at your pan. You now have the knowledge to fix it, to season it, and to make it better. The responsibility of the dish lies with the preparation, the technique, and the equipment you have mastered. In the end, there is no one left to blame but the chef—and that is exactly how it should be. Happy cooking.

Get the Next Recipe
Weekly recipes, techniques, and gear picks — straight to your inbox.
