How to Sharpen a Knife Without a Sharpener
There is an unfortunate myth circulating through the home cooking community that suggests you need an arsenal of expensive, high-end sharpening stones and specialized electric gizmos to keep your blades in working order. As a professional, I have walked into many kitchens where the chef’s knife was so dull it could barely slice through a ripe tomato, let alone a tough piece of skirt steak. People often blame the quality of the steel or the manufacturing of the blade, but more often than not, the culprit is simple user error and a lack of maintenance. The truth is that your knife is an extension of your hand, and when it goes dull, your efficiency, safety, and joy in the kitchen decline rapidly. You do not need a degree in metallurgy to understand the mechanics of an edge, and you certainly do not need to empty your wallet at a boutique kitchen store to fix the problem.
The secret that professional kitchens have relied upon for generations is that almost anything with a harder surface than your blade can be used to re-align or hone the edge in a pinch. Whether you are deep in the middle of a Sunday roast preparation or camping in the woods with nothing but a coffee mug, you have the tools necessary to restore a working edge to your steel. While a professional honing session or a deep grind on a stone is the gold standard for long-term maintenance, knowing how to improvise is a survival skill that separates a hobbyist from a seasoned cook. By mastering the fundamentals of edge geometry, you can keep your kitchen tools performing at their peak capacity without constantly relying on external services or expensive equipment. This guide will walk you through the physics of the blade and how to sharpen it using items you likely already have tucked away in your cupboards.
Before we dive into the DIY methods, we must address the fundamental difference between honing and sharpening, as this is where most home cooks stumble. Sharpening is the process of physically removing metal from the blade to create a new, refined edge, while honing is the process of realigning the microscopic teeth of the blade that have bent out of shape during use. When your knife feels dull, it is usually because the edge has rolled over, not necessarily because the metal has worn away. By realigning these teeth, you return the knife to a functional state without the need for abrasive grinding. Understanding this distinction is the first step toward true culinary autonomy, and it will save your blades from the unnecessary wear and tear caused by over-grinding on coarse stones. With a steady hand and a bit of patience, you will soon find that you can maintain a razor-sharp edge indefinitely.
Understanding the Physics of a Sharp Edge
The geometry of your blade is the single most important factor in its cutting performance. At the microscopic level, even the sharpest blade in the world is essentially a jagged mountain range of metal teeth. When you cut against a wooden cutting board, these teeth bend or fold over. This is known as a rolled edge. A knife with a rolled edge will struggle to catch the surface of an onion, causing it to slip and potentially leading to a nasty cut. To correct this, you must apply force at a specific angle to push those microscopic teeth back into alignment.
Most western-style kitchen knives are ground at an angle of roughly 20 to 25 degrees, while precision Japanese blades often sit between 12 and 15 degrees. When you are sharpening without a formal tool, your primary goal is to maintain this consistent angle. If your angle is too wide, the knife will feel blunt; if the angle is too narrow, you will likely fold the edge over again immediately upon contact with food. This is why consistency is the hallmark of a master. Using a consistent movement is more important than the abrasive material you are using to do the work.
Professional chefs often talk about the burr, which is a tiny flap of metal that forms on the opposite side of the blade when you are grinding. If you can feel a slight, rough edge on the side opposite your stroke, you know you have successfully reached the edge of the metal. This burr is the indicator that your sharpening is working. Once you have created a burr, you switch to the other side to do the same, effectively creating a clean meeting point between the two sides of the bevel. Without a burr, you are simply polishing the metal, which will do very little to improve your cutting ability.
"A dull knife is far more dangerous than a sharp one, because it requires you to apply more force, which increases the likelihood of a slip. Keep your tools sharp, and you keep your hands safe."
The Ceramic Mug Method: Your Best Friend
Perhaps the most iconic kitchen hack for sharpening a knife is using the unglazed ceramic base of a coffee mug. Look at the bottom of almost any ceramic mug in your house; you will notice a ring of raw, rough, unglazed material. This material is incredibly hard—often harder than the steel of your knife—and it serves as a makeshift whetstone. Because the surface is porous and abrasive, it is perfect for micro-honing a blade that has started to lose its bite.
To perform this technique, place the mug upside down on a damp kitchen towel to prevent it from slipping. Hold your knife at a 20-degree angle against the bottom rim of the mug. Using light, consistent pressure, draw the blade toward you along the rim. Repeat this movement five to ten times on one side, then flip the knife and repeat on the other side. You are not trying to grind the metal away; you are simply realigning the edge. You should be able to see a small, dark line of metal dust on the ceramic if you are doing it correctly.
After a few passes on each side, test your knife on a piece of paper. The paper should slice cleanly without tearing. If it still tears, you need a few more passes. It is important to emphasize that this method is intended for maintenance rather than creating a new edge. If your knife is severely chipped or has been used to cut frozen food or bone, a ceramic mug will not be sufficient to fix the deeper geometry of the blade. However, for a knife that just feels "tired," this is a game-changer.
Essential Tips for Success
* Ensure the mug is stable on the counter.
* Keep the angle consistent with every single pass.
* Use light pressure; let the grit of the ceramic do the work.
* Always clean the knife thoroughly after sharpening to remove metal filings.
Utilizing the Back of Another Knife
In a professional environment, if you find yourself without a stone, you can technically use the spine of another high-carbon steel knife to hone your blade. This is a practice used by butchers for centuries, often referred to as steeling. By taking the spine of a harder knife, you can use it to push the edge of your blade back into alignment. This requires a bit of dexterity, but it is an incredibly effective way to restore an edge when you are mid-prep.
To do this, hold your dull knife in your dominant hand and the second knife in your non-dominant hand. Place the edge of the dull knife against the spine of the second knife at the correct angle. Slowly draw the knife downward along the spine. This essentially acts like a manual sharpening steel. It is critical that both knives are made of decent quality steel; using a cheap, soft metal knife to hone another soft knife will yield poor results.
This method is particularly useful for thin-bladed chef knives. If you are working with a thick, heavy-duty cleaver, this method may not provide the necessary leverage to effectively realign the edge. Remember to always work away from your body and maintain a steady, controlled motion. While this is not as effective as a dedicated honing rod, it is a brilliant way to extend the longevity of your session without having to stop and find a sharpening stone.
The Sandpaper Technique: The Precision Alternative
If you have a home workshop or a junk drawer with some fine-grit sandpaper, you actually have a legitimate sharpening system at your fingertips. Sandpaper is essentially a flat, flexible whetstone. By wrapping a piece of wet-dry sandpaper around a flat surface, such as a piece of wood or a plastic ruler, you can create a custom sharpening station that mimics a professional polishing stone. This is the method I recommend for those who want to take their sharpening to the next level without purchasing expensive equipment.
Start with a medium grit, such as 400 or 600, to set the edge, and then move to a finer grit, like 1000 or 2000, to polish it. Secure the sandpaper to your block using tape or a simple rubber band. Keep the surface moist with a tiny bit of water to keep the paper from clogging and to lubricate the movement of the blade. This setup is incredibly effective because it provides a perfectly flat surface, which ensures that you are sharpening the entire length of the blade equally.
This method allows you to sharpen with the precision of a professional. By controlling the grit, you can transition from a rough grind to a mirror polish. Many professional knife sharpeners actually use this exact technique for high-end custom knives, as it allows them to adjust the surface quality on the fly. Remember to keep the knife flat against the paper, using a sweeping motion from heel to tip to ensure you cover every inch of the blade's profile.
"A knife is a tool of precision. When you sharpen it yourself, you are not just maintaining a piece of metal; you are learning to respect the craft of cooking."
Car Window Trick: The Off-Grid Solution
There is a very well-known secret among chefs who travel or work in unconventional settings: the glass of an open car window. If you look at the top edge of a car window, you will see a piece of polished glass. This glass is surprisingly hard and, when utilized at the right angle, acts as a fine ceramic hone. It is not something you want to do every day, but in an emergency situation or when you are camping, it is a highly effective way to touch up an edge.
To do this, roll the window down slightly. Clean the top edge of the glass thoroughly to ensure there is no road grit or debris that could damage your blade. Hold the knife at your preferred angle and gently draw the edge along the top of the glass. You will notice that it immediately begins to bite, realigning the metal with minimal effort. This is an excellent "field fix" that will get you through a difficult meal prep session when you are away from your home kitchen.
However, use caution. The glass can be slippery, and if your hand isn't stable, you could slip and cut the rubber seal of the window or, worse, your own hand. Always work in a way where the blade is pointing away from your fingers. This is a method that demands confidence and a steady hand. It is not for the faint of heart, but it is one of those culinary "war stories" that you will appreciate having in your back pocket.
Creating a Consistent Sharpening Routine
Sharpening should not be a chore that you only do once a year when the knife becomes a blunt instrument. Ideally, you should be honing your blade before every single prep session. If you develop a habit of running your knife over a honing rod—or an improvised ceramic surface—for just thirty seconds before you start chopping, you will find that your knife rarely loses its edge in the first place. Consistency is the secret to a sharp kitchen.
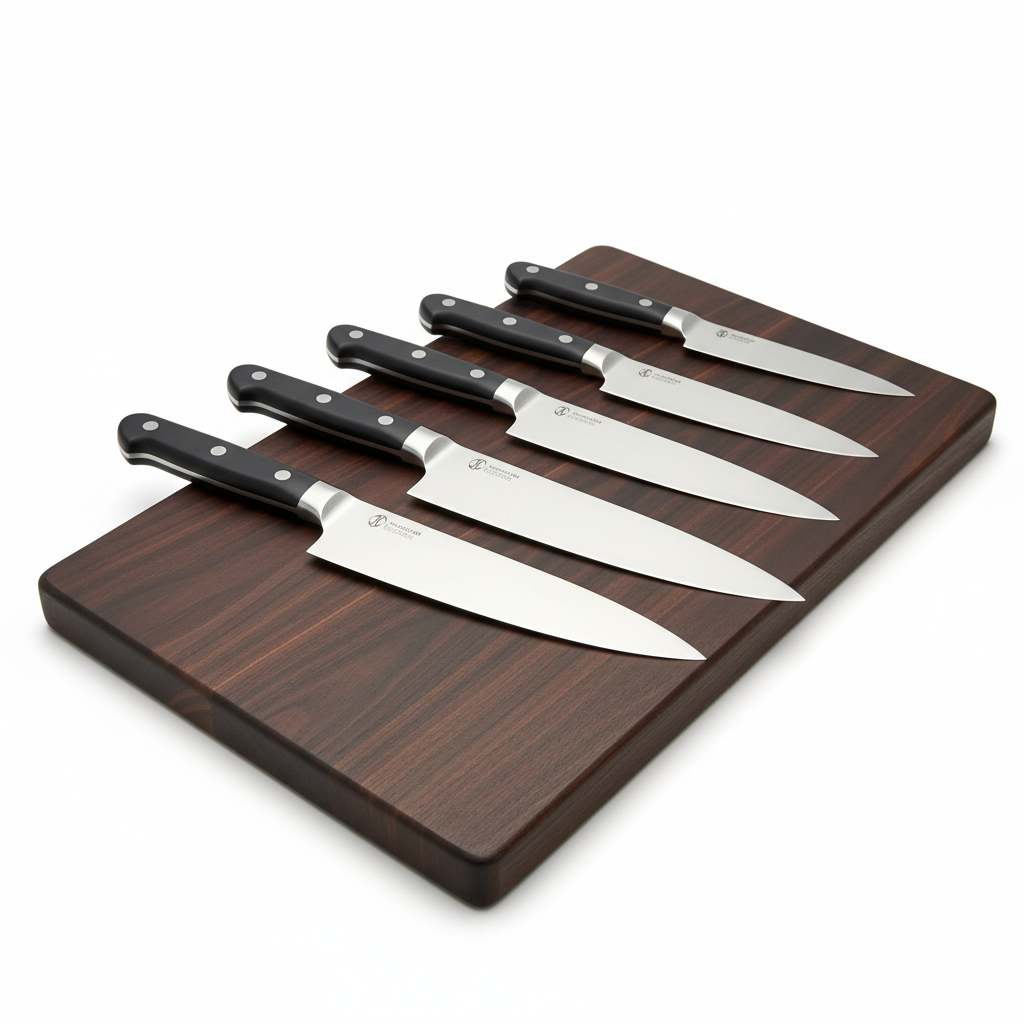
Professional kitchens run on this cycle. At the end of a shift, a chef will wash, dry, and lightly hone their knives before storing them in a safe place. By storing them properly—preferably on a magnetic strip or in a wooden block—you prevent the edges from banging against other hard metal surfaces, which is the primary cause of premature dulling. Treat your knife like a delicate instrument, and it will serve you for decades, if not generations.
If you find yourself constantly reaching for the "emergency" sharpening methods, it is a sign that you need to be more proactive in your daily maintenance. A sharp knife saves time, produces better-looking garnishes, and makes the act of cooking feel like a flow state rather than a struggle. Whether you are using a ceramic mug, a window edge, or high-grade sandpaper, the logic remains the same: steady pressure, consistent angles, and patience are your best friends in the kitchen.
Daily Maintenance Best Practices
Troubleshooting Common Sharpening Errors
Even with the best instructions, you might find that your blade isn't getting as sharp as you’d like. The most common mistake is variable angle. If your hand wobbles, you are essentially rounding off the edge rather than sharpening it. To fix this, practice the movement without the blade touching the surface. Once you have the muscle memory down, introduce the blade to the surface and keep your wrist locked. A locked wrist is the key to a consistent 20-degree angle.
Another issue is applying too much pressure. Beginners often think that "harder is better," but in reality, excessive pressure can cause the metal to deform or, in the case of fragile Japanese steel, even cause tiny chips. Let the abrasive surface do the work. If it is taking too long to sharpen, your surface might be too fine, or your knife might be far duller than you initially thought. In that case, you may need a slightly coarser surface to get the initial geometry back.
Finally, do not forget to de-burr. After you have sharpened both sides of the blade, you might feel a slight roughness or a "wire edge." This is the burr. To remove it, do a few very light, alternating passes on your chosen surface with almost no pressure at all. This will snap the wire edge off, leaving behind a clean, crisp, and razor-sharp edge. If you ignore the burr, the knife will feel sharp for the first two cuts and then go dull immediately as the wire edge folds over.
The Mental Aspect of Culinary Maintenance
There is a meditative quality to sharpening a knife. When you focus solely on the rhythm of the blade against the surface, the stresses of the day seem to fade away. This is why many professional chefs view sharpening not as a task, but as a ritual. It is a moment of connection with your tools and a way to prepare your mindset for the creative work ahead. By taking the time to care for your equipment, you are signaling to yourself that the work you are about to do—the meal you are about to create—is worth the effort.
Do not fear the process. If you mess up and the knife doesn't get perfectly sharp on the first try, don't worry. You can always try again. Stainless steel is resilient, and it will forgive your early mistakes. As you gain experience, you will learn to "read" the edge of your knife. You will know exactly how many passes it needs based on the sound it makes against the ceramic or the feel of the resistance. This is an intuitive skill that will make you a better cook in every sense of the word.
At the end of the day, a knife is just a tool, but it is the most important tool you possess. Mastering its maintenance is a rite of passage. Whether you have a $500 Damascus blade or a $20 workhorse, the physics of a sharp edge are universal. By applying the techniques laid out here, you have successfully removed the barrier between you and your culinary goals. You are now equipped to handle any prep, any cut, and any challenge that comes your way in the kitchen.
Final Thoughts
We have covered a significant amount of ground, from the physics of edge geometry to the unconventional methods of sharpening with everyday household items. Hopefully, you now realize that the power to maintain a razor-sharp kitchen is entirely in your own hands. You don't need a professional to do it for you, and you certainly don't need to be intimidated by the idea of edge maintenance. Start slow, be consistent with your angles, and always prioritize safety over speed.
Remember that the ultimate goal is to make your time in the kitchen more enjoyable and more efficient. When your knife glides through a tomato like it’s butter, you are liberated. You are no longer fighting your equipment; you are collaborating with it. Keep your knives clean, keep them honed, and above all, keep cooking. The transition from a frustrated home cook to a confident kitchen commander begins with a sharp edge. I encourage you to take one of your duller knives right now, find a ceramic mug, and see the difference for yourself. You will be amazed at how quickly you can transform your cooking experience by simply reclaiming the edge.
As you continue your culinary journey, keep these principles close. Don't be afraid to experiment with different surfaces—just ensure they are harder than the steel you are sharpening. Whether you are prepping a simple salad for a quick lunch or a multi-course banquet for friends and family, the confidence provided by a well-maintained blade is invaluable. You have the knowledge now, and you have the tools—most of which were likely within arm's reach this entire time. Go forth and cut with confidence, and never let a dull blade dictate the quality of your meals again. Your kitchen, and your guests, will thank you for it.
The art of the sharp knife is a quiet, understated power. It does not demand attention, yet its presence is felt in every slice, every julienne, and every perfect dice. When you reach this level of mastery, the knife becomes an extension of your own intention. There is no resistance, only the clean, effortless action of steel passing through fiber. This is the hallmark of the craft, the silent promise of a great meal, and the simple, undeniable reward of taking the time to do things the right way. Keep your blades sharp, your technique refined, and your passion for food burning bright.
If you find yourself struggling with a particular blade, remember that different steels behave differently. Some are softer and will need more frequent attention, while others are incredibly hard and will hold an edge for a long time but prove more challenging to sharpen. Understanding your specific tool is part of the growth process. Pay attention to how your knife reacts to these techniques. Does it take to the ceramic well? Does it require the sandpaper method? These observations will eventually become second nature to you, just like the recipes you have committed to memory.
Finally, consider the legacy of your tools. By maintaining your knives correctly, you are ensuring they remain functional for whoever might inherit them. There is something deeply satisfying about using a knife that has been cared for over the span of a decade. It carries with it the stories of thousands of meals and the history of your own growth as a cook. Treat your knives with this level of respect, and they will never fail you. Thank you for reading along on this deep dive into sharpening, and I look forward to seeing the results of your hard work in your next kitchen creation. Happy cooking, and may your knives stay forever sharp.
Get the Next Recipe
Weekly recipes, techniques, and gear picks — straight to your inbox.