How to Store Carrots So They Stay Crisp for Weeks
There is perhaps no greater culinary tragedy than reaching into your vegetable crisper drawer, anticipating the vibrant, sharp snap of a fresh carrot, only to be met with a limp, rubbery root that bends under its own weight. We have all been there, standing in the kitchen with a half-prepared mirepoix or a salad recipe in hand, feeling that distinct sense of defeat as the primary ingredient fails us. Proper vegetable storage is the silent, unsung hero of the professional kitchen, a foundational skill that separates the organized home cook from the chaotic one. When you master the art of keeping your produce at its peak, you aren't just saving money on groceries; you are ensuring that every dish you assemble maintains the textural integrity and nutritional density it deserves. Today, we are diving deep into the science of the carrot, decoding the environmental factors that dictate its lifespan, and providing you with a definitive guide to keeping them crisp for weeks on end.
The carrot is a remarkably resilient vegetable, yet it is often mistreated by well-meaning home cooks who rely on the standard plastic baggie from the supermarket. While these thin, perforated films serve a basic purpose for transportation, they are rarely sufficient for long-term storage in the aggressive environment of a modern refrigerator. To truly understand how to preserve a carrot, we must first recognize that it is a living organism that continues to respire long after it has been pulled from the soil. By manipulating humidity, temperature, and exposure to ethylene gas, we can slow down this metabolic process significantly. This is not about magic or complex culinary gadgets; it is about creating a micro-environment that mimics the cool, dark, and humid conditions of the earth from which the vegetable came.
In the following sections, we will move beyond the basic "toss it in the fridge" mentality and embrace professional techniques that change the game entirely. We will discuss the crucial importance of trimming green tops, the benefits of moisture-wicking barriers, and why a simple jar of water can be the most effective storage solution in your kitchen. Whether you are a weekend meal-prepper, a gardener dealing with a bumper crop, or simply someone tired of throwing away shriveled produce, this guide will provide the practical framework you need. Prepare to clear out your crisper drawer, rethink your storage habits, and finally stop blaming the produce manager for your wilting vegetables. It is time to take control of your pantry and ensure that your carrots stay as crunchy on day fourteen as they were on day one.
The Science of Crispness: Why Carrots Wilt
Moisture Loss and Transpiration
The primary reason a carrot loses its crispness is the process of transpiration, which is essentially the evaporation of water from the plant’s tissues. When you bring a carrot home, it is filled with water held within its cell walls, providing that characteristic "turgor pressure" that makes it snap when broken. Once removed from the ground, the carrot is cut off from its root system, meaning it can no longer replenish the moisture it loses to the surrounding air. In a dry refrigerator environment, the air acts like a sponge, pulling moisture out of the vegetable and causing the cells to collapse, which results in that dreaded rubbery texture.
To combat this, you must prioritize moisture retention while avoiding excess water buildup that can lead to rot. If a carrot is stored in a way that allows air to circulate too freely, it will desiccate quickly. Conversely, if it is trapped in a completely airtight, moisture-heavy environment without any breathability, condensation will form, encouraging bacterial growth and slime. The goal is to create a "Goldilocks" environment where the humidity is high enough to keep the cells plump, but not so saturated that the carrot begins to decompose.
The Role of Temperature
Temperature is the secondary variable in the storage equation. Most home refrigerators are set between 37°F and 40°F, which is generally acceptable but can be inconsistent near the back or the vents. Carrots thrive in near-freezing conditions, ideally between 32°F and 35°F. At these lower temperatures, the metabolic rate of the vegetable is significantly slowed, meaning the chemical reactions that lead to aging and flavor degradation are stalled.
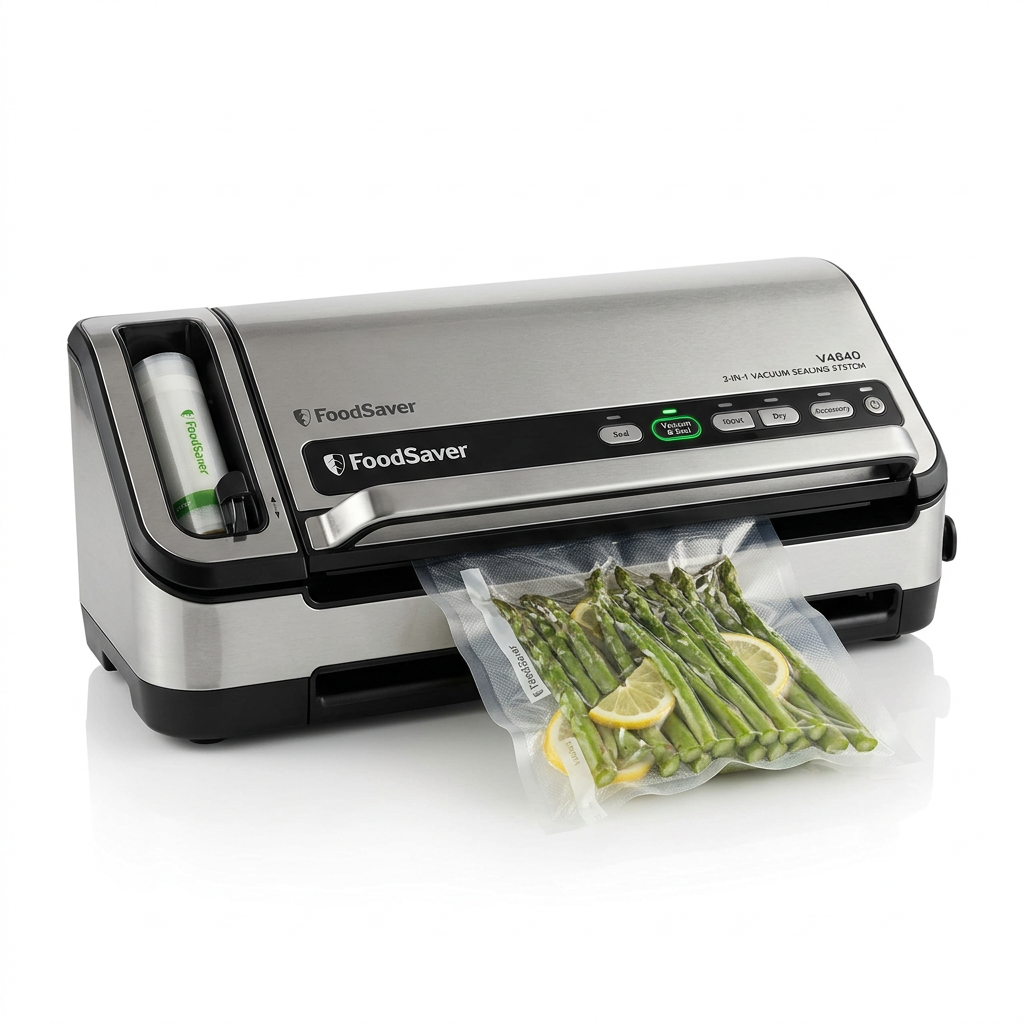
The secret to professional-grade storage isn't found in expensive vacuum sealers or specialized gadgets; it is found in understanding the relationship between ambient humidity and the natural breathability of your produce.
Professional kitchens often utilize walk-in coolers that maintain a very steady temperature, but you can replicate this at home by being mindful of where you place your carrots. Avoid storing them near the fan or the back wall where items occasionally freeze, as ice crystal formation will rupture the cell walls of the carrots, rendering them mushy the moment they thaw. Consistency is key; wild temperature fluctuations caused by opening and closing the fridge door repeatedly will degrade your produce faster than steady, slightly warmer temperatures would.
The Preparation: Pre-Storage Best Practices
Removing the Greens
If you buy your carrots in a bunch with the green tops still attached, the very first thing you must do upon arriving home is to trim those greens. This is a non-negotiable step for long-term storage. The green tops, or carrot fronds, act as a wick, drawing moisture and nutrients out of the root in a desperate, futile attempt to stay alive. If you leave them on, the carrot will become limp significantly faster than it would if it were properly "topped."
Do not throw these greens away, however. They are entirely edible and make a fantastic chimichurri or pesto when blended with garlic, olive oil, and nuts. By separating the greens from the roots, you allow the carrot to focus its energy on maintaining its own structural integrity. Use a sharp chef’s knife to slice the greens off about half an inch above the crown of the carrot. This prevents you from cutting into the root itself, which would create a wound and a potential entry point for bacteria.
Cleaning and Drying
There is a common debate regarding whether one should wash carrots before storing them. The answer depends on your storage method. If you intend to use the water-immersion method, a good scrub is necessary to prevent dirt and bacteria from clouding the water. However, if you are using a paper towel wrapping method, it is often safer to store them unwashed, wiping off only the excess loose soil.
If you do decide to wash them, you must ensure they are completely dry before they go into storage. Any lingering surface moisture trapped in a bag or container will act as a breeding ground for mold. Use a clean kitchen towel or a salad spinner to remove excess water, then let them air-dry on a rack for about 15-20 minutes. Taking this extra step saves you from finding a fuzzy, black-spotted mess at the bottom of your storage bag three days later.
Method 1: The Water Immersion Technique
The Best Way to Maintain Snap
The water immersion technique is widely considered the "gold standard" for keeping carrots crisp for the longest duration—often up to four weeks or more. By submerging the peeled or cleaned carrots in cold, clean water, you are essentially replacing the moisture they lose through evaporation. This external hydration ensures that the carrot cells remain fully pressurized, maintaining that desirable crunch for as long as the water remains clean and cold.
Execution Steps
This method works because it provides a constant, external supply of moisture. It is particularly useful for carrots that have already started to lose some of their stiffness. You will notice that a slightly rubbery carrot placed in water for 24 hours will regain much of its original snap as the cells rehydrate. This is a culinary hack that professional chefs have used for decades to revive vegetables that have sat out for a few hours too long.
Method 2: The Paper Towel and Bag Technique
Creating a Controlled Micro-Climate
If you do not have the space in your refrigerator for multiple jars of water, the paper towel wrapping method is a highly effective alternative. This method relies on the paper towel to absorb excess moisture (preventing slime) while trapping just enough humidity around the carrot to prevent drying out. It is a balancing act that works exceptionally well for most home cooks.
The Wrapping Process
You will want to take your trimmed, dry carrots and lay them out on a clean surface. Place a few of them side-by-side on a high-quality, absorbent paper towel. Roll them up snugly, like a culinary sleeping bag, so that the towel separates each carrot and provides a cushioned barrier. Once rolled, tuck the bundle into a perforated plastic bag or an open-ended produce bag.
Remember that the goal of storage is to prevent dehydration without promoting decay. The paper towel acts as a hygroscopic buffer, ensuring that the carrot stays in that sweet spot of high humidity without ever sitting in standing, stagnant water.
By leaving the bag slightly open or using a container that isn't fully airtight, you allow for minimal gas exchange. This is crucial because carrots, like many vegetables, release trace amounts of ethylene gas as they age. If this gas is trapped in an airtight bag, it will accelerate the aging process of the carrots, causing them to develop an off-flavor and soften prematurely. A little airflow goes a long way.
Dealing with Ethylene Gas and Proximity
Avoiding the "Produce Killer"
Ethylene is a natural plant hormone that triggers ripening and decay. While carrots are not particularly sensitive to ethylene, they should never be stored next to high-ethylene producers like apples, pears, or bananas. If you store your carrots in the same drawer as a bag of apples, the carrots will inevitably degrade faster, become bitter, and lose their crispness far ahead of schedule.
Always categorize your refrigerator contents by ethylene production. Keep your roots and leafy greens in the crisper drawer, far away from your fruit bowl or any ethylene-releasing fruits. This organizational habit is just as important as the storage method itself. Even the best-wrapped carrots will wilt if they are sitting in a "gas chamber" of ripening fruit.
Managing Your Storage Zones
Most modern refrigerators come with adjustable humidity sliders on their crisper drawers. For carrots, you want to set your drawer to high humidity. This is usually indicated by a closed vent setting. By keeping the humidity high, you prevent the dry, cold air of the refrigerator from pulling water out of your produce.
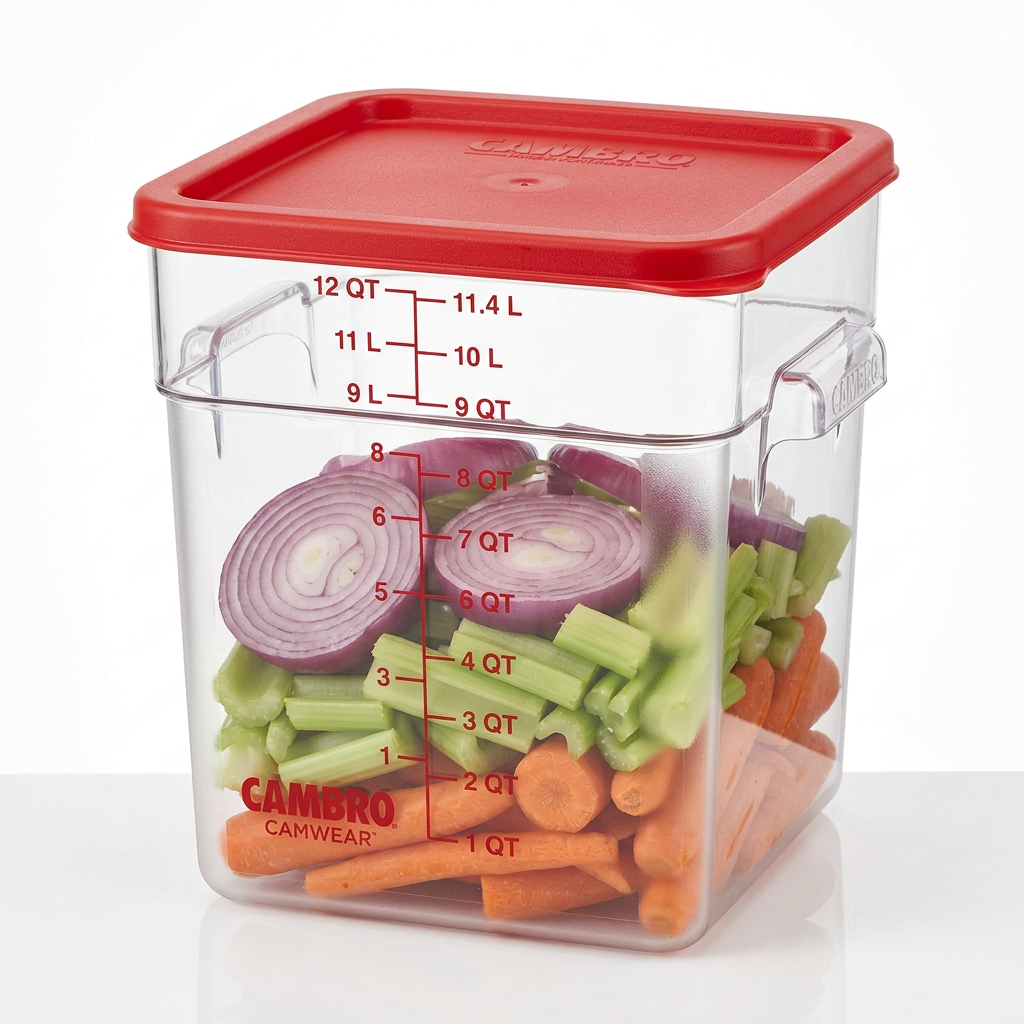
If your refrigerator does not have these sliders, do not worry. Simply place your carrots in a glass container or a plastic bin that is specifically designated for roots. By creating a physical barrier between the carrot and the refrigerator's circulating air, you are creating your own high-humidity environment. Consistency in placement is key; if you move your carrots to a different part of the fridge, you may inadvertently expose them to a different temperature or humidity zone that could harm them.
Troubleshooting Common Storage Issues
When is a Carrot Past Its Prime?
Even with the best techniques, there comes a time when a carrot simply cannot be saved. How do you know if you should toss it? If the carrot has developed a slimy, slick, or sticky surface, it is a sign of microbial growth and should be discarded immediately. A slight loss of color or a "rubbery" texture is generally safe to consume, provided it doesn't smell sour or moldy.
If your carrots have developed black spots on the surface, this is usually an indication of rot. While you can sometimes trim away a small spot and use the rest of the carrot for a soup or stew, never use these for raw applications like salads or crudité platters. Always trust your senses; if it looks, smells, or feels "off," it is not worth the risk of a stomach ailment.
Reviving Limp Carrots
If you find a bag of carrots that has become slightly bendy, don't throw them away. Shocking them is a great way to bring them back to life. Prepare an ice-water bath in a large bowl, place the carrots inside, and leave them in the refrigerator for about two hours. The cold temperature combined with the rapid absorption of water will often restore a surprising amount of crispness to even the most neglected root.
This technique is a staple for restaurant prep. We often keep a bowl of ice water near our stations to keep carrots, celery, and radishes in peak condition throughout the service shift. It is a simple, effective trick that maximizes the yield of every single vegetable you purchase.
The Importance of Quality at the Source
Shopping for Longevity
The lifespan of your carrot is determined long before it hits your refrigerator. When you are shopping, look for carrots that are firm, bright in color, and smooth to the touch. Avoid carrots that have cracks, deep splits, or soft spots near the crown. A heavy carrot is a good carrot—it indicates that it is packed with water and fresh from the harvest.
If you have access to a local farmers' market, buy carrots that still have the greens attached. While you will remove the greens immediately, these carrots are often harvested closer to the time of sale than those found in commercial grocery stores, which may have been sitting in distribution centers for weeks. Freshness at the point of purchase is the biggest advantage you can give yourself in the battle for crispness.
Storing Pre-Cut or Baby Carrots
"Baby" carrots or pre-cut carrot sticks are a different beast entirely. Because they have been processed, they have a higher surface area and are much more prone to drying out or developing that white, chalky film. This film is just dehydrated carrot fiber—it is safe to eat, but it tastes terrible and feels woody.
If you buy pre-cut carrots, the best way to store them is in the water immersion method described earlier. Since they are already processed, they will stay crisp for about a week to ten days if kept completely submerged and chilled. Change the water every other day, as the processed carrot tissue will release more starch into the water than a whole, unpeeled carrot would.
Conclusion
Mastering the art of vegetable storage is one of the most rewarding steps you can take toward becoming a more capable and efficient home cook. It transforms the way you view your ingredients, shifting your mindset from seeing produce as a fleeting, perishable commodity to seeing it as a long-term asset in your kitchen. By trimming the greens, controlling humidity, managing ethylene exposure, and utilizing the right containers, you can ensure that your carrots are always ready for a salad, a roast, or a quick afternoon snack.
Remember that there is no single "right" way to store vegetables for every household. You must tailor these methods to your specific storage space and your cooking habits. If you cook often, the paper towel method may be perfectly adequate. If you prefer to shop in bulk, the water immersion method will be your best friend. The key is consistency and observation. Keep an eye on your storage containers, rotate your stock, and don't be afraid to experiment with these techniques to find what works best for your refrigerator’s unique micro-climate.
Ultimately, "Blame The Chef" is about taking responsibility for the quality of your food. When you stop blaming the produce manager and start implementing these professional storage standards, you are taking ownership of your kitchen. You will find that you are throwing away less food, spending less money, and—most importantly—preparing dishes that taste better because the ingredients themselves are handled with the respect they deserve. Take these tips, apply them this week, and enjoy the confidence that comes with knowing your carrots are as crisp as they can possibly be. Happy cooking, and remember: it’s all in the preparation.
When you finally master these storage protocols, you will find that the convenience of having fresh, crisp vegetables on hand at all times will naturally push you toward healthier, more creative meals. No longer will you find yourself ordering takeout simply because your fridge is devoid of anything fresh. You are building a system that sustains your culinary inspiration. Whether you are blanching carrots for a complex stir-fry or simply shaving them into ribbons for a bright, acidic salad, the difference between a sad, rubbery root and a crisp, vibrant one is the difference between a chore and a joy. Continue to refine your methods, stay organized, and keep your kitchen as fresh as your produce. Your future meals will certainly thank you for the extra effort you put in today. The cycle of freshness is a habit that, once formed, makes every aspect of your culinary life significantly easier and more enjoyable. Keep practicing, keep storing, and keep that crispness alive.
Get the Next Recipe
Weekly recipes, techniques, and gear picks — straight to your inbox.