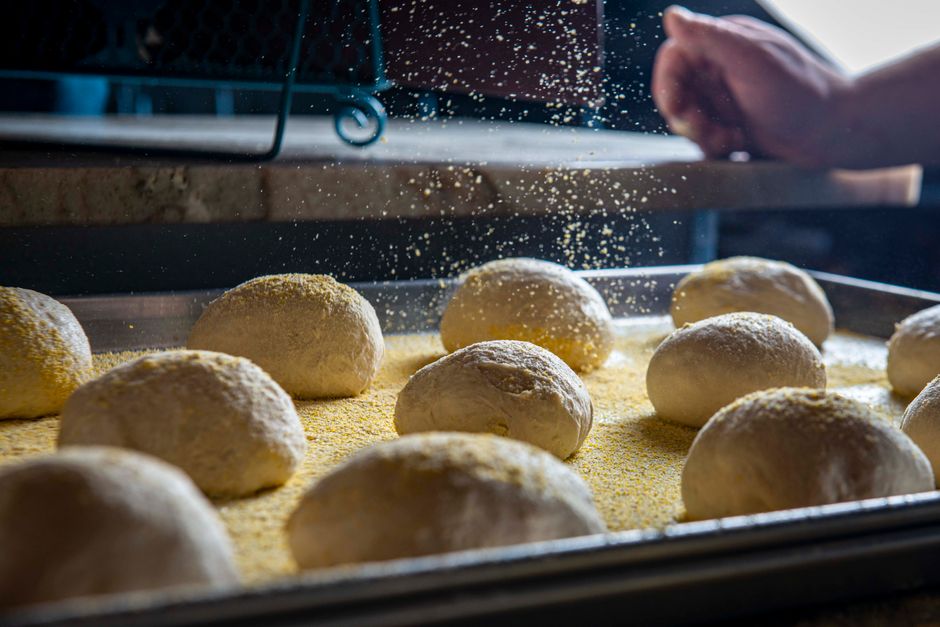
How to Tell When Sourdough Is Done Proofing
There is perhaps no greater heartbreak for a dedicated home baker than slicing into a beautifully golden, crackling loaf of sourdough, only to discover a dense, gummy interior that failed to rise. This phenomenon is the hallmark of improper proofing, the most mysterious and temperamental stage of the sourdough process. Many beginners view the bulk fermentation phase as a game of chance, relying on imprecise visual cues or, worse, arbitrary clock settings that fail to account for the ever-changing environment of a kitchen. To truly master sourdough, you must move beyond the recipe and begin to understand the biological rhythm of the wild yeast and bacteria colonies living within your dough.
Developing an intuitive sense for when your dough is ready to bake is the single most significant leap you can take toward artisanal-quality bread. It requires a shift in perspective from being a follower of instructions to becoming an observer of fermentation. Sourdough is a living system that reacts to ambient room temperature, the hydration level of your flour, the vigor of your starter, and even the relative humidity of your home. By mastering the signs of a perfectly proofed dough, you reclaim control from the clock and place it squarely back into your own hands, ensuring that every loaf emerges from the oven with an airy, complex crumb structure.
At "Blame The Chef," we believe that while the science of baking is rigorous, the practice of it should be inherently creative and rewarding. Today, we are stripping away the myths surrounding fermentation times and diving deep into the tactile, visual, and olfactory markers that indicate exactly when your dough has hit its peak. Whether you are using a high-hydration country loaf recipe or a sturdy, whole-grain blend, the principles of proofing remain universal. Prepare to take your sourdough game from inconsistent experimentation to consistent, professional-grade results as we demystify the art of the proof.
Understanding the Science of Fermentation
At the heart of every sourdough loaf is a complex biological engine driven by wild yeast and lactic acid bacteria (LAB). When you mix flour and water with your active starter, these microorganisms begin the process of breaking down complex starches into simple sugars. As the yeast consumes these sugars, it releases carbon dioxide gas and ethanol. The gluten network that you meticulously built during the folding process acts like a series of microscopic balloons, trapping that carbon dioxide and causing the dough to expand. Understanding this process is the first step toward knowing when the expansion has reached its structural limit.
The rate of this fermentation is dictated primarily by temperature. Most professional bakers aim for a bulk fermentation temperature between 75°F and 80°F. If your kitchen is colder, fermentation slows significantly; if it is warmer, the yeast accelerates, sometimes leading to over-proofing before you even realize the process has begun. It is vital to recognize that the "bulk" phase—the time from mixing until you shape your loaves—is the most crucial window. This is where the structural integrity of the loaf is established, and where the flavor profile develops through the creation of organic acids.
"The dough is not a passive ingredient; it is a living, breathing entity that communicates its readiness through subtle physical transformations that every baker must learn to read."
It is important to remember that bulk fermentation is not just about volume increase, but about achieving a specific balance of gluten development and gas retention. If you stop the bulk fermentation too early, the gluten will be underdeveloped, resulting in a loaf that lacks strength and fails to hold its shape during the final bake. If you go too far, the gluten network begins to break down under the weight of the trapped gas and the increasing acidity, leading to a flat, sour, and dense loaf that lacks the characteristic "ear" and loft.
The Impact of Ambient Temperature
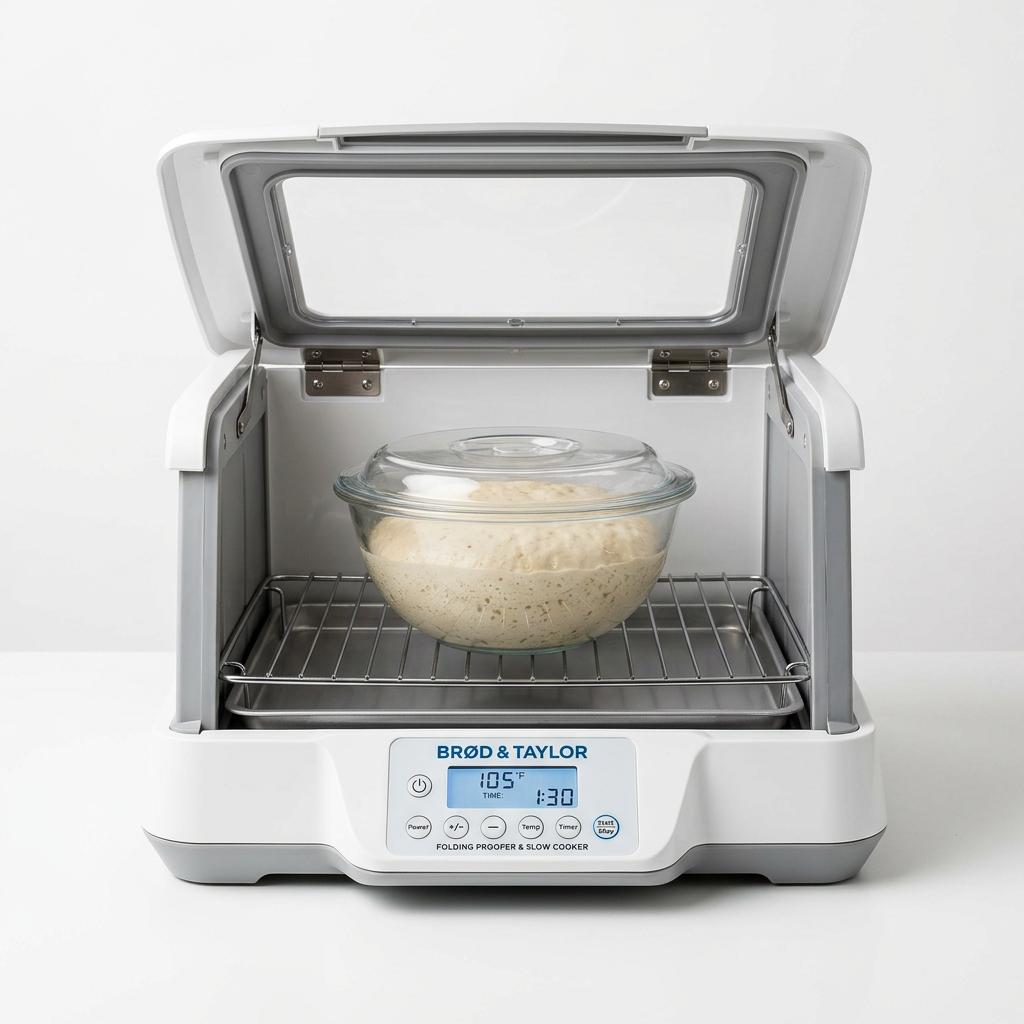
You must track the ambient temperature of your fermentation environment as religiously as you measure your flour. A 5-degree fluctuation can change the length of your bulk fermentation by an hour or more. Using a digital thermometer or a dedicated proofing box allows you to remove the guesswork. If your kitchen is consistently cool, consider using the oven with just the light turned on as a proofing chamber, provided you monitor the internal temperature to ensure it does not exceed 85°F, which could kill the beneficial bacteria.
Recognizing the Signs of Activity
During bulk fermentation, look for these visual markers:
Domed Surface:* The surface of the dough should look smooth and slightly convex, rather than sunken or flat.
Bubbles:* You should see large, visible bubbles appearing near the surface and along the sides of your glass bowl or fermentation tub.
Jiggle:* When you gently shake the container, the dough should exhibit a distinct, almost jelly-like wobble, indicating it is aerated and light.
The Poke Test: Tactile Indicators of Readiness
One of the most reliable, time-tested methods for determining if your dough is ready to be shaped is the Poke Test. This tactile technique allows you to feel the tension and elasticity of the gluten network. To perform this test, lightly flour your fingertip and press it about half an inch into the dough. You are looking for a specific reaction: the dough should spring back slowly, leaving a small indentation that fills in partially but not entirely. This indicates that the dough has enough gas trapped to rise, but still has sufficient structural integrity to hold that shape without collapsing.
If you poke the dough and it springs back instantly, it is under-proofed. The gluten is still too tight, and the yeast has not yet produced enough gas to support a proper expansion during the oven spring. In this case, give the dough another 30 to 60 minutes of bulk fermentation at room temperature and test again. Conversely, if your finger leaves a deep crater that does not spring back at all, you have likely over-proofed the dough. The structural balloons have burst, and the gluten has been degraded by the acidity, meaning it will likely spread in the oven rather than rise.
Mastering the Nuance of the Poke
The Poke Test is not an exact science, but a sensory skill that improves with practice. You must account for the hydration percentage of your dough. A high-hydration dough (80% or higher) will always feel softer and more delicate than a lower-hydration dough (65% to 70%). When working with high-hydration recipes, be gentler with your poke, as the dough is more prone to degassing. Always perform your test in an area of the dough that is not directly over a massive air pocket, as this will give you a false reading of the dough’s overall strength.
Adjusting for Hydration Levels
Low Hydration (65-70%):* These doughs feel stiffer and require a firmer poke. The bounce-back will be more pronounced.
Medium Hydration (70-75%):* The "sweet spot" for most home bakers. The spring-back should be moderate and steady.
High Hydration (80%+):* These doughs feel loose and delicate. The indentation should remain visible but slowly soften, rather than snapping back quickly.
Visual Cues and the "Container Method"
Many professional bakers swear by the straight-sided container method to eliminate uncertainty. By using a square or straight-sided clear plastic container, you can accurately track the volume increase of your dough. Most sourdough recipes aim for a 30% to 50% increase in volume during bulk fermentation. By using a container with markings, you can visually observe exactly how much the dough has expanded, removing the ambiguity of judging height in a round bowl where the dough is obscured by curves.
The goal is to move from a flat, dense mass to an airy, aerated structure. As the yeast works, the dough will start to look "puffy" and take on a matte, billowy appearance. The edges of the dough against the container should show clear signs of bubbling, and the surface tension you created through folding should start to soften as the dough becomes filled with air. Do not wait for the dough to double in size; in many sourdough recipes, doubling can lead to over-proofing, especially if your starter is particularly active.
"A container with markings is the baker's best friend. It transforms a subjective estimation into a precise, visual data point that ensures consistency across every loaf you bake."
Why Volume Matters
Volume is a proxy for gas production. If the dough hasn't grown by at least 30%, you have not allowed enough time for the yeast to establish the necessary aeration. If it has grown by more than 50-60%, you are walking a tightrope. Most sourdough cultures are quite vigorous; pushing the bulk fermentation to the extreme limits of the container’s capacity often results in a loaf that loses its shape during scoring because the dough has lost its "gas-holding" ability.
Setting Up Your Benchmarks
The Role of Bulk Fermentation vs. Final Proof
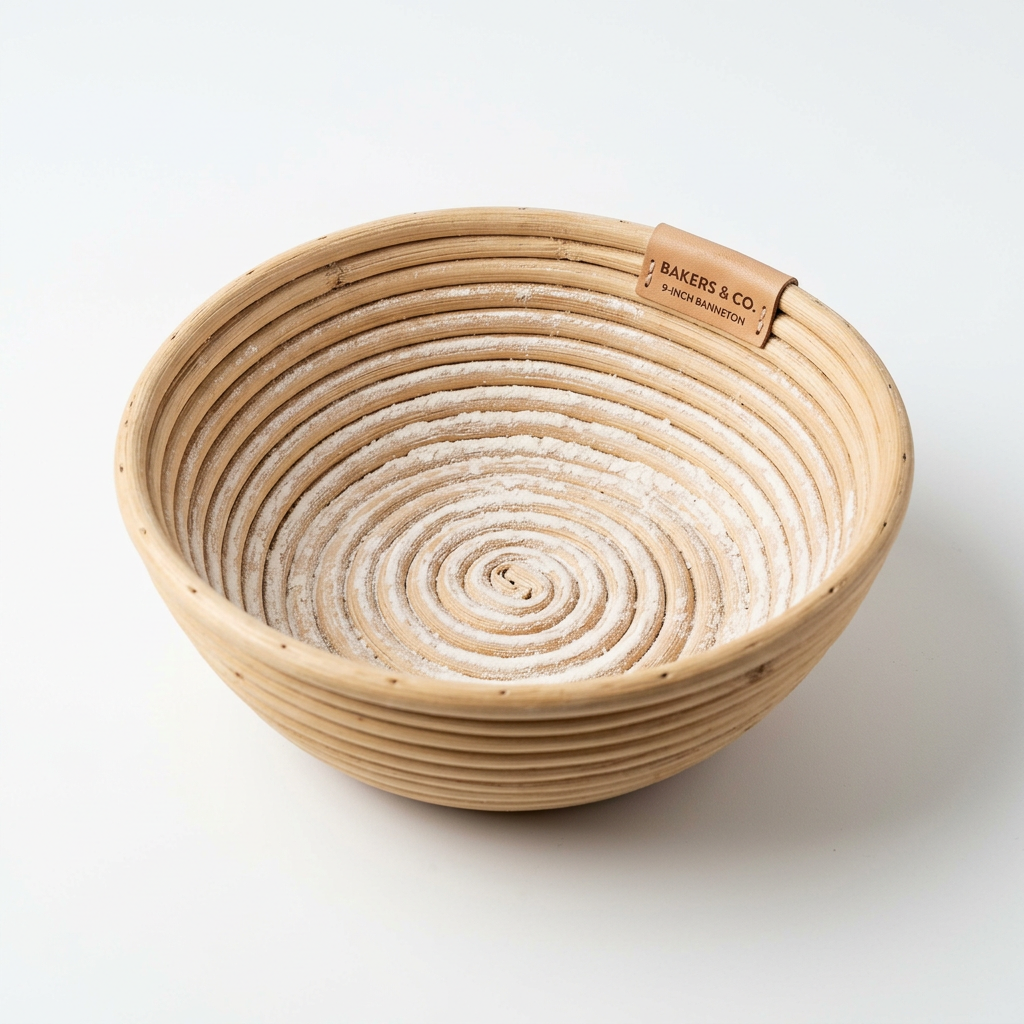
It is essential to distinguish between bulk fermentation and the final proof (or "banneton proof"). Bulk fermentation is where the bulk of the flavor development and structural foundation occur. If you rush this phase, no amount of time in the proofing basket will fix the lack of complexity or the poor crumb structure. The final proof, which happens in the banneton after shaping, is simply the final puff of air that prepares the loaf for the oven. This stage is often done in the refrigerator, known as a cold retard.
A cold retard serves two purposes: it makes the dough easier to score because the cold stiffens the gluten, and it significantly enhances the flavor profile by slowing down the yeast while allowing the lactic acid bacteria to continue producing those tangy, complex notes. Many professional chefs believe that a 12 to 24-hour cold proof is the secret to a professional-grade sourdough. During this time, the enzymes in the flour break down the sugars, leading to a deeper caramelization on the crust and a more nuanced, creamy flavor in the crumb.
The Cold Retard Strategy
The cold retard is your insurance policy. If you find your dough is slightly under-proofed after bulk fermentation, a longer stint in the fridge will allow it to catch up slowly. If you fear it is over-proofed, keep the cold retard short. By manipulating the temperature and time in the refrigerator, you can manage your baking schedule to fit your lifestyle, effectively "pausing" the fermentation process until you are ready to heat your oven.
Key Differences at a Glance
Bulk Fermentation:* Focuses on gas retention, gluten strength, and flavor development. Performed at room temperature.
Final Proof:* Focuses on the final rise and preparation for scoring. Often performed in the refrigerator to manage timing and flavor.
Assessing Readiness Before the Bake
Before you turn your oven on, take one final look at the dough in its banneton. If it has been in the fridge for a long cold retard, it should feel firm and cold to the touch. If you have done a room-temperature final proof, look for the "pillowy" texture. The dough should feel like a memory foam mattress—soft, receptive to the touch, and ready to hold an impression, but still retaining a subtle, internal tension that suggests it will spring up when it hits the heat of the oven.
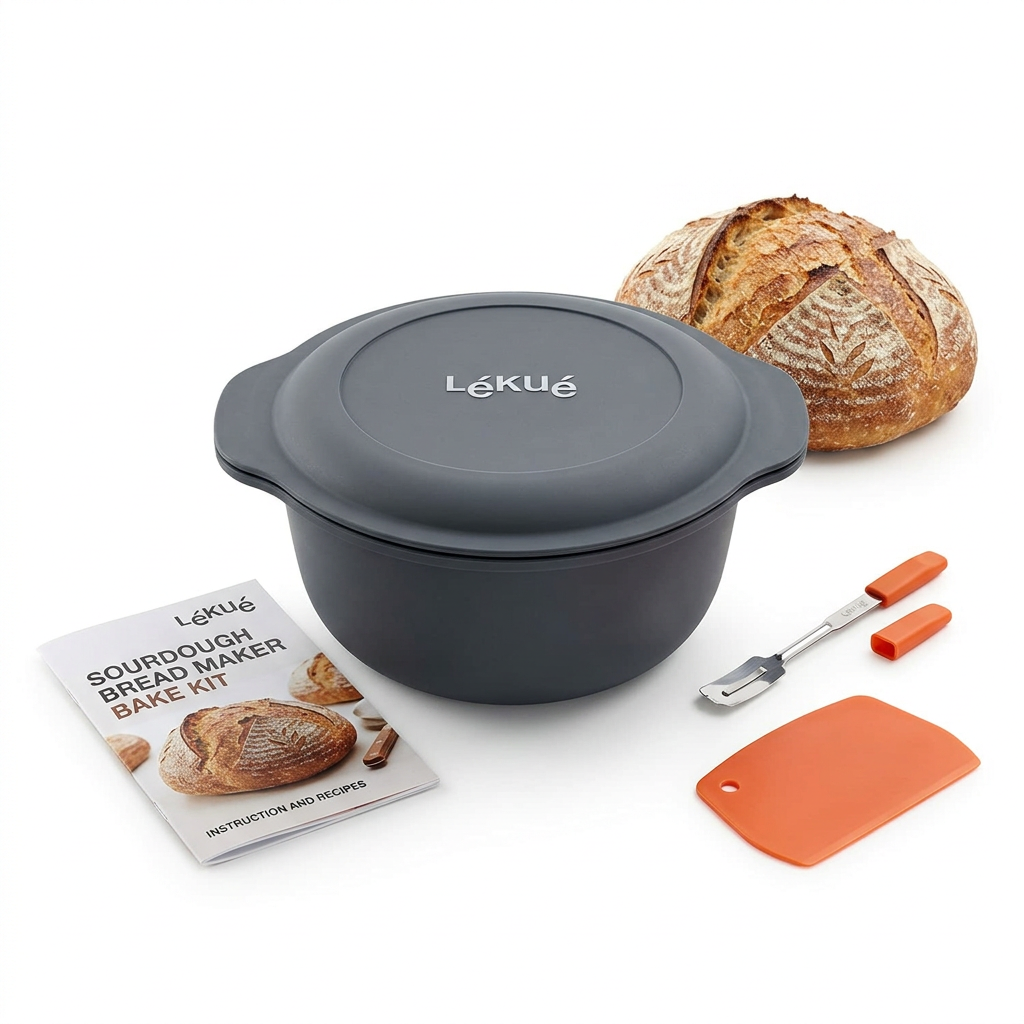
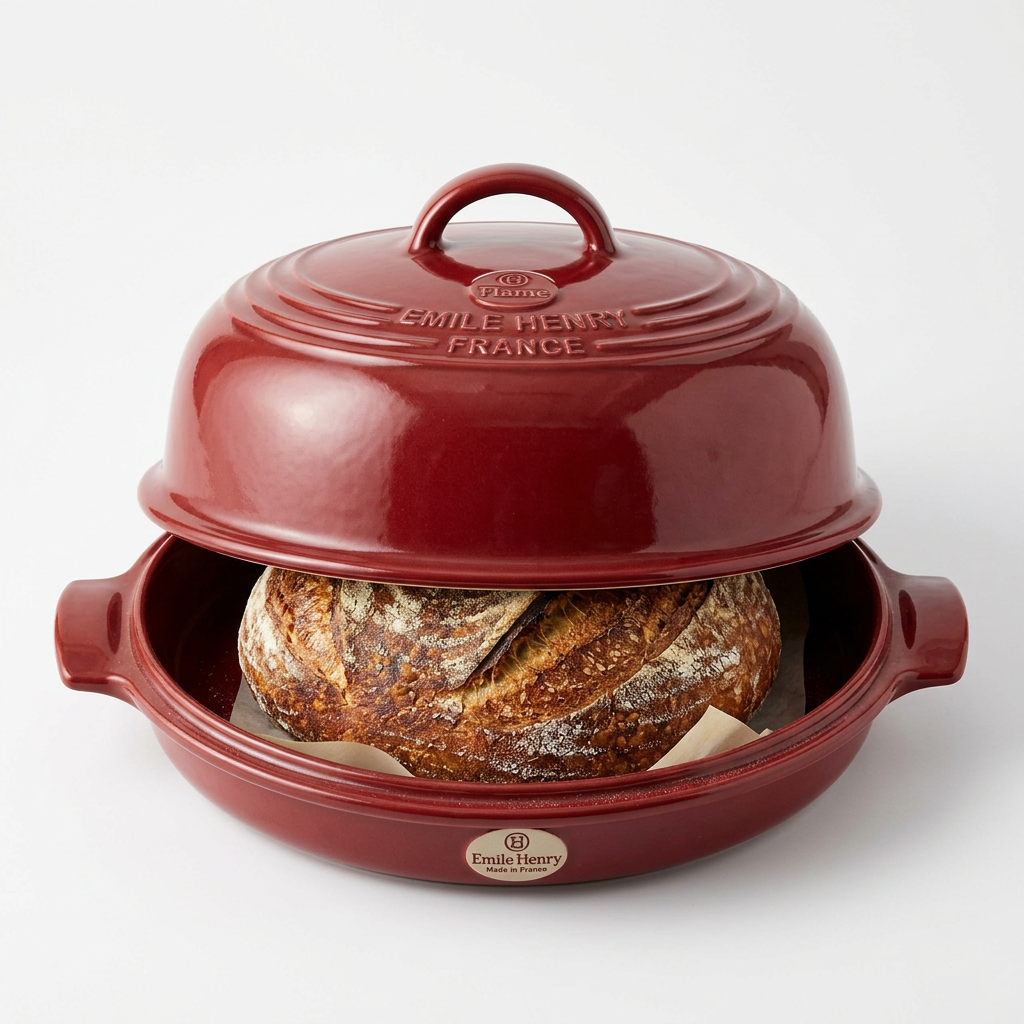
If you are using a Dutch oven or a cast-iron combo cooker, ensure your oven is preheated to at least 450°F or 500°F for a full hour before baking. The initial blast of heat is what creates the "oven spring." If your dough is properly proofed, it will rise rapidly within the first 10 minutes of baking. If it stays flat or collapses, it is a clear indicator that your proofing assessment was off. Keep a notebook to record the temperature, time, and the results of your poke test for every loaf, as this is how you develop the "baker's intuition" that separates the novice from the master.
The Scoring Test
The way the dough reacts to your lame (a razor blade used for scoring) is the ultimate test of readiness. If the dough is properly proofed, the cut should open up cleanly and display the air bubbles inside the gluten structure. If the dough feels like rubber and the cut is difficult to make, it is under-proofed. If the dough feels like a wet sponge and begins to deflate as you cut, it is severely over-proofed. Use the resistance of the dough during scoring as a final diagnostic tool for your next bake.
Troubleshooting Common Issues
Dough is flat/spreads:* Often a sign of over-proofing or insufficient gluten development during bulk fermentation.
Dough is dense/gummy:* Usually caused by under-proofing, preventing the yeast from creating enough aeration.
Burnt bottom, raw middle:* Likely due to the oven being too hot or the loaf being over-proofed, leading to a collapse before the heat can penetrate the center.
Professional Tips for Consistent Results
Professional chefs rely on consistency, and you should too. Start by standardizing your starter hydration and your flour brand. Different flours have different protein contents, which dictate how quickly the gluten network develops and how well it holds gas. Using a high-protein bread flour (12-14%) is highly recommended for beginners, as it provides a more forgiving structure during the fermentation process. If you are struggling with your proofing, try switching to a stronger flour before you blame your technique.
Another professional secret is the use of a "bench rest" after dividing your dough. After the bulk fermentation is complete, divide and shape your dough into rounds, then let them rest on the bench for 20 to 30 minutes. This relaxes the gluten and makes the final shaping process much easier. A stressed, tight dough is difficult to shape and can tear, leading to a loss of the precious gas you spent hours building. By allowing the dough to relax, you ensure a smooth, taut outer skin that will result in a beautiful, uniform oven spring.
"The secret to artisanal bread isn't found in a hidden recipe, but in the disciplined repetition of techniques that respect the biology of the dough."
Ingredient Ratios for Success
Flour:* 500g (High Protein Bread Flour)
Water:* 350g (70% Hydration)
Starter:* 100g (Active and bubbly)
Salt:* 10g (Fine sea salt)
Step-by-Step Shaping Workflow
Conclusion
Mastering the art of sourdough proofing is a journey that rewards patience, observation, and the willingness to learn from every loaf—even the ones that don't turn out perfectly. The transition from relying on rigid timers to trusting your own senses is the moment you truly become a baker. By utilizing tools like the poke test, observing the volume in a straight-sided container, and understanding the vital role of ambient temperature, you can achieve the airy, open, and tangy sourdough loaves that are the envy of every kitchen.
Remember that every mistake is simply a lesson in the biology of your own unique kitchen environment. If a loaf comes out dense, note the temperature and shorten your proofing window. If a loaf comes out flat and spread out, increase your gluten-building folds or shorten the overall bulk fermentation. Sourdough is an ancient, beautiful craft that connects us to the history of bread-making, and with these techniques, you are now equipped to handle any challenge the dough throws your way.
Keep baking, keep observing, and never be afraid to blame the chef—yourself—for the results, because that is exactly how you will improve. There is no magic to sourdough, only the consistent application of principles that work in harmony with the wild yeast. When you hear that crackling sound of a loaf cooling on the rack, you will know that the time you invested in understanding the proof was time well spent. Happy baking, and may your loaves always have the perfect, airy crumb.
Get the Next Recipe
Weekly recipes, techniques, and gear picks — straight to your inbox.
