Instant vs Active Dry Yeast: Conversion Guide
If you have ever found yourself staring at a recipe that calls for a specific type of yeast, only to realize your pantry contains the complete opposite, you are certainly not alone. The world of baking is often treated like a high-stakes chemistry experiment, where one wrong variable can lead to a deflated loaf or a dense, brick-like baguette. Understanding the nuances between instant yeast and active dry yeast is a foundational skill that separates the casual weekend baker from the confident artisan. It is a common point of confusion, but once you master the mechanics of these tiny, dormant organisms, your relationship with dough will change forever. We are here to demystify the science, providing you with a roadmap to navigate these ingredients so you can stop blaming the recipe and start perfecting your crumb.
The primary difference between these two leavening agents lies in their manufacturing process and how they are activated within your dough. While both are technically the same species—Saccharomyces cerevisiae—they are prepared differently to suit varying baking styles and time constraints. Active dry yeast consists of larger, granular particles that are encased in a protective layer of dead yeast cells, requiring a warm water "bath" to wake them up before they can effectively ferment your flour. In contrast, instant yeast is milled into much finer particles that dissolve rapidly and contain no such protective barrier, allowing them to jump straight into the action the moment they hit your mixing bowl. Choosing the right one isn't just about convenience; it is about controlling the rate of fermentation to ensure your bread has the flavor and texture you desire.
In the following guide, we will break down the precise conversion ratios, the specific temperatures required for optimal growth, and the professional techniques that ensure consistent results every time you bake. You will learn why one yeast might be superior for a long, cold-fermented sourdough-style loaf, while the other is indispensable for a quick, same-day dinner roll. By the time you reach the end of this post, you will possess the technical knowledge to swap these ingredients with confidence, regardless of what your grandmother’s handwritten recipe card says. Precision is the soul of professional baking, but flexibility is the secret ingredient of the home cook. Let’s dive into the microscopic world of fermentation and discover exactly how to manipulate these yeast varieties to produce bakery-quality results in your own kitchen.
The Chemistry of Leavening: How Yeast Works
At its core, baking with yeast is an act of cultivation; you are essentially farming microscopic fungi to produce carbon dioxide gas and ethanol. This process, known as fermentation, is what gives bread its lift and its characteristic complex flavor profile. When yeast consumes the sugars found in flour, it releases gas that gets trapped within the gluten network of your dough. The strength and elasticity of that gluten network, managed by your mixing technique, determine how well that gas is retained. If the yeast is too weak, the gas escapes, and the loaf fails to rise; if the yeast is too aggressive or used in the wrong quantities, the bread can develop an unpleasant "yeasty" or boozy aftertaste.
Understanding Active Dry Yeast
Active dry yeast is the traditional choice for many bakers, favored for its stability and predictable performance. Because the yeast cells are encased in a hardened, dormant shell, they are incredibly shelf-stable and can survive for months in your pantry. However, this shell requires a dedicated rehydration step, typically in liquid between 105°F and 115°F. If the water is too cold, the yeast remains dormant; if it is too hot, you risk killing the colony entirely. Once you see a creamy, frothy foam develop on the surface of your liquid, you know the yeast is alive and ready to work.
The Efficiency of Instant Yeast
Instant yeast, often marketed as "rapid rise" or "bread machine yeast," is designed for the modern kitchen where time is often at a premium. Because it is milled into fine, powder-like particles, it hydrates almost instantly when mixed directly into your dry ingredients. There is no need for the "blooming" stage; in fact, adding it to hot water can be detrimental because the yeast lacks the protective outer layer that its active dry counterpart possesses. This efficiency means that dough prepared with instant yeast often enters the bulk fermentation stage significantly faster, shaving precious minutes off your baking process.
"The true magic of baking is not found in the ingredients themselves, but in the patience of the baker and the invisible work of the yeast. To master bread, you must learn to listen to the dough, not just follow the clock."
Precision Conversion Ratios
When you find yourself needing to substitute one yeast for the other, it is important to remember that they are not equal in terms of concentration. Because active dry yeast contains dead cell debris that adds to the total volume of the granule, you cannot simply swap them one-for-one by weight without slightly adjusting your strategy. Generally, you should follow the 25 percent rule when converting. If a recipe calls for active dry yeast and you wish to use instant, you should decrease the amount of yeast by about 25 percent. Conversely, if you are substituting active dry yeast into an instant yeast recipe, you should increase the amount of active dry by roughly 25 percent to compensate for the lower concentration of live cells.
The Conversion Formula
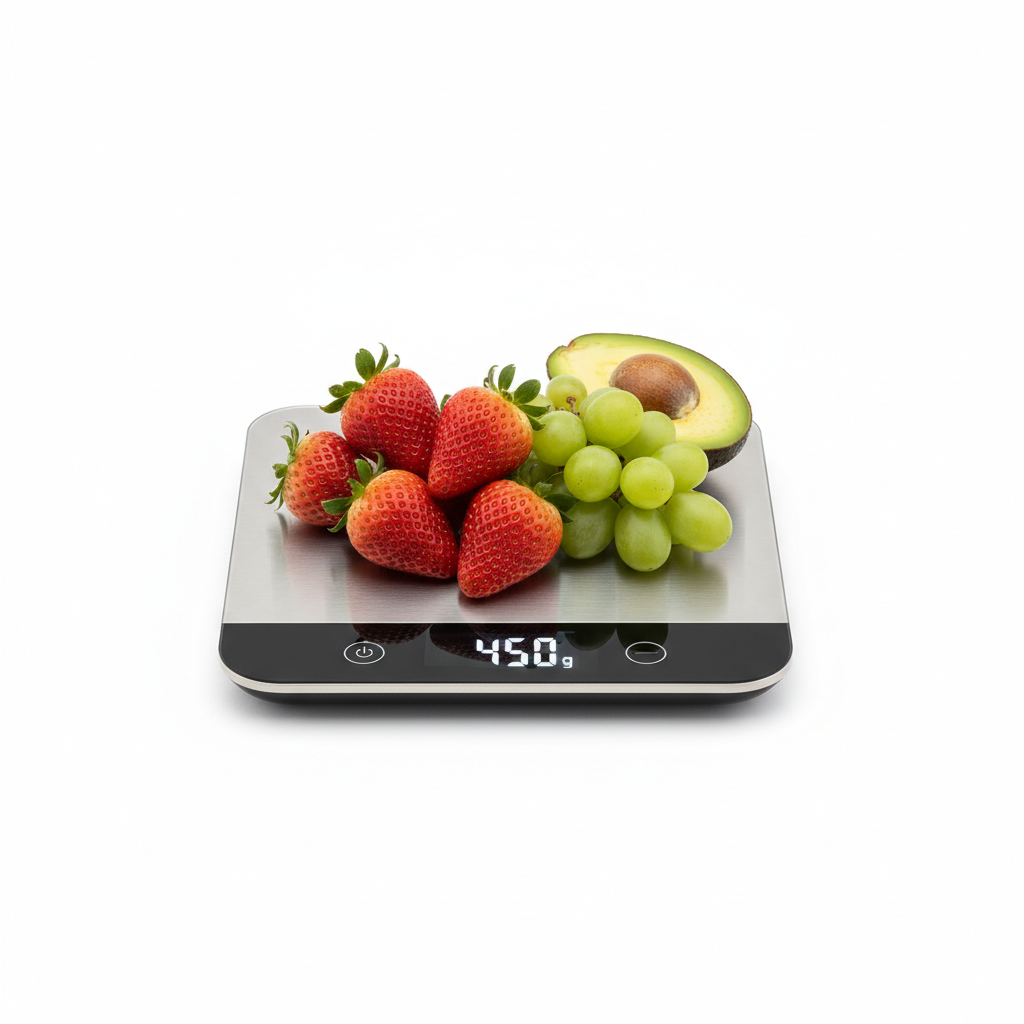
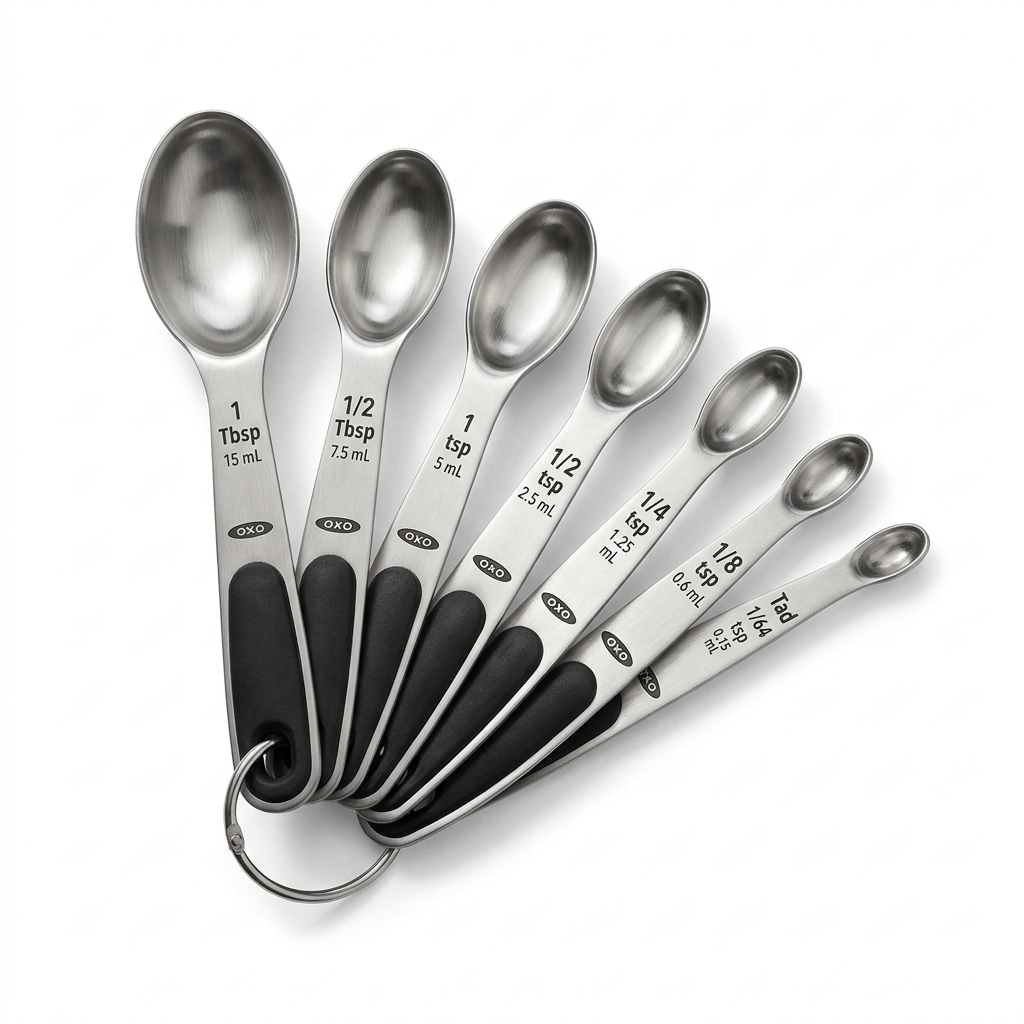
To calculate this effectively, use a digital scale whenever possible. Baking is a science that relies on ratios, and volume measurements like teaspoons can be notoriously inaccurate due to how tightly the granules are packed.
Practical Examples
If your recipe calls for 10 grams of instant yeast, and you only have active dry yeast on hand, you would use 12.5 grams of active dry yeast. Because you are using active dry, remember that you must bloom those 12.5 grams in a portion of your recipe's water (warmed to 110°F) before combining it with the flour. By taking these extra few minutes, you ensure that the yeast is active and healthy, preventing a stalled rise later in the process. Never rely on "eyeballing" yeast quantities, as even a small discrepancy can lead to drastically different fermentation times, especially in cooler environments.
Temperature Control and Fermentation
The behavior of yeast is dictated almost entirely by temperature. Yeast is a living organism, and like all living things, it has an optimal range in which it thrives. In professional kitchens, we keep a close eye on dough temperature, often using infrared thermometers to ensure our ingredients are hitting the target "sweet spot." For most yeast-leavened doughs, an ambient temperature of 75°F to 80°F is ideal for the bulk fermentation stage. At this temperature, the yeast is active enough to produce gas at a steady rate, but not so fast that it exhausts its food supply prematurely.
The Danger of Cold Water
Many home bakers make the mistake of using "room temperature" water that is actually quite cold, especially in winter. If your water is 60°F, your yeast will move at a sluggish pace, potentially doubling your proofing time. Conversely, if you are using a bread machine or an aggressive stand mixer, the friction of the dough hook can raise the internal temperature of the dough significantly. This "friction heat" can kill the yeast if it pushes the dough above 95°F. Always monitor your dough's temperature during the mixing process; if it feels warm to the touch, you are likely nearing the upper limit of safety.
Extending Fermentation for Flavor
While instant yeast is designed for speed, that doesn't mean you must always use it for "quick" bread. One of the best ways to elevate your baking is to use a smaller amount of yeast and perform a long, cold fermentation in the refrigerator. By retarding the dough—slowing down the yeast’s activity in a 38°F environment—you allow the yeast to produce more organic acids and complex flavor compounds over 12 to 24 hours. This technique works equally well with both instant and active dry yeast, provided you account for the slower start when bringing the dough out of the fridge.
"Temperature is the throttle of the baking world. By manipulating the heat, you control the speed of the fermentation, and in that control lies the difference between a loaf with depth and one that is merely functional."
Technique: When to Bloom and When to Blend
The most frequent point of failure for bakers using active dry yeast is skipping the bloom or blooming it incorrectly. If you are ever unsure about the age or viability of your yeast, the bloom test is your best friend. In a small bowl, combine your yeast with a small amount of warm water (110°F) and a pinch of sugar. If it does not become creamy and active within 10 minutes, your yeast is likely dead. Do not proceed with your recipe, as the dough will never rise. Toss it and start with fresh yeast; it is better to lose a teaspoon of yeast than five cups of expensive bread flour.
The Direct Method
With instant yeast, the technique is significantly more streamlined. Because there is no shell to penetrate, you should mix it directly into your flour with your salt and other dry ingredients. We recommend whisking the dry ingredients together thoroughly before adding any liquid; this ensures an even distribution of the yeast throughout the mixture. If you clump the yeast with the salt, the osmotic pressure can potentially inhibit the yeast's performance. By whisking, you ensure that every part of the dough begins to rise simultaneously, creating a consistent and uniform crumb structure.
Troubleshooting Your Rise
If you have mixed your dough and it refuses to rise, consider these common culprits:
The Importance of Gluten Development
Regardless of which yeast you use, the quality of your bread depends heavily on the strength of the gluten network. Yeast produces the gas, but the gluten holds it. If your dough is under-kneaded, it will be unable to hold the pressure generated by the yeast, resulting in a flat, dense loaf. This is why techniques like the Windowpane Test are so vital. After you have finished your initial mix and kneaded your dough, take a small marble-sized piece and gently stretch it between your fingers. If you can stretch it thin enough to see light through it without the dough tearing, your gluten is sufficiently developed.
The Role of Autolyse
Before you even introduce your yeast, consider using an autolyse technique. By mixing just the flour and water and letting it rest for 30 to 60 minutes, you allow the flour to fully hydrate and the enzymes to begin breaking down starches. This makes the dough significantly more extensible and easier to work with once you finally add the yeast and salt. An autolysed dough will require less manual kneading and will ultimately be more tolerant of the gases produced by your yeast, resulting in a better rise and a more open, airy crumb.
Folding During Bulk Fermentation
Professional bakers rarely knead the dough until it is "perfect" at the start. Instead, we use a series of folds during the bulk fermentation stage. Every 30 minutes for the first two hours, gently stretch and fold the dough over itself. This reorganizes the gluten strands and distributes the yeast more evenly without deflating the dough too aggressively. This method is exceptionally effective for both instant and active dry yeast, as it encourages a more structured, resilient dough that is less prone to collapsing during the final proofing stage.
Professional Tips for the Home Kitchen
If you want to achieve bakery-style results, you must begin treating your home kitchen like a professional environment. Start by investing in a high-quality digital kitchen scale. If you are still measuring your flour and water by the cup, you are working with a margin of error that is far too high for consistent baking. A cup of flour can weigh anywhere from 120 grams to 150 grams depending on how it was scooped; that 30-gram difference is enough to completely throw off the hydration ratio and, consequently, the speed and success of your yeast fermentation.
Proper Storage
Yeast is a perishable product that is highly sensitive to heat, moisture, and light. Once you open a jar of active dry or instant yeast, keep it in an airtight container—preferably in the freezer. The cold environment keeps the yeast cells in a state of suspended animation, preserving their viability for years. If you buy in bulk, keep a small amount in a jar in your fridge for daily use and keep the larger portion in the freezer, only replenishing your fridge jar as needed. This prevents the constant fluctuation of temperature from degrading the entire supply.
Patience is a Tool
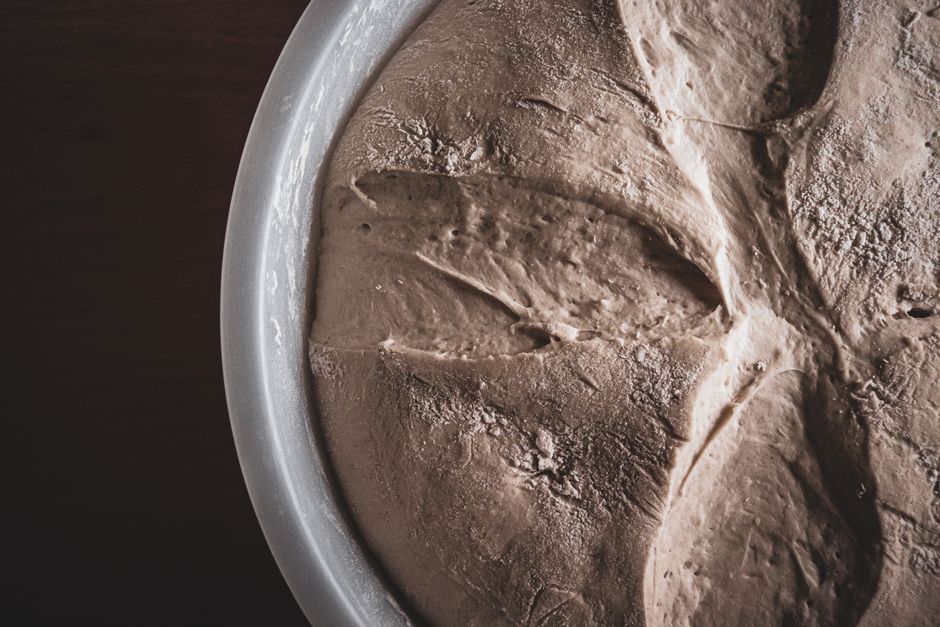
Finally, stop looking at the clock and start looking at the dough. Recipes will tell you to "proof for one hour," but that is merely an estimate based on a standard temperature. If your kitchen is 68°F, that dough might need 90 minutes. If it is 82°F, it might only need 45 minutes. Learn to identify the signs of a properly proofed dough: it should be puffy, wobblier, and have increased in volume by about 50 to 75 percent. When you press the dough gently with a floured finger, it should spring back slowly. If it springs back instantly, it needs more time; if it leaves a deep indentation that doesn't bounce back at all, it is over-proofed and needs to be baked immediately.
Conclusion
The distinction between instant and active dry yeast is far more than a simple matter of convenience. It is about understanding the biological needs of the leavening agent you are inviting into your kitchen. By learning the proper conversion ratios, respecting the optimal temperature ranges, and utilizing professional techniques like autolyse and folding, you can take control of your baking process. You are no longer at the mercy of a recipe's vague instructions; you are now the architect of your own bread, capable of troubleshooting issues and adjusting variables to achieve the perfect result every single time.
Remember that baking is a journey, and every loaf—even the ones that don't rise as high as you hoped—is a lesson in the science of dough. Do not be discouraged by a flat loaf; instead, analyze your variables. Was your water temperature too low? Was the room too cold? Did the yeast have enough time to wake up? Once you begin to ask these questions, you are no longer just following instructions—you are practicing the art of bread-making.
So, the next time you pick up a packet of yeast, look closely at the label. Understand its nature, treat it with the care it deserves, and don't be afraid to experiment with cold fermentations or different mixing techniques. When you pair high-quality ingredients with a deep understanding of fermentation science, the results will speak for themselves in the form of golden, crusty, and delicious loaves. Happy baking, and may your crumbs be light, your crusts be crackly, and your yeast always be active. You now have the knowledge to bake with confidence, so clear your counter, grab your flour, and start kneading. Your best bread is waiting just ahead, and there is certainly no need to blame the chef when you are the one holding the keys to the kingdom of fermentation. Keep learning, keep practicing, and enjoy the transformative process of turning water, flour, salt, and a bit of yeast into one of the greatest culinary creations known to man.

Get the Next Recipe
Weekly recipes, techniques, and gear picks — straight to your inbox.
